“Hey, do you have any snacks without nuts? My kid’s school just updated their allergy policy,” a friend texted me late one evening. I was halfway through prepping dinner, juggling pots and pans, and honestly, the idea of making nut-free snacks felt like another mountain to climb. But that night, I stumbled upon a no-bake granola bar recipe, tossed it together on a whim, and—surprise!—it turned out to be a lifesaver.
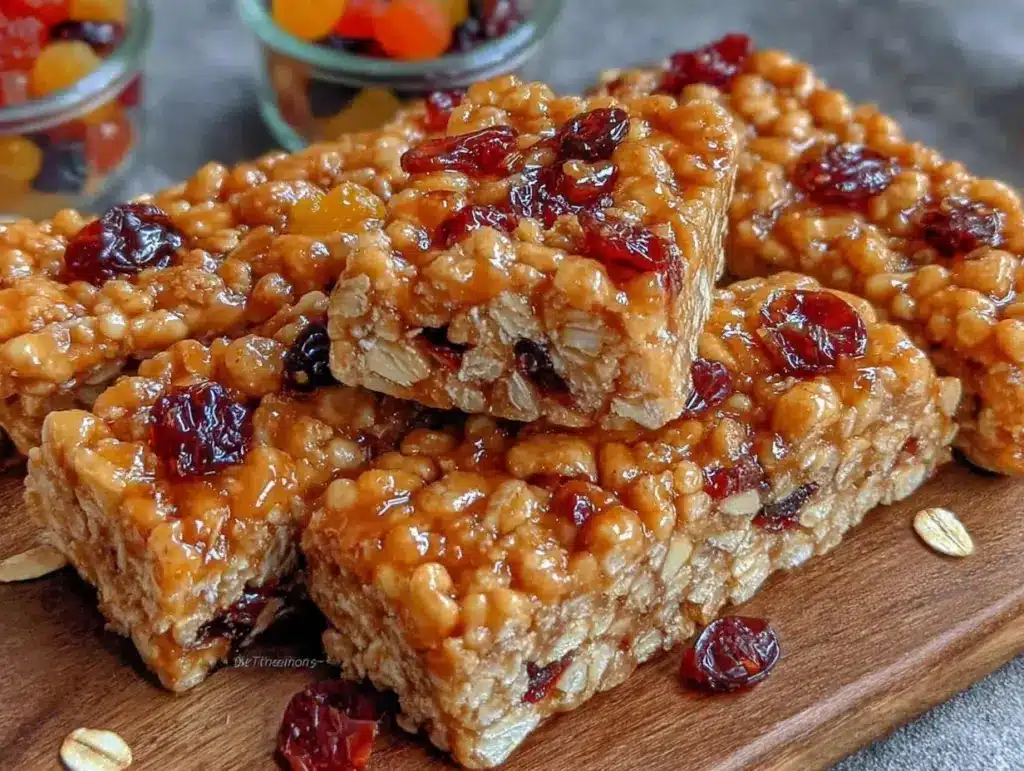
It wasn’t fancy or complicated—just simple ingredients and zero oven time. What struck me was how these bars were soft but held together nicely, sweet without being overwhelming, and packed with enough chew to keep lunchboxes interesting. I still remember hearing the next morning, “Mom, can you make these again?” from my kid. That quiet moment of approval, after all the chaos of the day before, made me realize this recipe had stuck for good.
Since then, these easy no-bake nut-free granola bars have become a staple not just for school lunches but also for quick snacks during those hectic afternoons when I need something wholesome but fuss-free. And honestly, they’re one of those recipes I tweak and make almost weekly, much like my go-to oatmeal muffin in a mug—simple, comforting, and just right.
There’s something quietly satisfying about knowing a snack is both safe and delicious, especially when nut allergies are involved. This recipe proved that you don’t need complicated steps or rare ingredients to pull off something that feels special and thoughtful. It’s a little bit of calm in the swirl of school mornings, packed lunches, and the endless question of “what’s for snack?”
Why You’ll Love This Recipe
After making these no-bake nut-free granola bars more times than I can count, I can say with confidence they check off every box a busy parent or caregiver might have. Here’s what makes them stand out:
- Quick & Easy: These bars come together in about 15 minutes, no baking required—which is perfect for those last-minute lunchbox moments or snack emergencies.
- Simple Ingredients: No fancy shopping trips needed. Most ingredients live in your pantry already, making it super convenient.
- Perfect for School Lunchboxes: Nut-free and safe for allergy-sensitive settings, these bars are a thoughtful choice for little ones’ mid-day fuel.
- Crowd-Pleaser: Both kids and adults give these bars rave reviews. The chewy texture with a hint of sweetness hits the spot every time.
- Deliciously Balanced: Thanks to a touch of honey and the combination of oats and seeds, the flavor is wholesome but far from boring.
What really sets this recipe apart is the no-bake method paired with a nut-free approach without sacrificing texture or taste. Instead of relying on nut butters, I use sunflower seed butter and a mix of seeds to add that satisfying bite. The bars hold together well, thanks to a gentle warming of the syrup ingredients, but never feel hard or chalky.
Honestly, these bars became a quiet little obsession for me during a hectic few weeks. I found myself making them multiple times, packing extras for unexpected guests or grabbing a quick bite between errands. They’re like a secret weapon in the lunchbox lineup, and I trust they’ll become your go-to too.
What Ingredients You Will Need
This recipe uses simple, wholesome ingredients to deliver bold flavor and satisfying texture without the fuss. You’ll find most of these are pantry staples, and I’ve suggested a few substitutions if you need to tweak it for your family’s preferences.
- Rolled oats (2 cups / 180g) – The base of the bars. Use old-fashioned oats for best chewiness.
- Sunflower seed butter (1/2 cup / 120g) – This replaces nut butters, giving creaminess and binding power. I like SunButter brand for a smooth texture.
- Honey (1/3 cup / 113g) – Natural sweetener that also helps bind the bars together.
- Ground flaxseed (2 tablespoons / 14g) – Adds nutrition and helps the bars hold together.
- Chia seeds (2 tablespoons / 20g) – Adds crunch and a nutritional boost.
- Sunflower seeds (1/4 cup / 35g) – For extra texture and a nutty flavor without nuts.
- Vanilla extract (1 teaspoon) – A little flavor lift that ties everything together.
- Salt (a pinch) – Balances sweetness and enhances flavor.
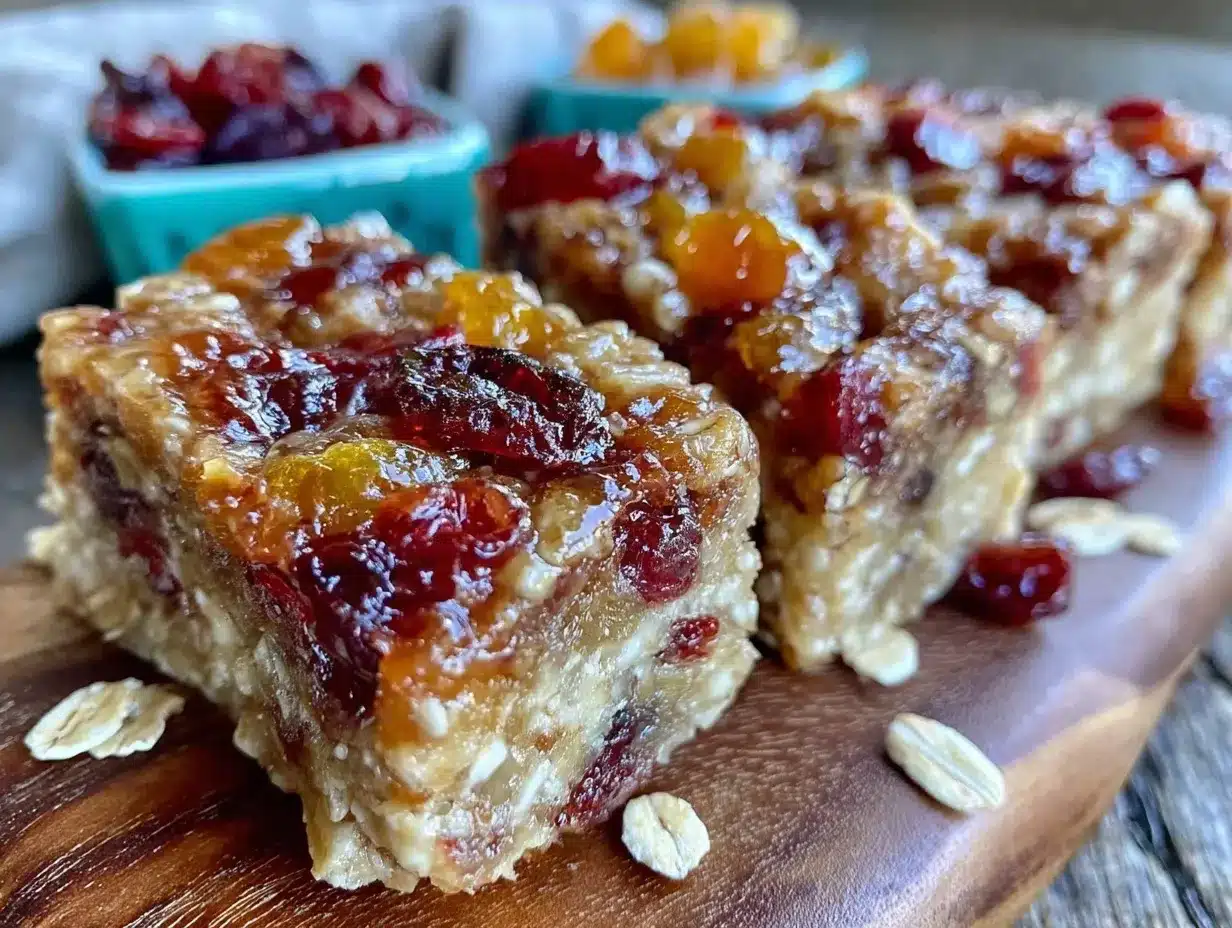
- Dried fruit (optional, 1/3 cup / 40g) – Think raisins, cranberries, or chopped apricots for touches of chew and natural sweetness.
If you want to make these gluten-free, just swap the rolled oats for certified gluten-free oats. And if you prefer a vegan version, replace honey with maple syrup or agave nectar, though that might make the bars a bit softer.
In the warmer months, I sometimes add a handful of freeze-dried berries for a pop of color and tang. It’s a fun twist kids love, and it complements the wholesome base nicely.
Equipment Needed
- Mixing bowl: A large one to combine your dry and wet ingredients comfortably.
- Measuring cups and spoons: For precise ingredient amounts—especially important with sticky ingredients like honey and seed butter.
- Wooden spoon or spatula: To mix everything thoroughly without breaking up the seeds and oats too much.
- 8×8-inch baking pan or square container: For pressing and setting the bars. Line it with parchment paper for easy removal.
- Small saucepan: To gently warm the honey and sunflower seed butter mixture. Use low heat to avoid scorching.
I’ve tried making these bars with a food processor for convenience, but I actually prefer mixing by hand—it keeps the texture more rustic and less mushy. If you don’t have a saucepan, you can microwave the wet ingredients in short bursts, stirring in between to prevent overheating.
Preparation Method
- Prep your pan: Line an 8×8-inch (20×20 cm) baking pan with parchment paper, letting the edges hang over for easy lifting later. This step saves a lot of trouble when removing the bars.
- Mix dry ingredients: In a large bowl, combine 2 cups (180g) rolled oats, 2 tablespoons (14g) ground flaxseed, 2 tablespoons (20g) chia seeds, 1/4 cup (35g) sunflower seeds, a pinch of salt, and optional dried fruit (about 1/3 cup / 40g). Stir well to distribute everything evenly.
- Warm wet ingredients: In a small saucepan over low heat, gently warm 1/3 cup (113g) honey and 1/2 cup (120g) sunflower seed butter until just melted and smooth. Remove from heat and stir in 1 teaspoon vanilla extract.
- Combine wet and dry: Pour the warm honey and seed butter mixture over the dry ingredients. Using a wooden spoon or spatula, mix thoroughly until every oat and seed is coated and the mixture starts to stick together. This usually takes about 1-2 minutes of stirring.
- Press into pan: Transfer the mixture to your prepared pan. Use a second piece of parchment paper on top or clean hands to press firmly and evenly into the pan. Pressing firmly is key for bars that hold together well.
- Chill: Place the pan in the refrigerator for at least 1 hour to set. This step helps the bars firm up without baking.
- Slice and store: Once set, use the parchment edges to lift the block out of the pan. Place on a cutting board and slice into bars or squares. Store bars in an airtight container in the fridge for up to a week.
A quick tip: if the mixture feels too dry or crumbly before pressing, add a teaspoon or two of warm water or an extra splash of honey to help it bind better. On the other hand, if it’s too sticky, a little more oats or seeds can balance it out.
Cooking Tips & Techniques
Getting no-bake bars just right is about balance—between wet and dry ingredients, and between chewy and firm texture. Here’s what I’ve learned from my many batches:
- Low and slow warming: When melting the sunflower seed butter and honey, keep the heat low. Too hot, and you risk burning or changing the flavor. Gently warming helps everything blend smoothly.
- Press firmly: Don’t skimp on this step. Pressing the mixture tightly into the pan means less crumbling when you cut the bars later.
- Chill thoroughly: Bars need at least an hour to set, but longer is fine. If you’re in a hurry, a quick 30-minute chill in the freezer can help, but watch closely to avoid freezing solid.
- Mix-ins matter: I’ve tried these bars with various dried fruits and seeds. Just remember to chop larger dried fruits finely to avoid uneven bites.
- Storage tips: Keep the bars refrigerated if you want them firmer or at room temperature for a softer chew. Storing in a sealed container keeps them fresh and prevents them from drying out.
My first attempt was a bit crumbly—turns out I didn’t press firmly enough! And once, I overheated the seed butter mixture, which gave a slightly bitter note. These small mistakes taught me to trust the process and be patient, especially with pressing and chilling.
Variations & Adaptations
One thing I love about this recipe is how easy it is to customize. Here are some variations I’ve enjoyed over time:
- Seed swap: If you don’t have sunflower seeds, pumpkin seeds or hemp hearts work well and add different textures.
- Flavor boost: Add a teaspoon of cinnamon or a pinch of nutmeg for warmth and depth.
- Chocolate twist: Stir in mini dairy-free chocolate chips after mixing to give a subtle chocolate surprise.
- Fruit-free option: Leave out dried fruit for a more straightforward, less sweet bar.
- Gluten-free: Use certified gluten-free oats to keep the bars safe for gluten-sensitive eaters.
Personally, I once tried adding shredded coconut and loved how it added a tropical vibe without overpowering the bars. Just be mindful of the extra dryness coconut can cause, so you might need a touch more honey or seed butter.
Serving & Storage Suggestions
These bars are best served chilled or at room temperature, depending on your texture preference. For school lunchboxes, I usually keep them refrigerated overnight and pack them straight from the fridge for a firmer bite.
They pair wonderfully with fresh fruit or a small serving of yogurt for a balanced snack. If you’re packing them for a longer day, wrapping each bar in parchment paper keeps them tidy and easy to grab.
Store the bars in an airtight container in the fridge for up to a week or freeze them for up to 3 months. When freezing, wrap bars individually or place parchment between layers to prevent sticking. To thaw, leave bars in the fridge overnight or at room temperature for about 30 minutes.
Flavors tend to meld and develop slightly over a day or two, making the bars even tastier after a bit of resting time. Just be sure to keep them sealed to maintain freshness and chewiness.
Nutritional Information & Benefits
Each bar is packed with wholesome ingredients that provide energy and nutrition without excess sugar or artificial additives. Here’s an estimated breakdown per bar (assuming 12 bars):
| Calories | Protein | Fat | Carbohydrates | Fiber |
|---|---|---|---|---|
| 150 kcal | 4 g | 7 g | 20 g | 3 g |
The sunflower seed butter offers healthy fats and vitamin E, while the oats and flaxseed provide fiber and omega-3 fatty acids. Chia seeds add antioxidants and minerals, contributing to overall wellness.
These bars are nut-free and can be gluten-free with the right oats, making them a safe choice for many dietary needs. They’re moderately sweetened with honey, so they satisfy sweet cravings without overloading on sugar.
Conclusion
These easy no-bake nut-free granola bars have quietly become a staple for anyone needing a safe, tasty, and fuss-free snack option. They’re perfect for school lunchboxes, quick afternoon bites, or even a grab-and-go breakfast. What I love most is how adaptable they are—you can tweak them to suit your family’s tastes and dietary needs without any stress.
From my experience, these bars strike just the right balance between chewy and firm with a gentle sweetness that kids love and parents feel good about. If you enjoy simple, wholesome snacks, this recipe is definitely worth trying. And if you’re interested in other easy, crowd-pleasing treats, you might appreciate the crispy buffalo cauliflower bites or the roasted red pepper hummus recipe for your next snack session.
Give these bars a try, and let me know how you customize them to fit your family’s needs. There’s a good chance they’ll become a quiet but steady favorite in your kitchen, just like they did in mine.
FAQs About Easy No-Bake Nut-Free Granola Bars
Can I make these bars ahead of time?
Yes! These bars store well in the fridge for up to a week and can be frozen for up to three months. Just wrap them individually for easy grab-and-go snacks.
What if I don’t have sunflower seed butter?
You can substitute with tahini (sesame seed butter) or a seed butter of your choice, but keep in mind the flavor will change slightly.
Are these bars suitable for vegan diets?
To make this recipe vegan, swap honey with maple syrup or agave nectar, though the texture might be a little softer.
Can I add chocolate chips to this recipe?
Absolutely! Mini dairy-free chocolate chips or regular ones can be folded in after mixing for a fun chocolate twist.
How do I prevent the bars from falling apart?
Press the mixture firmly into the pan and chill for at least an hour. If the mixture feels too dry, add a bit more honey or a splash of water before pressing.
Pin This Recipe!
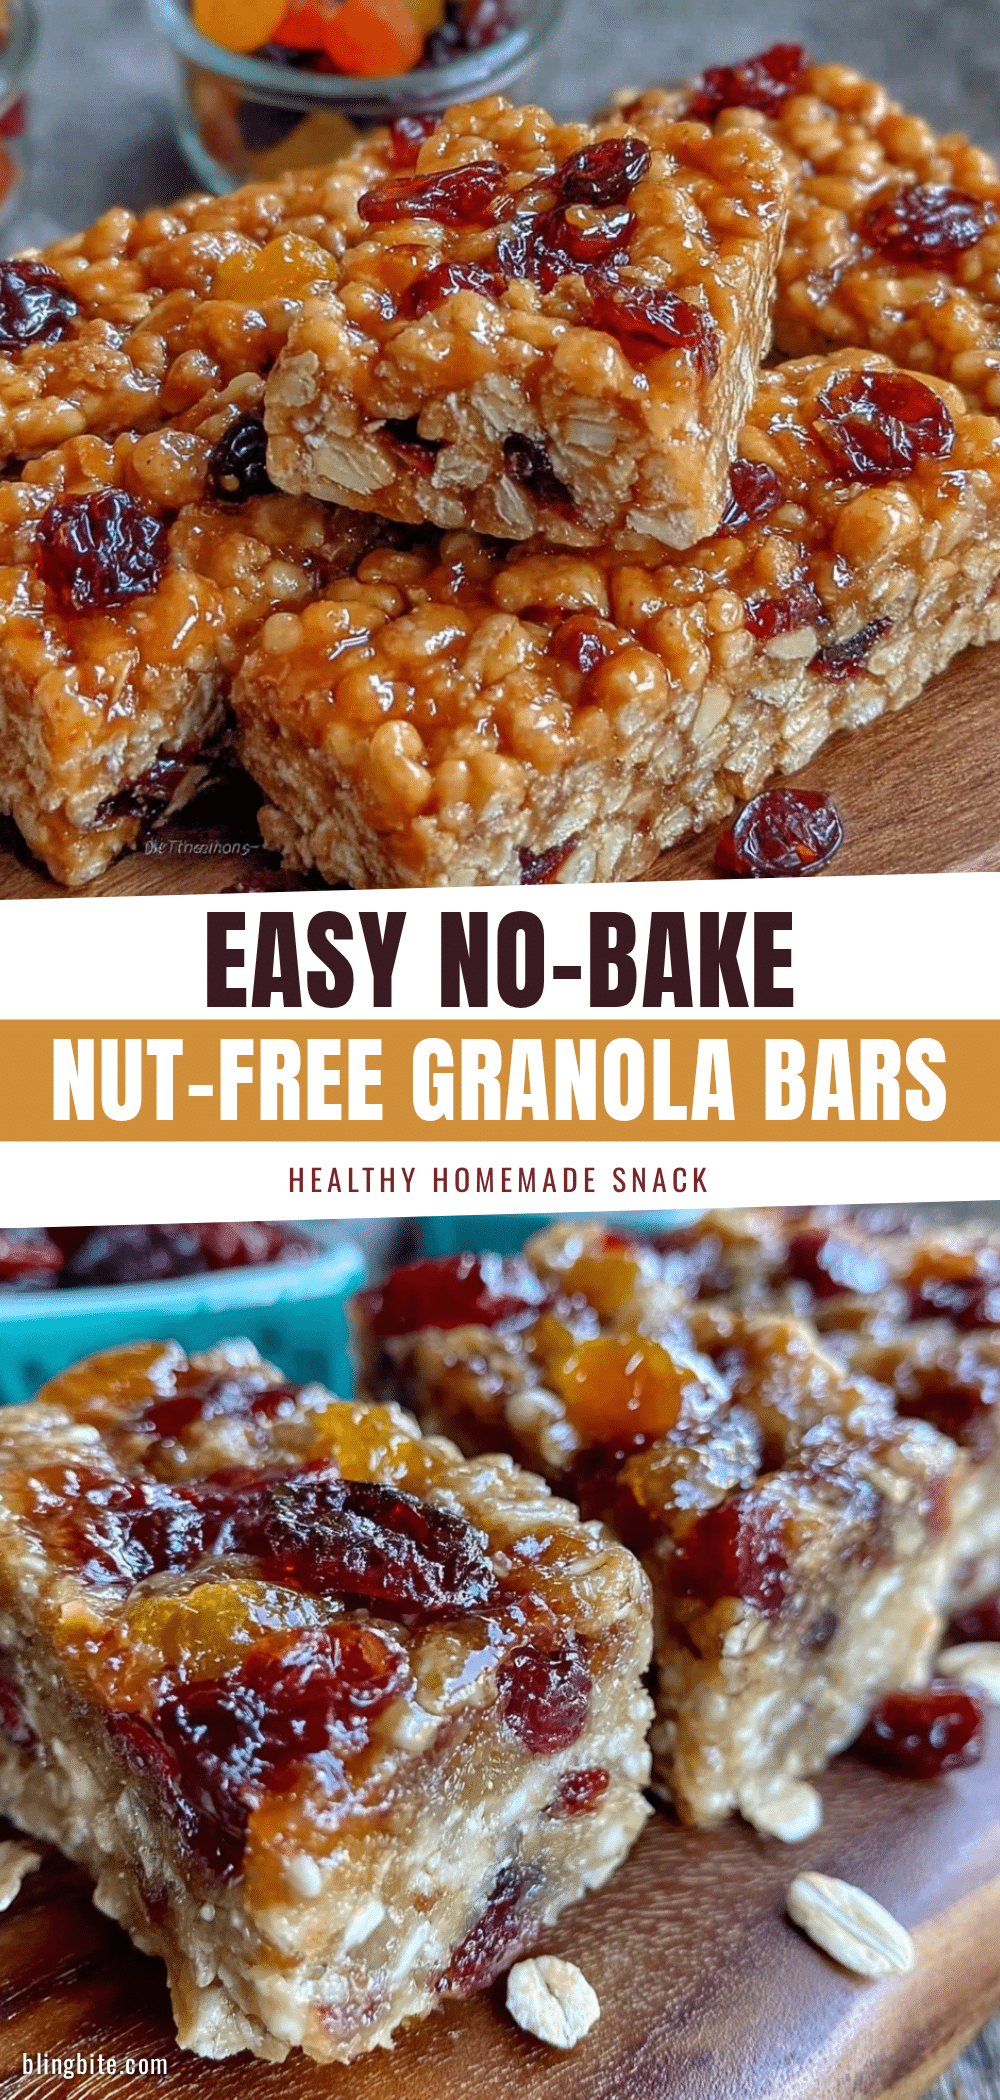
Easy No-Bake Nut-Free Granola Bars Recipe Perfect for School Lunchboxes
These easy no-bake nut-free granola bars are quick to make, safe for allergy-sensitive settings, and perfect for school lunchboxes or quick snacks. They have a chewy texture with a hint of sweetness and are packed with wholesome ingredients.
- Prep Time: 10 minutes
- Cook Time: 5 minutes
- Total Time: 1 hour 15 minutes
- Yield: 12 bars 1x
- Category: Snack
- Cuisine: American
Ingredients
- 2 cups (180g) rolled oats (old-fashioned for best chewiness)
- 1/2 cup (120g) sunflower seed butter (e.g., SunButter brand)
- 1/3 cup (113g) honey
- 2 tablespoons (14g) ground flaxseed
- 2 tablespoons (20g) chia seeds
- 1/4 cup (35g) sunflower seeds
- 1 teaspoon vanilla extract
- Pinch of salt
- Optional: 1/3 cup (40g) dried fruit (raisins, cranberries, chopped apricots)
Instructions
- Line an 8×8-inch (20×20 cm) baking pan with parchment paper, letting the edges hang over for easy lifting later.
- In a large bowl, combine rolled oats, ground flaxseed, chia seeds, sunflower seeds, salt, and optional dried fruit. Stir well to distribute evenly.
- In a small saucepan over low heat, gently warm honey and sunflower seed butter until just melted and smooth. Remove from heat and stir in vanilla extract.
- Pour the warm honey and seed butter mixture over the dry ingredients. Mix thoroughly with a wooden spoon or spatula until every oat and seed is coated and the mixture starts to stick together (about 1-2 minutes).
- Transfer the mixture to the prepared pan. Use a second piece of parchment paper or clean hands to press firmly and evenly into the pan.
- Place the pan in the refrigerator for at least 1 hour to set.
- Once set, lift the block out of the pan using the parchment edges. Slice into bars or squares.
- Store bars in an airtight container in the fridge for up to a week.
Notes
Press the mixture firmly into the pan to prevent crumbling. If the mixture is too dry, add a teaspoon or two of warm water or extra honey. If too sticky, add more oats or seeds. Gently warm wet ingredients on low heat to avoid burning. Bars can be stored refrigerated for up to a week or frozen for up to 3 months. For vegan version, replace honey with maple syrup or agave nectar, noting bars may be softer.
Nutrition
- Serving Size: 1 bar
- Calories: 150
- Fat: 7
- Carbohydrates: 20
- Fiber: 3
- Protein: 4
Keywords: no-bake granola bars, nut-free snacks, school lunchbox snacks, easy granola bars, healthy snacks, sunflower seed butter bars


