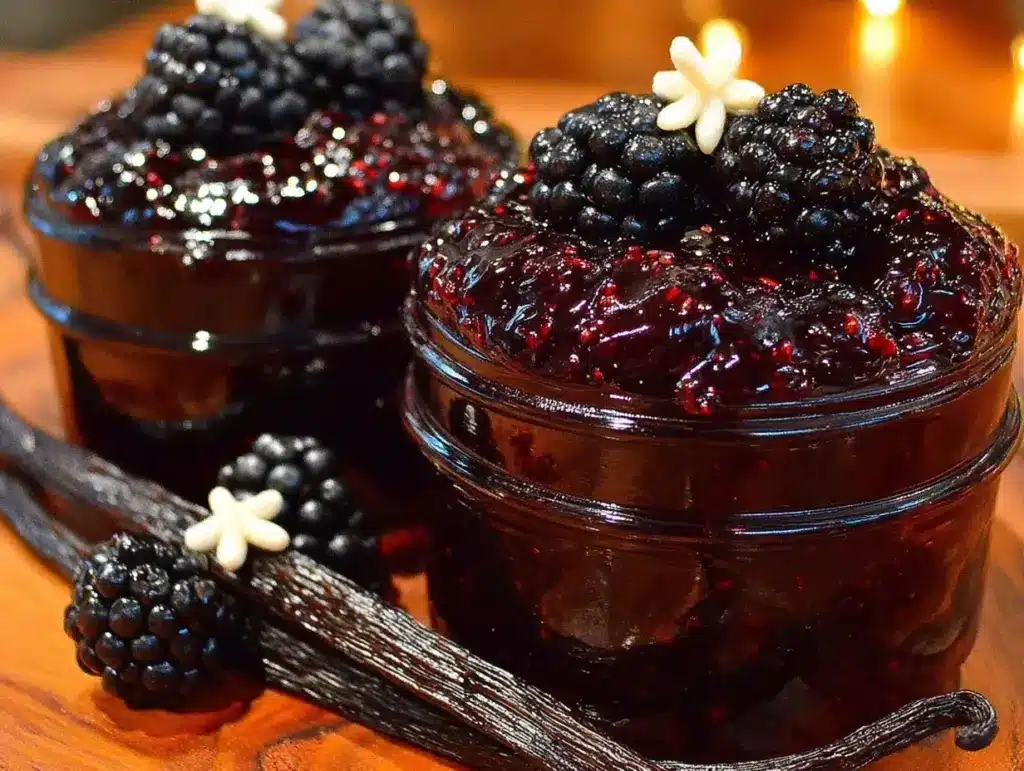
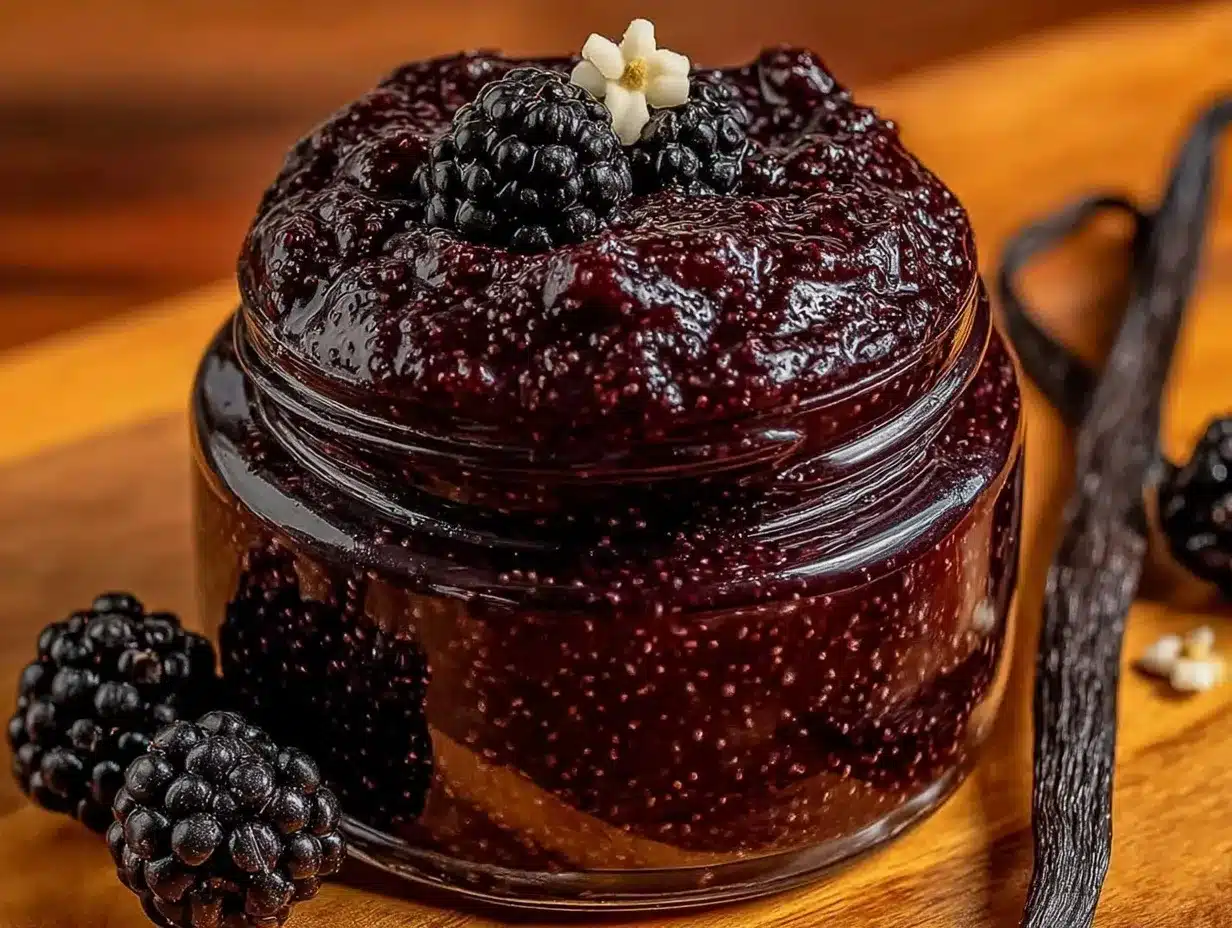
I remember this exact line from my cousin last summer when she was staring skeptically at my bubbling pot of Easy Black Raspberry Jam with Vanilla Bean – No Pectin Needed. Honestly, that moment was pure kitchen theater. The sweet, tangy aroma of black raspberries mingled with the soft, floral scent of fresh vanilla bean pods filled the air. It wasn’t just jam-making; it was this little experiment that felt like reclaiming a forgotten art. You know, the kind where you trust the fruit, sugar, and a slow simmer to perform their magic without any shortcuts.
Funny enough, this recipe didn’t come from a fancy cookbook or a grandmother’s secret. It grew out of sheer necessity and a stubborn refusal to buy that expensive jar of pectin sitting on the shelf. The black raspberries were fresh-picked from a small roadside stand, still warm from the sun, and the vanilla bean? Well, that was a last-minute grab from the pantry because I wanted the jam to have that extra cozy, homey vibe.
Making jam without pectin, especially with black raspberries, can feel like a gamble—sometimes it sets perfectly, sometimes it’s a little runny. But the vanilla bean addition? That’s the quiet trick that turns this jam into something you’ll find yourself spooning straight from the jar. It’s rich, naturally sweet, and just thick enough to spread over toast or dollop on desserts.
And here’s the thing: I’ve made this jam over and over, tweaking sugar levels, simmer times, and vanilla bean amounts until it felt just right. Each batch brought back memories of late summer afternoons, laughter, and that feeling of doing something with your hands that’s a little old-fashioned but totally worth it. If you’re wondering why this recipe sticks around in my kitchen, it’s because it’s simple (no fancy ingredients), forgiving, and honestly, a little bit like magic in a jar.
So, if you’re someone who’s ever hesitated to try homemade jam because you thought pectin was a must, or you’re craving a berry spread with a hint of vanilla warmth, this one’s for you. It’s easy, soulful, and somehow, it reminds me that some of the best things come from just letting nature and patience do their thing.
Why You’ll Love This Recipe
After several trials and a few “oops” moments (like burning the bottom or over-sugaring), this Easy Black Raspberry Jam with Vanilla Bean – No Pectin Needed recipe became the go-to for my summer preserves. It’s a bit of a love letter to patience and flavor, and here’s why it might just become yours too:
- Quick & Easy: You can have this jam simmering and almost ready in under 45 minutes—perfect for when those fresh berries start calling your name.
- Simple Ingredients: No need to hunt down specialty pectin powders or strange additives. Just fresh black raspberries, sugar, lemon juice, and a real vanilla bean.
- Perfect for Gifts & Gatherings: This jam shines on toast but also pairs beautifully with cheese boards, much like the cranberry chutney that complements my puff pastry baked brie.
- Crowd-Pleaser: It’s got that natural balance — not too sweet, not too tart — that everyone seems to love, from kids to grown-ups.
- Unbelievably Delicious: The vanilla bean isn’t just a garnish; it’s the secret that makes this jam taste like it’s been slow-cooked for hours, even though it hasn’t.
- Natural Texture: Without pectin, the jam feels less gelled and more like a spreadable, spoonable fruit sensation that’s perfect for everything from morning toast to afternoon yogurt bowls.
This recipe isn’t just another jam recipe floating around. The vanilla bean infusion adds a depth that sets it apart, and the no-pectin method embraces the wild, juicy texture of real berries. Honestly, it’s comfort food in a jar, without any fuss. And if you enjoy balancing sweet and savory, I bet you’d appreciate how nicely this jam complements the smoky richness of dishes like my pimento cheese stuffed jalapeño poppers with bacon.
What Ingredients You Will Need
This recipe calls for simple, whole ingredients that let the black raspberry shine, while the vanilla bean adds warmth and depth. You likely have most of these in your kitchen already, or they’re easy enough to find at any grocery store.
- Black Raspberries: 4 cups (about 600g) fresh or frozen. Fresh is ideal when in season—look for plump, firm berries with deep color.
- Granulated Sugar: 2 to 2 ½ cups (400-500g). Adjust based on your sweetness preference and berry tartness.
- Fresh Lemon Juice: 2 tablespoons (30ml). This brightens the jam and helps natural pectin release.
- Vanilla Bean: 1 whole bean, split lengthwise. Scrape out the seeds for maximum flavor; the pod goes in the pot too.
- Optional: A pinch of sea salt to balance flavors.
Ingredient Notes:
- If you can’t find black raspberries, wild or cultivated, you can substitute with blackberries, but the flavor will be a bit different (less tart, more earthy).
- Look for plump, small-curd vanilla beans—Madagascar or Tahitian varieties work beautifully. I prefer Madagascar Bourbon vanilla for its rich aroma.
- If you want a slightly less sweet jam, start with 2 cups sugar and taste as it cooks. You can always add a bit more if needed.
For a dairy-free spread pairing, this jam works wonderfully with thick coconut yogurt or even a smooth almond butter toast. Plus, it’s a perfect fruity accent if you love balancing savory bites like my creamy herb and garlic cheese ball bites.
Equipment Needed
- Large heavy-bottomed saucepan or pot: A wider pot helps the jam cook evenly and evaporate moisture faster.
- Wooden spoon or heat-resistant silicone spatula: For stirring without scratching your cookware.
- Fine mesh strainer (optional): If you prefer a smoother texture without seeds.
- Jar funnel: Makes transferring hot jam into jars less messy.
- Glass canning jars with lids: For storing your jam safely.
- Thermometer (optional): To check jam’s setting point (~220°F / 104°C), but not necessary if you trust your eye and spoon.
I used to rely on a basic stainless steel pan and a wooden spoon from the get-go, and honestly, those are the only essentials. If you want to keep things budget-friendly, a standard heavy pot and a ladle will do just fine. For cleaning, don’t forget to soak your vanilla bean pod in warm water after cooking—it’s a small trick to salvage any leftover flavor.
Preparation Method
- Prepare the vanilla bean: Using a sharp knife, split the vanilla bean lengthwise and scrape out the tiny seeds with the back of the knife. Set both seeds and pod aside.
- Combine berries and sugar: In your large heavy-bottomed pot, gently toss the black raspberries with 2 cups (400g) of sugar. Let them sit for about 10 minutes to macerate and release juices. This softens the berries and helps the sugar dissolve faster.
- Add lemon juice and vanilla bean: Pour in 2 tablespoons (30ml) fresh lemon juice, add the vanilla bean seeds and the pod right into the pot. The lemon juice not only brightens flavor but helps the jam thicken naturally.
- Bring to a gentle boil: Place the pot over medium-high heat and stir occasionally. Once the mixture reaches a rolling boil, reduce heat to medium-low to maintain a steady simmer.
- Simmer and stir: Let the jam simmer uncovered for about 25-35 minutes. Stir every few minutes to prevent sticking or burning. You’ll notice the jam thickening and the color deepening. Skim off any foam that rises to the top with a spoon.
- Test for thickness: To check if your jam is ready, drop a small spoonful on a cold plate and tilt it after a minute. If it wrinkles and doesn’t run, you’re good. If it’s still runny, simmer a bit longer. Remember, it will thicken more as it cools.
- Remove vanilla pod and jar the jam: Once done, remove the vanilla pod and carefully ladle the jam into sterilized jars. Leave about ¼ inch (0.6 cm) headspace. Seal tightly.
- Cool and store: Let jars cool to room temperature, then refrigerate. The jam will keep well for up to 3 weeks in the fridge or freeze for longer storage.
Tip: If you prefer a seedless jam, press the cooked mixture through a fine mesh strainer before jarring. This step is optional but recommended for a smooth spread.
Also, keep an eye on the simmering jam—stirring regularly helps prevent scorching, which can ruin the batch in a hurry. I learned that the hard way on my first try!
Cooking Tips & Techniques
Patience is a virtue here. Letting the jam simmer slowly brings out the natural pectin in the berries, which is why no pectin powder is needed.
- Don’t rush the simmering process: High heat can cause the jam to scorch or become too thick.
- Use fresh lemon juice: The acid activates natural pectin and balances the sweetness.
- Stir consistently but gently: You want to keep the fruit from sticking without breaking it down too much.
- Skim foam off the top: It doesn’t affect the taste but makes your jam clearer and prettier.
- Vanilla bean pod is your friend: Leaving it in during simmering infuses a subtle, complex aroma.
One time, I left the heat too high and ended up with jam that tasted a bit caramelized, which wasn’t bad but definitely different than intended. So, keep your eye on that pot! If you want to multitask, try prepping your jars and vanilla bean while the jam simmers to save time.
Variations & Adaptations
This recipe is pretty forgiving and flexible, so feel free to make it your own:
- Dietary Variation: Use coconut sugar or honey instead of granulated sugar for a different sweetness profile and slight caramel notes.
- Seasonal Twist: Swap black raspberries for fresh blackberries or blueberries depending on what’s ripe. For a tropical touch, add a splash of lime juice instead of lemon.
- Flavor Boost: Add a cinnamon stick or a few crushed cardamom pods during simmering for a warm spice background.
- Texture Preference: For a chunkier jam, lightly mash half of the berries before cooking; for smooth, strain after cooking.
- Allergen Substitution: This jam is naturally gluten-free and vegan, but if you need a lower-sugar option, try reducing sugar and adding a teaspoon of chia seeds after cooking to help thicken.
I once tossed in some fresh rosemary sprigs with the vanilla bean, which gave the jam a surprising herbal hint that went great on toast with ricotta cheese.
Serving & Storage Suggestions
This black raspberry vanilla bean jam is best served at room temperature. Spread it thick on warm toast or swirl it into plain yogurt for a quick breakfast boost.
It also pairs beautifully with cheese—try it alongside creamy brie or goat cheese, a combo that reminds me of the sweet and savory harmony in my puff pastry baked brie with cranberry chutney.
Store the jam in sterilized glass jars in the refrigerator for up to 3 weeks. For longer storage, freeze in small portions for up to 6 months—just thaw overnight in the fridge. When reheating, warm gently on the stove or microwave; avoid boiling to preserve fresh berry flavor.
Over time, the flavors meld and become even richer, so don’t be surprised if your second or third jar tastes even better than the first.
Nutritional Information & Benefits
One tablespoon (about 20g) of this jam contains roughly:
| Calories | Carbohydrates | Sugar | Fiber |
|---|---|---|---|
| 50 | 13g | 12g | 1g |
Black raspberries are rich in antioxidants and vitamins C and K, which support immune function and skin health. The lemon juice adds a vitamin C boost, and using natural vanilla bean keeps the recipe free from artificial additives.
This jam is gluten-free, vegan, and contains no preservatives, making it a wholesome choice for a sweet treat. Just keep in mind the sugar content, especially if you’re watching intake.
Conclusion
Making Easy Black Raspberry Jam with Vanilla Bean – No Pectin Needed is one of those satisfying kitchen adventures that rewards you with pure, fruity goodness. It’s approachable, forgiving, and offers a lovely homemade charm that store-bought jams just can’t touch.
Whether you’re a jam veteran or a curious beginner, this recipe invites you to slow down and savor the simple pleasure of fresh fruit cooked just right. Plus, it’s a great way to impress friends with a jar of something truly special—no fancy pectin required. Honestly, I love how this jam feels like summer in a jar, even on the coldest mornings.
If you try it, I’d love to hear how you make it your own or what you pair it with. Sharing those little twists and stories is what keeps recipes alive and kitchens buzzing.
Here’s to many spoonfuls of warm, vanilla-kissed black raspberry joy!
FAQs About Easy Black Raspberry Jam with Vanilla Bean
Can I use frozen black raspberries for this jam?
Yes, frozen berries work well. Just thaw them first and drain any excess liquid to avoid a runny jam.
Do I really need to add lemon juice?
Yes, fresh lemon juice helps activate the natural pectin in the berries and balances the sweetness, improving the jam’s texture and flavor.
How long does this jam keep without pectin?
Refrigerated, it lasts about 3 weeks. You can also freeze it for up to 6 months for longer storage.
Can I omit the vanilla bean?
You can, but the vanilla adds a lovely warm note that makes this jam unique. If unavailable, a teaspoon of vanilla extract can be added after cooking.
What if my jam doesn’t thicken enough?
Simmer it a little longer to reduce excess liquid. If it’s still runny after cooling, try stirring in a small amount of chia seeds to help thicken naturally.
Pin This Recipe!
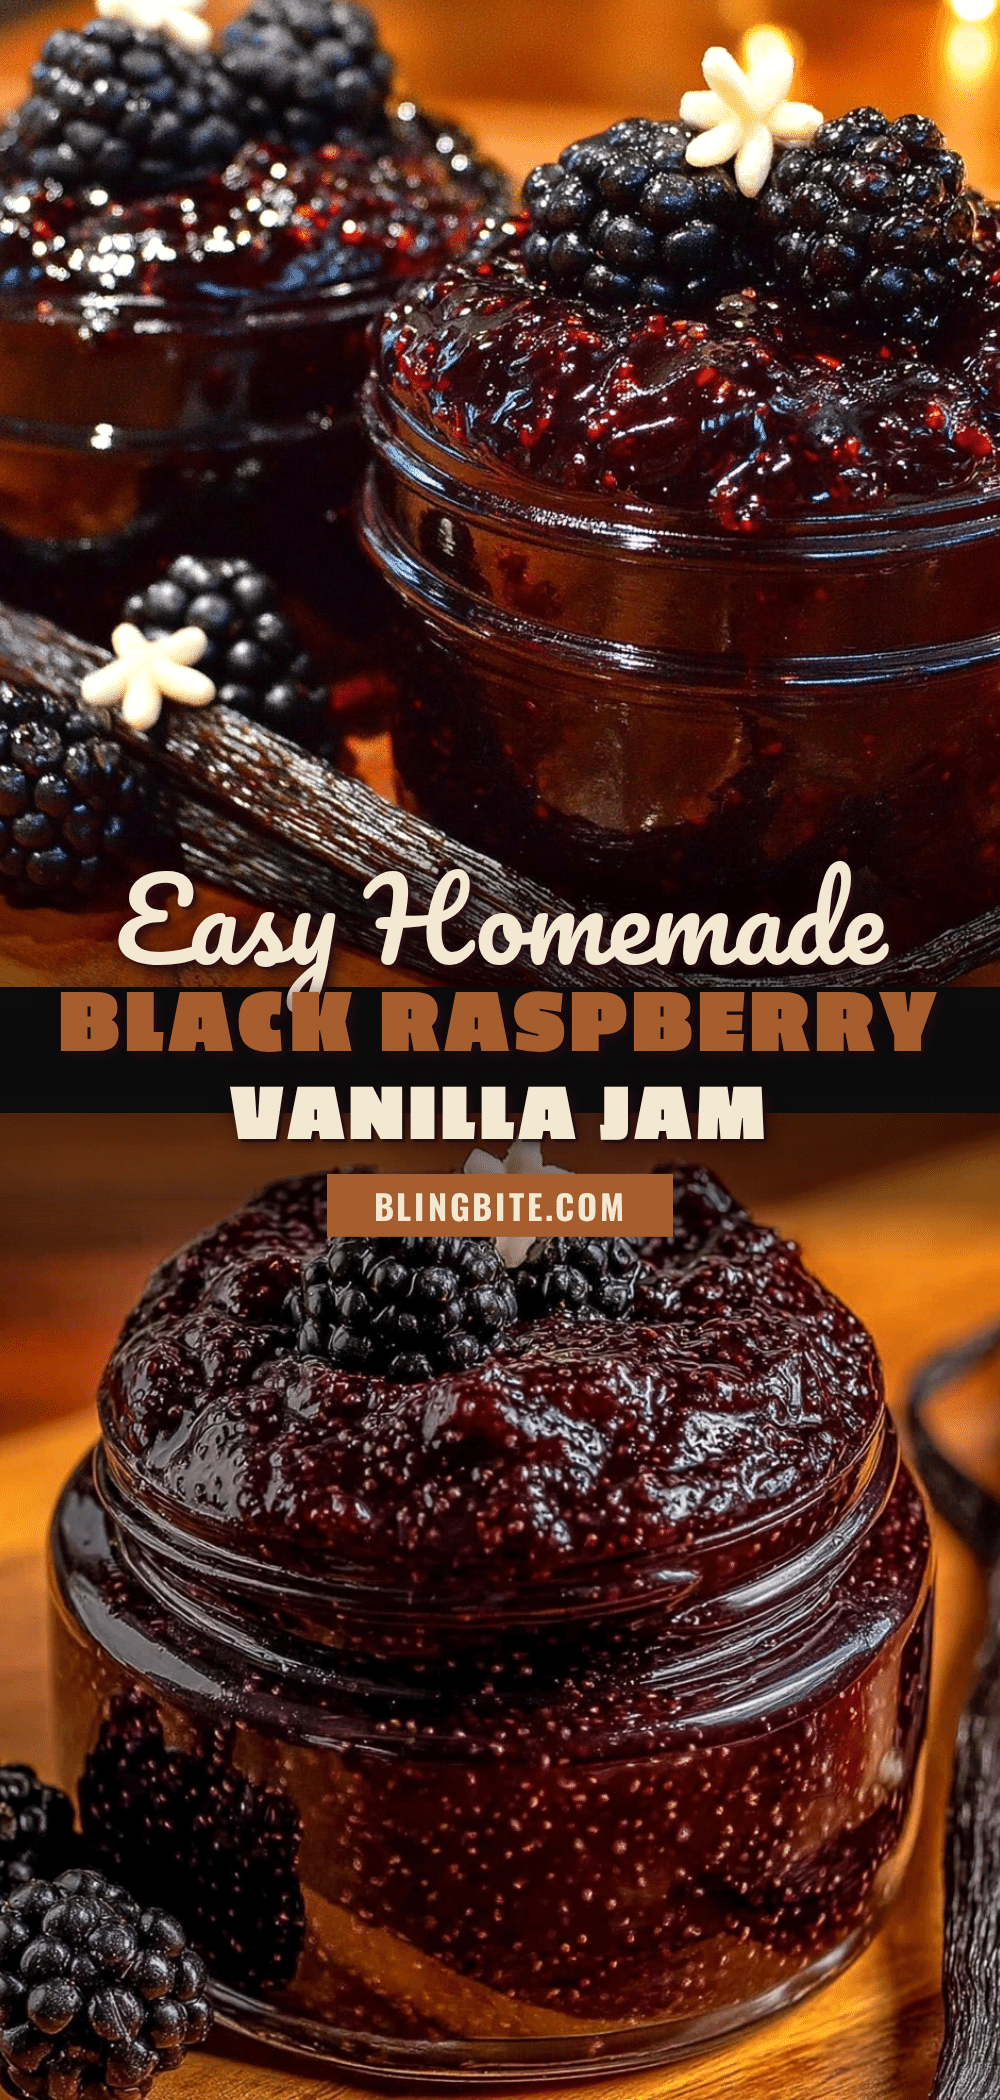
Easy Black Raspberry Jam with Vanilla Bean – No Pectin Needed

A simple and soulful homemade black raspberry jam infused with vanilla bean, made without pectin. This jam is naturally sweet, spreadable, and perfect for toast or desserts.
- Prep Time: 15 minutes
- Cook Time: 30 minutes
- Total Time: 45 minutes
- Yield: About 3 half-pint jars (approximately 6 servings) 1x
- Category: Preserves
- Cuisine: American
Ingredients
- 4 cups (about 600g) fresh or frozen black raspberries
- 2 to 2 ½ cups (400-500g) granulated sugar
- 2 tablespoons (30ml) fresh lemon juice
- 1 whole vanilla bean, split lengthwise (seeds scraped out, pod included)
- Pinch of sea salt (optional)
Instructions
- Prepare the vanilla bean: Using a sharp knife, split the vanilla bean lengthwise and scrape out the tiny seeds with the back of the knife. Set both seeds and pod aside.
- Combine berries and sugar: In a large heavy-bottomed pot, gently toss the black raspberries with 2 cups (400g) of sugar. Let them sit for about 10 minutes to macerate and release juices.
- Add lemon juice and vanilla bean: Pour in 2 tablespoons (30ml) fresh lemon juice, add the vanilla bean seeds and the pod into the pot.
- Bring to a gentle boil: Place the pot over medium-high heat and stir occasionally. Once the mixture reaches a rolling boil, reduce heat to medium-low to maintain a steady simmer.
- Simmer and stir: Let the jam simmer uncovered for about 25-35 minutes, stirring every few minutes to prevent sticking or burning. Skim off any foam that rises to the top.
- Test for thickness: Drop a small spoonful on a cold plate and tilt it after a minute. If it wrinkles and doesn’t run, it’s ready. If runny, simmer longer.
- Remove vanilla pod and jar the jam: Remove the vanilla pod and ladle the jam into sterilized jars, leaving about ¼ inch (0.6 cm) headspace. Seal tightly.
- Cool and store: Let jars cool to room temperature, then refrigerate. The jam keeps up to 3 weeks in the fridge or freeze for longer storage.
Notes
If you prefer a seedless jam, press the cooked mixture through a fine mesh strainer before jarring. Stir regularly to prevent scorching. Use fresh lemon juice to activate natural pectin. Vanilla bean pod can be soaked after cooking to salvage flavor. Frozen berries should be thawed and drained to avoid runny jam. For thicker jam, simmer longer or add chia seeds after cooking.
Nutrition
- Serving Size: 1 tablespoon (about
- Calories: 50
- Sugar: 12
- Carbohydrates: 13
- Fiber: 1
Keywords: black raspberry jam, vanilla bean jam, no pectin jam, homemade jam, easy jam recipe, fruit preserves, vegan jam, gluten-free jam


