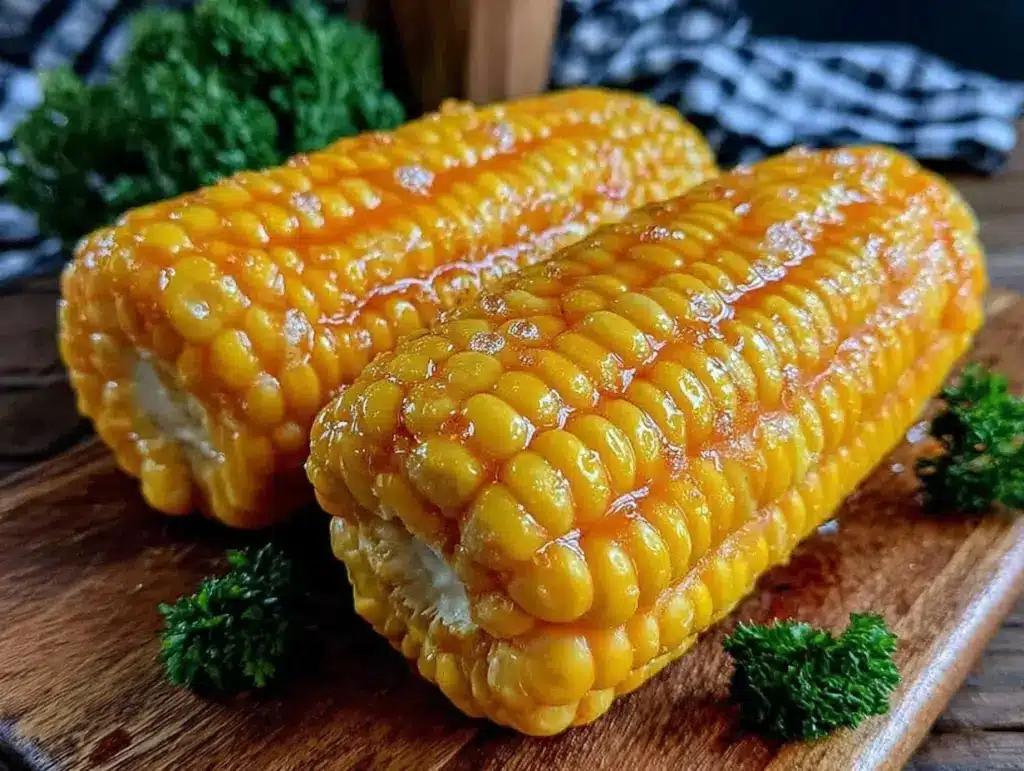
I burned the husks on my first three attempts at freezing fresh corn on the cob, and honestly, I didn’t even think it was worth the effort. I’d always assumed frozen corn lost that crisp, sweet punch you get straight from a summer market. But after fumbling through a handful of recipes and nearly giving up, I finally landed on a method that keeps the kernels tasting as if they were just picked that morning. It wasn’t some magical shortcut; just patience and a few key tweaks I figured out by trial and error.
There’s something about the smell of fresh corn steaming in the kitchen — the earthy sweetness fills the air, making you feel like summer never has to end. This recipe captures that exact feeling, so even when the weather turns gray and cold, you can pull a perfectly sweet ear of corn from the freezer, and it tastes like sunshine on a bite. The texture stays tender but with a satisfying snap, not mushy or watered down like some frozen corn can get.
I’m not one for fussing over preservation, but this simple freezer corn on the cob trick stuck because it actually works. It’s become my secret weapon for easy dinners and last-minute BBQs. Plus, it saves me from the heartbreak of missing out on that fleeting sweet corn season every year. If you’ve ever thought freezing corn meant losing flavor and texture, this recipe might just change your mind.
Here’s the thing: I’m sharing this because I know how frustrating it can be to waste good corn or rely on bland frozen stuff. This method is straightforward, honest, and delivers that fresh-from-the-farm taste every time. No fancy gadgets or weird preservatives — just good corn, a little ice water, and a few simple steps. It’s the kind of recipe that feels like a small but meaningful win in the kitchen.
Why You’ll Love This Recipe
From my many kitchen experiments with freezing corn on the cob, I can say this recipe hits the sweet spot between convenience and flavor. Here’s why it’s become a go-to for me and anyone who’s tried it:
- Quick & Easy: Prepping fresh freezer corn on the cob takes about 20 minutes, and it stores beautifully for months—perfect for busy days when fresh produce isn’t an option.
- Simple Ingredients: No need for additives or preservatives—just fresh corn, water, and a pinch of salt if you like.
- Perfect for Year-Round Use: Whether it’s for a cozy winter dinner or a summer cookout, you get that same sweet corn flavor anytime.
- Crowd-Pleaser: Family members and guests always ask where the corn is from because it tastes just like fresh-picked.
- Unbelievably Delicious: The texture stays crisp and the natural sugars in the corn really shine through, making it a highlight rather than an afterthought at meals.
This recipe isn’t just another frozen corn hack. I’ve found that blanching the corn just right, then cooling it quickly in ice water, locks in the flavor and snap better than most freezer methods. Plus, the way I wrap and store the ears prevents freezer burn, which is often the culprit behind tough, flavorless corn. It’s a method tested and trusted in my kitchen.
Honestly, it’s the kind of recipe that makes you feel a little smarter about meal prep and a little more connected to those fleeting summer moments. Every time I pull this freezer corn on the cob out, I’m reminded that good food doesn’t have to be complicated or seasonal—it can just be reliably great.
What Ingredients You Will Need
This recipe uses simple, wholesome ingredients to deliver bold, sweet flavor and satisfying texture without the fuss. Most of these are probably already sitting in your kitchen!
- Fresh corn on the cob – Choose ears with bright yellow kernels and fresh green husks. Avoid any with dried-out tips or blemishes. I usually pick mid-sized ears because they freeze and thaw more evenly.
- Water – For blanching and shocking the corn. Cold ice water is essential for stopping the cooking process instantly.
- Salt (optional) – A pinch added to the blanching water can subtly bring out the corn’s natural sweetness.
- Freezer-safe bags or airtight containers – I prefer heavy-duty zip-top bags designed for freezer use. They help prevent freezer burn and keep the corn fresh longer.
- Optional: A little unsalted butter or herb butter for when you serve, but that’s more for the eating part than freezing!
If you want to get a bit creative, sometimes I swap in freshly cracked black pepper or a sprinkle of smoked paprika when serving to add some extra flavor after thawing. But the core ingredients are straightforward and pantry-friendly.
For best results, pick corn at peak ripeness, ideally from a farmer’s market or local grower. The fresher the corn, the sweeter it will taste after freezing. If fresh corn isn’t in season, don’t fret—I’ve tried this method with slightly older corn, and while it’s not quite as sweet, the freezing process still preserves the good flavors well.
Equipment Needed
- Large pot – For boiling water to blanch the corn. A heavy-bottomed pot helps maintain steady temperature.
- Large bowl – For ice water bath to cool the corn quickly after blanching.
- Slotted spoon or tongs – To safely transfer hot corn into the ice water.
- Sharp knife – To trim the husks and clean the ears if desired.
- Freezer bags or containers – Heavy-duty with airtight seals to keep corn fresh and prevent freezer burn.
- Optional: Kitchen timer for precise blanching times.
If you don’t have a large pot, you can blanch the corn in batches in a smaller saucepan. I once did this in my trusty old cast iron skillet, and it worked fine as long as I kept the water boiling. For freezing, zip-top bags are my budget-friendly favorite, but airtight containers with tight lids work well too.
Preparation Method
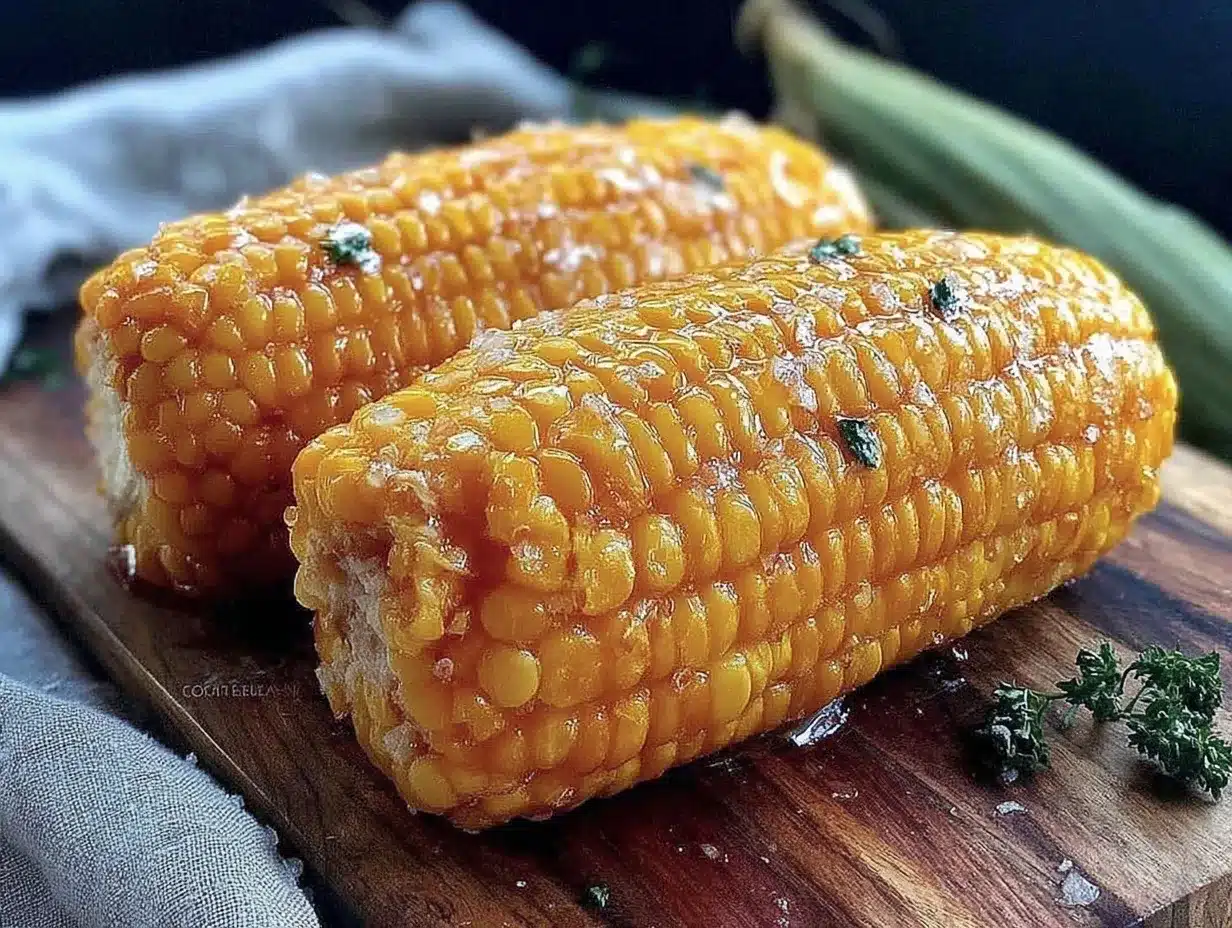
- Prep the corn: Remove the husks and silk from each ear of corn. Rinse under cold water to get rid of stray silk strands. Trim the ends if you want, but I usually leave the ears whole for freezing. (Prep time: 5 minutes)
- Bring water to a boil: Fill a large pot with enough water to cover the corn and bring it to a rolling boil. Add a pinch of salt if using—this enhances the natural sweetness of the corn. (Time: 5-7 minutes)
- Blanch the corn: Carefully place the ears into the boiling water using tongs. Let them cook for exactly 4 minutes. This is the sweet spot to soften the kernels slightly without overcooking. (Tip: Start timing as soon as the corn hits the water.)
- Shock in ice water: Immediately transfer the corn to a large bowl filled with ice water. This stops the cooking process, locking in the sweetness and bright color. Leave the corn in the ice bath for 5 minutes or until completely cooled.
- Dry the corn: Remove the corn from the ice water and pat dry thoroughly with kitchen towels. Moisture left on the corn can cause ice crystals and freezer burn.
- Package for freezing: Wrap each ear individually in plastic wrap or place them directly into freezer-safe zip-top bags. Press out as much air as possible before sealing. Label with the date. (Pro tip: Flatten the bags to store ears in a more space-efficient way.)
- Freeze: Place the wrapped corn in the coldest part of your freezer. The corn will keep well for up to 12 months, but it’s best used within 6 months for optimal flavor.
When you’re ready to enjoy, you can boil, grill, or microwave the frozen corn right from the freezer—no thawing required. The kernels will taste just like fresh summer corn, honestly.
Cooking Tips & Techniques
From experience, these tips can make or break your frozen corn on the cob:
- Don’t over-blanch: Overcooking will turn your corn mushy after freezing. Four minutes is optimal for tender but firm kernels.
- Ice water bath is non-negotiable: Skipping this step will result in softer, less flavorful corn because the cooking continues in residual heat.
- Dry completely before freezing: Moisture equals ice crystals, which ruin texture and cause freezer burn.
- Seal tightly: I’ve learned that using vacuum-sealed bags is ideal, but heavy-duty freezer bags work well if you press the air out carefully.
- Freeze in single layers first: Let the ears freeze individually on a tray for an hour before bagging so they don’t stick together.
- Cooking from frozen: No need to thaw the corn. Boil or grill it straight from the freezer to maintain that fresh taste.
One time I skipped the ice bath in a rush, and the corn turned out bland and soggy. Lesson learned—this step is the real game changer. Also, I’ve found that frozen corn tastes best when you serve it with a little butter and a sprinkle of salt right after cooking.
Variations & Adaptations
This frozen corn on the cob recipe can be tweaked to suit different diets, flavors, and cooking styles:
- Herb-Infused Corn: Before freezing, brush the corn lightly with melted herb butter (like rosemary or thyme) and freeze. It adds a subtle flavor when reheated.
- Spicy Twist: Sprinkle chili powder or smoked paprika over the cooked corn for a smoky heat boost after freezing.
- Cut Kernels: If you prefer, cut the kernels off the cob after blanching and freeze them in airtight containers for easy use in salads and soups.
- Allergen-Free: This recipe is naturally gluten-free and dairy-free. Just add butter or toppings as you prefer after cooking.
- Grilled Frozen Corn: Try grilling the frozen corn directly on the barbecue for a smoky, charred flavor that’s amazing in summer dishes.
Personally, I once tried freezing corn with a light dusting of smoked sea salt before packaging. It was a nice surprise for my party appetizers and made for a simple but impressive twist.
Serving & Storage Suggestions
Fresh freezer corn on the cob tastes best served hot and straight from the cob with just a pat of butter and a sprinkle of salt. It’s the perfect side for grilled meats or summer salads. I like pairing it with tangy dishes like roasted red pepper hummus or a crisp green salad to balance the sweetness.
For storage, keep the corn sealed tightly in the freezer. It will last for up to a year but is best enjoyed within six months for peak flavor. When reheating, boil or grill the corn directly from frozen—no need to thaw. This helps maintain the texture and sweetness.
If you have leftovers, wrap tightly and refrigerate for up to two days. Reheat gently in the microwave or on the stovetop. Over time, the sweetness deepens, making it a lovely addition to soups or chowders.
Nutritional Information & Benefits
This fresh freezer corn on the cob recipe provides a naturally gluten-free and low-fat side dish loaded with fiber, vitamins B and C, and antioxidants from the fresh kernels. A medium ear of corn (about 90 grams) has roughly 90 calories, 3 grams of fiber, and 2 grams of protein. It’s a smart choice for anyone looking to add wholesome, natural carbs to their meals.
Corn is also a good source of lutein and zeaxanthin, which support eye health. Plus, freezing fresh corn preserves these nutrients better than canned or processed alternatives. I appreciate having a stash of this sweet corn ready because it’s a simple way to sneak in more veggies without fuss.
Conclusion
If you’ve ever been disappointed by frozen corn that tastes bland or mushy, this fresh freezer corn on the cob recipe will be a game changer for your kitchen. It’s straightforward, honest, and designed to keep that sweet summer flavor alive all year long. The best part? It doesn’t require special equipment or hard-to-find ingredients—just fresh corn and a bit of patience.
Make it your own by experimenting with seasoning or cooking methods, but know that this method lays a solid foundation for success. I love having frozen corn on hand because it means no more missing out on those perfect summer bites when the season ends.
Give it a try, and if you have your own tips or tweaks, I’d love to hear about them! It’s these little kitchen wins that make cooking feel a bit easier and a lot more satisfying.
Frequently Asked Questions
How long can I store frozen corn on the cob?
Properly sealed and stored, frozen corn on the cob lasts up to 12 months in the freezer. For best flavor and texture, use within 6 months.
Do I need to blanch corn before freezing?
Yes, blanching stops enzyme activity that causes spoilage and preserves flavor and texture. Four minutes of blanching is ideal.
Can I freeze corn kernels instead of the whole cob?
Absolutely! After blanching, cut the kernels off and freeze them in airtight containers. This is great for recipes like soups and salads.
How do I cook frozen corn on the cob?
You can boil, grill, or microwave frozen corn directly from the freezer. No thawing needed, which keeps the kernels crisp and sweet.
What’s the best way to avoid freezer burn on corn?
Remove as much air as possible from storage bags, use heavy-duty freezer bags, and freeze corn quickly in a single layer before bagging.
Pin This Recipe!
Fresh Freezer Corn on the Cob Recipe Easy Sweet Summer Flavor Year-Round
This recipe shows how to freeze fresh corn on the cob to preserve its sweet, crisp flavor and texture year-round. The method involves blanching, shocking in ice water, drying, and freezing to maintain freshness.
- Prep Time: 10 minutes
- Cook Time: 4 minutes
- Total Time: 20 minutes
- Yield: 4 servings
- Category: Side Dish
- Cuisine: American
Ingredients
- Fresh corn on the cob
- Water (for blanching and ice bath)
- Salt (optional, for blanching water)
- Freezer-safe bags or airtight containers
- Optional: unsalted butter or herb butter for serving
- Optional: freshly cracked black pepper or smoked paprika for serving
Instructions
- Remove the husks and silk from each ear of corn. Rinse under cold water and trim ends if desired.
- Fill a large pot with enough water to cover the corn and bring to a rolling boil. Add a pinch of salt if using.
- Carefully place the ears into the boiling water using tongs. Blanch for exactly 4 minutes.
- Immediately transfer the corn to a large bowl filled with ice water. Leave for 5 minutes or until completely cooled.
- Remove the corn from the ice water and pat dry thoroughly with kitchen towels.
- Wrap each ear individually in plastic wrap or place directly into freezer-safe zip-top bags. Press out as much air as possible before sealing and label with the date.
- Place the wrapped corn in the coldest part of your freezer. Freeze for up to 12 months, best used within 6 months.
Notes
Do not over-blanch the corn to avoid mushy texture. The ice water bath is essential to stop cooking and preserve sweetness. Dry corn thoroughly before freezing to prevent ice crystals and freezer burn. Freeze ears in a single layer before bagging to avoid sticking. Cook frozen corn directly from the freezer without thawing.
Nutrition
- Serving Size: One medium ear of co
- Calories: 90
- Sugar: 6
- Sodium: 5
- Fat: 1
- Saturated Fat: 0.2
- Carbohydrates: 21
- Fiber: 3
- Protein: 2
Keywords: corn on the cob, freezer corn, frozen corn recipe, blanching corn, summer corn, easy side dish, sweet corn, freezer recipes


