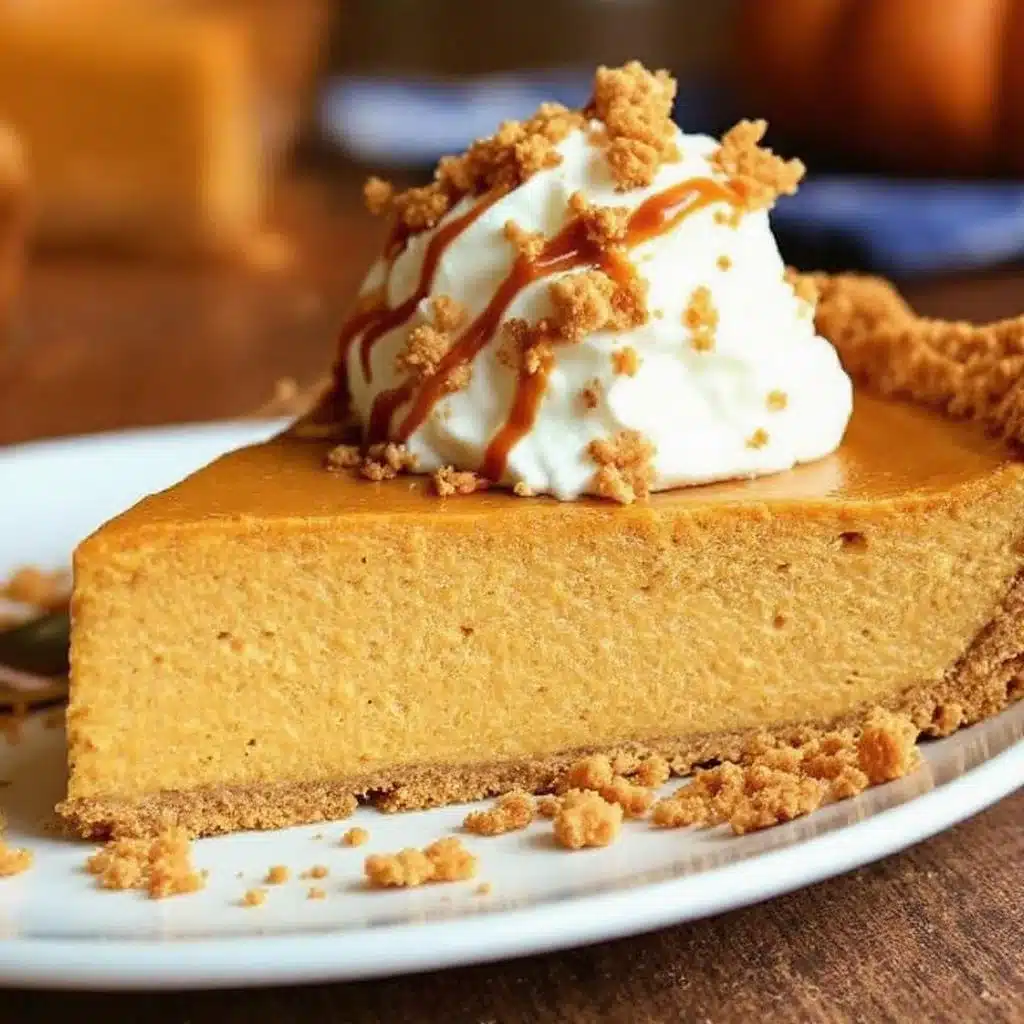
I figured a no-bake pumpkin pie would be a compromise dessert — something you make when you don’t want to deal with a finicky crust or worry about cracking. It took about one bite for that assumption to fall apart completely. This wasn’t a compromise. It was better.
The first time I made it, I honestly thought I’d messed something up. The filling looked too soft going into the fridge, and I kept poking it every hour like a nervous parent checking on a sleeping baby. But the next morning? That slice came out clean, the texture was almost cheesecake-like (but lighter), and the graham cracker crust held together without crumbling everywhere. I stood there eating it straight from the plate, no fork, just holding it like a giant cookie.
Here’s the thing about creamy no-bake pumpkin pie — it doesn’t taste like you skipped the oven. The filling is rich and set, not gloopy or pudding-like in a bad way. It’s the kind of dessert that makes people say “wait, this is no-bake?” and then go back for seconds.
I’ve made this for Thanksgiving, for random October weeknights when the craving hits, and for friends who insist they don’t like pumpkin desserts. (They liked this one.) The graham cracker crust is buttery and sturdy enough to hold up to the filling without getting soggy, which is honestly the biggest win here. No one wants a sad, wet crust situation.
This recipe has become my fall go-to, and not just because it saves oven space. It’s reliable in a way that feels good — you don’t have to cross your fingers hoping it works out. It just does.
Why You’ll Love This Recipe
Let me be real with you — I’ve tested this recipe about seven times to get the texture exactly right. The first batch was too loose (I didn’t chill it long enough). The second was too dense (I over-whipped the cream). But by the third attempt, I landed on something that felt like a genuine win. Here’s why this version works:
- No oven required. Not even for the crust. This is a true no-bake situation from start to finish, which means you can make it in August without melting your kitchen.
- Simple ingredients list. Cream cheese, pumpkin puree, sweetened condensed milk, and a few spices. Nothing weird, nothing expensive.
- Perfect for make-ahead. This pie actually needs to chill for at least 4 hours, so you can prep it the night before and forget about it.
- Crowd-pleaser status. I’ve served this alongside a traditional baked pumpkin pie, and guess which one got eaten first? The no-bake version, every single time.
- That texture though. It’s creamy but sliceable. Silky but sturdy. It’s the Goldilocks of pumpkin pies.
What makes this recipe different from the dozen others I tried? The ratio. Most no-bake pumpkin pies use too much cream cheese, which makes it taste like cheesecake (not bad, but not pumpkin pie). Others use too much gelatin, and you end up with something that feels rubbery. This version uses just enough cream cheese for structure and just enough whipped cream for lightness. The pumpkin flavor shines through without being overshadowed.
This is the kind of dessert that makes you close your eyes after the first bite. It’s familiar but somehow better — like the version of pumpkin pie you remember from childhood, but upgraded by someone who’s made all the mistakes so you don’t have to.
What Ingredients You Will Need
This recipe uses simple, pantry-friendly ingredients to create something that tastes far more complicated than it is. Most of these are probably already in your kitchen, which is the whole point.
For the Graham Cracker Crust
- 2 cups graham cracker crumbs (about 14-15 full sheets, crushed finely) — You can buy pre-crushed crumbs, but honestly, crushing your own in a zip-top bag with a rolling pin gives a better texture. Plus, it’s oddly satisfying.
- 1/2 cup unsalted butter, melted — Salted butter works too, just skip the added salt. I use Kerrygold when I’m feeling fancy, but store-brand works fine.
- 1/4 cup granulated sugar — Adds just enough sweetness to balance the salty butter.
- Pinch of salt — Only if using unsalted butter. Trust me on this one.
For the Pumpkin Filling
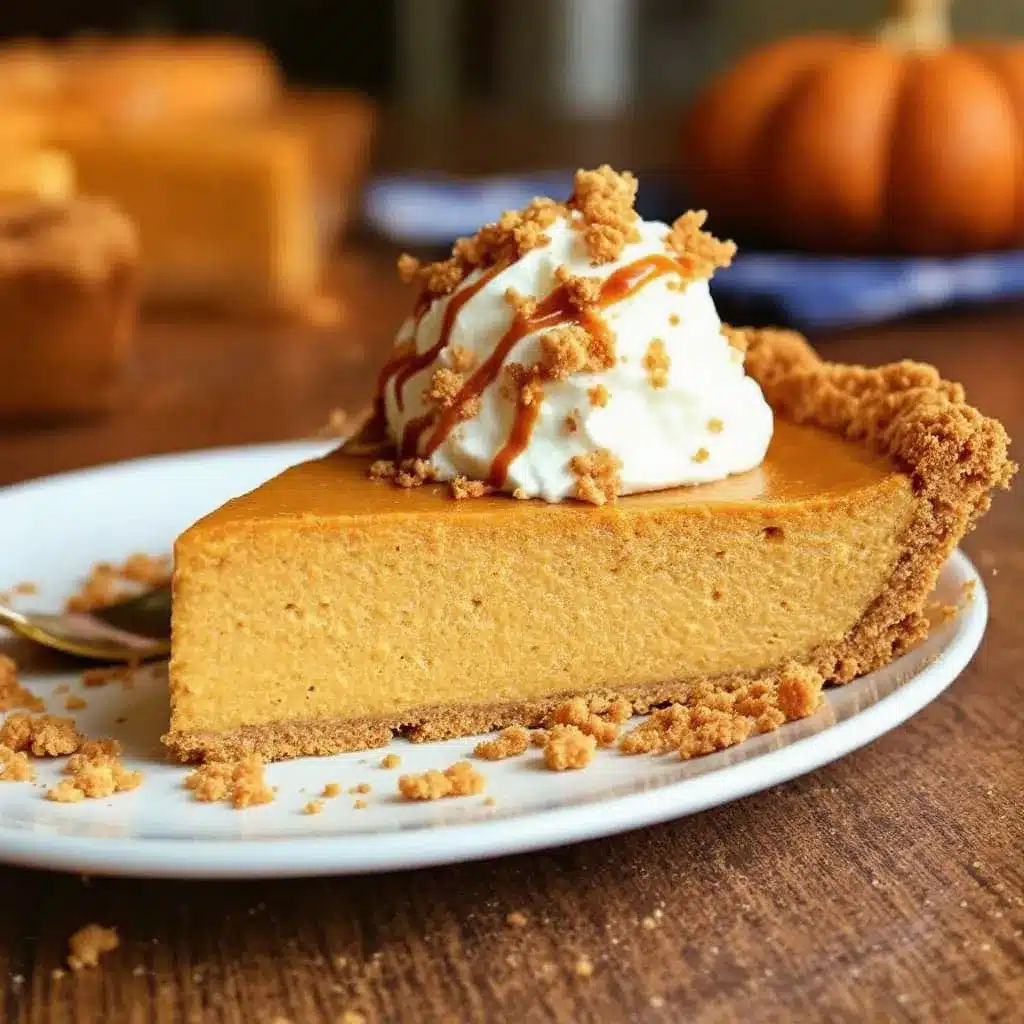
- 1 can (15 oz) pumpkin puree — Not pumpkin pie filling. Make sure you grab the 100% pure pumpkin. Libby’s is my go-to, but any brand works as long as it’s not pre-sweetened or spiced.
- 8 oz cream cheese, softened — Full-fat is best here. Low-fat cream cheese has more water content and can make the filling too loose. Let it sit out for about 30 minutes before you start.
- 1 can (14 oz) sweetened condensed milk — This is what gives the pie its sweetness and helps it set without baking. Eagle Brand is the classic choice.
- 1 teaspoon vanilla extract — Pure vanilla, not imitation. It makes a difference.
- 1 1/2 teaspoons pumpkin pie spice — You can buy it pre-mixed, or make your own with 3/4 teaspoon cinnamon, 1/4 teaspoon nutmeg, 1/4 teaspoon ginger, and 1/4 teaspoon cloves.
- 1/2 teaspoon ground cinnamon — Extra because I like a strong cinnamon flavor. Adjust to your taste.
- 1/4 teaspoon salt — Balances the sweetness and brings out the pumpkin flavor.
- 1 cup heavy whipping cream — This gets whipped and folded into the filling for lightness. Don’t skip it or substitute with Cool Whip — the texture won’t be the same.
- 2 tablespoons powdered sugar — Helps stabilize the whipped cream. Optional but recommended.
For Topping (Optional)
- 1 cup heavy whipping cream — For the whipped cream topping.
- 2 tablespoons powdered sugar
- 1/2 teaspoon vanilla extract
- Ground cinnamon or nutmeg for dusting
Equipment Needed
Nothing too fancy here. If you’ve made a pie before, you probably have all of this.
- 9-inch pie dish — Glass or ceramic works best. Metal can work, but the crust might not hold together as well.
- Mixing bowls — You’ll need at least two: one for the crust, one for the filling.
- Hand mixer or stand mixer — You can do this by hand, but your arm will thank you for using a mixer. A whisk and some elbow grease works in a pinch.
- Rolling pin or food processor — For crushing the graham crackers. A zip-top bag and rolling pin is the budget-friendly option.
- Rubber spatula — For folding the whipped cream into the filling without deflating it.
- Measuring cups and spoons
- Plastic wrap — For covering the pie while it chills.
If you don’t have a pie dish, you can use a 9-inch springform pan instead. The crust will be a little thicker, but it works beautifully and makes for a prettier presentation.
Preparation Method
Let’s get into the actual making part. Take your time with this — rushing is the main reason things go wrong.
Step 1: Make the Crust
Crush your graham crackers into fine crumbs. If you’re using a food processor, pulse until you have a sandy texture. If you’re going the old-school route, put the crackers in a zip-top bag and go to town with a rolling pin. You want fine crumbs, not chunks — chunks will make the crust fall apart later.
Pour the crumbs into a medium bowl. Add the sugar and salt, then pour in the melted butter. Stir with a fork until everything looks like wet sand. It should hold together when you squeeze a handful.
Press the mixture firmly into your pie dish. Start with the edges and work your way to the center. Use the bottom of a measuring cup to press it down flat and even. Don’t forget to go up the sides — about 1/4 inch thick is perfect.
Pop the crust in the fridge for at least 30 minutes while you make the filling. This step is non-negotiable. A warm crust + cold filling = soggy disaster.
Step 2: Whip the Cream
In a chilled bowl (pop it in the freezer for 5 minutes if you remember), pour in the heavy whipping cream. Add the powdered sugar and vanilla. Beat on medium-high speed until soft peaks form — that’s when the cream holds its shape but still looks a little floppy. Don’t over-whip it, or you’ll end up with butter. Trust me, I’ve done that. It’s sad.
Set the whipped cream aside in the fridge while you make the pumpkin base.
Step 3: Make the Pumpkin Base
In a large bowl, beat the softened cream cheese until it’s smooth and fluffy — about 2 minutes. Scrape down the sides of the bowl halfway through.
Add the pumpkin puree, sweetened condensed milk, vanilla, pumpkin pie spice, cinnamon, and salt. Beat on medium speed until everything is well combined and silky smooth. This should take about 2-3 minutes. Don’t rush it — you want no lumps of cream cheese hiding in there.
Taste the filling at this point. It should be sweet, spiced, and definitely pumpkin-y. If it tastes too sweet, don’t panic — the whipped cream will balance it out.
Step 4: Fold Everything Together
Take your whipped cream out of the fridge. Add about a third of it to the pumpkin mixture and stir it in gently — this lightens up the base so the rest folds in easier.
Add the remaining whipped cream and fold it in using a rubber spatula. Cut through the center, scrape along the bottom, and bring it up and over. Turn the bowl as you go. Be gentle — you want to keep as much air in the mixture as possible.
Fold until you don’t see any white streaks. The mixture should be uniform in color and texture — pale orange, fluffy, and absolutely irresistible.
Step 5: Assemble and Chill
Take your crust out of the fridge. Spoon the filling into the crust and spread it evenly. Give the pie dish a few gentle taps on the counter to release any air bubbles.
Smooth the top with a spatula. Cover with plastic wrap, making sure it doesn’t touch the surface of the filling. Refrigerate for at least 6 hours, but overnight is better. I know the wait is torture, but this is what gives the pie its sliceable texture.
Step 6: Add Topping and Serve
When you’re ready to serve, make the whipped cream topping. Whip the cream, powdered sugar, and vanilla until stiff peaks form. Spread or pipe it over the pie. Dust with cinnamon or nutmeg if you’re feeling fancy.
Slice with a sharp knife, wiping it clean between cuts for those picture-perfect slices. Serve cold and watch everyone’s eyes light up.
Cooking Tips & Techniques
I’ve made this pie about a dozen times now, and I’ve learned a few things the hard way. Here’s what I wish someone had told me:
Don’t skip softening the cream cheese. I know it’s tempting to use it straight from the fridge, but cold cream cheese makes lumpy filling. Leave it on the counter for 30 minutes. If you forget, microwave it in 10-second bursts until it’s soft but not hot.
Pat the crust dry if it sweats. Sometimes the crust gets condensation after chilling. Just dab it gently with a paper towel before adding the filling. It helps prevent sogginess around the edges.
Use room temperature pumpkin puree too. Cold pumpkin can cause the cream cheese to seize up. Let the can sit out while you make the crust.
Don’t over-mix after adding the whipped cream. This is the most common mistake. Once the cream is folded in, stop. Over-mixing deflates the air and makes the filling dense instead of light and creamy.
Chill for the full time. I once tried to rush this pie after 4 hours, and it was still too soft. The filling needs time to set properly. Overnight is ideal, but 6 hours is the absolute minimum.
Use a sharp knife for clean slices. Run it under hot water, dry it off, then slice. Wipe clean between each cut. It makes a huge difference in presentation.
If the filling seems too soft after mixing, don’t panic. It will firm up in the fridge. The cream cheese and condensed milk work together to create structure as they chill.
Variations & Adaptations
One of the best things about this recipe is how easy it is to tweak. Here are some variations I’ve tried and loved:
Gluten-Free Version: Use gluten-free graham crackers or crushed gluten-free cookies for the crust. Everything else is naturally gluten-free. I’ve tested this with Schär brand graham-style crackers, and it worked perfectly.
Dairy-Free Version: Swap the cream cheese for a dairy-free alternative (I like Miyoko’s or Kite Hill), use coconut cream instead of heavy cream (chill the can and scoop the solid part), and use dairy-free butter in the crust. The texture will be slightly different — a bit softer — but still delicious.
Pumpkin Spice Latte Pie: Add 2 tablespoons of strong brewed coffee or espresso powder to the pumpkin filling. Top with a drizzle of caramel sauce and a sprinkle of espresso powder. It’s dangerous how good this is.
Chocolate Graham Cracker Crust: Swap regular graham crackers for chocolate ones. The chocolate-pumpkin combo is surprisingly good — think pumpkin pie meets chocolate truffle.
Maple Pecan Twist: Add 2 tablespoons of maple syrup to the filling and sprinkle chopped pecans on top of the whipped cream. It adds a nice crunch and that maple-pumpkin flavor that screams fall.
Mini Pie Version: Use a muffin tin with a graham cracker crust pressed into each cup. Fill with the pumpkin mixture and chill. These are perfect for parties or portion control (if that’s your thing).
Serving & Storage Suggestions
This pie is best served cold, straight from the fridge. Let it sit out for about 5 minutes before slicing — just enough to take the chill off but not enough to get soft.
For presentation, I like to pipe the whipped cream in rosettes around the edge and sprinkle a little cinnamon in the center. It looks fancy without any real effort.
What to serve with it: A cup of hot coffee or spiced cider is perfect alongside. If you’re serving this after a big meal, keep the portions reasonable — it’s rich. I’ve also served it with a side of vanilla ice cream for extra decadence, and honestly, no one complained.
Storage: Cover the pie with plastic wrap or foil and keep it in the refrigerator for up to 5 days. The crust stays crisp for about 3 days, then starts to soften slightly. It’s still good, just not as crunchy.
Freezing: This pie freezes beautifully. Make it without the whipped cream topping, wrap it tightly in plastic wrap and then foil, and freeze for up to 3 months. Thaw in the refrigerator overnight, then add the whipped cream before serving. I’ve done this for Thanksgiving prep, and it saves so much stress.
Reheating: Don’t. This is a cold pie. If you want warm pumpkin dessert, make a baked version.
The flavors actually get better after a day or two in the fridge. The spices meld together, and the texture firms up perfectly. If you can resist eating it right away, it’s worth the wait.
Nutritional Information & Benefits
Here’s the honest truth: this is not a health food. It’s a dessert. But it does have some redeeming qualities worth mentioning.
Estimated per slice (1/8 of pie, with whipped cream):
- Calories: 420
- Fat: 28g
- Carbohydrates: 38g
- Protein: 6g
- Fiber: 2g
- Sugar: 28g
Health highlights: Pumpkin is packed with vitamin A (great for your eyes and immune system) and fiber. The cinnamon and ginger in the spice blend have anti-inflammatory properties. The dairy provides calcium and protein. So while this isn’t a salad, it’s not empty calories either.
Dietary considerations: This recipe contains dairy and gluten. For gluten-free, use gluten-free graham crackers. For dairy-free, see the variations section above. It’s naturally nut-free and egg-free, which makes it a good option for people with those allergies.
My take: I believe in balance. This pie is worth every single calorie, and I’d rather eat one slice of something amazing than two slices of something mediocre. Enjoy it, share it, and don’t feel guilty about it.
Conclusion
This creamy no-bake pumpkin pie with graham cracker crust has become my fall signature for a reason. It’s reliable, delicious, and way easier than it has any right to be. No oven required, no complicated techniques, just simple ingredients that come together into something genuinely impressive.
I love that I can make this the night before a gathering and not think about it again until dessert time. I love that it frees up oven space for other dishes. But mostly, I love that it tastes like fall in every single bite — the spices, the creamy texture, the buttery crunch of the crust.
If you try this recipe, I’d love to hear how it goes. Maybe you’ll add extra cinnamon like I do, or try the maple pecan twist I mentioned. Maybe you’ll serve it at Thanksgiving and watch your guests go back for thirds. Whatever you do, make it your own. That’s the whole point of cooking, isn’t it?
Drop a comment below and let me know how your pie turned out. And if you’re looking for more cozy fall desserts, check out this creamy roasted butternut squash soup or these savory butternut squash galettes — they’re both perfect for this time of year.
Happy no-baking, friends. Your oven-free future awaits.
Frequently Asked Questions
Can I use pumpkin pie filling instead of pumpkin puree?
No, don’t do that. Pumpkin pie filling is already sweetened and spiced, so it will throw off the entire balance of this recipe. Stick with 100% pure pumpkin puree. Your taste buds will thank you.
How long does this pie need to chill?
At least 6 hours, but overnight is best. The filling needs time to set properly so you get clean slices. If you try to rush it, you’ll end up with a mess.
Can I use Cool Whip instead of homemade whipped cream?
You can, but I don’t recommend it. Homemade whipped cream gives the pie a lighter, fluffier texture and doesn’t have that artificial taste. If you’re short on time, thawed Cool Whip works in a pinch — just know the texture won’t be as good.
Why is my pie filling too soft?
Either it hasn’t chilled long enough, or the cream cheese wasn’t fully softened before mixing. Lumpy cream cheese can cause the filling to not set properly. Also, make sure you’re using full-fat cream cheese — low-fat has more water and won’t hold up as well.
Can I make this pie ahead of time for Thanksgiving?
Absolutely. Make it up to 2 days in advance without the whipped cream topping. Add the topping just before serving. You can also freeze it for up to 3 months — just thaw in the fridge overnight.
Pin This Recipe!
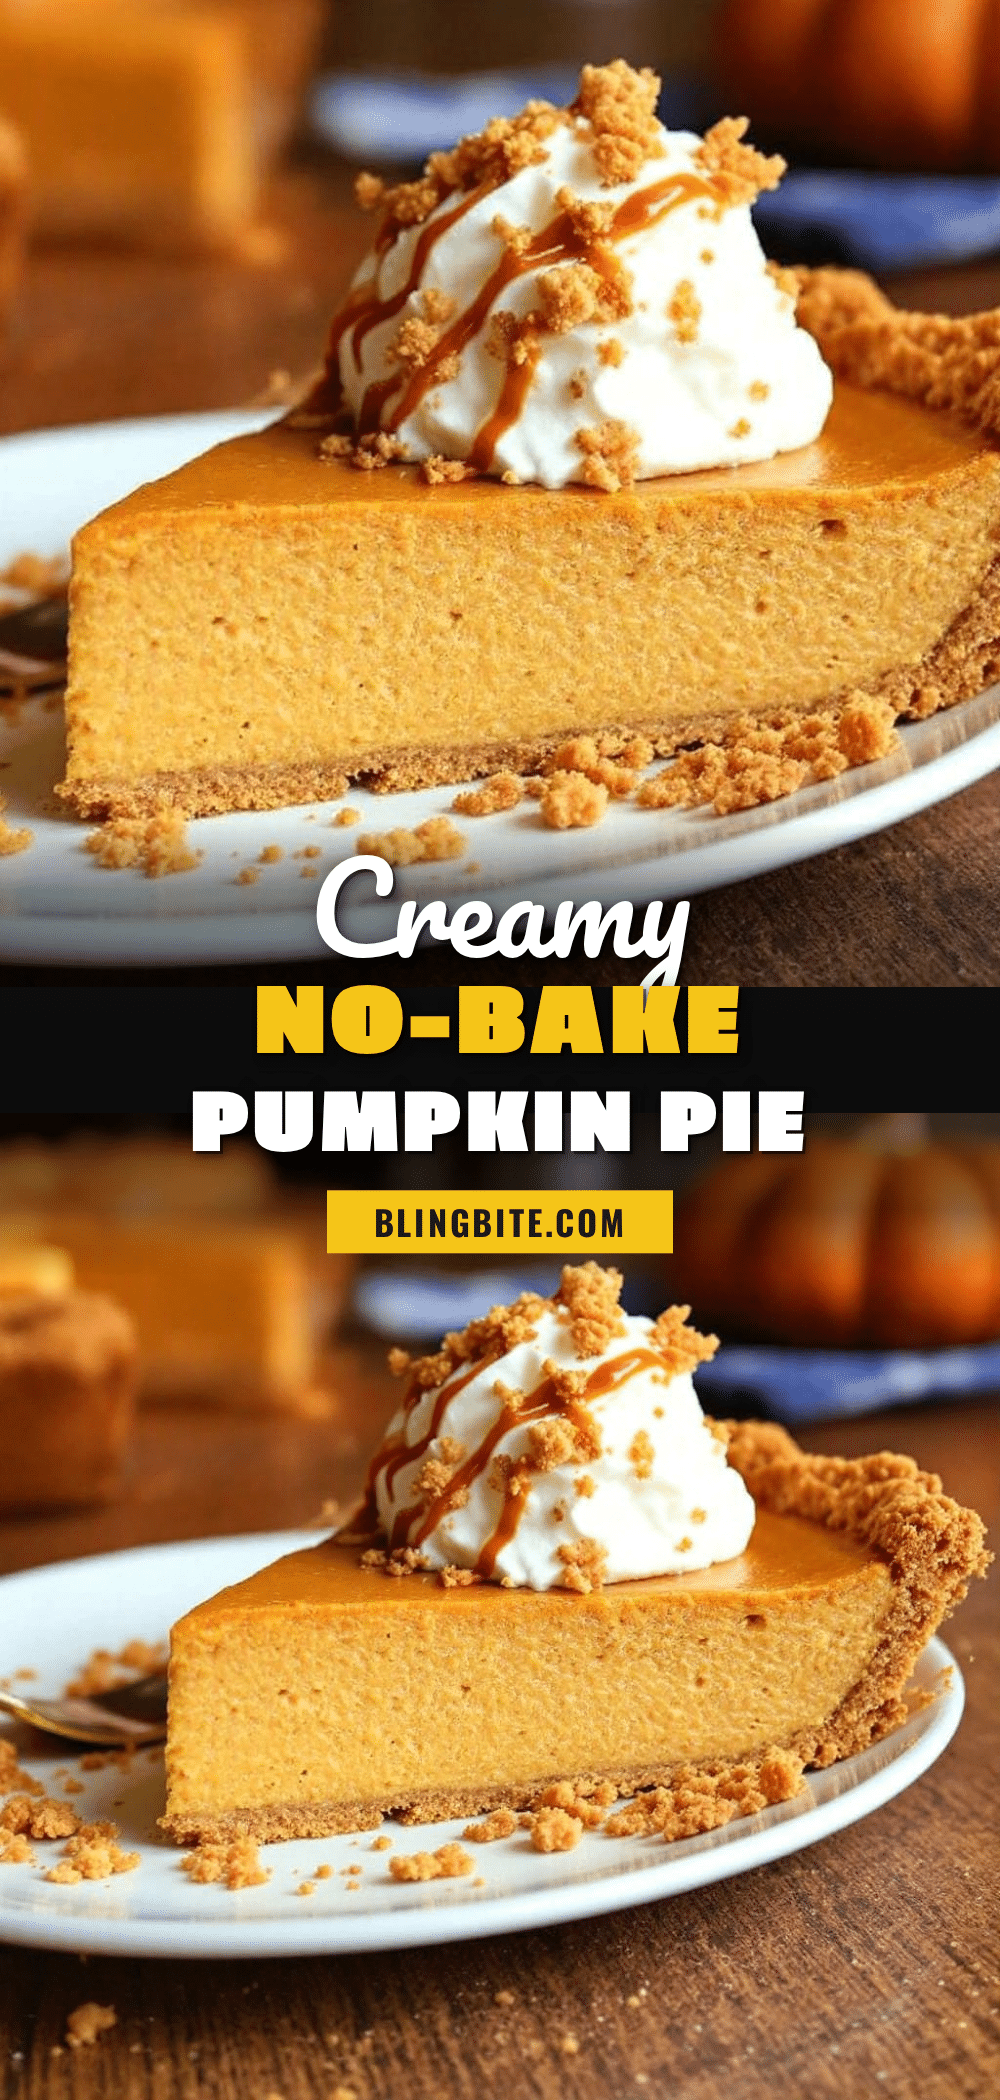
Creamy No-Bake Pumpkin Pie with Easy Graham Cracker Crust
A rich, creamy no-bake pumpkin pie with a buttery graham cracker crust that sets perfectly without the oven. It’s a crowd-pleasing fall dessert that’s make-ahead friendly and tastes like a lighter, silkier version of classic pumpkin pie.
- Prep Time: 30 minutes
- Cook Time: 0 minutes
- Total Time: 6 hours 30 minutes (includes chilling)
- Yield: 8 servings 1x
- Category: Dessert
- Cuisine: American
Ingredients
- 2 cups graham cracker crumbs (about 14–15 full sheets, crushed finely)
- 1/2 cup unsalted butter, melted
- 1/4 cup granulated sugar
- Pinch of salt (if using unsalted butter)
- 1 can (15 oz) pumpkin puree (100% pure, not pumpkin pie filling)
- 8 oz cream cheese, softened
- 1 can (14 oz) sweetened condensed milk
- 1 teaspoon vanilla extract
- 1 1/2 teaspoons pumpkin pie spice
- 1/2 teaspoon ground cinnamon
- 1/4 teaspoon salt
- 1 cup heavy whipping cream
- 2 tablespoons powdered sugar
- For topping (optional): 1 cup heavy whipping cream, 2 tablespoons powdered sugar, 1/2 teaspoon vanilla extract, ground cinnamon or nutmeg for dusting
Instructions
- Make the crust: Crush graham crackers into fine crumbs. In a medium bowl, combine crumbs, sugar, and salt. Pour in melted butter and stir until mixture resembles wet sand. Press firmly into a 9-inch pie dish, starting with edges and working to center. Use a measuring cup to press flat and even. Refrigerate for at least 30 minutes.
- Whip the cream: In a chilled bowl, beat heavy whipping cream, powdered sugar, and vanilla on medium-high speed until soft peaks form. Set aside in the fridge.
- Make the pumpkin base: In a large bowl, beat softened cream cheese until smooth and fluffy (about 2 minutes). Add pumpkin puree, sweetened condensed milk, vanilla, pumpkin pie spice, cinnamon, and salt. Beat on medium speed until well combined and silky (2-3 minutes).
- Fold everything together: Add about one-third of the whipped cream to the pumpkin mixture and stir gently to lighten. Add remaining whipped cream and fold gently with a rubber spatula until no white streaks remain. Mixture should be uniform, pale orange, and fluffy.
- Assemble and chill: Remove crust from fridge. Spoon filling into crust and spread evenly. Tap pie dish gently on counter to release air bubbles. Smooth top with spatula. Cover with plastic wrap (not touching filling). Refrigerate for at least 6 hours, preferably overnight.
- Add topping and serve: Before serving, make whipped cream topping by whipping cream, powdered sugar, and vanilla until stiff peaks form. Spread or pipe over pie. Dust with cinnamon or nutmeg. Slice with a sharp knife, wiping clean between cuts. Serve cold.
Notes
Don’t skip softening the cream cheese. Pat the crust dry if it sweats after chilling. Use room temperature pumpkin puree. Don’t over-mix after adding whipped cream. Chill for the full time (at least 6 hours, overnight is best). Use a sharp knife for clean slices. If filling seems too soft after mixing, it will firm up in the fridge.
Nutrition
- Serving Size: 1 slice (1/8 of pie)
- Calories: 420
- Sugar: 28
- Sodium: 320
- Fat: 28
- Saturated Fat: 16
- Carbohydrates: 38
- Fiber: 2
- Protein: 6
Keywords: no-bake pumpkin pie, creamy pumpkin pie, graham cracker crust, fall dessert, Thanksgiving dessert, easy pumpkin pie


