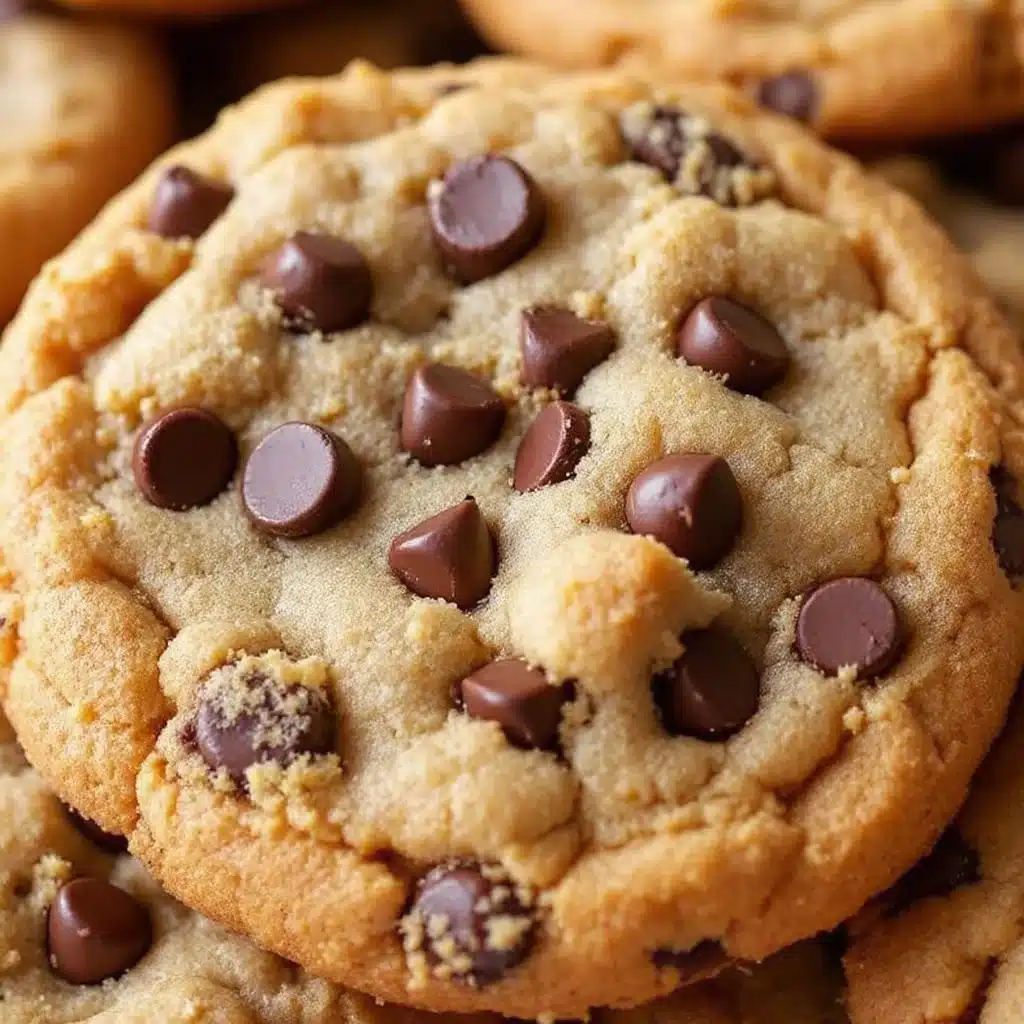
That first whiff of butter browning in the pan — that nutty, almost caramel smell that fills the whole kitchen before you’ve even measured the flour — still takes me straight back to my tiny apartment on Oak Street. I was twenty-three, it was raining for the third day straight, and I’d just burned my hand on a baking sheet trying to make a recipe that turned out flat and sad. I remember standing there, the rain smearing the windows, thinking there had to be a way to get that deep, toasty flavor without the cookie itself tasting like a science experiment. So I grabbed the butter and let it go past melted. I let it sizzle and foam and turn that gorgeous amber color. Honestly, I didn’t even know if it would work. But that first batch — the one that came out of the oven all craggly on top and impossibly soft in the middle — changed everything. I ate three before they even cooled. This isn’t just another chocolate chip cookie recipe. It’s the one I’ve made on bad days and good ones, for friends who needed a hug and for holidays that felt too complicated. It’s the one that finally, finally gave me that perfect chewy bite.
Why You’ll Love This Recipe
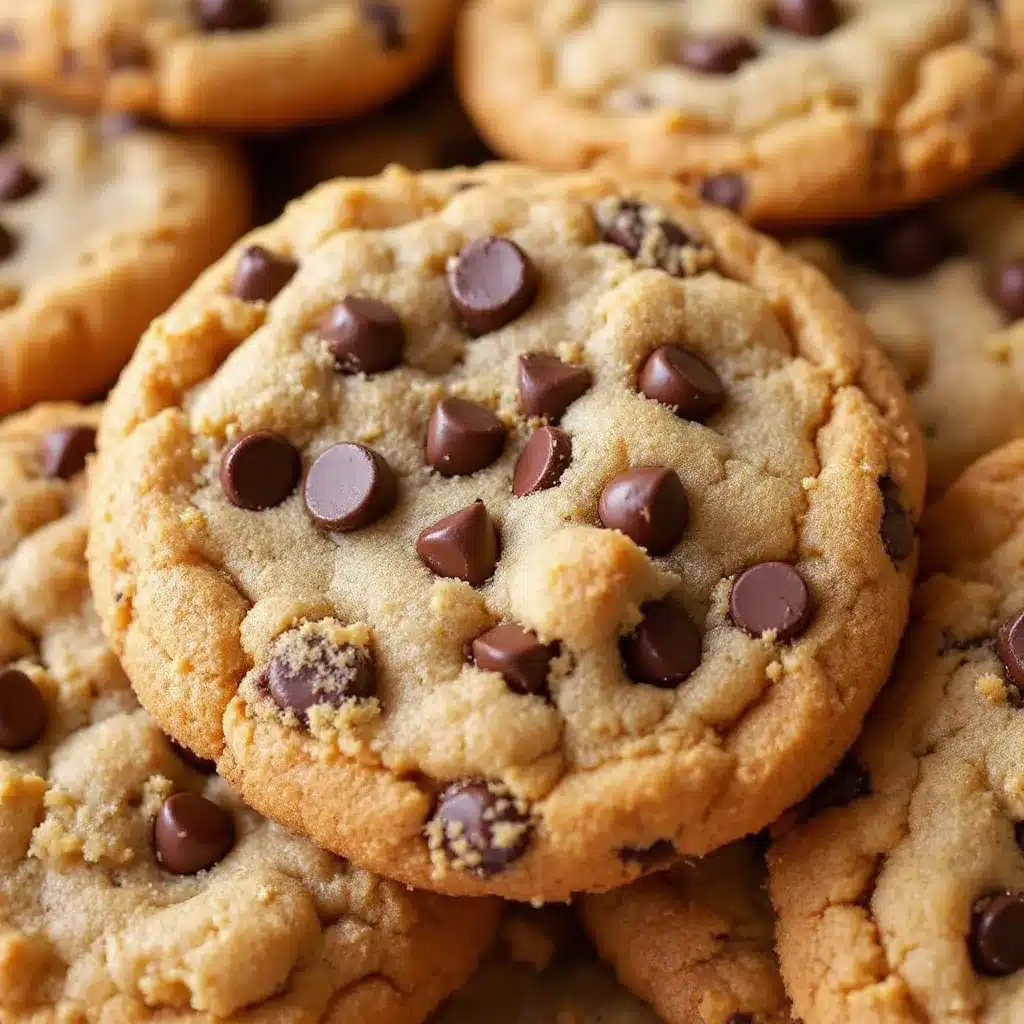
Let’s be real — the internet has a million chocolate chip cookie recipes. But this one? It’s different. I’ve tested it maybe a dozen times over the years, tweaking the flour ratio, the chill time, the type of chocolate. And what I landed on is a cookie that’s chewy in the center, crisp at the edges, and packed with a flavor that makes people close their eyes when they take a bite. That brown butter is doing the heavy lifting, and it’s not complicated at all.
- Deep, Nutty Flavor: Brown butter adds a richness you just can’t get from regular melted butter. It’s like the cookie version of a warm hug.
- Perfectly Chewy Texture: The combination of melted butter and an extra egg yolk gives these cookies that soft, dense center we all crave.
- No Fancy Equipment: You don’t need a stand mixer for this. Just a whisk, a bowl, and some patience for the dough to chill.
- Better the Next Day: I know that sounds weird, but these cookies actually taste even better after sitting overnight. The flavors meld together in a way that’s kind of magical.
- Crowd-Pleaser, Always: I’ve brought these to potlucks, game nights, and casual dinners. They disappear faster than anything else on the table. They pair beautifully with a creamy herb and garlic cheese ball for a sweet-savory spread.
This recipe isn’t just good — it’s the kind that makes you text your friend a photo before you’ve even finished eating one. It’s comfort food that feels a little bit special without requiring a pastry degree.
What Ingredients You Will Need
This recipe uses simple, everyday ingredients to create something truly special. The magic is in the technique, not a long shopping list. Here’s what you’ll need to gather:
For the Cookie Dough
- 1 cup (226g) unsalted butter — You’ll be browning this, so skip the salted butter here. I like using Kerrygold for its higher butterfat content, which gives a richer flavor.
- 1 ¾ cups (220g) all-purpose flour — Spoon and level it into your measuring cup. Packing it down will give you dry cookies.
- 1 teaspoon baking soda — This helps with spread and that chewy texture. Make sure it’s fresh.
- ½ teaspoon salt — I use fine sea salt. It balances the sweetness and enhances the brown butter notes.
- ¾ cup (150g) packed light brown sugar — Brown sugar adds moisture and that slight molasses flavor that pairs so well with brown butter.
- ¼ cup (50g) granulated sugar — A little white sugar helps with browning and gives the edges a slight crispness.
- 1 large egg + 1 large egg yolk — The extra yolk is the secret to a chewy cookie. It adds richness without making the dough too wet.
- 2 teaspoons vanilla extract — Pure vanilla, not imitation. It rounds out the nutty flavor of the brown butter.
- 1 ½ cups (270g) semisweet chocolate chips — I prefer Ghirardelli or Guittard for their deep flavor. You can also chop up a dark chocolate bar for bigger puddles of chocolate.
- Flaky sea salt (optional but highly recommended) — A sprinkle on top right out of the oven takes these cookies to another level.
If you’re out of brown sugar, you can mix ¾ cup white sugar with 1 ½ tablespoons molasses. It’s not quite the same, but it works in a pinch. For a dairy-free version, use a high-quality vegan butter stick — just be aware the browning process might look a little different.
Equipment Needed
You don’t need a bakery’s worth of gear for these cookies. Here’s what I actually use:
- A light-colored saucepan — This is key for browning butter. A dark pan makes it hard to see the color change, and you’ll end up with burnt butter. I use a stainless steel one.
- A whisk and a rubber spatula — The whisk for mixing, the spatula for scraping every last bit of that brown butter goodness.
- Two mixing bowls — One for dry ingredients, one for wet.
- A baking sheet — A light-colored, rimmed sheet works best. Dark sheets can cause over-browning on the bottom.
- Parchment paper or a silicone baking mat — Parchment is my go-to. It prevents sticking and makes cleanup a breeze.
- A cookie scoop (about 1.5 tablespoons) — This gives you uniform cookies that bake evenly. If you don’t have one, use two spoons.
- A cooling rack — Letting cookies cool on the sheet for a few minutes, then transferring them to a rack, keeps the bottoms from getting soggy.
I’ve used cheap baking sheets before, and the cookies always burned on the bottom. Investing in a good-quality, heavy-gauge sheet makes a noticeable difference.
Preparation Method
- Brown the butter. Place the butter in your light-colored saucepan over medium heat. Let it melt completely, then start whisking gently. It will foam up, then subside, then foam again. You’ll see little brown specks forming at the bottom — that’s the milk solids toasting. Keep whisking until it smells nutty and turns a deep amber color, about 5-7 minutes. Don’t walk away. Burnt butter happens fast. Pour it into a heatproof bowl immediately (including all those brown bits) and let it cool for 10-15 minutes. It should be warm, not hot, when you add it to the sugars.
- Mix the dry ingredients. In a medium bowl, whisk together the flour, baking soda, and salt. Set aside.
- Combine the wet ingredients. In a large bowl, whisk together the cooled brown butter, brown sugar, and granulated sugar until smooth and well combined. It will look a little grainy — that’s fine. Add the egg, egg yolk, and vanilla extract. Whisk vigorously for about 30 seconds until the mixture is thick, pale, and glossy. This is where the texture starts to build.
- Fold in the dry ingredients. Pour the flour mixture into the wet mixture. Use your rubber spatula to fold gently, just until no streaks of flour remain. Overmixing will make the cookies tough. Stop as soon as it comes together.
- Add the chocolate chips. Fold in the chocolate chips until evenly distributed. The dough will be thick and slightly sticky.
- Chill the dough. This is non-negotiable. Cover the bowl with plastic wrap and refrigerate for at least 30 minutes, but 2 hours is better. Overnight is best. Chilling solidifies the brown butter, which prevents the cookies from spreading too thin and gives them that thick, chewy center. If you skip this step, you’ll get flat, greasy cookies.
- Preheat and prepare. When you’re ready to bake, preheat your oven to 375°F (190°C). Line your baking sheet with parchment paper.
- Scoop and shape. Use your cookie scoop to portion the dough into balls, about 1.5 tablespoons each. Place them 2 inches apart on the prepared sheet. For that bakery-style look, gently press a few extra chocolate chips onto the tops of the dough balls.
- Bake. Bake for 10-12 minutes, rotating the sheet halfway through. The edges should be golden brown, but the centers will look slightly underdone and puffy. That’s exactly what you want. They’ll continue to set as they cool.
- Cool and finish. Let the cookies cool on the baking sheet for 5 minutes. Sprinkle with flaky sea salt if using. Then transfer them to a wire rack to cool completely. Or, you know, eat one warm. I won’t judge.
Cooking Tips & Techniques
I’ve made a lot of mistakes with these cookies over the years. Here’s what I learned so you don’t have to.
Don’t rush the brown butter. The first time I tried this, I got impatient and cranked the heat. The butter burned in about two minutes, and the cookies tasted bitter. Low to medium heat, constant whisking, and patience are your friends. The color should be the shade of a new penny.
Use a kitchen scale if you have one. Measuring flour by volume is notoriously inconsistent. A cup of flour can weigh anywhere from 120 to 150 grams depending on how you scoop it. For the most reliable results, weigh your ingredients. It’s a small step that makes a big difference.
Chill the dough, seriously. I know it’s tempting to skip this, especially when you’re craving cookies right now. But the chill time is what gives you that thick, chewy texture. If you bake the dough warm, the butter will melt too fast, and you’ll get thin, crispy cookies. If you’re short on time, even 20 minutes in the freezer helps.
Pull them early. The biggest rookie mistake is overbaking. Cookies continue to cook on the hot sheet after they come out of the oven. If they look perfectly done in the oven, they’ll be overdone by the time they cool. Pull them when the edges are set but the centers still look soft and puffy.
Room temperature eggs matter. Cold eggs can seize the brown butter, causing it to clump. Let your eggs sit on the counter for 30 minutes before you start, or place them in a bowl of warm water for 5 minutes.
Variations & Adaptations
Once you’ve mastered the base recipe, the possibilities are endless. Here are a few ways I’ve played around with it:
- Dark Chocolate & Sea Salt: Swap the semisweet chips for chopped dark chocolate (70% cacao or higher). The bitterness cuts through the sweetness beautifully. Finish with a generous sprinkle of flaky sea salt right after baking.
- Brown Butter Pecan: Toast ½ cup of chopped pecans in a dry skillet until fragrant, then fold them in along with the chocolate chips. The nutty flavor of the brown butter and the pecans together is next-level.
- Gluten-Free Version: Substitute the all-purpose flour with a 1:1 gluten-free baking flour blend that contains xanthan gum. I’ve used King Arthur’s Measure for Measure with great results. The texture will be slightly more tender, but still chewy and delicious.
- White Chocolate & Macadamia: Replace the semisweet chips with white chocolate chips and fold in ½ cup of roughly chopped macadamia nuts. It’s a completely different cookie, but the brown butter base works surprisingly well with the sweetness of white chocolate.
- M&M’s Fun: For a kid-friendly version (or, let’s be honest, a nostalgia hit), swap half the chocolate chips for M&M’s. The colors are fun for holidays or bake sales.
I once made a batch with chopped-up toffee bars and a sprinkle of espresso powder. That was a good day.
Serving & Storage Suggestions
These cookies are best served slightly warm, when the chocolate is still a little melty and the edges are crisp. I like to pop one in the microwave for about 10 seconds if it’s been sitting for a while. They’re perfect with a cold glass of milk, a hot cup of coffee, or even a scoop of vanilla ice cream for a full dessert experience.
For storage, keep the cookies in an airtight container at room temperature for up to 5 days. Place a slice of bread in the container — it will absorb excess air and keep the cookies soft. Change the bread every day or two. This trick has saved many a batch from going stale.
You can also freeze the baked cookies for up to 3 months. Layer them between sheets of parchment paper in a freezer-safe container. Thaw at room temperature for about 20 minutes, or warm them in a 300°F oven for 5 minutes.
For the best results, I actually prefer to freeze the dough rather than the baked cookies. Scoop the dough into balls, place them on a baking sheet, and freeze until solid. Transfer to a freezer bag. You can bake them straight from frozen — just add 2-3 minutes to the baking time. Fresh cookies on demand? Yes, please.
The flavors really do deepen overnight. If you can wait, make the dough, chill it for 24 hours, and then bake. The difference is subtle but real.
Nutritional Information & Benefits
Let’s be honest — these are a treat, not a health food. But here’s the estimated breakdown per cookie (based on 24 cookies):
- Calories: Approximately 190
- Fat: 11g
- Carbohydrates: 24g
- Protein: 2g
- Sugar: 16g
That said, there are a few redeeming qualities. Dark chocolate (if you use it) contains antioxidants and flavonoids. Brown butter, while still butter, has a more concentrated flavor, so you can use less of it for more impact. And honestly? There’s something to be said for the mental health benefits of a really good cookie. Baking can be a form of mindfulness, and sharing food is a way to connect with people. I’d rather have one truly satisfying cookie than three mediocre ones.
These cookies are not gluten-free (unless you use the substitution above) and contain dairy and eggs. If you have specific dietary needs, please adjust accordingly.
Conclusion
So here it is — the recipe that turned my rainy-day failure into my go-to cookie. It’s not fancy or fussy. It’s just really, really good. The kind of cookie that makes people ask for the recipe before they’ve even finished chewing. The brown butter adds a depth of flavor that feels special, but the process itself is simple enough for a Tuesday night. I hope you make these for yourself, for your family, for a party, or just because you need something warm and sweet. And when you do, I’d love to hear about it. Leave a comment below, tag me in your photos, or tell me about the time you burned your first batch. We’ve all been there. Happy baking!
Frequently Asked Questions
Can I use salted butter instead of unsalted?
You can, but I’d recommend reducing the added salt in the recipe to ¼ teaspoon. Salted butter has varying amounts of salt, so it’s harder to control the final flavor. Unsalted butter gives you more precision.
Why did my cookies turn out flat?
Flat cookies are usually a result of one of three things: the butter was too warm when you mixed the dough, you didn’t chill the dough long enough, or your baking soda is old. Make sure your butter has cooled to room temperature before mixing, and don’t skip that chill time.
Can I make the dough ahead of time?
Absolutely. The dough can be refrigerated for up to 3 days in an airtight container. You can also freeze the scooped dough balls for up to 3 months. Bake from frozen, adding a couple of minutes to the bake time.
How do I get that bakery-style look?
After scooping the dough, press a few extra chocolate chips onto the surface of each ball. This gives the cookies those visible chocolate puddles on top. Also, pulling them from the oven when the centers are still soft will give you that slightly puffed, craggly top.
Can I double this recipe?
Yes, this recipe doubles beautifully. Just make sure you brown the butter in two batches — a single batch of double the butter in one pan can burn unevenly. Also, you might need to chill the dough a bit longer since there’s more of it.
Pin This Recipe!
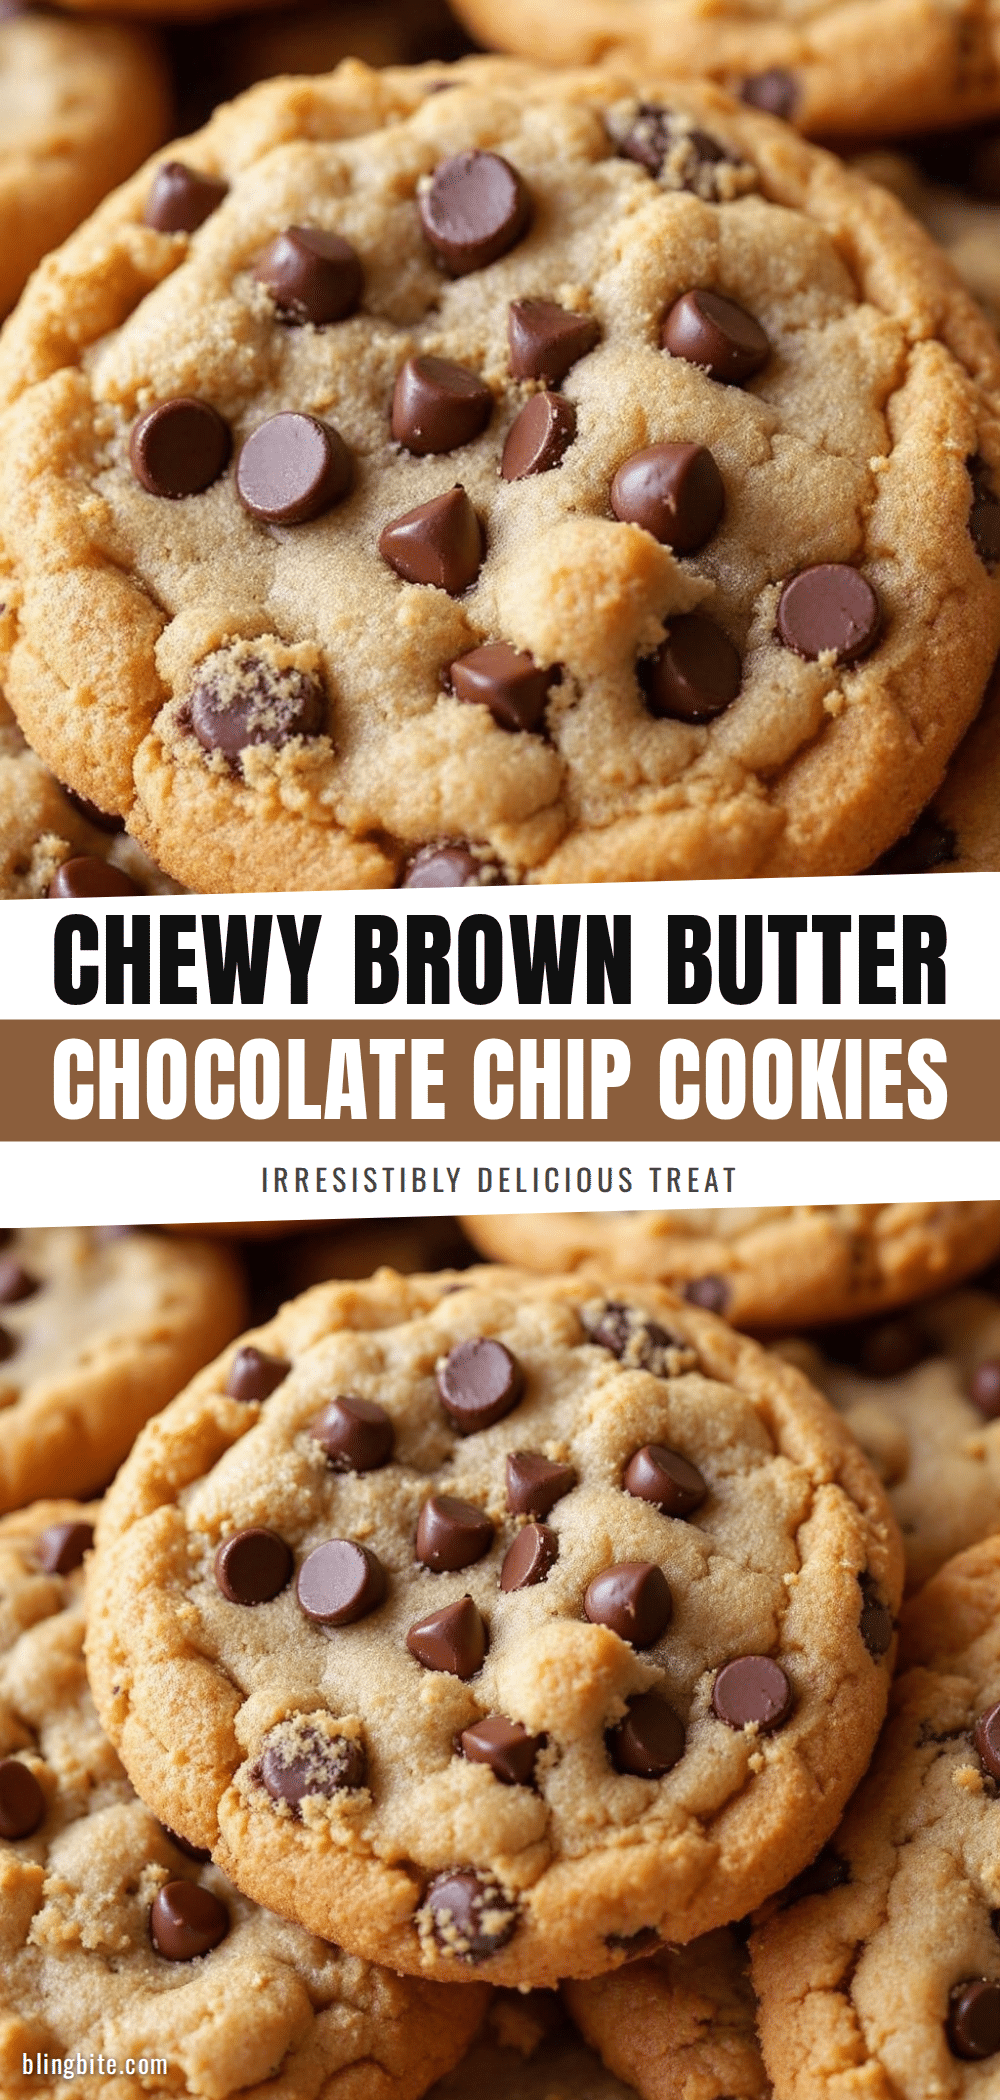
Best Chewy Brown Butter Chocolate Chip Cookies Recipe

These brown butter chocolate chip cookies are perfectly chewy in the center, crisp at the edges, and packed with deep, nutty flavor. Made with simple ingredients and no fancy equipment, they’re the ultimate comfort cookie that gets even better the next day.
- Prep Time: 15 minutes
- Cook Time: 12 minutes
- Total Time: 45 minutes (includes chilling)
- Yield: 24 cookies 1x
- Category: Dessert
- Cuisine: American
Ingredients
- 1 cup (226g) unsalted butter
- 1 ¾ cups (220g) all-purpose flour
- 1 teaspoon baking soda
- ½ teaspoon salt
- ¾ cup (150g) packed light brown sugar
- ¼ cup (50g) granulated sugar
- 1 large egg + 1 large egg yolk
- 2 teaspoons vanilla extract
- 1 ½ cups (270g) semisweet chocolate chips
- Flaky sea salt (optional but highly recommended)
Instructions
- Brown the butter. Place the butter in a light-colored saucepan over medium heat. Let it melt completely, then start whisking gently. It will foam up, then subside, then foam again. You’ll see little brown specks forming at the bottom — that’s the milk solids toasting. Keep whisking until it smells nutty and turns a deep amber color, about 5-7 minutes. Don’t walk away. Burnt butter happens fast. Pour it into a heatproof bowl immediately (including all those brown bits) and let it cool for 10-15 m…
- Mix the dry ingredients. In a medium bowl, whisk together the flour, baking soda, and salt. Set aside.
- Combine the wet ingredients. In a large bowl, whisk together the cooled brown butter, brown sugar, and granulated sugar until smooth and well combined. It will look a little grainy — that’s fine. Add the egg, egg yolk, and vanilla extract. Whisk vigorously for about 30 seconds until the mixture is thick, pale, and glossy. This is where the texture starts to build.
- Fold in the dry ingredients. Pour the flour mixture into the wet mixture. Use a rubber spatula to fold gently, just until no streaks of flour remain. Overmixing will make the cookies tough. Stop as soon as it comes together.
- Add the chocolate chips. Fold in the chocolate chips until evenly distributed. The dough will be thick and slightly sticky.
- Chill the dough. This is non-negotiable. Cover the bowl with plastic wrap and refrigerate for at least 30 minutes, but 2 hours is better. Overnight is best. Chilling solidifies the brown butter, which prevents the cookies from spreading too thin and gives them that thick, chewy center. If you skip this step, you’ll get flat, greasy cookies.
- Preheat and prepare. When you’re ready to bake, preheat your oven to 375°F (190°C). Line your baking sheet with parchment paper.
- Scoop and shape. Use a cookie scoop to portion the dough into balls, about 1.5 tablespoons each. Place them 2 inches apart on the prepared sheet. For that bakery-style look, gently press a few extra chocolate chips onto the tops of the dough balls.
- Bake. Bake for 10-12 minutes, rotating the sheet halfway through. The edges should be golden brown, but the centers will look slightly underdone and puffy. That’s exactly what you want. They’ll continue to set as they cool.
- Cool and finish. Let the cookies cool on the baking sheet for 5 minutes. Sprinkle with flaky sea salt if using. Then transfer them to a wire rack to cool completely. Or, you know, eat one warm. I won’t judge.
Notes
Chill the dough for at least 30 minutes, but 2 hours is better, and overnight is best. Pull cookies from the oven when edges are set but centers still look soft and puffy. For best results, use a kitchen scale to measure flour. Room temperature eggs are important to prevent the brown butter from seizing.
Nutrition
- Serving Size: 1 cookie
- Calories: 190
- Sugar: 16
- Sodium: 120
- Fat: 11
- Saturated Fat: 7
- Carbohydrates: 24
- Fiber: 1
- Protein: 2
Keywords: brown butter chocolate chip cookies, chewy chocolate chip cookies, best chocolate chip cookies, easy cookie recipe, homemade cookies


