The pumpkin puree was already open in the fridge, and the bananas on the counter had gone from spotty to practically begging for attention. Maple syrup was the only sweetener I had left—no white sugar, no brown sugar, nothing refined in the pantry. This is how the Healthy Maple Pumpkin Banana Bread happened, honestly. It was one of those Tuesday afternoons where I needed something warm to go with my coffee, and I didn’t feel like running to the store.
I mashed those overripe bananas (you know the ones—they smell like they’re about to turn), scooped out the pumpkin, and just started pouring maple syrup straight into the bowl. My kitchen smelled like fall in about thirty seconds flat. The batter looked promising—thick, fragrant, that deep orange-brown color that makes you believe something good is about to come out of the oven. I poured it into the loaf pan, crossed my fingers, and waited.
When I pulled it out, the top was crackled and golden, and the whole apartment smelled like a bakery that only sold comfort. The first slice was still warm, a little crumbly at the edges, and exactly what I needed. No weird aftertaste from artificial sweeteners, no guilt about the sugar crash later. Just bread that tasted like it was supposed to be there. I’ve made it at least eight times since then, and it works every single time.
This recipe stuck because it proved something simple—you don’t need refined sugar to make something that feels like a treat. It’s honest baking, the kind that relies on real ingredients doing their job. And honestly, that’s the kind of recipe worth keeping around.
Why You’ll Love This Recipe
This isn’t just another pumpkin bread recipe that promises to be healthy and tastes like cardboard. I’ve tested this more times than I care to admit—some batches were too dry, some were too dense, and one particularly sad loaf refused to cook in the middle (we don’t talk about that one). But this version? This one works.
- No Refined Sugar: The sweetness comes entirely from maple syrup and ripe bananas. Your blood sugar will thank you, and you won’t miss the white stuff one bit.
- Incredibly Moist: Pumpkin puree and mashed bananas create a texture that stays soft for days. I’m talking the kind of moist that makes you close your eyes on the first bite.
- Simple Pantry Ingredients: You probably have everything already. Flour, eggs, oil, baking soda, cinnamon—the usual suspects. No fancy health food store trips required.
- Perfect for Fall Mornings: This bread pairs with coffee like they were made for each other. It’s also great for Thanksgiving brunch or just a cozy afternoon snack.
- Kid-Approved: My niece ate three slices before I could stop her. She had no idea it was “healthy.” That’s the kind of win we’re going for here.
- Freezes Beautifully: Make two loaves. Freeze one. Thank yourself later when you need something warm and comforting in five minutes.
What makes this different from every other pumpkin banana bread out there is the balance. The maple syrup doesn’t overpower the pumpkin, and the banana adds just enough natural sweetness without making it taste like banana bread wearing a pumpkin costume. It’s its own thing—a hybrid that somehow works better than either parent recipe.
This is the kind of bread that makes you feel good about eating breakfast. Or second breakfast. Or dessert. No judgment here.
What Ingredients You Will Need
This recipe uses simple, wholesome ingredients that work together to create something truly special. Most of these are pantry staples, which means you can make this bread whenever the craving hits without a special grocery run.
For the Bread
- 1 ½ cups all-purpose flour (or whole wheat pastry flour for a heartier texture)
- 1 teaspoon baking soda (make sure it’s fresh—test it by dropping a bit in vinegar; if it fizzes, you’re good)
- 1 teaspoon ground cinnamon (I prefer Saigon cinnamon for its bold, warm flavor)
- ½ teaspoon ground nutmeg (freshly grated if you have it—it makes a difference)
- ½ teaspoon ground ginger (adds that subtle warmth that makes pumpkin bread taste complete)
- ¼ teaspoon ground cloves (just a pinch—cloves are strong and can take over)
- ½ teaspoon salt (enhances all the other flavors; don’t skip it)
- 2 large eggs, room temperature (room temperature eggs incorporate better into the batter)
- ⅓ cup pure maple syrup (use the real stuff, not pancake syrup—Grade A dark amber works beautifully)
- ⅓ cup coconut oil, melted (or any neutral oil like avocado or grapeseed)
- 1 cup pumpkin puree (not pumpkin pie filling—check the label; you want 100% pumpkin)
- 1 cup mashed ripe bananas (about 2 large bananas, the spottier the better)
- 1 teaspoon vanilla extract (pure vanilla extract, not imitation, if you can swing it)
Optional Add-Ins
- ½ cup chopped walnuts or pecans (toasted first for extra flavor)
- ¼ cup dark chocolate chips (because sometimes you need chocolate in your life)
- 2 tablespoons chia seeds or flax seeds (adds fiber and omega-3s without changing the taste)
I recommend using Bob’s Red Mill flour for consistent results, and if you can find organic pumpkin puree, the flavor tends to be richer. For the maple syrup, I’ve had great luck with Runamok Maple—their syrups are incredibly flavorful and not overly sweet. But honestly, any real maple syrup will work. Just don’t use the artificial stuff. Your bread deserves better.
If you’re out of pumpkin puree, you can substitute sweet potato puree (roast and mash a sweet potato, and you’re golden). The flavor will be slightly different but equally delicious. For a gluten-free version, use a 1:1 gluten-free flour blend—I’ve tested this with King Arthur’s Measure for Measure flour, and it worked perfectly.
Equipment Needed
You don’t need a professional bakery setup for this recipe. Here’s what you’ll actually use:
- 9×5 inch loaf pan (standard size; if you use a different size, adjust baking time accordingly)
- Large mixing bowl (for dry ingredients)
- Medium mixing bowl (for wet ingredients)
- Whisk (for combining dry ingredients evenly)
- Rubber spatula (for folding the batter—less mess, better incorporation)
- Parchment paper (line the pan for easy removal; trust me on this)
- Cooling rack (prevents the bottom from getting soggy)
- Measuring cups and spoons (accurate measurements matter in baking)
If you don’t have a loaf pan, you can use an 8×8 inch square pan—just reduce the baking time by about 10 minutes and check for doneness earlier. No cooling rack? No problem. Just use the wire rack from your oven or even a clean dish towel laid flat on the counter. I’ve done both in a pinch, and the bread still turns out fine.
One tip: invest in a good rubber spatula that can handle high heat. I’ve melted cheap ones in hot batters before, and it’s not fun scraping melted plastic off your mixing bowl. The OXO Good Grips spatula is my go-to—it’s durable, easy to clean, and doesn’t absorb odors.
Preparation Method
Let’s get baking. This process is straightforward, but paying attention to a few key details makes the difference between good bread and great bread.
- Preheat your oven to 350°F (175°C). Position the rack in the center of the oven. Line your loaf pan with parchment paper, leaving some overhang on the long sides—this creates handles for lifting the bread out later. Lightly grease the exposed sides with coconut oil or cooking spray.
- In a large bowl, whisk together the dry ingredients: flour, baking soda, cinnamon, nutmeg, ginger, cloves, and salt. Whisk for about 20 seconds to aerate the flour and distribute the spices evenly. Set aside.
- In a medium bowl, mash the bananas thoroughly. You want them completely smooth with no large chunks—a fork works well, or use a potato masher if you have one. The bananas should be so ripe that they practically mash themselves. If they’re not there yet, pop them in the microwave for 20 seconds to soften them up.
- Add the wet ingredients to the mashed bananas: eggs, maple syrup, melted coconut oil, pumpkin puree, and vanilla extract. Whisk until everything is fully combined and smooth. The mixture should look like a thick, glossy orange-brown liquid. If the coconut oil solidifies on contact with cold ingredients, warm the bowl slightly by placing it in a pan of warm water for a minute.
- Pour the wet ingredients into the dry ingredients. Use a rubber spatula to fold everything together gently. Stir just until no streaks of flour remain—about 10 to 12 strokes. A few small lumps are perfectly fine. Overmixing will make the bread tough, so resist the urge to keep stirring.
- If using add-ins, fold them in now. Gently incorporate walnuts, chocolate chips, or seeds with just a few more strokes. Don’t overmix here either.
- Pour the batter into the prepared loaf pan. Spread it evenly with the spatula. The batter will be thick—thicker than regular banana bread batter—so take your time smoothing the top. Tap the pan gently on the counter a few times to release any air bubbles.
- Bake for 50 to 60 minutes. Start checking at the 50-minute mark. Insert a toothpick into the center—if it comes out clean or with just a few moist crumbs, it’s done. If the top is browning too quickly (after about 40 minutes), tent the pan loosely with aluminum foil to prevent burning.
- Let the bread cool in the pan for 15 minutes. Then use the parchment paper overhang to lift it out and transfer it to a cooling rack. Cool completely before slicing—about 1 to 2 hours. I know it’s tempting to cut into it warm, but slicing too early will result in a crumbly mess. Patience, my friend.
The bread should be golden brown on top, slightly cracked, and spring back when you press gently on the center. The aroma alone will tell you it’s done—that combination of pumpkin, maple, and cinnamon is unmistakable.
Cooking Tips & Techniques
After making this bread more times than I can count, I’ve picked up a few tricks that make the process smoother and the results more consistent.
Room temperature ingredients matter. Cold eggs and cold bananas can cause the coconut oil to seize up and form small lumps in the batter. Take your eggs and bananas out of the fridge about 30 minutes before you start baking. If you forget (like I do half the time), place the eggs in a bowl of warm water for 5 minutes, and microwave the bananas for 15 seconds.
Don’t overmix the batter. This is the number one mistake people make with quick breads. Mix until the flour just disappears, and then stop. Overmixing develops gluten, which makes the bread dense and tough instead of tender and fluffy. I learned this the hard way when my first few loaves came out like hockey pucks.
Check your baking soda freshness. Baking soda loses its potency over time. If your bread isn’t rising properly, old baking soda is probably the culprit. A quick test: drop a teaspoon of baking soda into a small bowl of vinegar. If it fizzes vigorously, it’s still good. If it barely bubbles, toss it and buy fresh.
Use the parchment paper trick. Lining the pan with parchment paper with overhang on the sides makes removing the bread effortless. No more struggling to flip the pan or scraping stuck bread out with a knife. This simple step saves so much frustration.
Let it cool completely. I know, I know—warm bread straight from the oven is one of life’s greatest pleasures. But if you cut into this bread while it’s still hot, it will crumble and fall apart. The structure needs time to set. If you absolutely must have warm bread, wait until it’s completely cool, then reheat individual slices in the microwave for 15 seconds or in a toaster oven.
One more thing: if your bread is browning too quickly on top but still raw in the middle, your oven might be running hot. Invest in an oven thermometer—they’re cheap and will save you from countless baking disasters. My oven runs about 25 degrees hot, so I always set it a bit lower than the recipe calls for.
Variations & Adaptations
This recipe is wonderfully adaptable. Here are some variations I’ve tried and loved:
Vegan Version: Replace the eggs with flax eggs (2 tablespoons ground flaxseed mixed with 6 tablespoons water, let sit for 5 minutes until gelled). Use maple syrup as the sweetener (it’s already vegan-friendly). The texture will be slightly denser but still delicious. I’ve made this for vegan friends, and they couldn’t tell the difference.
Gluten-Free Version: Substitute the all-purpose flour with a 1:1 gluten-free baking blend. I recommend King Arthur’s Measure for Measure or Bob’s Red Mill 1:1. Add 1 teaspoon of xanthan gum if your blend doesn’t already include it. The bread will be a bit more crumbly but equally flavorful.
Lower-Carb Option: Replace half the flour with almond flour and the other half with coconut flour. Note that coconut flour absorbs more liquid, so you may need to add an extra egg or a splash of milk. This version is more delicate, so handle it gently.
Seasonal Twist: In the summer, swap the pumpkin puree for mashed peaches or nectarines. The flavor profile changes completely, but it’s equally refreshing. In the winter, add a teaspoon of pumpkin pie spice blend for extra warmth.
Chocolate Lover’s Version: Fold in ½ cup of dark chocolate chips and reduce the maple syrup to ¼ cup. The chocolate adds richness that complements the pumpkin and banana beautifully. This version disappears fastest in my house.
Nutty Delight: Toast ½ cup of chopped pecans or walnuts in a dry skillet over medium heat for 3-4 minutes until fragrant. Fold them into the batter. The toasted nuts add crunch and depth that elevate the bread to something special.
I once made a version with dried cranberries and orange zest—it tasted like Christmas morning. Don’t be afraid to experiment. This recipe is forgiving enough to handle your creativity.
Serving & Storage Suggestions
This bread is versatile enough for any time of day. Here’s how I like to serve and store it:
Serving Temperature: Room temperature is ideal. The flavors are most balanced, and the texture is at its best. If you want it warm, toast slices lightly in a toaster or toaster oven for about 2 minutes. Spread a little butter or coconut oil on top for extra richness.
Presentation Ideas: Slice the bread into even pieces and arrange them on a wooden board. Drizzle with a little extra maple syrup and sprinkle with chopped nuts or a dusting of cinnamon. For a brunch spread, serve alongside fresh fruit, yogurt, and coffee. It also makes a lovely hostess gift wrapped in parchment paper and tied with twine.
Complementary Dishes: This bread pairs beautifully with a creamy roasted butternut squash soup for a cozy fall meal. For breakfast, serve it alongside scrambled eggs and fresh fruit. For dessert, a scoop of vanilla ice cream or a dollop of whipped cream transforms it into something indulgent.
Storage Instructions: Store the bread in an airtight container at room temperature for up to 4 days. If your kitchen is warm or humid, refrigerate it to prevent mold—just bring slices to room temperature before serving for the best texture. To freeze, wrap the cooled loaf tightly in plastic wrap, then in aluminum foil, and place in a freezer bag. It will keep for up to 3 months.
Reheating Tips: For individual slices, microwave for 15-20 seconds for a soft, warm texture. For a crispier exterior, toast in a toaster or toaster oven for 2-3 minutes. If reheating the whole loaf, wrap it in foil and warm in a 300°F oven for 10-15 minutes.
The flavors actually develop and deepen after a day or two. The maple and pumpkin meld together, and the spices become more pronounced. So if you can resist eating it all immediately, day-old bread is even better.
Nutritional Information & Benefits
This bread is packed with wholesome ingredients that offer real nutritional benefits. Here’s the estimated breakdown per slice (based on 10 slices):
- Calories: 220
- Total Fat: 9g
- Saturated Fat: 7g
- Carbohydrates: 33g
- Fiber: 3g
- Sugar: 14g (all natural from maple syrup and bananas)
- Protein: 4g
- Vitamin A: 95% of the Daily Value (from pumpkin)
- Vitamin C: 6% of the Daily Value
- Potassium: 8% of the Daily Value
Health Benefits: Pumpkin is loaded with vitamin A, which supports eye health and immune function. Bananas provide potassium, which helps regulate blood pressure and muscle function. Maple syrup contains antioxidants and minerals like zinc and manganese. Using coconut oil instead of butter provides medium-chain triglycerides (MCTs), which may support brain health and metabolism.
Dietary Considerations: This recipe is naturally dairy-free (if you use coconut oil) and can be made vegan and gluten-free with simple substitutions. It contains no refined sugar, making it suitable for those avoiding processed sweeteners. However, it does contain eggs and gluten in its standard form.
Allergen Note: This recipe contains eggs and wheat (gluten). If using nut add-ins, it also contains tree nuts. Always check your ingredients for potential allergens if serving to others.
I love that this bread feels indulgent while actually providing real nutritional value. It’s the kind of treat you can feel good about eating for breakfast or dessert.
Conclusion
This Healthy Maple Pumpkin Banana Bread proves that you don’t need refined sugar to create something truly satisfying. It’s moist, flavorful, and packed with real ingredients that nourish your body while pleasing your taste buds. Whether you’re looking for a quick breakfast, a cozy afternoon snack, or a healthier dessert option, this bread delivers every single time.
I encourage you to make this recipe your own. Try different add-ins, experiment with spices, or adjust the sweetness to your preference. The beauty of this bread is its flexibility—it’s forgiving enough to handle your creativity while still delivering consistent results. If you’re in the mood for something savory to balance out the sweetness, this crispy honey bacon potatoes recipe makes an excellent companion for a fall brunch spread.
I’d love to hear how yours turns out. Did you add chocolate chips? Try it with pecans? Make it gluten-free? Drop a comment below and share your experience. Your adaptations might inspire someone else to try something new. And if you loved this recipe, share it with a friend who needs a little comfort in their kitchen.
Happy baking, friends. May your loaf be golden, your kitchen smell amazing, and your first slice be everything you hoped for.
Frequently Asked Questions
Can I use pumpkin pie filling instead of pumpkin puree?
No, please don’t. Pumpkin pie filling already contains sugar and spices, which will throw off the sweetness and spice balance in this recipe. Stick with 100% pure pumpkin puree for the best results. If you only have pumpkin pie filling, reduce the maple syrup to 2 tablespoons and omit the cinnamon, nutmeg, ginger, and cloves.
Can I use honey instead of maple syrup?
Yes, you can substitute honey for maple syrup in equal amounts. The flavor will be slightly different—honey has a more floral, distinct taste—but the texture and sweetness level will be similar. Keep in mind that honey is not vegan, so if you’re making a vegan version, stick with maple syrup.
Why did my bread sink in the middle?
A sunken middle usually means the bread was underbaked or the oven temperature was too low. Make sure your oven is properly preheated to 350°F and use an oven thermometer to verify the temperature. Also, avoid opening the oven door during the first 30 minutes of baking, as the sudden temperature drop can cause the bread to collapse.
Can I make this into muffins instead of a loaf?
Absolutely! Grease a 12-cup muffin tin or line with paper liners. Divide the batter evenly among the cups (about ¾ full each). Bake at 350°F for 18-22 minutes, or until a toothpick inserted into the center of a muffin comes out clean. This is great for portion control and makes for easy grab-and-go breakfasts.
How do I know when the bread is fully baked?
Insert a toothpick or wooden skewer into the center of the bread. If it comes out clean or with just a few moist crumbs clinging to it, the bread is done. If the toothpick has wet batter on it, bake for another 5-10 minutes and check again. The bread should also pull away slightly from the edges of the pan and feel firm to the touch on top.
Pin This Recipe!
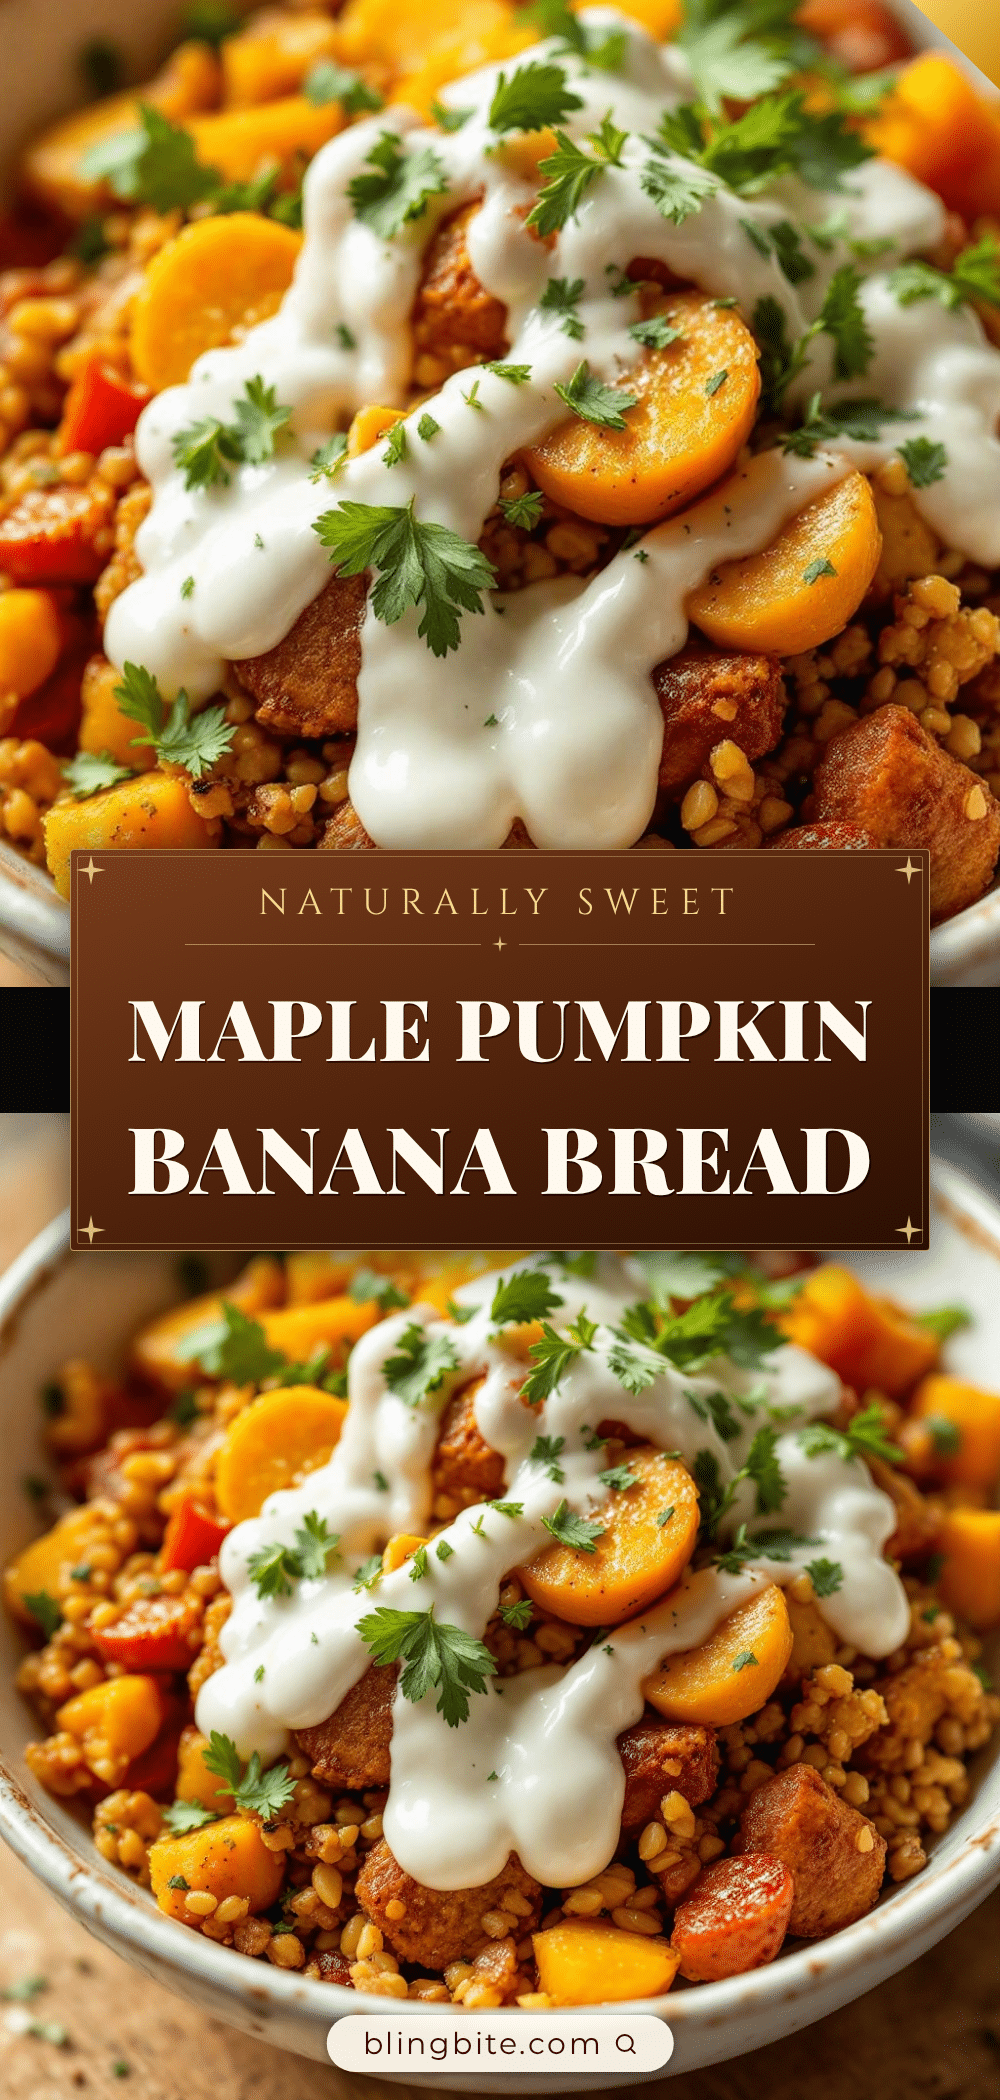
Healthy Maple Pumpkin Banana Bread (No Refined Sugar)

This moist and flavorful pumpkin banana bread is sweetened entirely with maple syrup and ripe bananas, proving you don’t need refined sugar to create a truly satisfying treat. Perfect for fall mornings, it’s packed with real ingredients and freezes beautifully.
- Prep Time: 15 minutes
- Cook Time: 55 minutes
- Total Time: 1 hour 10 minutes
- Yield: 10 servings 1x
- Category: Bread
- Cuisine: American
Ingredients
- 1 ½ cups all-purpose flour (or whole wheat pastry flour)
- 1 teaspoon baking soda
- 1 teaspoon ground cinnamon (preferably Saigon cinnamon)
- ½ teaspoon ground nutmeg (freshly grated if possible)
- ½ teaspoon ground ginger
- ¼ teaspoon ground cloves
- ½ teaspoon salt
- 2 large eggs, room temperature
- ⅓ cup pure maple syrup (Grade A dark amber)
- ⅓ cup coconut oil, melted (or neutral oil like avocado or grapeseed)
- 1 cup pumpkin puree (100% pumpkin, not pie filling)
- 1 cup mashed ripe bananas (about 2 large bananas)
- 1 teaspoon vanilla extract (pure vanilla extract)
- ½ cup chopped walnuts or pecans (optional, toasted)
- ¼ cup dark chocolate chips (optional)
- 2 tablespoons chia seeds or flax seeds (optional)
Instructions
- Preheat your oven to 350°F (175°C). Position the rack in the center of the oven. Line a 9×5 inch loaf pan with parchment paper, leaving overhang on the long sides. Lightly grease the exposed sides with coconut oil or cooking spray.
- In a large bowl, whisk together the dry ingredients: flour, baking soda, cinnamon, nutmeg, ginger, cloves, and salt. Whisk for about 20 seconds to aerate and distribute spices evenly. Set aside.
- In a medium bowl, mash the bananas thoroughly until completely smooth with no large chunks.
- Add the wet ingredients to the mashed bananas: eggs, maple syrup, melted coconut oil, pumpkin puree, and vanilla extract. Whisk until fully combined and smooth.
- Pour the wet ingredients into the dry ingredients. Use a rubber spatula to fold together gently, stirring just until no streaks of flour remain (about 10 to 12 strokes). Do not overmix.
- If using add-ins (walnuts, chocolate chips, seeds), fold them in gently with a few more strokes.
- Pour the batter into the prepared loaf pan and spread evenly with the spatula. Tap the pan gently on the counter a few times to release air bubbles.
- Bake for 50 to 60 minutes. Start checking at the 50-minute mark. Insert a toothpick into the center; if it comes out clean or with a few moist crumbs, it’s done. If the top browns too quickly (after about 40 minutes), tent loosely with aluminum foil.
- Let the bread cool in the pan for 15 minutes. Then use the parchment paper overhang to lift it out and transfer to a cooling rack. Cool completely before slicing (about 1 to 2 hours).
Notes
Room temperature ingredients matter—cold eggs and bananas can cause coconut oil to seize. Don’t overmix the batter; mix until flour just disappears. Check baking soda freshness by dropping a bit in vinegar; if it fizzes, it’s good. Let the bread cool completely before slicing to prevent crumbling. The flavors develop and deepen after a day or two.
Nutrition
- Serving Size: 1 slice
- Calories: 220
- Sugar: 14
- Sodium: 240
- Fat: 9
- Saturated Fat: 7
- Carbohydrates: 33
- Fiber: 3
- Protein: 4
Keywords: pumpkin banana bread, healthy banana bread, maple syrup, no refined sugar, fall baking, pumpkin bread, banana bread, dairy-free, easy bread recipe


