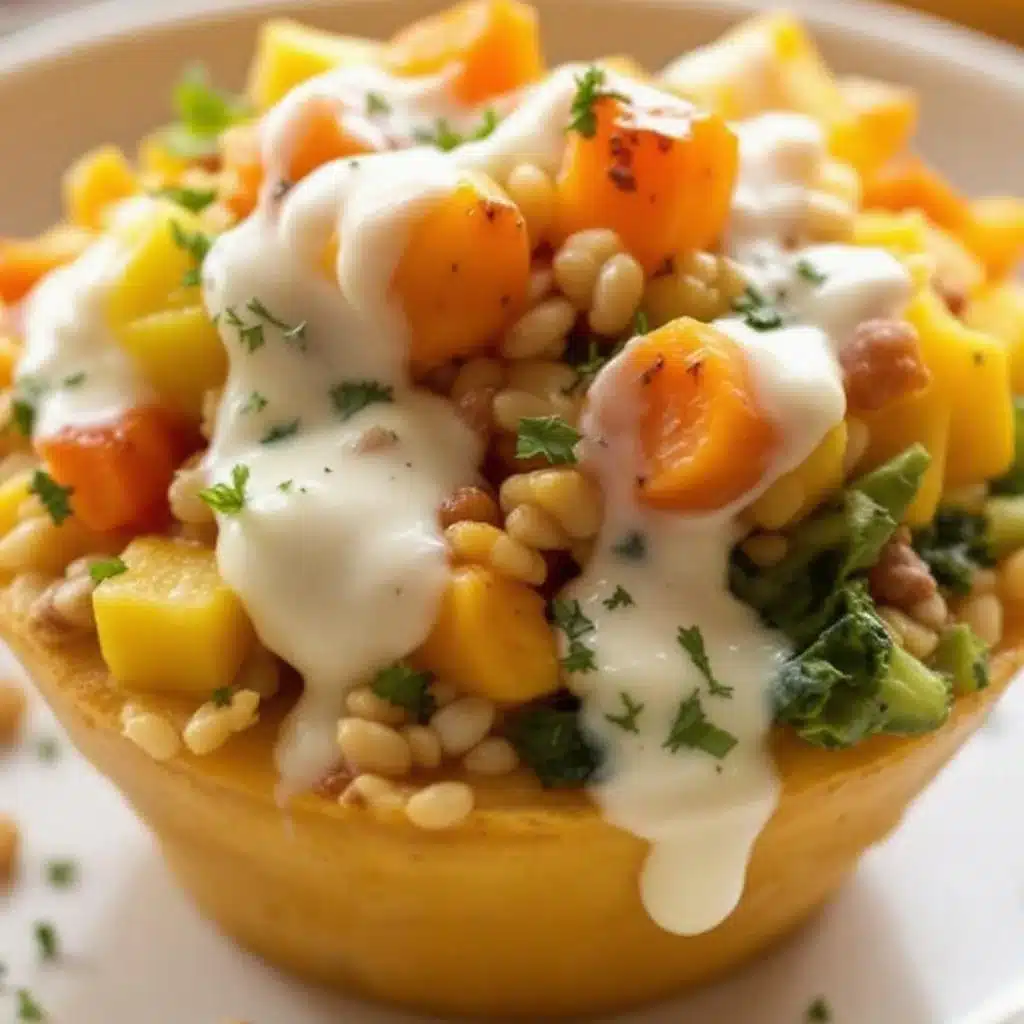
I burned pumpkin pie custard three times before I figured out what I was doing wrong.
That first attempt? Looked promising going in. Came out looking like scrambled eggs with pumpkin thrown in for good measure. The second time I tried a water bath, which helped with texture but left the tops watery and sad. The third batch I overcooked by five minutes, and let me tell you—rubbery custard is not a good look on anyone’s dessert table.
Here’s the thing though. I kept coming back to this idea because I wanted a low-carb dessert that actually felt like fall, not just a sad bowl of pumpkin puree with some cinnamon thrown on top. I wanted that silky, spoonable texture you get from a real custard. The kind that makes you close your eyes after the first bite (and I’m not exaggerating).
Turns out the trick was simpler than I thought. A little patience with the mixing, the right fat-to-egg ratio, and a gentle hand with the oven. These Creamy Low-Carb Pumpkin Pie Custard Cups came together in a way that surprised me—they’re actually better than the full-sugar version I used to make. Richer. More pumpkin-forward. Less of that sugar buzz that masks everything else.
I make these now for Thanksgiving instead of pie. Nobody complains. In fact, my sister-in-law asked for the recipe last year and she’s not even low-carb. That’s when I knew I’d stumbled onto something worth sharing.
Why You’ll Love This Recipe
These custard cups solve the biggest problem with low-carb desserts—they actually taste like the real thing. I’ve tested this recipe more times than I care to count, tweaking the ratios until the texture hit that perfect sweet spot between silky and firm.
- Quick & Easy : Ready in under 40 minutes with only 10 minutes of active prep. Perfect for those evenings when you need something sweet but don’t want to spend hours in the kitchen.
- Simple Ingredients : You probably have most of these in your pantry right now. No weird sugar alcohols or hard-to-find specialty items.
- Perfect for Fall Gatherings : Bring these to Friendsgiving, Thanksgiving dinner, or just a cozy night in. They travel well and look impressive without the stress.
- Crowd-Pleaser : I’ve served these to kids, keto friends, and pie purists. Every single person has asked for seconds.
- Unbelievably Delicious : The texture is what gets people. It’s not grainy or eggy—it’s smooth, creamy, and that pumpkin spice flavor hits exactly right.
What makes this recipe different from the other low-carb pumpkin desserts out there is the technique. Instead of relying on heavy cream alone, I use a combination of cream cheese and heavy cream that creates a custard so silky you won’t believe it’s low-carb. The cream cheese adds richness without the carbs, and it helps stabilize the custard so you don’t end up with that watery separation that plagues so many sugar-free desserts.
This is the kind of dessert that makes you forget you’re eating healthy. It’s comfort food reimagined—lighter on the carbs, but still carrying all the soul-soothing satisfaction of a classic pumpkin pie. Perfect for impressing guests without breaking a sweat, or turning a simple Tuesday night into something a little more special.
Ingredients You Will Need
This recipe uses simple, wholesome ingredients to deliver that rich pumpkin pie flavor without the sugar crash. Most of these are pantry staples for anyone who bakes regularly, but I’ve included some notes on what to look for.
- Pumpkin puree (1 cup / 245g) – Make sure you grab pure pumpkin puree, not pumpkin pie filling. The filling already has sugar and spices, which will throw off the ratios. I prefer Libby’s for consistent texture, but any brand works.
- Cream cheese (4 oz / 113g), softened – Full-fat is key here. Low-fat cream cheese has more water content and can make the custard runny. Let it sit out for 30 minutes before starting.
- Heavy cream (½ cup / 120ml) – Don’t substitute with milk or half-and-half. The fat content in heavy cream is what gives these custard cups their silky texture.
- Eggs (2 large), room temperature – Cold eggs can seize the cream cheese mixture. If you forgot to take them out ahead of time, place them in a bowl of warm water for 5 minutes.
- Egg yolk (1 large) – This extra yolk adds richness and helps with setting. It’s the secret to that velvety texture.
- Low-carb sweetener (⅓ cup / 65g) – I use Lakanto monk fruit sweetener for its clean taste with no bitter aftertaste. You can also use allulose or Swerve. If using powdered sweetener, reduce by a tablespoon since it’s more concentrated.
- Vanilla extract (1 teaspoon) – Pure vanilla makes a difference here. Skip the imitation stuff.
- Pumpkin pie spice (1½ teaspoons) – Store-bought is fine, but you can make your own with 1 teaspoon cinnamon, ½ teaspoon ginger, ¼ teaspoon nutmeg, and ¼ teaspoon cloves.
- Cinnamon (½ teaspoon) – I add extra cinnamon because I love the warmth it brings. Feel free to adjust to taste.
- Salt (¼ teaspoon) – Don’t skip this. Salt enhances the sweetness and balances the pumpkin flavor.
For the optional topping:
- Whipped cream (½ cup heavy cream + 1 tablespoon sweetener) – Whip until soft peaks form. This adds a lovely finishing touch.
- Chopped pecans (¼ cup) – Toast them in a dry pan for 2-3 minutes for extra flavor.
Equipment Needed
Nothing too fancy here. Most of these you probably already have in your kitchen.
- 4 (6-ounce) ramekins – Standard size works perfectly. If you only have 8-ounce ramekins, the custards will be thinner and may cook faster.
- Mixing bowls – One medium and one small bowl.
- Hand mixer or stand mixer – You can whisk by hand, but a mixer makes the cream cheese mixture much smoother.
- Whisk – For combining the eggs and pumpkin.
- Rubber spatula – To scrape down the sides and get every last bit of custard.
- Baking dish – Large enough to hold the ramekins with space between them.
- Kettle or pot – For heating water for the water bath.
- Fine-mesh strainer – Optional but recommended for the silkiest texture.
- Parchment paper or foil – To cover the ramekins if the tops brown too quickly.
If you don’t have ramekins, you can use a muffin tin with silicone liners. The cooking time will be slightly shorter, so start checking at 25 minutes instead of 30.
Preparation Method
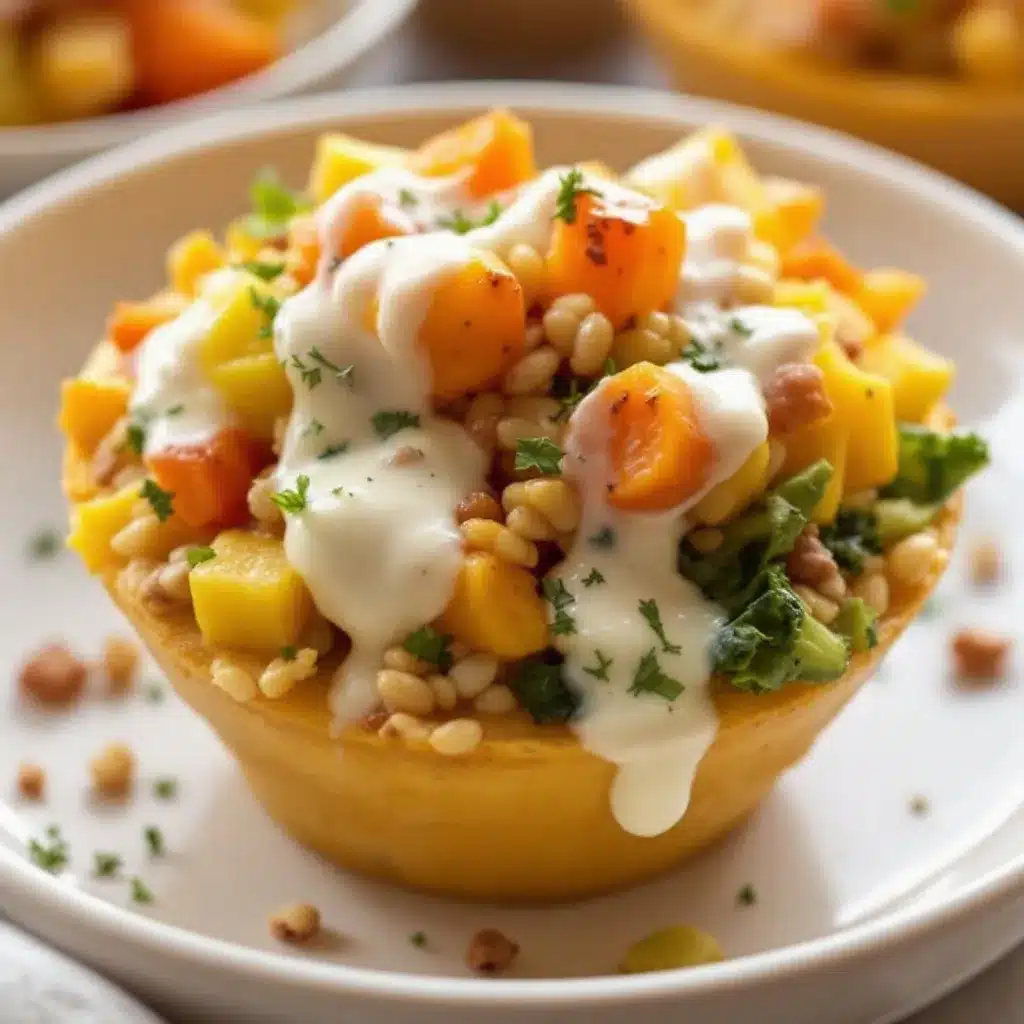
Let me walk you through this step by step. I’ve included all the little details I wish someone had told me when I was figuring this out.
Step 1: Preheat and Prep
Preheat your oven to 325°F (160°C). Place your ramekins in a baking dish large enough to hold them without touching. Boil a kettle of water—you’ll need it for the water bath later.
Take your cream cheese out of the fridge if you haven’t already. It needs to be soft enough that you can easily press your finger into it. Cold cream cheese leads to lumpy custard, and nobody wants that.
Step 2: Make the Cream Cheese Base
In a medium mixing bowl, beat the softened cream cheese with your hand mixer until it’s completely smooth. This takes about 2 minutes. Scrape down the sides with your spatula halfway through.
Add the sweetener, pumpkin pie spice, cinnamon, and salt. Beat again until everything is well combined. The mixture should look like a thick, spiced paste at this point. Don’t rush this step—you want the sweetener fully incorporated so you don’t get pockets of sweetness in the final custard.
Step 3: Add the Wet Ingredients
Add the pumpkin puree and vanilla extract to the cream cheese mixture. Beat on low speed until just combined. Overmixing at this stage can incorporate too much air, which creates bubbles in your custard.
In a separate small bowl, whisk together the eggs and the extra egg yolk until they’re pale and slightly frothy. This takes about 30 seconds. Slowly drizzle the eggs into the pumpkin mixture while beating on low speed. I mean slowly—like a thin stream. If you dump them in all at once, the cold eggs can shock the mixture and cause the cream cheese to seize up.
Finally, pour in the heavy cream and mix until everything is smooth and uniform. The batter should be thick but pourable, like a milkshake that’s been sitting out for a few minutes.
Pro tip: For the silkiest texture, pour the batter through a fine-mesh strainer into a clean bowl. This catches any tiny lumps of cream cheese or bits of egg white that didn’t fully incorporate. I do this every time now.
Step 4: Fill and Bake
Divide the batter evenly among your four ramekins. Each should be about three-quarters full. Tap each ramekin gently on the counter to release any air bubbles.
Place the baking dish with the ramekins in the oven, then carefully pour the hot water into the baking dish until it reaches halfway up the sides of the ramekins. Be careful not to splash water into the custards—that’s why I pour the water in after the dish is already in the oven.
Bake for 30-35 minutes. The custards are done when the edges are set but the centers still jiggle slightly when you gently shake the ramekin. They’ll continue to set as they cool, so don’t wait until they’re completely firm in the oven or they’ll be overdone.
Sensory cue: The kitchen should smell like a pumpkin spice candle at this point. The tops should be a deep orange color, and you might see a few tiny cracks around the edges—that’s normal.
Step 5: Cool and Chill
Carefully remove the ramekins from the water bath using tongs or an oven mitt. Place them on a wire rack to cool to room temperature. This takes about 30 minutes.
Once cool, cover each ramekin with plastic wrap and refrigerate for at least 2 hours. I know it’s tempting to dig in right away, but trust me—chilled custard has a much better texture. The flavors also meld together as they rest, so they actually taste better the next day.
Cooking Tips & Techniques
After burning through more pumpkin than I care to admit, here’s what I learned the hard way.
The water bath is non-negotiable. I tried skipping it once thinking it would save time. The custards came out with a rubbery texture and the tops cracked like a dried-up riverbed. The water bath creates gentle, even heat that prevents the eggs from scrambling. It’s worth the extra minute of effort.
Watch your oven temperature. Ovens run hot, especially older ones. If your custards are browning on top before 25 minutes, your oven is too hot. I keep an oven thermometer inside mine after I discovered it runs 25 degrees hotter than the dial says. Drop the temperature by 10-15 degrees if you notice browning too early.
Don’t overmix the eggs. I made this mistake more times than I’d like to admit. Beating the eggs too vigorously incorporates air that expands in the oven and creates a spongy, soufflé-like texture instead of a smooth custard. You want the eggs just barely combined with the other ingredients.
Room temperature ingredients matter. I know it seems fussy, but cold ingredients don’t emulsify properly. The cream cheese gets lumpy, the eggs don’t blend smoothly, and you end up with a grainy texture. Set everything out 30 minutes before you start. Set a timer if you’re forgetful like me.
Test with a gentle jiggle. The toothpick test doesn’t work for custards—a clean toothpick means they’re overbaked. Instead, gently shake the ramekin. The center should wobble like Jell-O that’s just barely set. It’ll firm up as it cools.
Variations & Adaptations
One of the best things about this recipe is how flexible it is. Here are some variations I’ve tried and loved.
Dairy-Free Version: Substitute the cream cheese with a dairy-free cream cheese alternative (Kite Hill works well) and use full-fat coconut cream instead of heavy cream. The texture is slightly less silky but still delicious. I made this for a friend with dairy allergies and she ate three.
Vegan Adaptation: Use 2 tablespoons of cornstarch mixed with ¼ cup of water as an egg replacer, and follow the dairy-free substitutions above. The texture is more like a pudding than a custard, but the flavor is spot-on. Bake for 25-28 minutes.
Extra Spicy Version: Add ¼ teaspoon of cayenne pepper and an extra teaspoon of ginger to the spice mix. The heat sneaks up on you and works surprisingly well with the pumpkin. My husband requests this version every time.
Pumpkin Cheesecake Style: Add an extra 2 ounces of cream cheese and reduce the heavy cream to ⅓ cup. Bake for 35-38 minutes. The result is denser and richer, almost like a crustless cheesecake. Top with a dollop of strawberry prosecco panna cotta for a fancy dessert spread.
Single Large Custard: Pour the batter into a 6-inch round baking dish instead of ramekins. Bake for 40-45 minutes. This is great for slicing and serving like a pie—without the crust, of course.
Serving & Storage Suggestions
These custard cups are best served cold, straight from the fridge. The texture is at its peak after at least 2 hours of chilling, but overnight is even better.
For presentation, I like to top each custard with a generous dollop of whipped cream and a sprinkle of cinnamon or chopped pecans. If I’m feeling fancy, I add a thin drizzle of sugar-free caramel sauce. The contrast between the cold, creamy custard and the light whipped cream is perfect.
These pair beautifully with a cup of hot coffee or a pink champagne raspberry macaron for an elegant dessert table. For a cozy fall evening, serve them alongside a warm mug of spiced tea.
Storage: Cover the ramekins with plastic wrap or transfer to an airtight container. They’ll keep in the refrigerator for up to 5 days. The flavor actually deepens after a day or two, so don’t be afraid to make them ahead.
Freezer instructions: These freeze surprisingly well. Wrap each chilled ramekin tightly in plastic wrap, then foil. Freeze for up to 2 months. Thaw overnight in the refrigerator before serving. The texture remains creamy with no ice crystals—I tested this after forgetting about a batch for three weeks.
Reheating: I actually prefer these cold, but if you want them warm, microwave a single ramekin for 15-20 seconds. Don’t go longer or the eggs can scramble. The warm version is more like a pumpkin pudding, which is lovely in its own way.
Nutritional Information & Benefits
Here’s the breakdown for one custard cup (without toppings):
- Calories: 245
- Fat: 22g
- Protein: 7g
- Total Carbohydrates: 8g
- Fiber: 2g
- Net Carbs: 6g
- Sugar: 3g (natural from pumpkin)
Pumpkin is packed with vitamin A, which supports eye health and immune function. It’s also rich in antioxidants like beta-carotene. The cream cheese and eggs provide protein and healthy fats that keep you satisfied—no blood sugar spike and crash here.
This recipe is naturally gluten-free, vegetarian, and keto-friendly. It contains dairy and eggs, so it’s not suitable for vegan or egg-free diets without the substitutions mentioned above.
I love that I can enjoy a dessert that tastes indulgent but doesn’t derail my eating plan. These custard cups have become my go-to for satisfying that fall sweet tooth without the guilt.
Frequently Asked Questions
Can I use pumpkin pie filling instead of pumpkin puree?
I wouldn’t recommend it. Pumpkin pie filling already has sugar and spices added, which will throw off the sweetness and spice levels in this recipe. You’ll end up with custard that’s too sweet and the texture might be off because of the added thickeners. Stick with pure pumpkin puree for the best results.
Why did my custard turn out watery?
This usually happens for one of three reasons: the custard wasn’t baked long enough, the cream cheese wasn’t fully softened before mixing, or you used low-fat dairy products. Make sure your cream cheese is at room temperature and you’re using full-fat heavy cream. If the custard jiggles more than a gentle wobble after 35 minutes, give it another 5 minutes in the oven.
Can I make these without a water bath?
You can, but I don’t recommend it. The water bath creates gentle, even heat that prevents the edges from overcooking while the center sets. Without it, you’ll likely end up with rubbery edges and a cracked top. If you absolutely must skip it, reduce the oven temperature to 300°F and bake for 5-7 minutes longer, checking frequently.
What sweetener works best for this recipe?
I’ve tested this with several sweeteners and my favorite is a monk fruit-erythritol blend like Lakanto. Allulose also works beautifully and gives a very clean taste. Stevia can work but use half the amount and be aware it can have a slight aftertaste. Avoid liquid sweeteners as they add too much moisture to the custard.
How do I know when the custards are done baking?
Look for edges that are set (they won’t jiggle when you shake the ramekin) and a center that wobbles gently. The center should move like a wave when you shake the dish, not slosh like liquid. If the entire custard is solid, it’s overbaked. Remember, they’ll continue to set as they cool, so it’s better to underbake slightly than overbake.
Conclusion
These Creamy Low-Carb Pumpkin Pie Custard Cups have become a staple in my kitchen for good reason. They deliver all the cozy fall flavor you crave without the sugar crash or the carb load. The texture is silky, the spices are warm, and every spoonful feels like a hug in a ramekin.
What I love most about this recipe is how customizable it is. Play with the spices, try different toppings, make it dairy-free—whatever works for you. The base recipe is forgiving enough to handle your tweaks while still delivering that perfect custard texture.
I’d love to hear how these turn out for you. Drop a comment below and let me know if you tried any variations or if they became a hit at your holiday table. And if you’re looking for more low-carb dessert inspiration, check out this quick mug cake recipe for those evenings when you need something sweet in five minutes flat.
Happy baking, friends—and don’t forget to save room for custard!
Pin This Recipe!
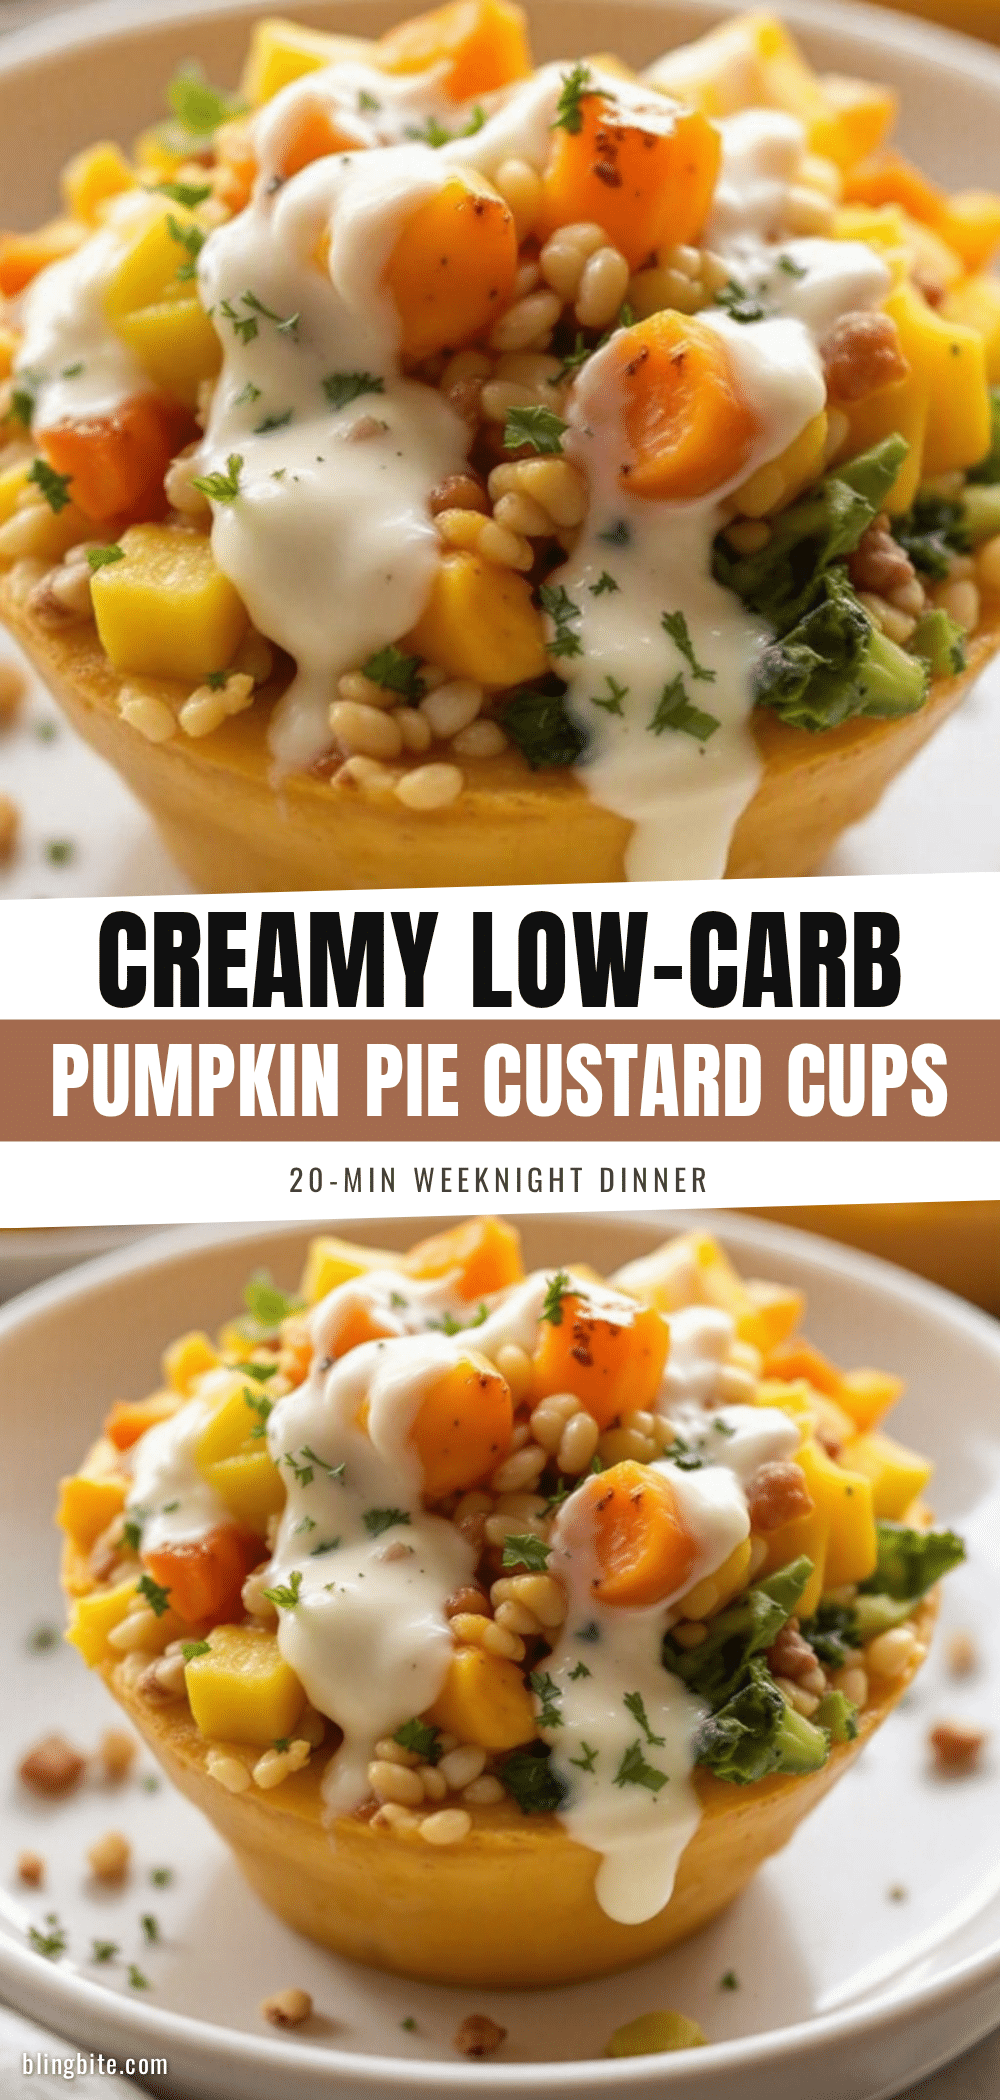
Creamy Low-Carb Pumpkin Pie Custard Cups

These silky, spoonable custard cups deliver all the cozy fall flavor of pumpkin pie without the sugar crash. Made with simple ingredients and a gentle baking technique, they’re a crowd-pleasing low-carb dessert perfect for Thanksgiving or any autumn gathering.
- Prep Time: 10 minutes
- Cook Time: 30 minutes
- Total Time: 40 minutes
- Yield: 4 servings 1x
- Category: Dessert
- Cuisine: American
Ingredients
- 1 cup (245g) pumpkin puree
- 4 oz (113g) cream cheese, softened
- ½ cup (120ml) heavy cream
- 2 large eggs, room temperature
- 1 large egg yolk
- ⅓ cup (65g) low-carb sweetener (e.g., Lakanto monk fruit sweetener)
- 1 teaspoon vanilla extract
- 1½ teaspoons pumpkin pie spice
- ½ teaspoon cinnamon
- ¼ teaspoon salt
- For the optional topping: ½ cup heavy cream + 1 tablespoon sweetener (whipped cream)
- For the optional topping: ¼ cup chopped pecans, toasted
Instructions
- Preheat oven to 325°F (160°C). Place 4 (6-ounce) ramekins in a baking dish. Boil water for the water bath.
- In a medium bowl, beat softened cream cheese with a hand mixer until smooth, about 2 minutes. Add sweetener, pumpkin pie spice, cinnamon, and salt; beat until well combined.
- Add pumpkin puree and vanilla extract; beat on low until just combined. In a small bowl, whisk eggs and egg yolk until pale and frothy. Slowly drizzle eggs into pumpkin mixture while beating on low. Pour in heavy cream and mix until smooth. For silkiest texture, strain through a fine-mesh strainer.
- Divide batter evenly among ramekins (about ¾ full). Tap gently to release air bubbles. Place baking dish in oven, then carefully pour hot water into dish until it reaches halfway up ramekin sides. Bake 30-35 minutes until edges are set but centers jiggle slightly.
- Remove ramekins from water bath; cool on a wire rack for 30 minutes. Cover with plastic wrap and refrigerate at least 2 hours (overnight is best). Serve cold with whipped cream and chopped pecans if desired.
Notes
The water bath is essential for silky texture. Don’t overmix eggs to avoid a spongy texture. Room temperature ingredients ensure smooth emulsification. Custards are done when edges are set and centers jiggle slightly; they continue to set as they cool. For dairy-free, use dairy-free cream cheese and coconut cream. For vegan, use cornstarch egg replacer and dairy-free substitutions.
Nutrition
- Serving Size: 1 custard cup (witho
- Calories: 245
- Sugar: 3
- Sodium: 200
- Fat: 22
- Saturated Fat: 12
- Carbohydrates: 8
- Fiber: 2
- Protein: 7
Keywords: low-carb pumpkin custard, keto pumpkin dessert, sugar-free pumpkin pie, fall dessert, gluten-free pumpkin custard


