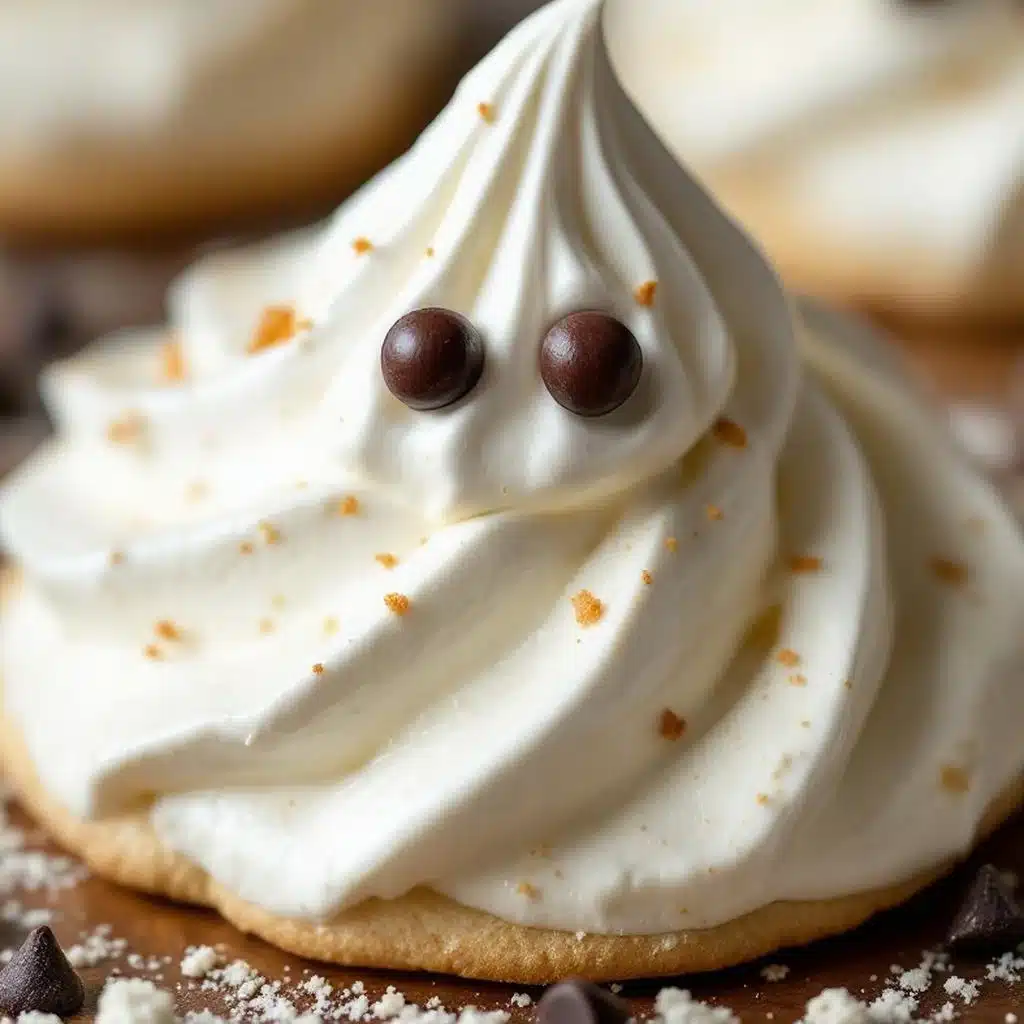
The snap. That sharp, sudden fracture sound when a cookie breaks in half, and that’s the whole point.
I didn’t make these crispy ghost meringue cookies with chocolate chip eyes for their cuteness. Okay, they are cute, sure. But honestly, I made them for the noise. There is a specific, violent crunch to a properly dried meringue that feels like eating cloud glass. It’s fragile, it’s airy, and it shatters into a thousand sweet, white shards the moment you bite down.
Last week, I was testing batches in my kitchen while the house was quiet. Too quiet. I broke one open and the sound echoed off the cabinets like a gunshot. My dog jumped. I jumped. We both stared at the broken cookie on the counter, wondering why something so delicate could be so loud.
That’s when I knew. These aren’t just treats. They are auditory experiences.
The visual is simple enough, I suppose. White peaks, two dark eyes, maybe a little smile if you’re feeling fancy. But the texture? The texture is what keeps me coming back. It’s not chewy like a macaron or dense like a brownie. It dissolves. It vanishes. You’re left with just the ghostly memory of sugar and the faint, salty punch of the chocolate chip eyes.
I remember the first time I tried to make meringue properly. I over-whipped the egg whites. They looked like stiff peaks, but they were dry and grainy. The cookies cracked open in the oven and wept. I cried a little. Not because I was sad, but because I wasted three eggs.
Now, I know the trick. Low and slow. Patience. The oven stays at a temperature that barely whispers. It’s a cooking method that demands you wait. You can’t rush a meringue. It needs time to dry out, to turn from a fragile foam into a crisp shell.
When you pull these ghosts out of the oven, they look like they’re glowing. White against the dark baking sheet. Pale, spooky, inviting. You want to touch them. You don’t. They are too fragile. You pick them up gently, like they might dissolve in your sweat.
The chocolate chip eyes add a tiny bit of resistance. A contrast. The rest of the cookie melts on your tongue, but the eyes stay crisp for a second longer. It’s a small detail, but it matters. It gives your teeth something to fight against before the surrender.
I’ve made these for Halloween parties, for quiet Tuesday nights, and for when I just need to feel like a kid again. They are simple. You don’t need fancy equipment. Just egg whites, sugar, and a whisk. Or a stand mixer if you’re feeling lazy.
But the real magic is in the waiting. And then, the eating. The way the sugar dusts your fingers. The way the sound fades into the quiet of the room. It’s a small moment. But it’s mine.
Why You’ll Love This Recipe
Quick & Easy Preparation
Once the egg whites are whipped, these crispy ghost meringue cookies with chocolate chip eyes come together in under ten minutes of active work. The rest is just waiting. This makes them perfect for busy weeknights or when you need a last-minute Halloween treat that looks impressive but requires zero stress. You don’t need to be a pastry chef to pull this off.
Simple Ingredients
You likely have everything you need right now. Egg whites, sugar, cream of tartar, and chocolate chips. No fancy grocery trips needed. No obscure flours or hard-to-find spices. This recipe uses basic pantry staples to deliver bold flavor and satisfying texture without the fuss. It’s cooking stripped down to its purest form.
Perfect for Halloween
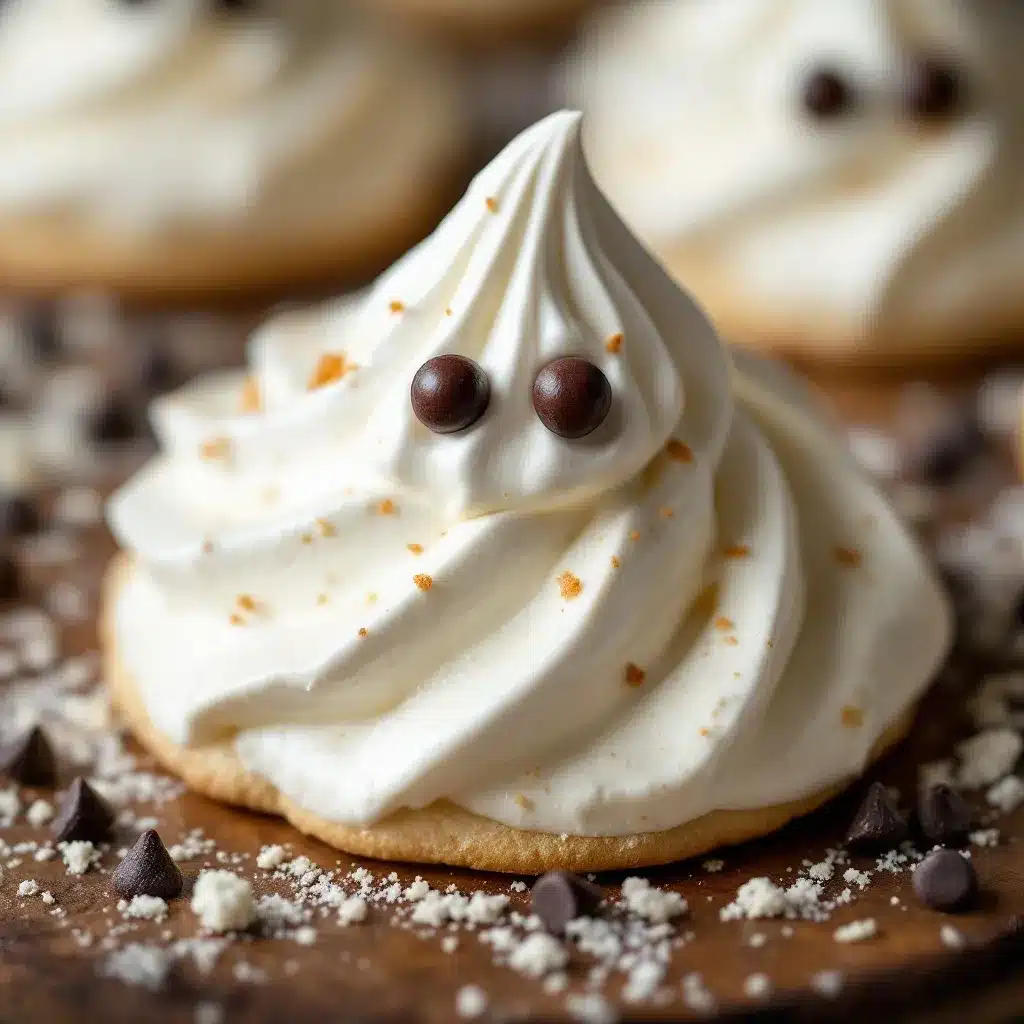
These cookies are the ultimate spooky snack. They fit any autumn gathering, from school parties to office potlucks. They are visually striking without being intimidating. Kids love the ghost shape. Adults love the sophisticated crunch. It’s a crowd-pleaser that always gets rave reviews from both demographics.
Unbelievably Delicious
The texture and flavor combo is next-level comfort food. It’s not just sweet; it’s airy and light. The chocolate adds a salty depth that balances the sugar. It’s the kind of treat that makes you close your eyes after the first bite. It’s comfort food reimagined—healthier, faster, but with the same soul-soothing satisfaction.
What Makes This Recipe Different
Many meringue recipes result in cookies that are too soft or chewy. This method focuses on low-temperature drying to ensure a shattering crispness. We also use mini chocolate chips for the eyes, which hold their shape better than regular chips. This isn’t just another version—it’s your best version. It’s designed to last longer on the shelf and stay crisp longer.
What Ingredients You Will Need
The beauty of this recipe lies in its simplicity. You don’t need a dozen different spices or exotic fruits. The flavor comes from the quality of the egg whites and the precision of the sugar ratio. Here is what you need to make these crispy ghost meringue cookies with chocolate chip eyes.
For the Meringue Base
- Egg Whites: 3 large egg whites, room temperature. Room temperature whites whip up faster and achieve greater volume. I like to separate them while they are cold, then let them sit out for thirty minutes. It’s a small step that makes a big difference.
- Granulated Sugar: 3/4 cup (150g). Superfine sugar works best because it dissolves faster. If you don’t have it, you can pulse regular sugar in a blender for a few seconds. Don’t skip this. Undissolved sugar grains will prevent the meringue from becoming glossy and stable.
- Cream of Tartar: 1/4 teaspoon. This is the secret weapon. It stabilizes the egg whites and prevents them from collapsing. It also helps keep the cookies white. Without it, you might get yellowish spots.
- Vanilla Extract: 1/2 teaspoon. Pure vanilla adds depth. I use a good brand like Nielsen-Massey. It’s worth the extra cost for the flavor clarity.
- Salt: A tiny pinch. Just enough to cut the sweetness. It balances the sugar and makes the vanilla pop.
For the Ghost Eyes
- Mini Chocolate Chips: Semi-sweet or milk chocolate. Mini chips are crucial here. They are the right size for eyes and they melt less than regular chips. If you can’t find mini chips, you can chop regular chips very finely. But the mini ones are easier.
- White Chocolate (Optional): For a more traditional ghost look, you can use white chocolate chips for the eyes. But semi-sweet provides a better contrast against the white meringue.
Substitution Notes
If you are allergic to eggs, this recipe is not for you. Meringue is essentially air and sugar held together by egg proteins. There is no true vegan substitute that replicates this specific texture. However, if you want to try, aquafaba (chickpea water) can be whipped into a meringue-like consistency, but it will not achieve the same crispness or stability. Stick to eggs for this one.
Equipment Needed
You don’t need a lot of gear, but the right tools matter.
- Stand Mixer or Hand Mixer: A stand mixer is ideal because it frees up your hands. But a good hand mixer works fine too. Just be ready for a little arm workout.
- Copper Bowl (Optional): Copper bowls are legendary for meringue. They react with the egg whites to create a super stable foam. If you don’t have one, a clean glass or metal bowl works perfectly. Just make sure it’s spotless. Any trace of yolk or oil will ruin the whip.
- Baking Sheets: Two large sheets. I use dark baking sheets because they conduct heat well. Light sheets are fine too, just watch the cookies closely.
- Parchment Paper: Essential. Do not use silicone mats if you can avoid it. They can sometimes cause meringues to spread or stick. Parchment gives you the best release.
- Piping Bag or Ziploc Bag: To shape the ghosts. A large Ziploc bag with the corner cut off works just as well as a fancy piping bag.
- Offset Spatula: Helpful for smoothing out the peaks on the cookies. It gives them that classic meringue swirl.
Troubleshooting Equipment
If your mixer is struggling, stop. Don’t force it. Let the sugar dissolve first. If the bowl is too small, the whites will spill over. Use a bowl that is at least twice the volume of the egg whites.
Preparation Method
Making these crispy ghost meringue cookies with chocolate chip eyes is a lesson in patience. Follow these steps carefully.
Step 1: Prepare the Oven and Pan
Preheat your oven to 200°F (95°C). This low temperature is non-negotiable. Higher heat will brown the cookies and make them soft. Line two baking sheets with parchment paper. Make sure the paper lies flat. No wrinkles.
Step 2: Whip the Egg Whites
In a clean, dry bowl, beat the egg whites on medium speed until they are foamy. This takes about one minute. Add the cream of tartar and the salt. Increase the speed to medium-high. Beat until soft peaks form. This means when you lift the beaters, the peaks curl over. It might take five to seven minutes. Be patient. Don’t rush this stage.
Step 3: Add the Sugar
With the mixer running, slowly add the sugar, one tablespoon at a time. Wait until each tablespoon is fully incorporated before adding the next. This is crucial. If you dump it all in at once, the sugar won’t dissolve, and your cookies will be gritty. This step takes about ten minutes. The meringue should become thick, glossy, and stiff. When you lift the beaters, the peaks should stand straight up, like a rooster’s comb.
Step 4: Add Flavor
Add the vanilla extract. Beat on low speed just to combine. Do not overmix. You don’t want to deflate the air you’ve worked so hard to create.
Step 5: Pipe the Ghosts
Transfer the meringue to a piping bag fitted with a large star tip (or a Ziploc bag). Pipe oval shapes onto the baking sheets. To make them look like ghosts, pipe a larger bottom and a smaller top. Use a wet finger or an offset spatula to smooth the top into a point. It doesn’t have to be perfect. Imperfections add character. Space them two inches apart. They won’t spread, but they need room to breathe.
Step 6: Bake
Place the sheets in the oven. Bake for 90 minutes to 2 hours. The time depends on the humidity in your kitchen. The cookies are done when they pull away easily from the parchment paper. They should feel light as air. If they feel soft or sticky, bake for another 15 minutes.
Step 7: Add the Eyes
While the cookies are still warm (but not hot), place two mini chocolate chips on each ghost for eyes. The residual heat will soften the chips just enough to stick. If the cookies have cooled completely, you can use a tiny dab of melted chocolate to glue them on.
Step 8: Cool and Store
Let the cookies cool completely on the baking sheet. This can take an hour. Once cool, they will be rock hard. Store them in an airtight container.
Cooking Tips & Techniques
Why Humidity Ruins Meringue
Meringue is hygroscopic. It loves water. If it’s a rainy day or your kitchen is humid, your cookies might not crisp up. They might stay soft. If you live in a humid climate, add one tablespoon of cornstarch to the sugar. It helps absorb moisture. Also, leave the oven door slightly ajar while they cool. This lets the moisture escape.
The Glossy Secret
For that shiny, professional look, make sure your sugar is completely dissolved. Rub a little meringue between your fingers. If it feels gritty, keep whipping. If it feels smooth, you’re good. Gritty sugar leads to dull, matte cookies. Smooth sugar leads to glass-like shine.
Don’t Open the Oven
Resist the urge to peek. Every time you open the oven, the temperature drops. This can cause the meringues to crack or collapse. Set a timer. Trust the process.
Common Mistakes
The biggest mistake is using a greasy bowl. Even a tiny drop of oil from the egg yolk can prevent the whites from whipping. Wipe your bowl with vinegar or lemon juice before starting. It removes any hidden oils.
Timing Your Day
Make these in the morning. They need hours to dry. If you make them at night, let them dry overnight in the turned-off oven. This is the easiest method. Just turn the oven off, leave the door cracked, and let them sleep there until morning.
Variations & Adaptations
Flavor Twists
You can change the flavor profile easily. Add 1 teaspoon of citrus zest (lemon or orange) to the meringue. It adds a bright, fresh note that cuts the sweetness. Or try 1/2 teaspoon of almond extract instead of vanilla. Almond meringues are classic and pair beautifully with the chocolate eyes.
Colorful Ghosts
For a spooky Halloween vibe, add a drop of gel food coloring to the meringue. Purple, orange, or green ghosts are fun. Use gel colors, not liquid. Liquid colors add water and can ruin the texture. Gel colors are concentrated and won’t affect the whip.
Dietary Adjustments
As mentioned, this recipe relies on eggs. There is no direct substitution. However, you can use pasteurized egg whites from a carton if you are worried about salmonella. They whip up easily and are safer for young children or pregnant women.
Seasonal Swaps
Instead of chocolate chips, you can use crushed peppermint candies for a winter holiday version. Or white chocolate chips for a Valentine’s Day twist. The base recipe is a blank canvas.
My Personal Favorite
I love adding a pinch of espresso powder to the meringue. It adds a subtle coffee flavor that pairs surprisingly well with the chocolate eyes. It makes the cookies taste like a mocha cloud.
Serving & Storage Suggestions
How to Serve
Serve these crispy ghost meringue cookies with chocolate chip eyes on a white plate. The contrast looks stunning. They are great with coffee or tea. The crispness contrasts nicely with the warmth of the drink. You can also serve them on a tiered stand for parties. They look like they are floating.
Storage
Store in an airtight container at room temperature. They will keep for up to two weeks. If your kitchen is humid, they might soften after a few days. If that happens, pop them in the oven at 200°F for 10 minutes to crisp them back up.
Freezing
You can freeze meringues. Place them in a single layer in a freezer-safe container. They will last for three months. Thaw them at room temperature. They will regain their crispness.
Reheating
If they lose their crunch, reheat them in the oven. Not the microwave. The microwave will make them chewy. The oven will restore the crispness.
Flavor Development
The flavor doesn’t change much over time. But the texture does. They start crisp and stay crisp. They don’t get softer like cookies. This makes them great for advance preparation. Make them a week before the party.
Nutritional Information & Benefits
These cookies are primarily sugar and air. A single ghost meringue contains about 15-20 calories. They are fat-free and gluten-free. This makes them a lighter alternative to traditional cookies.
Health Benefits
While they are a treat, they are lower in calories than butter-based cookies. The egg whites provide a small amount of protein. However, the high sugar content means they should be enjoyed in moderation.
Dietary Considerations
Gluten-free: Yes. Dairy-free: Yes (if using dark chocolate chips). Nut-free: Yes. Vegan: No.
Personal Wellness Perspective
I view these as a mindful treat. Because they are light and airy, you don’t need to eat many to feel satisfied. They encourage slow eating. You savor the crunch. You enjoy the moment. It’s a way to indulge without overdoing it.
Conclusion
These crispy ghost meringue cookies with chocolate chip eyes are more than just a Halloween snack. They are a reminder that simplicity can be powerful. With just a few ingredients, you can create something that delights the senses. The crunch, the taste, the look—it all comes together.
I hope you try this recipe. I hope you hear that snap. I hope you enjoy the quiet moment of eating something so light.
Customize them. Make them yours. Add your own flavors. Change the shapes. But keep the crunch. That’s the soul of this recipe.
Please leave a comment below. Tell me how they turned out. Did they shatter? Did they melt? I love hearing from you. Share your photos on social media and tag me. I want to see your ghosts.
And if you liked this, check out my puff pastry baked brie for a savory contrast, or my crispy buffalo cauliflower bites for a spicy kick.
Happy baking. And watch out for the snap.
Frequently Asked Questions
Why are my meringues soft?
They probably didn’t dry out enough. Check your oven temperature. It needs to be low. Also, make sure you didn’t add too much sugar too quickly. Undissolved sugar holds moisture. Bake longer if they are soft.
Can I use egg yolks?
No. Egg yolks contain fat, which prevents the whites from whipping. You need 100% egg whites. Save the yolks for another recipe, like cheese ball bites or custard.
How do I make them stick to the pan?
They shouldn’t stick. If they do, your parchment paper might be old or greasy. Use fresh parchment. Also, make sure the cookies are completely cool before trying to remove them.
Can I make these ahead of time?
Yes. They are best made a day or two in advance. This allows them to dry out fully. They will stay crisp for up to two weeks in an airtight container.
What if I don’t have a stand mixer?
A hand mixer works fine. It will take longer to whip, maybe 10-15 minutes. But the result will be the same. Just be prepared for a little arm fatigue.
Pin This Recipe!
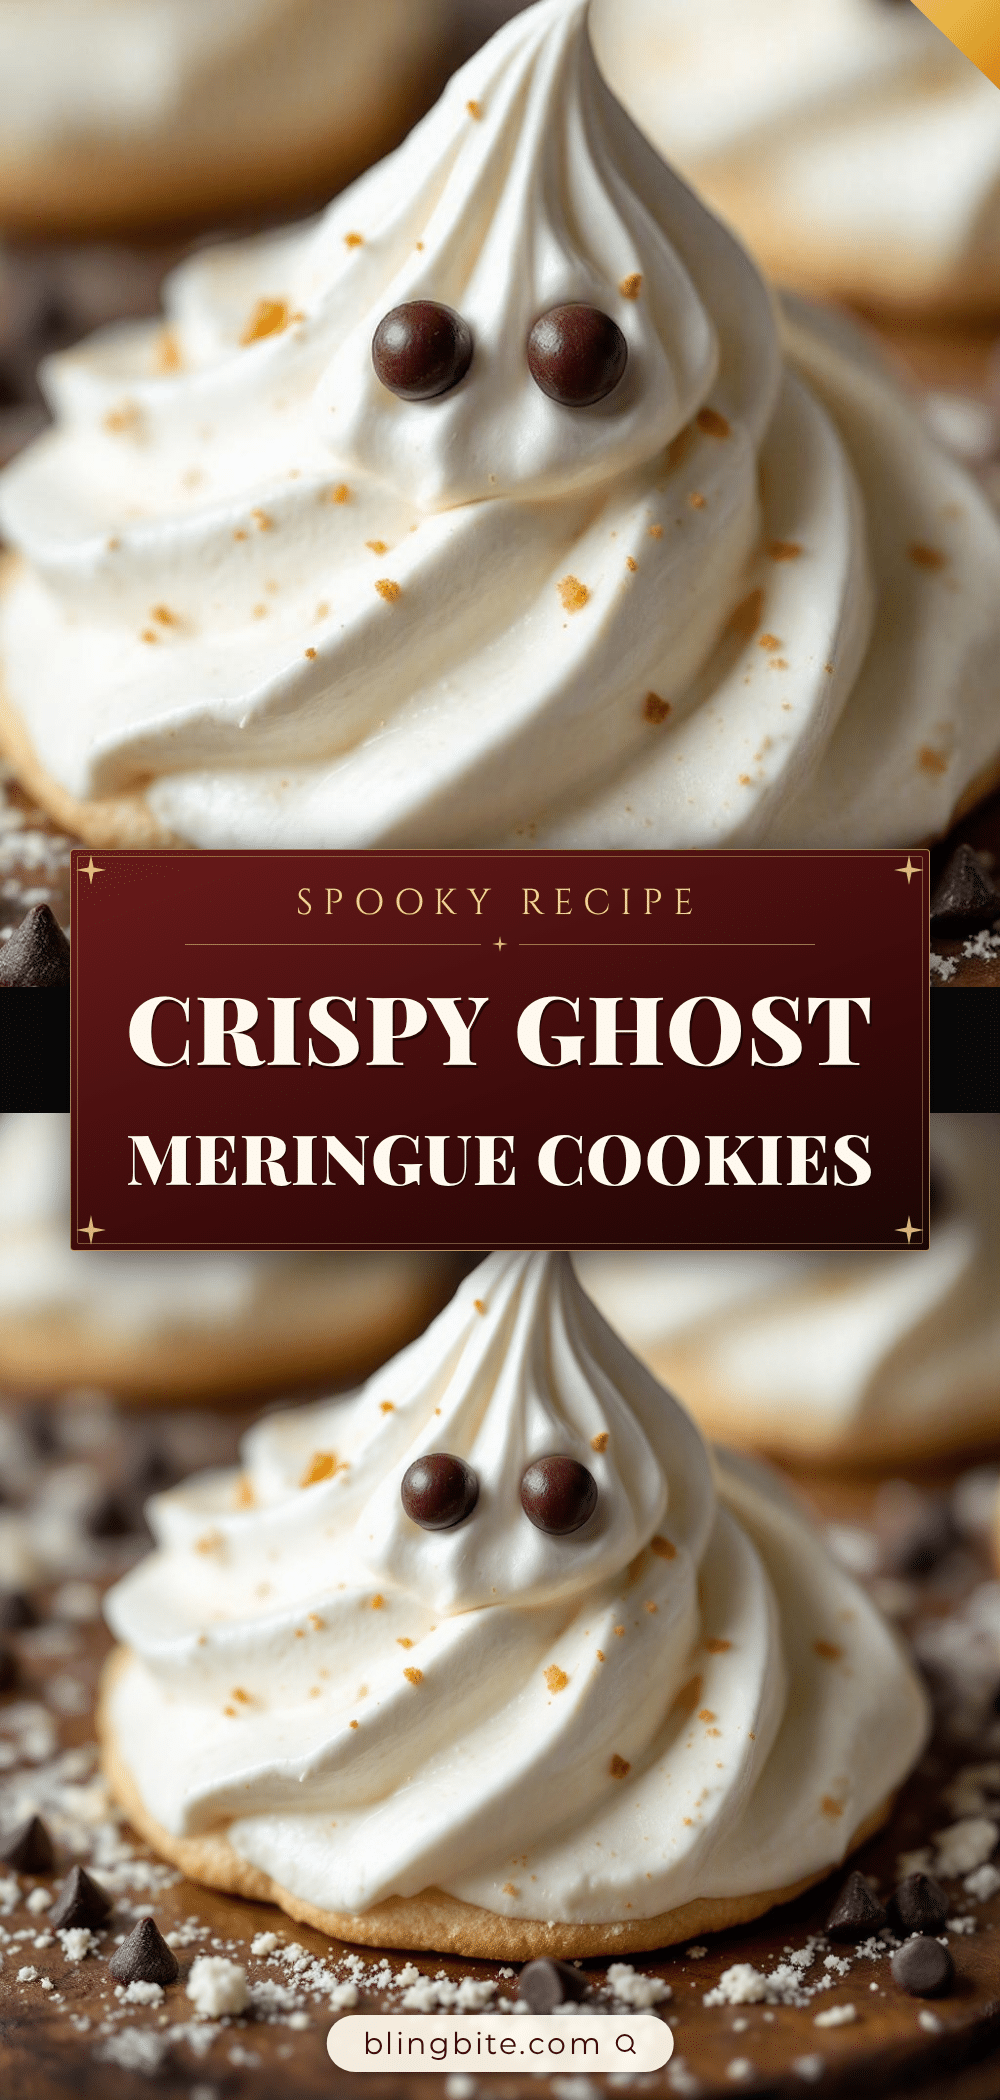
Crispy Ghost Meringue Cookies: Easy Halloween Treat

These crispy ghost meringue cookies with chocolate chip eyes are a light, airy, and shatteringly crisp Halloween treat. Made with simple pantry staples, they offer a satisfying auditory crunch and a delicate sweetness balanced by salty chocolate eyes.
- Prep Time: 10 minutes
- Cook Time: 90-120 minutes
- Total Time: 100-130 minutes
- Yield: Approximately 12-15 cookies 1x
- Category: Dessert
- Cuisine: American
Ingredients
- 3 large egg whites, room temperature
- 3/4 cup (150g) granulated sugar (superfine preferred)
- 1/4 teaspoon cream of tartar
- 1/2 teaspoon vanilla extract
- A tiny pinch of salt
- Mini chocolate chips (semi-sweet or milk) for eyes
Instructions
- Preheat oven to 200°F (95°C). Line two baking sheets with parchment paper.
- In a clean, dry bowl, beat egg whites on medium speed until foamy (about 1 minute).
- Add cream of tartar and salt. Increase speed to medium-high and beat until soft peaks form (5-7 minutes).
- With mixer running, slowly add sugar one tablespoon at a time, waiting for each to incorporate before adding the next (about 10 minutes). Beat until thick, glossy, and stiff peaks form.
- Add vanilla extract and beat on low speed just to combine.
- Transfer meringue to a piping bag fitted with a large star tip (or a Ziploc bag with the corner cut).
- Pipe oval shapes onto baking sheets, creating a larger bottom and smaller top for a ghost shape. Smooth the top with a wet finger or offset spatula. Space cookies 2 inches apart.
- Bake for 90 minutes to 2 hours until cookies pull away easily from parchment and feel light as air.
- While cookies are still warm, place two mini chocolate chips on each for eyes. The residual heat will help them stick.
- Let cookies cool completely on the baking sheet until rock hard.
- Store in an airtight container at room temperature.
Notes
Ensure all equipment is completely clean and free of oil or yolk residue, as fat prevents egg whites from whipping. Do not open the oven during baking to prevent cracking. If your kitchen is humid, add 1 tablespoon of cornstarch to the sugar or leave the oven door slightly ajar while cooling. For best results, make these in the morning or let them dry overnight in the turned-off oven.
Nutrition
- Serving Size: 1 cookie
- Calories: 18
- Sugar: 4
- Sodium: 5
- Carbohydrates: 4
Keywords: Halloween cookies, meringue recipe, ghost cookies, crispy cookies, easy dessert, gluten-free treat, chocolate chip eyes