The orange frosting smeared across the kitchen counter looked less like pumpkin patch art and more like a crime scene. I stared at the tray of misshapen, lopsided marshmallow squares and sighed. It was 4:00 PM on a Tuesday, and the Halloween party was tomorrow. I had promised the kids something “cool” and “not store-bought,” a promise I was rapidly losing hope on keeping.
You know how it goes. You try to be creative, you end up with sticky fingers and a lot of regret. I was about to scrap the whole idea and just buy a bag of fun-sized candy bars when my seven-year-old, Leo, walked in. He didn’t see a mess. He saw potential. He grabbed a spatula and started carving eyes into the gooey mess before I could stop him.
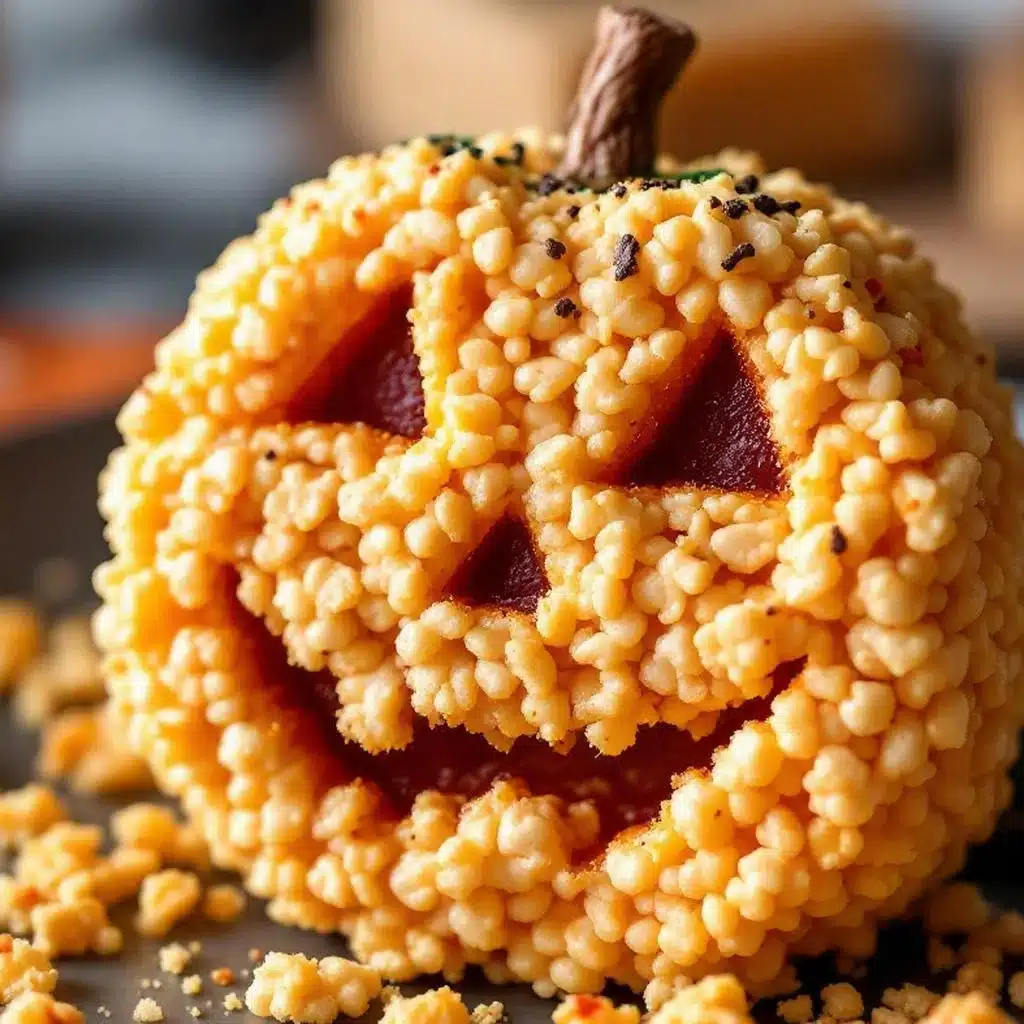
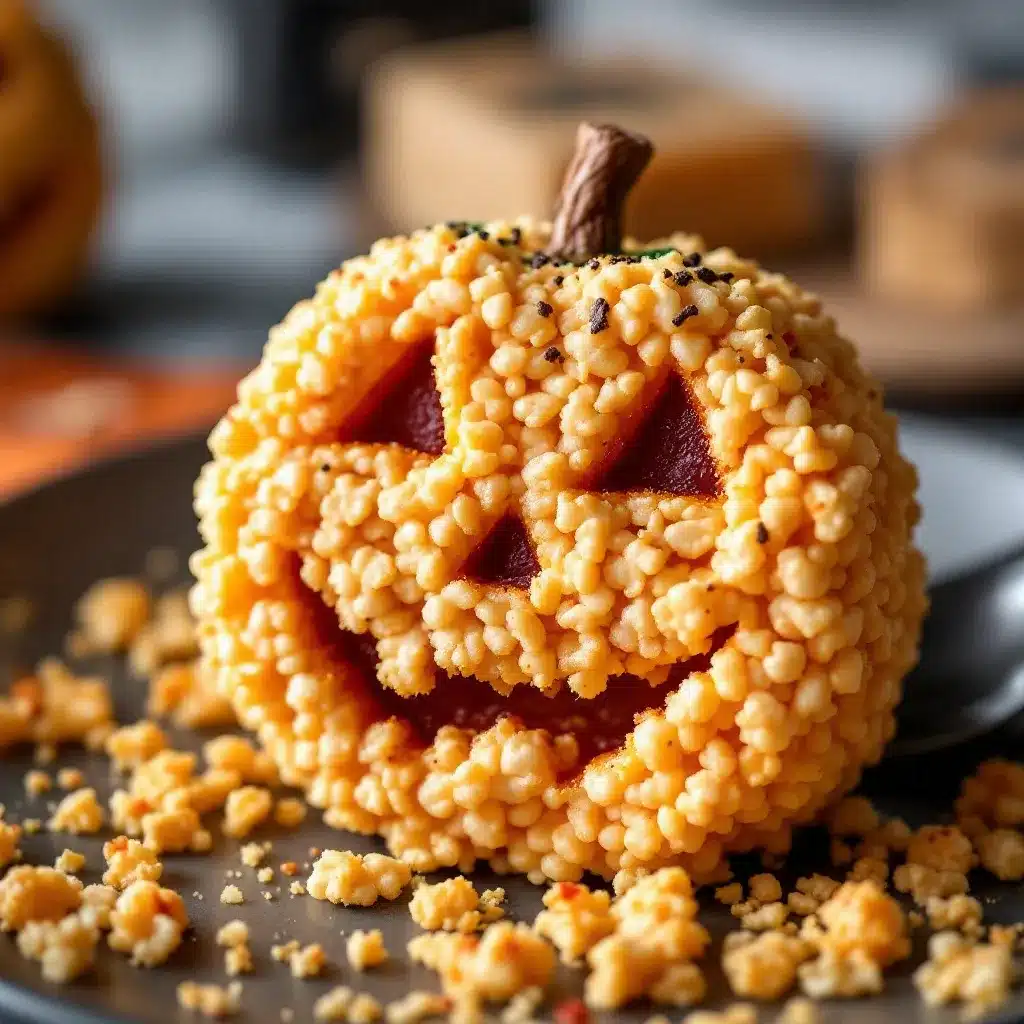
That was the moment the Crispy Jack-O-Lantern Rice Krispie Treats were born. Not from a master plan, but from a happy accident involving a hungry toddler and a lack of patience for perfection. The treats weren’t symmetrical. They were messy. But when we popped them into the oven just long enough to set the orange gel, they turned into actual pumpkins.
I remember walking into the party later that evening, feeling embarrassed by the homemade nature of the dessert. Then I watched a group of teenagers fight over the last square. One of them texted me an hour later asking for the recipe. Honestly? I was surprised. I thought it was just a cute little kid snack. But it turned out to be the kind of treat that bridges the gap between childhood nostalgia and actual good flavor.
It stuck with me because it taught me that you don’t need to be a pastry chef to make something people love. You just need to be willing to get a little messy. Now, every October, this is the first thing I make. It’s quick, it’s cheap, and it always, always gets a reaction.
Why You’ll Love This Recipe
Let’s be real for a second. Most Halloween desserts are all flash and no substance. They look spooky but taste like cardboard or excessive sugar. These treats are different. I’ve tested dozens of variations over the years, from adding pumpkin spice to using brown butter, and I keep coming back to this simple method. It works because it respects the classic flavor while adding a festive twist that actually tastes good.
Here is why this recipe has earned a permanent spot in my rotation:
- Quick & Easy: You can make the entire batch in under 20 minutes. I’m talking real time, not prep-and-bake time. It’s perfect for those busy weeknights when you want to feel like a hero without spending hours in the kitchen.
- Simple Ingredients: You likely have everything in your pantry right now. Rice Krispies, marshmallows, butter, and a few drops of food coloring. No fancy grocery trips or obscure ingredients that sit on your shelf for years.
- Perfect for Parties: Whether it’s a classroom Halloween party, a trick-or-treat drop-off, or a spooky movie night, these are the ideal size. They are easy to hold, not too messy to eat, and visually striking.
- Crowd-Pleaser: Kids love the pumpkin shape, but adults love the nostalgic taste. It’s one of those rare foods that satisfies both generations without compromise.
- Unbelievably Delicious: The key is the texture. When you press the mixture into the pan and then cut it, you get that perfect crisp-chewy balance. The orange gel adds a subtle sweetness that enhances the marshmallow without overwhelming it.
What makes this recipe stand out from the rest is the technique. Many people just dye the marshmallows, which results in a muddy, grayish-orange color. I use a two-step coloring process: orange gel mixed into the butter, and then a tiny bit of red gel mixed into the marshmallows. This creates a vibrant, true pumpkin hue that looks professional. It’s not just another version of Rice Krispie treats; it’s the best version.
This isn’t just a snack. It’s the kind of treat that makes you feel like you’ve put in effort, even when you haven’t. It’s comfort food reimagined for the season.
What Ingredients You Will Need
This recipe relies on the holy trinity of no-bake desserts: cereal, marshmallows, and fat. But the devil is in the details, especially when you want that perfect orange pumpkin color. Here is what you need to gather before you start cooking.
- Unsalted Butter: You’ll need one half-cup (one stick). I recommend using a high-quality brand like Kerrygold or Plugra if you can find it. The butter flavor is a huge part of the taste, so don’t skimp on quality. Melted butter is essential for coating the cereal evenly.
- Large Marshmallows: Get the big, jumbo ones. You need about 10 ounces, which is roughly one standard 10-ounce bag. Using large marshmallows ensures a smoother melt and a better texture than the mini ones. Look for brands like Jet-Puffed for consistent size and meltability.
- Rice Krispies Cereal: Six cups of crispy rice cereal. This is the non-negotiable base. Make sure the box is fresh; stale cereal will make your treats tough and chewy instead of light and airy. You can use generic store brand, but name brands tend to have a more consistent crunch.
- Orange Gel Food Coloring: Gel coloring is crucial. Liquid food coloring adds too much water, which can make the marshmallows sticky and prevent them from setting properly. Use a concentrated orange gel for a bright, true pumpkin color. I prefer Americolor or Wilton gels because they are potent and don’t alter the texture.
- Red Gel Food Coloring (Optional): Just a tiny dab of red gel. This is the secret weapon. Mixing a small amount of red into the orange gel deepens the color, making it look more like a real pumpkin rather than a bright orange highlighter.
- Non-Stick Cooking Spray: You will need this to coat your hands and your pan. Marshmallow is sticky. Like, really sticky. Don’t skip this step, or you will be pulling treats out of your hair later.
If you need to substitute, you can use margarine instead of butter, but the flavor won’t be as rich. For a dairy-free version, use a vegan butter alternative and dairy-free marshmallows, though the texture might be slightly different. Also, in the summer, the heat might make these sets slower, so keep them in the fridge while you work.
Equipment Needed
You don’t need a lot of fancy gear for this, but having the right tools will save you a lot of frustration.
- 8×8 Inch Baking Pan: A standard metal or glass pan works best. Avoid dark non-stick pans if you are planning to pop them in the oven briefly, as they can get too hot. A light-colored metal pan is ideal for even heating.
- Large Heavy-Bottomed Pot: A 4-quart saucepan is perfect. You need enough volume to melt the marshmallows without them boiling over. A heavy bottom prevents the sugar from burning at the base of the pot.
- Spatula: Get a sturdy silicone spatula. You need one that can scrape the sides of the pot and fold the cereal in without bending. A wooden spoon works, but silicone is easier to clean.
- Baking Sheet or Cutting Board: For transferring the treats out of the pan. A large baking sheet makes it easier to lift the whole block out at once.
- Parchment Paper: Line your pan with parchment paper, leaving an overhang on the sides. This is the best way to lift the treats out cleanly without sticking. It also makes cleanup a breeze.
- Chef’s Knife or Pizza Cutter: A sharp chef’s knife gives you clean cuts. Alternatively, a pizza cutter works wonders for slicing through the sticky cereal without dragging it apart. Just wipe the blade between cuts.
If you don’t have an 8×8 pan, you can use a 9×9 or even a 9×13, but the treats will be thinner. Thinner treats set faster but can become brittle. I stick to 8×8 for the perfect chewy thickness.
Preparation Method
Making these treats is straightforward, but timing is everything. Marshmallows burn quickly, and cereal goes stale if you wait too long. Here is how to do it right.
Step 1: Prep Your Pan
Line your 8×8 inch baking pan with parchment paper. Leave a few inches of overhang on the long sides so you can lift the treats out later. Spray the parchment generously with non-stick cooking spray. You want a thin, even coat. This step is critical because marshmallow sticks to everything.
Step 2: Melt the Butter and Color
Place your large saucepan over medium-low heat. Add the half-cup of butter. Let it melt slowly. Once melted, remove the pan from the heat immediately. Stir in the orange gel food coloring and the tiny dab of red gel. Mix until the butter is a uniform orange color. Working off the heat prevents the butter from splattering and keeps the color vibrant.
Step 3: Melt the Marshmallows
Return the pan to low heat. Add the marshmallows. Stir constantly. This is the tedious part, but it’s necessary. You want the marshmallows to melt evenly. If you see them starting to brown, turn the heat down. Once they are mostly melted and smooth, remove from heat again. This should take about 3-5 minutes. Do not rush this step with high heat, or you will get hard, caramelized bits.
Step 4: Combine with Cereal
Add the six cups of Rice Krispies to the marshmallow mixture. Use your spatula to fold the cereal in. You want every piece coated. This happens fast, so work quickly before the marshmallow starts to firm up. It might look like there isn’t enough marshmallow at first, but keep folding. It will come together.
Step 5: Press into Pan
Spray your hands with cooking spray. Transfer the mixture into the prepared pan. Press it down firmly and evenly. Use the bottom of a measuring cup or your hands to flatten the top. Don’t press so hard that you crush the cereal, but make sure there are no air pockets. If you want, you can sprinkle a few extra marshmallows on top for decoration.
Step 6: Set and Cut
Let the treats cool at room temperature for about 30 minutes. They need to firm up. Once set, lift the block out using the parchment overhang. Place it on a cutting board. Use a sharp knife or pizza cutter to cut into squares. I recommend cutting them into 1.5-inch squares for bite-sized party portions.
Step 7: Carve the Jack-O-Lanterns
This is the fun part. Take a small paring knife or a toothpick. Draw a face on each square. You can do simple triangles for eyes and a jagged mouth, or get creative. The goal is to remove a thin layer of the cereal surface to create depth. If you want a more defined look, you can dip the tips of the squares in orange icing, but the carved look is classic and easy.
Cooking Tips & Techniques
I’ve made these treats enough times to know where people go wrong. Here is how to avoid the common pitfalls.
- Don’t Overheat the Marshmallows: This is the biggest mistake. Marshmallows contain sugar and air. If you cook them too long, the air escapes, and the sugar caramelizes. You end up with hard, chewy treats instead of light and fluffy ones. Low and slow is the way to go.
- Use Gel Coloring: I can’t stress this enough. Liquid food coloring adds water. Water is the enemy of Rice Krispie treats because it makes them sticky and prevents them from setting. Gel coloring adds flavor and color without the moisture.
- Work Fast: Once you add the cereal to the marshmallows, the mixture starts to cool and firm up. You need to fold it in and press it into the pan quickly. If it starts to get too stiff, you can put it back on low heat for 10 seconds to soften it up.
- Grease Everything: Your spatula, your hands, your knife, your pan. If it touches marshmallow, it needs to be greased. I keep a can of cooking spray right next to the stove for this reason.
- Let Them Cool: If you try to cut them while they are warm, they will be a sticky mess. Let them cool completely for the cleanest cuts. If you are in a hurry, you can put them in the fridge for 15 minutes, but room temperature is best for texture.
Another tip: if you want to add a bit of crunch, you can mix in a handful of mini chocolate chips or orange sprinkles before pressing them into the pan. It adds a nice visual contrast and a bit of extra flavor.
Variations & Adaptations
While the classic orange pumpkin is the star, there are plenty of ways to tweak this recipe.
Chocolate Jack-O-Lanterns
For a richer treat, stir in half a cup of mini chocolate chips into the marshmallow mixture before adding the cereal. The chocolate adds a decadent layer that pairs well with the crispy cereal. This is great for Halloween parties that lean more towards sweet-tooth cravings.
Pumpkin Spice Twist
Add a quarter teaspoon of pumpkin pie spice to the melted butter before adding the marshmallows. It gives a subtle autumn flavor that is more sophisticated than just plain sugar. This works especially well if you serve them alongside a cup of hot cider.
Gluten-Free Option
Most Rice Krispies are not gluten-free due to cross-contamination, but you can use a certified gluten-free crispy rice cereal. The process remains the same. Just ensure your marshmallows and food coloring are also certified gluten-free if you are catering to someone with celiac disease.
Mini Bites
Instead of pressing the mixture into a pan, roll it into small balls. Dip the bottom in orange icing or melt white chocolate and dip the whole ball. These are perfect for one-bite party snacks and are less messy to eat.
Vegan Version
Use vegan butter and vegan marshmallows (like Dandies). The technique is identical. Vegan marshmallows can be slightly harder to melt, so you might need to add a tablespoon of water to help them come together smoothly.
Serving & Storage Suggestions
These treats are best served at room temperature. Cold treats can become too hard, and warm treats can be too sticky. Keep them in a single layer on a platter for parties.
For storage, keep them in an airtight container at room temperature. They will stay fresh for up to three days. If you need to make them ahead, you can prepare the base mixture up to two days in advance and store it in the fridge. Let it come to room temperature before cutting and carving.
Avoid storing them in the freezer if possible, as the cereal can lose its crunch over time. If you must freeze them, wrap them tightly in plastic wrap and foil. Thaw them in the refrigerator overnight.
These treats pair well with hot beverages like coffee, hot chocolate, or apple cider. They are also a great contrast to savory Halloween snacks, like my crispy buffalo cauliflower bites, which offer a spicy, savory counterpoint to the sweet treats.
Nutritional Information & Benefits
While these are definitely a treat, it’s good to know what you’re eating. Each square (approx. 1.5 inches) contains about 150-180 calories, depending on the size. The primary sources of calories are sugar from the marshmallows and carbohydrates from the rice cereal.
There is some protein from the marshmallows and a small amount of fat from the butter. They are not a health food, but they are a fun, occasional indulgence. For dietary considerations, they are naturally nut-free, which is a huge plus for school parties or community events with nut allergies. However, they are not gluten-free unless you use certified gluten-free cereal.
I always encourage moderation. These are perfect for Halloween, but not something I’d eat every day. Balance them with some healthy snacks earlier in the day.
Conclusion
Making Crispy Jack-O-Lantern Rice Krispie Treats is less about the recipe and more about the memory. It’s about the sticky fingers, the laughter, and the pride of seeing a kid’s face light up when they see their pumpkin treat. It’s a simple recipe, but it delivers big on fun and flavor.
I encourage you to try it and make it your own. Add sprinkles, change the faces, or mix in chocolate. The possibilities are endless. I love this recipe because it brings people together, even if just for a few minutes in the kitchen.
If you make these, I’d love to see them. Share your creations on social media or leave a comment below with your favorite Jack-O-Lantern face design. Let’s make this Halloween sweet and spooky. Happy carving!
FAQs
Can I use mini marshmallows instead of jumbo ones?
Yes, but you will need more volume. A 10-ounce bag of jumbo marshmallows is roughly equivalent to 20 ounces of mini marshmallows. The melt time might be slightly shorter, so watch them closely.
Why are my treats too hard?
This usually happens if the marshmallows are overcooked. High heat caramelizes the sugar, making the treats chewy and hard. Always use low heat and stir constantly.
How do I keep the treats from sticking to my hands?
Spray your hands with non-stick cooking spray or coat them lightly with butter. This creates a barrier that prevents the sticky marshmallow from adhering to your skin.
Can I make these ahead of time?
Yes, you can make the base up to two days in advance. Store it in the fridge in an airtight container. Let it come to room temperature before cutting and carving for the best texture.
What is the best way to cut the treats cleanly?
Use a sharp chef’s knife or a pizza cutter. Wipe the blade with a paper towel between cuts to remove any sticky residue. This ensures clean edges and prevents the treats from tearing.
Pin This Recipe!
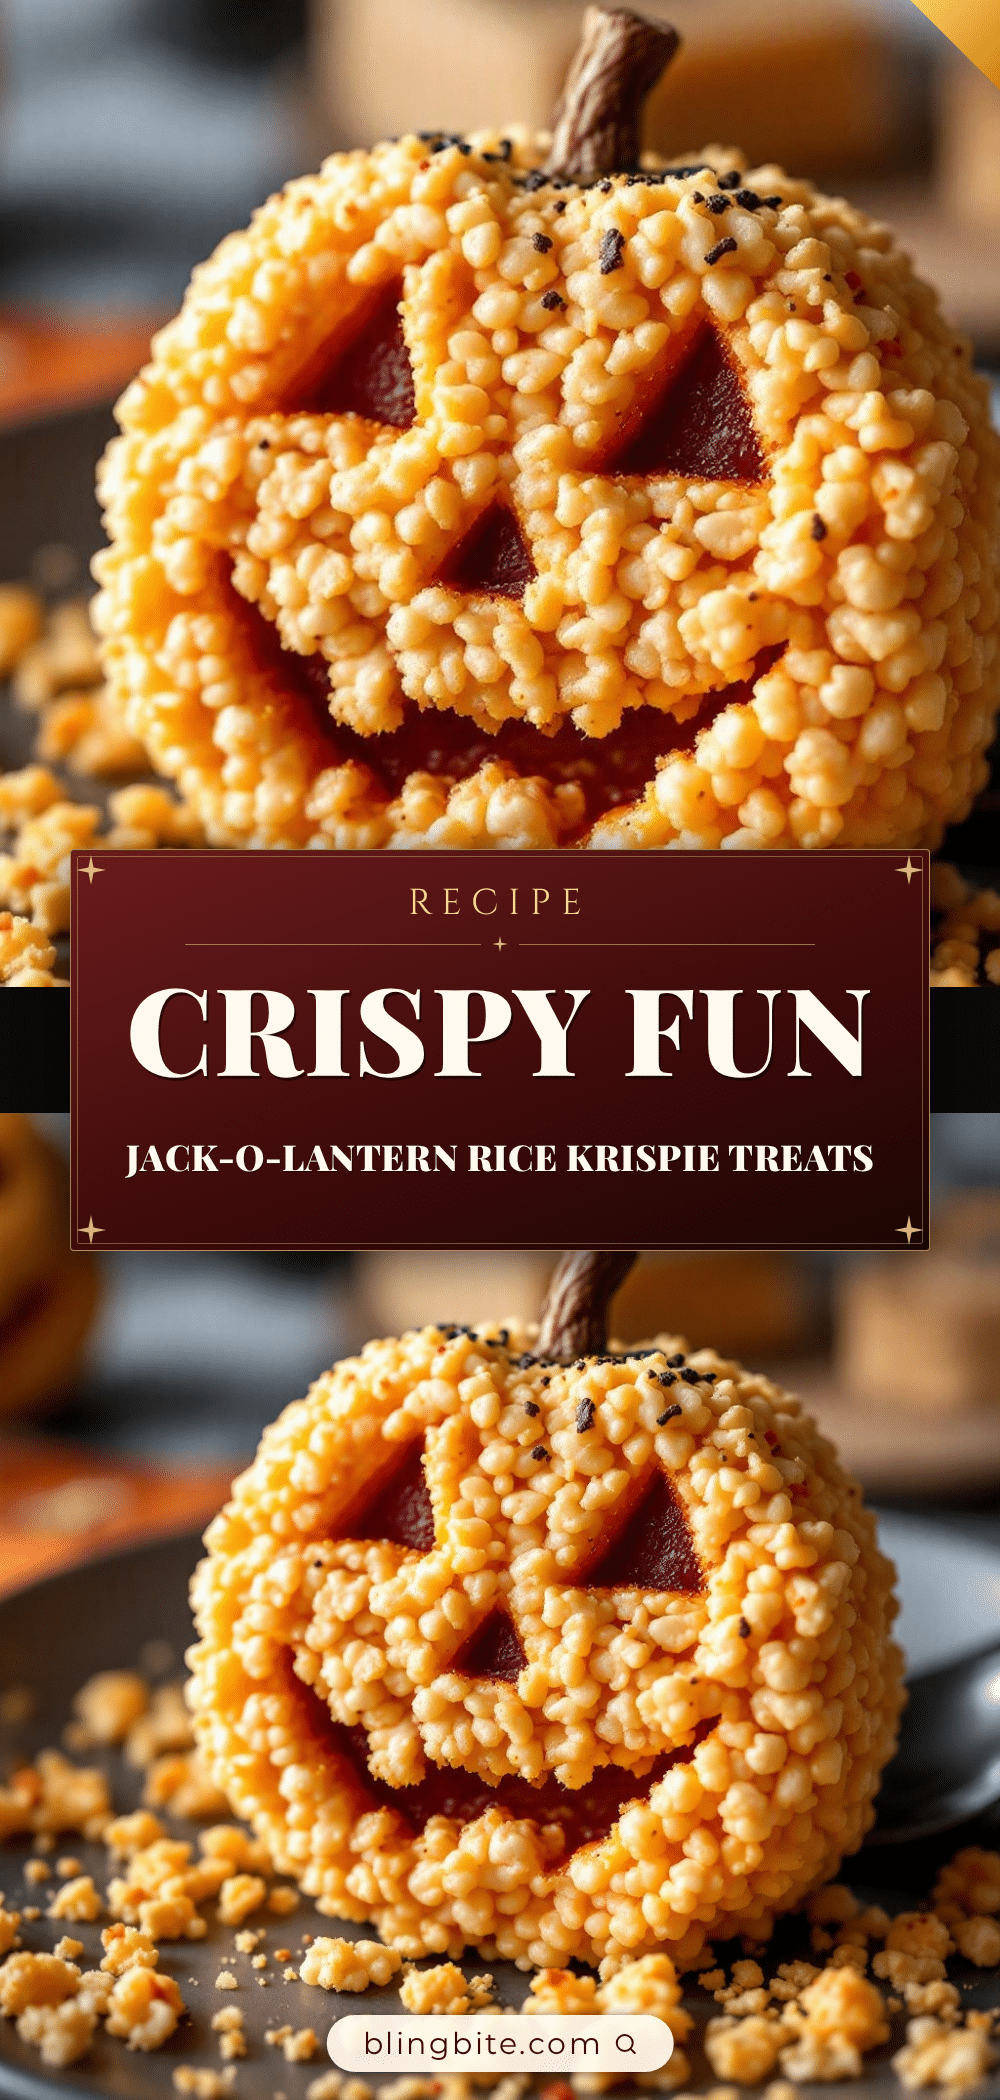
Crispy Jack-O-Lantern Rice Krispie Treats: Easy Halloween Dessert
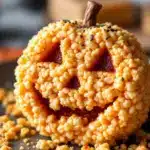
A festive, no-bake Halloween dessert featuring crispy rice cereal treats dyed with a two-step gel coloring process to create vibrant, carved Jack-O-Lantern shapes. Quick, easy, and perfect for parties.
- Prep Time: 10 minutes
- Cook Time: 10 minutes
- Total Time: 20 minutes
- Yield: 16 servings 1x
- Category: Dessert
- Cuisine: American
Ingredients
- 1/2 cup (1 stick) unsalted butter
- 10 ounces large marshmallows (approx. 1 standard bag)
- 6 cups Rice Krispies cereal
- Orange gel food coloring
- Red gel food coloring (optional, for deeper hue)
- Non-stick cooking spray
Instructions
- Line an 8×8 inch baking pan with parchment paper, leaving an overhang on the sides, and spray generously with non-stick cooking spray.
- Place a large heavy-bottomed pot over medium-low heat and melt the butter.
- Remove the pan from heat and stir in the orange gel food coloring and a tiny dab of red gel until the butter is uniformly orange.
- Return the pan to low heat and add the marshmallows. Stir constantly until melted and smooth (about 3-5 minutes). Do not let them brown.
- Remove from heat and immediately add the Rice Krispies cereal. Fold quickly with a silicone spatula until every piece is coated.
- Spray your hands with cooking spray and transfer the mixture to the prepared pan. Press down firmly and evenly to remove air pockets.
- Let the treats cool at room temperature for about 30 minutes until firm.
- Lift the block out using the parchment overhang and place on a cutting board.
- Cut into 1.5-inch squares using a sharp chef’s knife or pizza cutter.
- Carve faces into the squares using a small paring knife or toothpick to create the Jack-O-Lantern look.
Notes
Use gel food coloring instead of liquid to prevent the treats from becoming sticky. Work quickly when combining cereal with marshmallows as the mixture firms up fast. If treats are too hard, they were likely overcooked; use low heat. For a vegan version, use vegan butter and marshmallows.
Nutrition
- Serving Size: 1 square (approx. 1.
- Calories: 165
- Sugar: 22
- Sodium: 120
- Fat: 6
- Saturated Fat: 3.5
- Carbohydrates: 28
- Protein: 2
Keywords: Halloween, Rice Krispie Treats, Jack-O-Lantern, No-Bake, Kids Recipe, Party Snack, Pumpkin Dessert