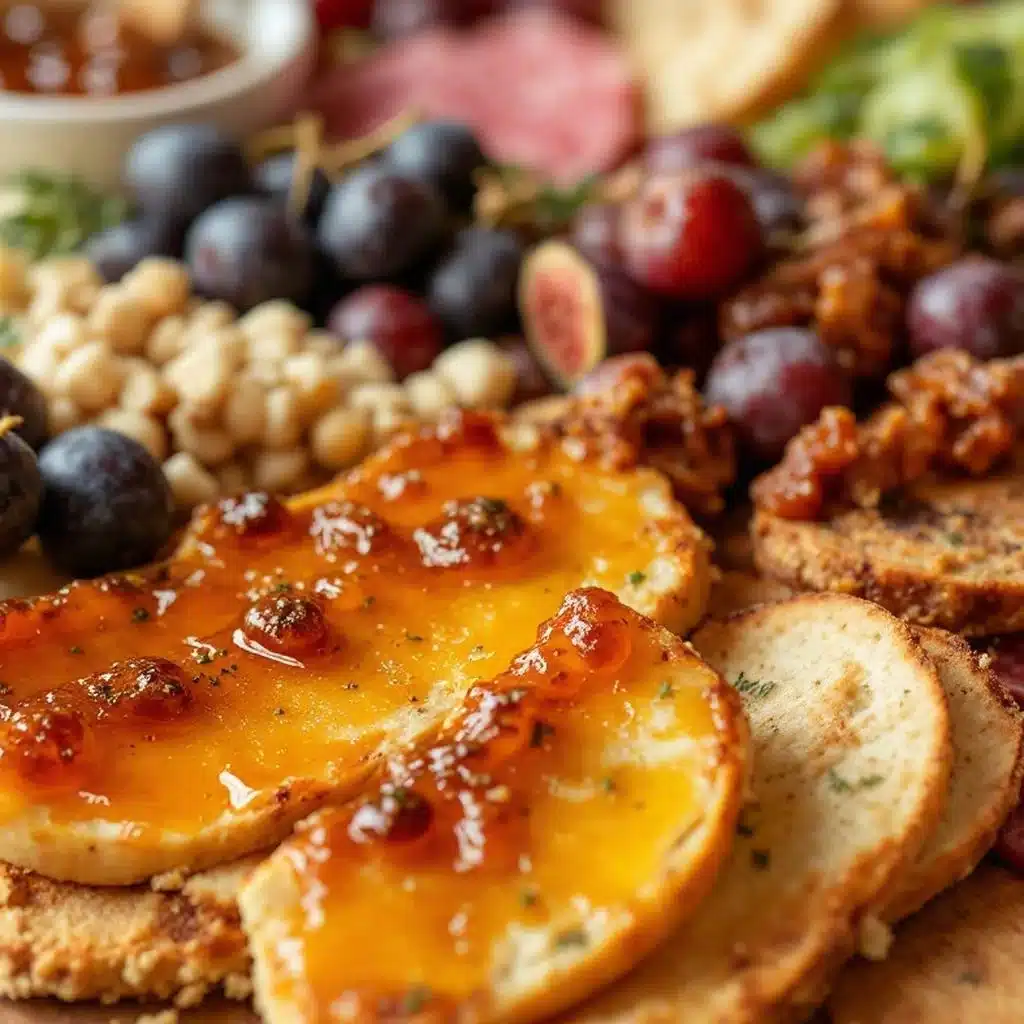
I figured arranging a charcuterie board would be an exercise in minimalist perfection. You know, the kind where everything sits in perfect geometric harmony, looking like it was photographed by a professional before the cheese even touched the air. It took about ten minutes for that illusion to collapse completely under the weight of my own indecision. I stared at a pile of prosciutto that kept curling up like a shy fern, and a wheel of brie that looked suspiciously like a decorative paperweight. The reality of building a board is less about architectural precision and more about happy accidents. You start with a protein, then you panic about the gaps, and suddenly you’re stuffing crackers into every available nook just to hide the empty spaces. Honestly, the best boards aren’t the ones that look like a museum exhibit. They are the ones that look like someone actually wanted to eat them. This approach to a Easy Build-Your-Own Charcuterie Board embraces the chaos. It’s about giving your guests a playground rather than a display case. I’ve learned that when you leave room for improvisation, the food tastes better because it feels personal. There is a quiet satisfaction in watching people grab what they want and mix flavors I never would have thought of. It’s less about serving and more about sharing the table.
Why You’ll Love This Recipe
Building a board from scratch is one of those culinary tasks that feels fancy but is actually just organized snacking. I’ve tested dozens of arrangements over the years, and the ones that get the most compliments are never the most complicated. They are the ones that invite interaction. Here is why this method works so well for home cooks:
- Zero Stress Cooking: There is no active cooking time here. You are assembling, not sautéing. This is perfect for when you want to look impressive but don’t want to spend your entire evening standing over a stove.
- Pantry Friendly: You likely have half the items already in your kitchen. Cheese, crackers, nuts, and fruit are staples. If you are missing something, a quick run to the store is all it takes.
- Perfect for Any Crowd: Whether you are hosting a holiday party or a casual Friday night hang, this setup works. It scales up or down easily, which means you don’t have to worry about feeding a crowd or wasting leftovers.
- Always a Crowd-Pleaser: People love to customize their bites. It removes the pressure of guessing what everyone else likes. Kids can stick to cheese and grapes; adults can go for the spicy salami and dark chocolate.
- Unbelievably Delicious: The combination of salty, sweet, crunchy, and creamy creates a flavor profile that is just next-level comfort food. It’s savory satisfaction in every bite.
What makes this recipe different is the freedom it offers. Most tutorials tell you to follow strict rules about spacing and color. I say ignore that. The magic happens when you let your guests mix the puff pastry baked brie with a crisp cracker and some tart fruit. It’s not just good food—it’s the kind of setup that makes you relax because you know everyone is happy. It’s comfort food reimagined as a social experience. Perfect for impressing guests without the stress of plating individual dishes.
What Ingredients You Will Need
This recipe uses simple, wholesome ingredients to deliver bold flavor and satisfying texture without the fuss. The key is variety in texture and saltiness. You want a mix of hard and soft cheeses, cured meats that are thin and delicate, and crunchy elements to break up the softness. You can buy these items pre-sliced to save time, or buy whole pieces and slice them yourself for a more rustic look. Here is what you will need to gather:
For the Cheeses
- Hard Cheese: Aged cheddar or manchego, cubed or sliced. (Adds a sharp, salty punch)
- Soft Cheese: Cream cheese or brie, whole or sliced. (Provides a creamy contrast)
- Blue Cheese: Gorgonzola crumbles or a wedge of Roquefort. (For those who love a bold flavor)
For the Meats
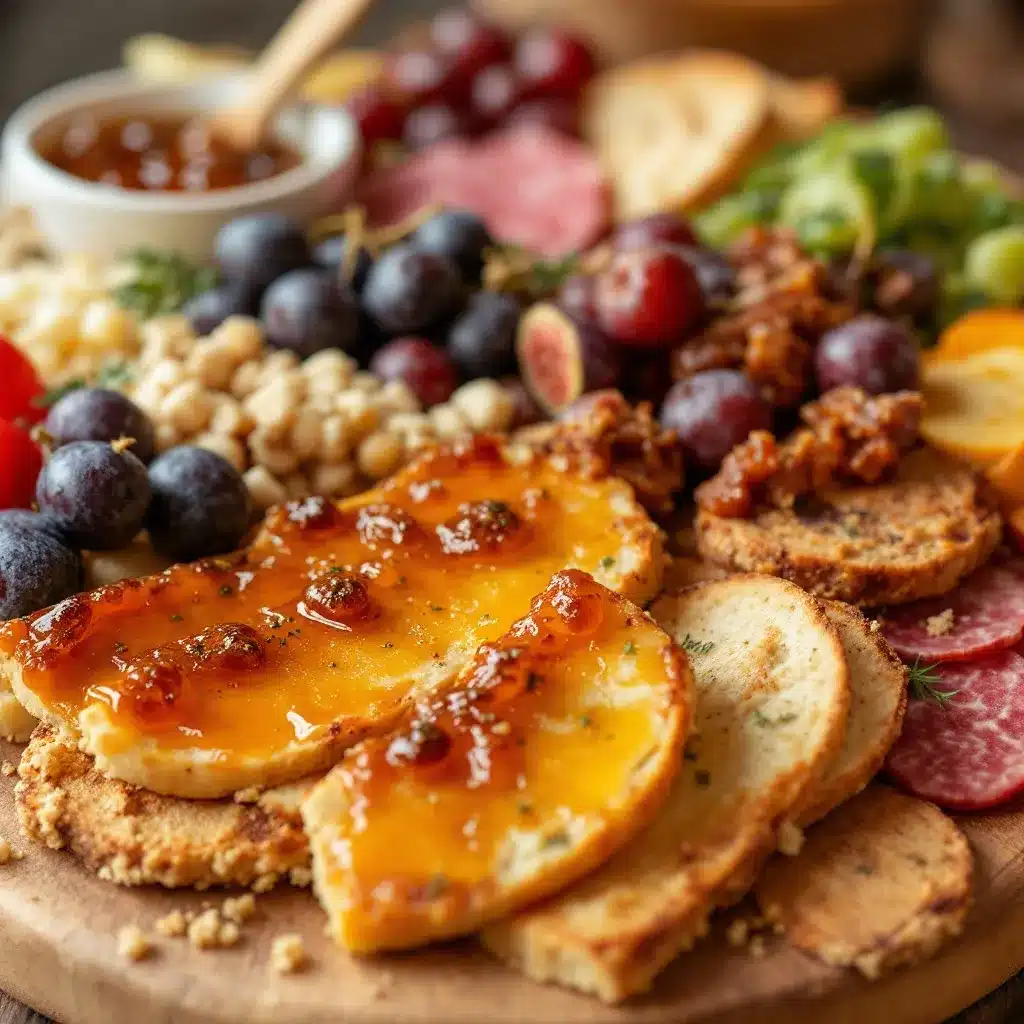
- Cured Sausage: Salami or pepperoni, thinly sliced. (Fold these for visual appeal)
- Prosciutto: Thinly sliced, folded into rosettes. (Adds elegance and saltiness)
- Bacon: Crispy cooked bacon, broken into pieces. (Adds a smoky crunch)
For the Crunch and Sweetness
- Crackers: Water crackers, baguette slices, or pretzel crisps. (The vehicle for the toppings)
- Nuts: Almonds, walnuts, or pistachios. (Adds protein and texture)
- Fresh Fruit: Grapes, apple slices, or figs. (Balances the saltiness)
- Dried Fruit: Apricots or cranberries. (Adds chewiness and sweetness)
- Pickles: Cornichons or olives. (Adds a acidic kick)
I recommend getting your cheese from a local deli if you can. The quality is usually better, and the staff can give you great pairing suggestions. Look for firm, small-curd cheeses for better slicing. In summer, swap in fresh berries instead of dried fruit to keep things light. You can use almond flour crackers for a gluten-free option, or swap the meats for smoked tofu if needed. Keep this section scannable and easy to shop from.
Equipment Needed
You don’t need a lot of fancy tools to build a great board. The most important piece of equipment is your surface. A large wooden cutting board, a slate platter, or even a clean marble countertop works well. I prefer wood because it warms up the presentation and feels inviting. If you don’t have a large board, use multiple small plates and group them together on the table.
You will also need a sharp chef’s knife for slicing cheeses and fruits. A cheese knife with a hole in the blade is useful for hard cheeses, but a regular knife works fine. Small bowls or ramekins are helpful for holding dips, olives, or nuts so they don’t roll away. I always keep a few small spoons handy for serving dips. If you are serving a lot of hard cheese, a cheese plane makes slicing much faster and more uniform than a knife. For budget-friendly options, thrift stores often have beautiful vintage trays or plates that work perfectly for this. Just make sure everything is clean and dry before you start arranging.
Preparation Method
Building the board is a process of layering. You want to create height and visual interest. Follow these steps to assemble your masterpiece.
- Prepare Your Surface (5 minutes): Choose your board or platter. Wipe it down to ensure it is clean. If using wood, make sure it is dry to prevent slipping. Place your board in the center of the table or on a stable surface where you can work comfortably.
- Place the Cheeses (10 minutes): Start by placing your cheeses on the board. Leave space between them. If using wedges, place them point-out. If using cubes, stack them slightly to create height. This step takes about 10 minutes if you are slicing everything yourself. For pre-sliced cheese, just arrange them in small piles.
- Add the Meats (10 minutes): Next, add your cured meats. Don’t just lay them flat. Fold slices in half or roll them loosely. Tuck them into the spaces between cheeses. This adds volume and makes the board look fuller. You can also drape slices over the edge of the board for a cascading effect.
- Fill the Gaps with Crunch (10 minutes): Now, add your crackers and bread. Place them in clusters rather than spreading them out evenly. This creates natural groupings for guests to grab from. Add nuts and dried fruits in small piles or scatter them loosely. This step should take about 10 minutes.
- Add Fresh Elements (10 minutes): Place your fresh fruit and pickles. Grapes can be left on the vine for a rustic look. Apple slices should be arranged in a fan shape to prevent browning. Add olives or pickles in small bowls to keep them contained. This takes about 10 minutes.
- Final Touches (5 minutes): Add any edible flowers, herbs, or drizzles of honey. Taste test a few combinations to ensure the flavors work well together. Make any final adjustments to spacing. This step takes about 5 minutes.
Total time: Approximately 40-50 minutes. The key is to work in layers. Start with the biggest items and fill in the smaller details. If you find a large empty space, add a small bowl of dip or a cluster of nuts. Don’t be afraid to move things around until it feels balanced.
Cooking Tips & Techniques
There are a few tricks I’ve learned over the years that make this process easier and the result better. First, let your cheese come to room temperature before serving. Cold cheese loses its flavor and aroma. Take it out of the fridge about an hour before you plan to eat. Second, use different shapes for your cuts. Cubes, slices, and wedges create visual variety. If everything is sliced the same way, the board looks flat. Third, consider the flavor balance. If you have a very salty cheese, add a sweet fruit like honey or figs. If you have a mild cheese, add something spicy like jalapeños or hot honey. I once made a board with only mild cheeses and it tasted boring. Adding a spicy pepperoni fixed it completely. Another common mistake is overcrowding. Leave some negative space. It looks more elegant and makes it easier for guests to grab items. Also, keep a damp cloth nearby to wipe your fingers and the board as you work. It keeps everything looking fresh and clean.
Variations & Adaptations
You can adapt this board to suit any diet or theme. Here are a few ideas:
- Vegetarian Option: Skip the meats and add more cheese, nuts, and roasted vegetables. Try adding roasted red pepper hummus for a colorful and flavorful dip.
- Gluten-Free Option: Use gluten-free crackers, rice cakes, or sliced vegetables like cucumber and bell peppers as the base.
- Dairy-Free Option: Use dairy-free cheese alternatives and focus on nuts, fruits, and cured meats. Or go fully plant-based with creamy dirty martini whipped feta dip made with cashews.
- Seasonal Twist: In the fall, add spiced nuts, pear slices, and apple butter. In the spring, use fresh strawberries, mint, and light cheeses.
I once tried a board with only spicy ingredients, and it was too intense. Balancing heat with sweetness is key. You can also customize the board based on what is on sale. If you have leftover spicy pimento cheese stuffed jalapeño bits, add them as a unique centerpiece. The flexibility is what makes this recipe so useful.
Serving & Storage Suggestions
Serve the board at room temperature for the best flavor. Arrange it on the table about 30 minutes before guests arrive to allow the cheese to warm up. Pair it with a glass of red wine or a crisp white wine. You can also serve it with a light beer or sparkling water. For storage, any leftovers should be wrapped tightly in plastic wrap or stored in an airtight container. Cheese can be kept in the fridge for 3-5 days. Meats should be consumed within 3-4 days. Fresh fruit can be stored separately to prevent moisture from making crackers soggy. Reheating is not recommended for most items, but you can warm up nuts in the oven for a few minutes to restore their crunch. Flavors develop over time, so the board might taste different the next day, but it is still delicious.
Nutritional Information & Benefits
This board is high in protein and healthy fats, making it a satisfying snack. Cheese provides calcium and protein, while nuts offer healthy fats and fiber. Fresh fruits add vitamins and antioxidants. However, it is also high in sodium and calories, so portion control is important. It is not suitable for low-sodium diets unless you choose low-sodium meats and cheeses. It is naturally gluten-free if you use gluten-free crackers. From a wellness perspective, sharing food promotes social connection, which is good for mental health. Enjoy it mindfully and savor the flavors.
Conclusion
Building your own charcuterie board is a fun and flexible way to host. It allows you to be creative and share food in a relaxed way. I love this recipe because it takes the stress out of party planning. You can customize it to your taste and budget. I encourage you to try different combinations and find what works best for you. Don’t be afraid to experiment with flavors you might not normally pair. Share your creations and let me know how it turned out. Leave a comment below with your favorite combination. Thanks for reading, and happy snacking!
FAQs
How far in advance can I prepare the charcuterie board?
You can prepare the board up to 2 hours in advance. However, it is best to add fresh fruit and crackers just before serving to keep them crisp and fresh.
Can I use pre-sliced cheese and meats?
Absolutely. Pre-sliced items save time and are perfectly fine. For a more rustic look, you can re-fold or rearrange them slightly.
What drinks pair best with a charcuterie board?
Red wine, white wine, and light beers are classic choices. Sparkling water or lemonade also work well for non-alcoholic options.
How do I prevent the cheese from drying out?
Keep the cheese covered with plastic wrap or a damp cloth if it is sitting out for more than an hour. Bringing it to room temperature before serving also helps retain moisture.
Can I make this board vegetarian?
Yes, simply omit the meats and add more cheese, nuts, fruits, and dips. You can also add roasted vegetables for extra substance.
Pin This Recipe!
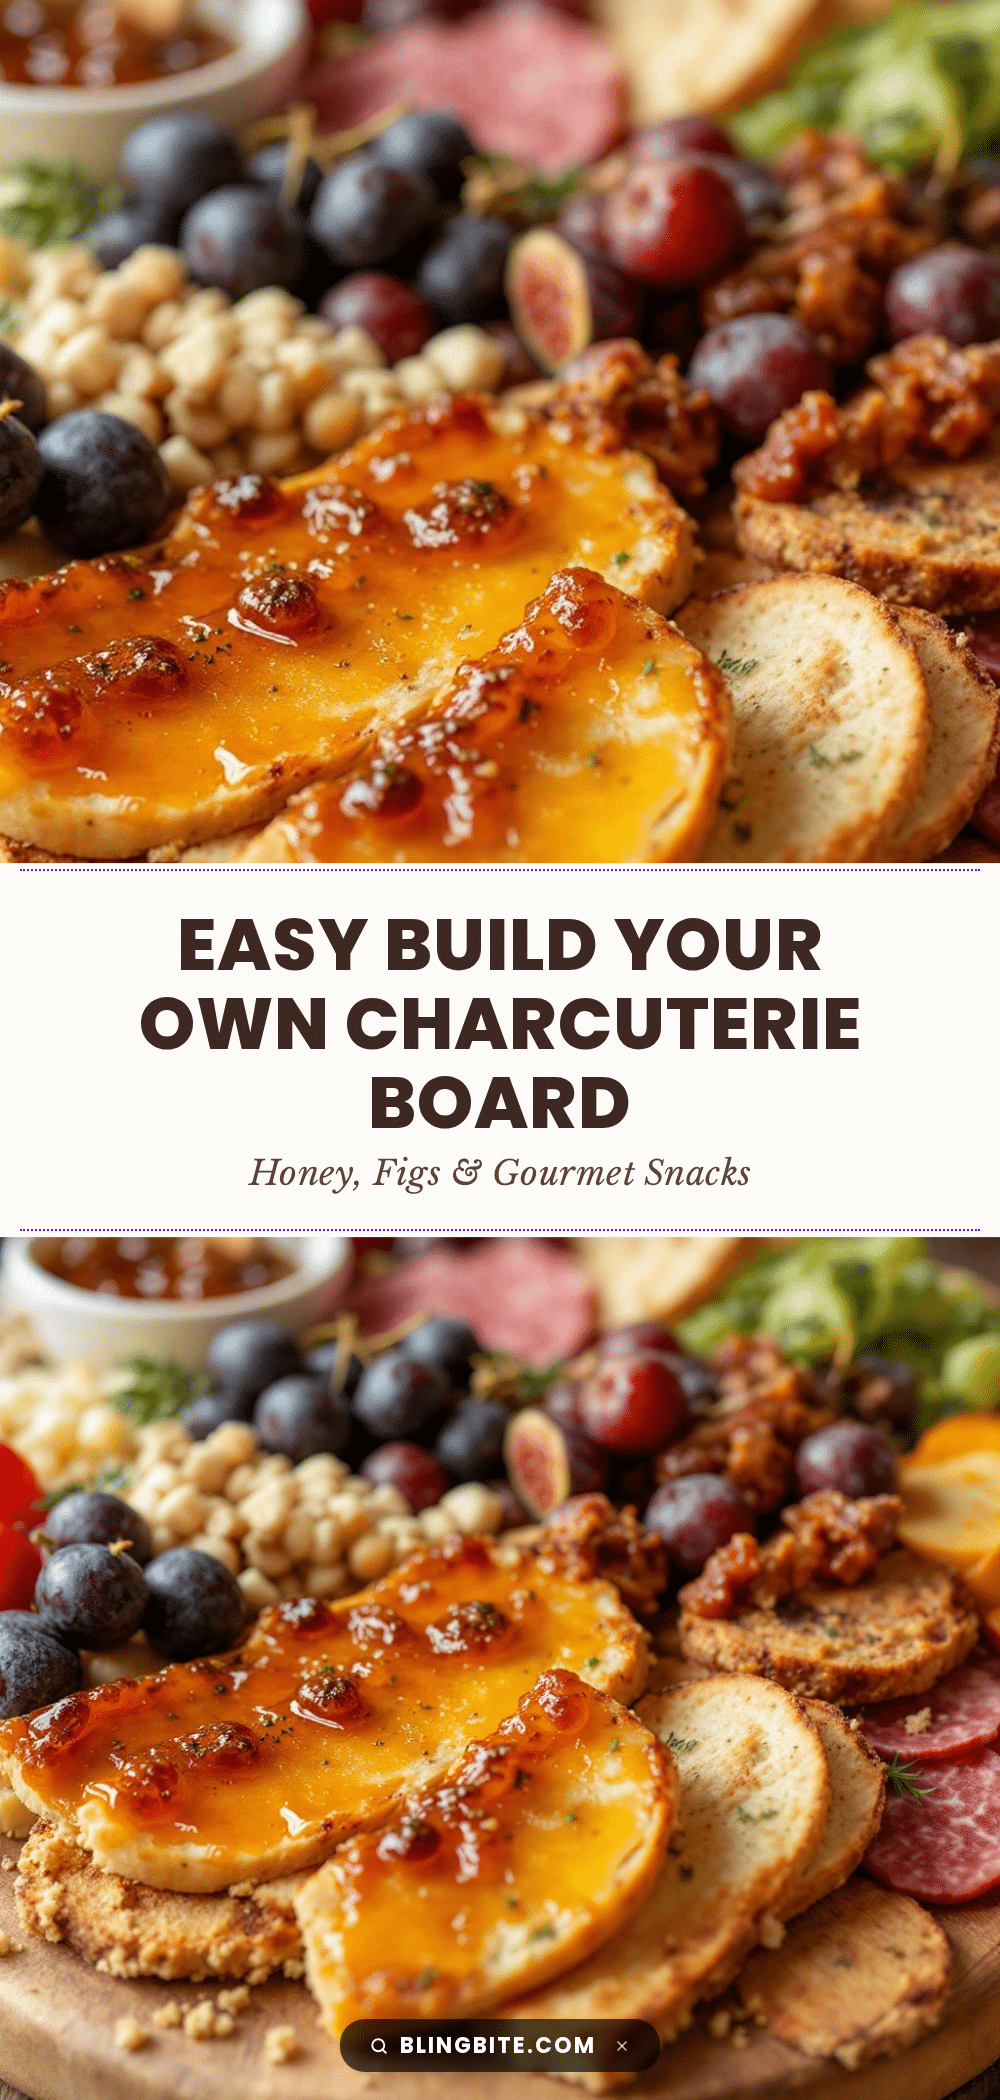
Easy Build-Your-Own Charcuterie Board: 5 Best Ideas

A stress-free, customizable charcuterie board recipe that embraces happy accidents and variety. Perfect for parties, this guide covers ingredients, assembly techniques, and dietary adaptations for a crowd-pleasing appetizer.
- Prep Time: 40-50 minutes
- Cook Time: 0 minutes
- Total Time: 40-50 minutes
- Yield: Serves 4-6
- Category: Appetizer
- Cuisine: American
Ingredients
- Hard Cheese (e.g., Aged Cheddar or Manchego), cubed or sliced
- Soft Cheese (e.g., Cream Cheese or Brie), whole or sliced
- Blue Cheese (e.g., Gorgonzola or Roquefort), crumbles or wedge
- Cured Sausage (e.g., Salami or Pepperoni), thinly sliced
- Prosciutto, thinly sliced
- Bacon, cooked crispy and broken into pieces
- Crackers (e.g., Water crackers, baguette slices, or pretzel crisps)
- Nuts (e.g., Almonds, walnuts, or pistachios)
- Fresh Fruit (e.g., Grapes, apple slices, or figs)
- Dried Fruit (e.g., Apricots or cranberries)
- Pickles (e.g., Cornichons or olives)
Instructions
- Prepare your surface by choosing a board or platter and wiping it clean. Ensure it is dry if using wood to prevent slipping.
- Place cheeses on the board, leaving space between them. Stack cubes for height or place wedges point-out. This takes about 10 minutes.
- Add cured meats by folding slices in half, rolling them loosely, or draping them over the edge to add volume and visual interest.
- Fill gaps with crackers and bread by placing them in clusters. Add nuts and dried fruits in small piles or scatter them loosely.
- Add fresh fruit and pickles. Arrange apple slices in a fan shape to prevent browning and place olives/pickles in small bowls.
- Add final touches like edible flowers, herbs, or honey drizzles. Taste test combinations and adjust spacing for balance.
Notes
Let cheese come to room temperature about an hour before serving for best flavor. Use different shapes for cuts to create visual variety. Leave negative space to avoid overcrowding. Serve at room temperature. Leftovers should be wrapped tightly; cheese lasts 3-5 days, meats 3-4 days.
Nutrition
- Serving Size: Varies based on gues
- Calories: 450
- Sugar: 8
- Sodium: 850
- Fat: 32
- Saturated Fat: 12
- Carbohydrates: 25
- Fiber: 3
- Protein: 18
Keywords: charcuterie board, appetizer, party food, cheese board, easy entertaining, gluten-free options, vegetarian appetizer, crowd pleaser


