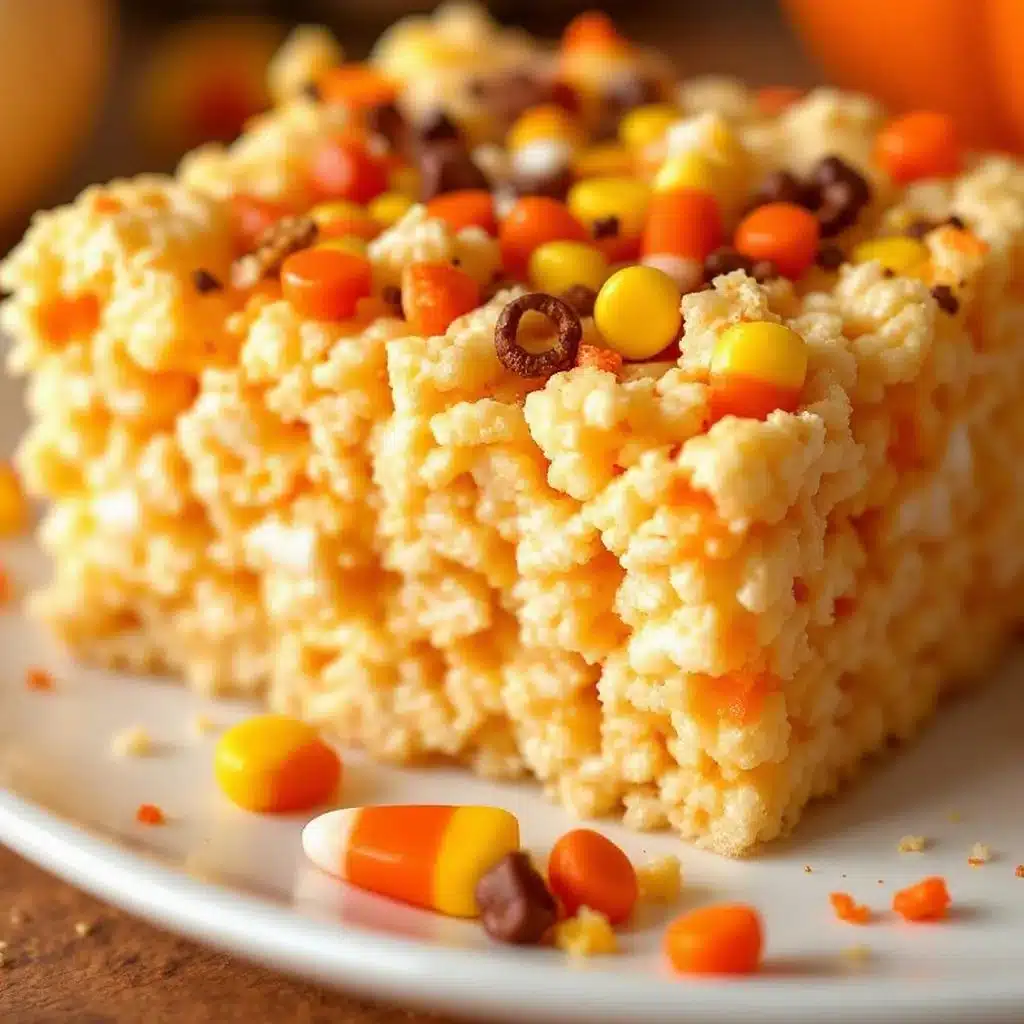
My nephew stared at the plate, his eyes wide with that specific kind of Halloween suspicion. He was seven, old enough to know that candy corn is supposed to be yellow, orange, and white, not some weird pastel swirl that looked like it had been through a laundry cycle. I just shrugged and handed him a square. “They’re supposed to be crispy,” I said, “and chewy. And yes, they are a little weird.” He took a bite. The crunch gave way to that soft, marshmallowy center, and the sweetness hit him just right. He didn’t say anything for a full minute. Then he asked for another one. That was it. That was the moment I knew I had to share this crispy chewy candy corn rice krispie treats recipe.
It started as a messy experiment in my kitchen while I was trying to use up a bag of marshmallows that had gotten a bit stale. I didn’t have time to make a complicated dessert, but I wanted something that felt festive. I tossed in some mini marshmallows and a handful of candy corn pieces, expecting them to melt down into a uniform orange mess. Instead, something magical happened. The candy corn didn’t fully dissolve. It stayed distinct, creating little pockets of texture that contrasted with the crispy rice cereal. The colors bled just enough to create this beautiful, tie-dye effect that screamed Halloween without being overly artificial. Honestly, it was better than I expected.
What I love most about this treat is how it bridges the gap between a classic comfort food and a seasonal spectacle. It’s familiar, you know? Everyone knows Rice Krispie treats. But adding that element of surprise with the candy corn makes it feel new again. The kids love the colors, and the adults? Well, we love the fact that it takes twenty minutes and uses ingredients we already have in the pantry. It’s not just a snack; it’s a little moment of joy. And let’s face it, if it makes a seven-year-old stop asking questions and just eat, it’s a winner in my book. I’ve made this batch for every Halloween since, and it’s become a staple in our fall dessert rotation.
Why You’ll Love This Recipe
There are a lot of dessert recipes out there, but few offer the immediate satisfaction of a warm, gooey Rice Krispie treat. This version, however, takes that classic and pushes it into a new territory that is hard to resist. I’ve tested this recipe dozens of times, adjusting the ratios of marshmallows to cereal, and I can tell you with confidence that this is the best way to get that perfect balance of crisp and chew. It’s not just about the colors; it’s about the texture. The addition of the candy corn pieces creates little bursts of flavor that keep you eating, rather than just consuming. It’s the kind of dessert that feels indulgent but is surprisingly simple to pull together.
- Quick & Easy: You can go from pantry to plate in under 25 minutes. It’s perfect for last-minute trick-or-treaters or a spontaneous craving.
- Simple Ingredients: You likely have everything you need right now. No fancy chocolate ganache or complex pastry techniques required.
- Perfect for Halloween Parties: These are a hit for school parties, office Halloween celebrations, or just a cozy night in.
- Crowd-Pleaser: Kids love the festive colors, and adults appreciate the nostalgic taste. It’s a rare dessert that satisfies all ages.
- Unbelievably Delicious: The combination of crispy rice, soft marshmallow, and the slight crunch of candy corn is next-level comfort food.
What makes this recipe different is the intentional inclusion of the candy corn as a textural element, not just a flavoring. Many recipes try to melt candy corn entirely, which often results in a gritty texture. Here, we fold them in gently to keep their shape. It’s a small tweak that makes a huge difference. This isn’t just another version of Rice Krispie treats; it’s the Halloween edition that you’ll be making every year. It’s the kind of recipe that makes you feel like a genius baker without the stress. It’s comfort food reimagined—festive, fun, and with the same soul-soothing satisfaction as the original. Perfect for impressing guests without spending hours in the kitchen.
What Ingredients You Will Need
This recipe uses simple, wholesome ingredients to deliver bold flavor and satisfying texture without the fuss. The beauty of crispy chewy candy corn rice krispie treats lies in its simplicity. You don’t need expensive gourmet items to make this work. In fact, the more standard the ingredients, the better the result. I recommend using high-quality butter and fresh marshmallows for the best melt. If you can find organic marshmallows, they tend to have a cleaner taste, but standard brands work just fine. The candy corn is the star here, so don’t skimp on the color contrast. I like to use a mix of classic candy corn and maybe some orange or white mini marshmallows to boost the festive vibe.
- Unsalted Butter: 3 tablespoons, softened. I prefer Kerrygold for its rich flavor, but any good quality butter works. It adds richness and helps the marshmallows melt smoothly.
- Mini Marshmallows: 10 ounces (about 6 cups). Mini marshmallows melt faster and more evenly than large ones, which is crucial for a smooth texture. Use a large bag for the best results.
- Rice Krispies Cereal: 6 cups. Make sure it’s fresh. Old cereal loses its crunch and will make the treats soggy. This is the backbone of the recipe.
- Candy Corn: 1 cup, divided. Use ½ cup for melting into the mixture and ½ cup for folding in at the end to keep the pieces distinct.
- Vanilla Extract: 1 teaspoon. Pure vanilla adds a depth of flavor that cuts through the sweetness. Don’t use imitation vanilla if you can help it.
- Non-Stick Spray: For greasing the pan. This prevents sticking and makes cleanup a breeze.
For the best texture, I recommend using a heavy-bottomed saucepan. It distributes heat evenly and prevents the marshmallows from burning at the bottom. Also, look for firm, small-curd marshmallows if you can find them, as they hold their shape better during the melting process. In summer, the heat can make the mixture stickier, so keep your kitchen cool or work quickly. You can swap in gluten-free rice cereal if needed, but make sure it’s the same volume to keep the ratios correct. The key is to keep the ingredients simple and let the flavors shine.
Equipment Needed
You don’t need a lot of fancy gear to make these treats, but having the right tools makes the process much smoother. A large, heavy-bottomed saucepan is essential. I used to use a thin pan, and the marshmallows would burn before they melted properly. Now, I stick to my 3-quart stainless steel pot, which distributes heat evenly. You’ll also need a large mixing bowl—something that can hold at least 8 cups of volume. A silicone spatula is your best friend here. It scrapes the sides of the pan to get all the melted marshmallow and is heat-resistant enough to handle the hot mixture. A 9×13 inch baking pan is standard, but you can use a smaller pan for thicker treats. Just remember to adjust the pressing time. A non-stick spray is a must to prevent the sticky mess from clinging to your pan. I also recommend a sharp chef’s knife for cutting the treats cleanly. Keeping your knife oiled slightly helps it glide through the sticky treats without squishing them.
Preparation Method
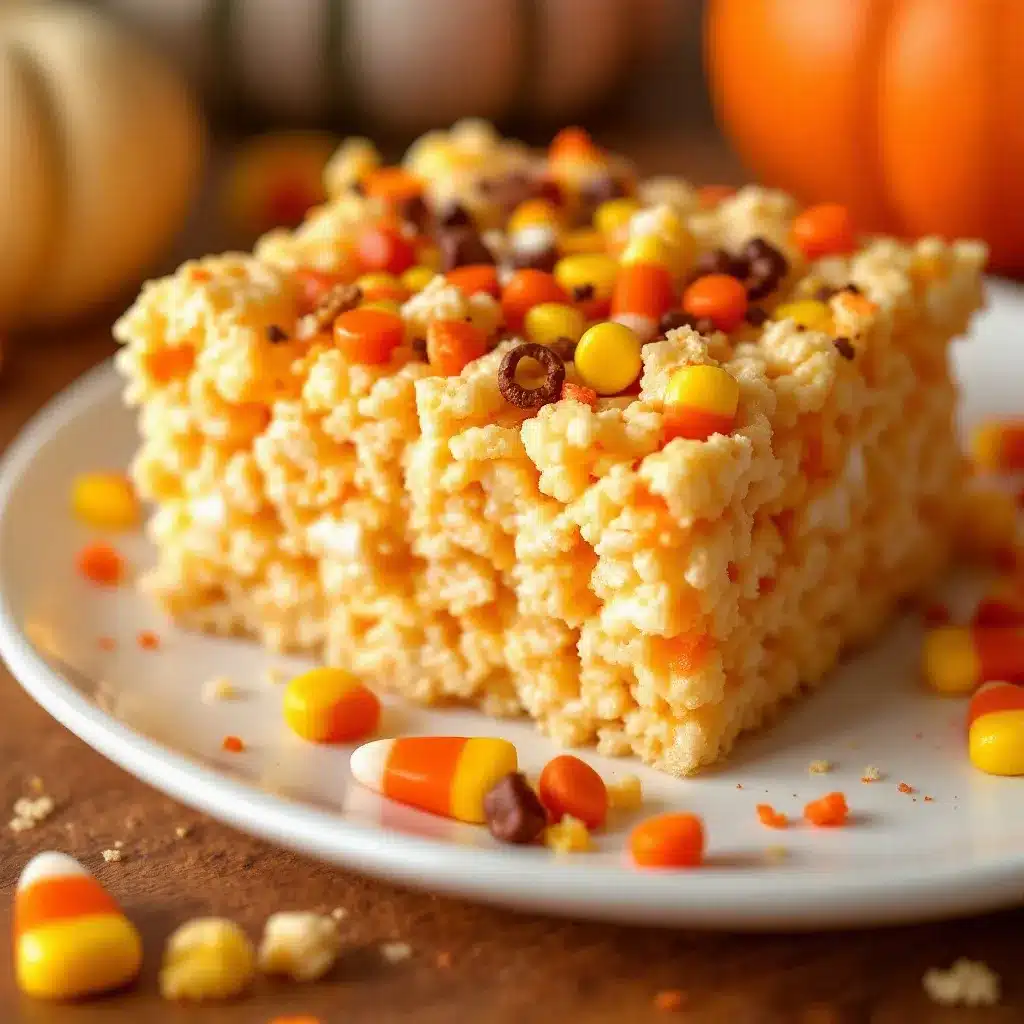
Start by preparing your baking pan. Lightly spray a 9×13 inch baking pan with non-stick cooking spray. Set it aside. This step is crucial because these treats are sticky, and you’ll want them to release easily once they cool. Next, grab your large saucepan and place it over medium-low heat. Add the 3 tablespoons of butter. Let it melt slowly, stirring occasionally. You don’t want it to brown; just melt it until it’s liquid. This usually takes about 2-3 minutes. Patience here pays off. If you rush the butter, it might splatter or burn.
Once the butter is melted, add ½ cup of the candy corn to the pan. Stir gently to coat the candy corn in the butter. This helps them release their color and flavor into the base. Next, add the 10 ounces of mini marshmallows. Stir constantly. This is the most important part of the recipe. You need to keep the marshmallows moving so they melt evenly. It will take about 5-7 minutes for the marshmallows to fully melt. Use a silicone spatula to scrape the sides and bottom of the pan. The mixture should look smooth and glossy when it’s ready. If you see unmelted marshmallows, keep stirring. Don’t turn up the heat; just keep the motion going.
Once the marshmallows are completely melted, remove the pan from the heat. Stir in the vanilla extract. The mixture will be hot and sticky, so be careful. Immediately add the 6 cups of Rice Krispies cereal. Use your spatula to fold the cereal into the marshmallow mixture. You want to coat every piece of cereal evenly. This should take about 2-3 minutes. If the mixture is too stiff to stir, you can add a splash of milk, but it’s usually not necessary. Be gentle here; you don’t want to crush the cereal.
Now, fold in the remaining ½ cup of candy corn. This is where the magic happens. The candy corn will create little specks of color throughout the mixture. Transfer the mixture to your prepared baking pan. Spray your hands with non-stick spray or wet them with water to prevent sticking. Press the mixture firmly and evenly into the pan. Use the bottom of a measuring cup or your hands to get it flat. Don’t press too hard, or you’ll lose the airy texture. Let it cool at room temperature for at least 30 minutes. Once it’s cool, cut into squares. You’ll get about 24-30 treats, depending on how big you cut them. Enjoy immediately or store in an airtight container.
Cooking Tips & Techniques
I learned the hard way that low heat is your friend when melting marshmallows. I once tried to speed up the process by turning the heat to high, and the result was a pan of burnt, bitter marshmallows that ruined the entire batch. It was a costly lesson, but now I never rush. Keep the heat on medium-low and stir constantly. Another tip is to use a silicone spatula that is large enough to reach the corners of your pan. This ensures you get all the melted marshmallow, which helps bind the cereal together. If you use a spoon, you’ll miss spots and end up with dry cereal bits. Also, make sure your cereal is fresh. Old cereal has lost its crunch and will absorb too much moisture, making the treats dense. If you’re making this in a hot kitchen, consider chilling your pan beforehand. This helps the treats set faster and prevents them from becoming too sticky. Finally, don’t skip the vanilla. It adds a necessary depth that balances the extreme sweetness of the marshmallows and candy corn.
Variations & Adaptations
While the classic orange and white color scheme is perfect for Halloween, you can easily adapt this recipe for other occasions. For Valentine’s Day, use pink and white mini marshmallows and candy hearts instead of candy corn. The result is a beautiful, festive treat that’s perfect for school parties. For Christmas, swap in red and green marshmallows and some white chocolate chips. Fold the chocolate chips in with the candy corn for a snowy, wintry effect. If you want to make these gluten-free, simply swap the Rice Krispies for a gluten-free crispy rice cereal. Just make sure to check the label, as some brands contain wheat. For a dairy-free version, use vegan butter and dairy-free marshmallows. There are several good brands available now that melt just like regular marshmallows. You can also add a layer of white chocolate on top after the treats have cooled. Melt white chocolate with a drop of orange food coloring and drizzle it over the top for an extra fancy touch. It’s a simple way to elevate the look without adding much effort.
Serving & Storage Suggestions
These treats are best served at room temperature. They have a perfect balance of chewiness and crispness that you lose if they are too cold or too warm. For a party setting, arrange them on a platter with some autumn leaves or mini pumpkins for decoration. They pair well with a glass of cold milk or a hot cup of coffee. If you’re serving them at a Halloween party, consider cutting them into fun shapes using cookie cutters. A small pumpkin cutter works perfectly. For storage, keep the treats in an airtight container at room temperature. They will stay fresh for up to 5 days. If you need to store them longer, you can freeze them. Place them in a single layer in a freezer-safe container, with parchment paper between layers. They will keep for up to 2 months. To serve, let them thaw at room temperature for 30 minutes. The flavors actually meld together over the first day, so they taste even better on the second day.
Nutritional Information & Benefits
While these treats are definitely a dessert indulgence, they are made with simple ingredients that you can feel good about. Each serving contains approximately 120 calories, with 4 grams of fat and 20 grams of carbohydrates. The marshmallows provide a quick source of energy, while the rice cereal adds some texture and crunch. They are naturally gluten-free if you use certified gluten-free cereal, making them a great option for those with sensitivities. However, they do contain dairy and sugar, so enjoy them in moderation. I like to think of them as a fun, occasional treat rather than a daily snack. The use of real butter and vanilla adds a bit of quality that mass-produced treats often lack. It’s a balance of fun and flavor that fits well into a festive celebration.
Conclusion
Making crispy chewy candy corn rice krispie treats is a fun, easy, and delicious way to celebrate Halloween. It’s a recipe that brings joy to both kids and adults, with its vibrant colors and nostalgic taste. I hope you try this recipe and share your own variations. Whether you stick to the classic orange and white or experiment with other colors, the result is always a hit. Don’t forget to leave a comment below and let me know how yours turned out. I love hearing from readers and seeing their creations. Thanks for stopping by, and happy baking!
FAQs
Why are my Rice Krispie treats too sticky?
If your treats are too sticky, it’s likely because you didn’t let them cool long enough. They need at least 30 minutes to set at room temperature. Also, make sure you are spraying your hands or the pan with non-stick spray to prevent sticking.
Can I use large marshmallows instead of mini?
You can, but it will take longer for them to melt. You’ll need to stir more frequently to ensure they melt evenly. Mini marshmallows are preferred because they melt quickly and create a smoother texture.
How do I keep the candy corn from sinking to the bottom?
To prevent the candy corn from sinking, make sure you fold it in gently at the end. Also, ensure the marshmallow mixture is thick enough to hold the candy corn. If it’s too thin, add a bit more cereal.
Can I make these treats ahead of time?
Yes, you can make these treats up to 5 days in advance. Store them in an airtight container at room temperature. They will stay fresh and chewy for several days.
What is the best way to cut the treats cleanly?
Use a sharp knife and wipe it clean between cuts. You can also lightly oil the knife with cooking spray to prevent the treats from sticking to the blade. This will give you clean, neat squares.
Pin This Recipe!
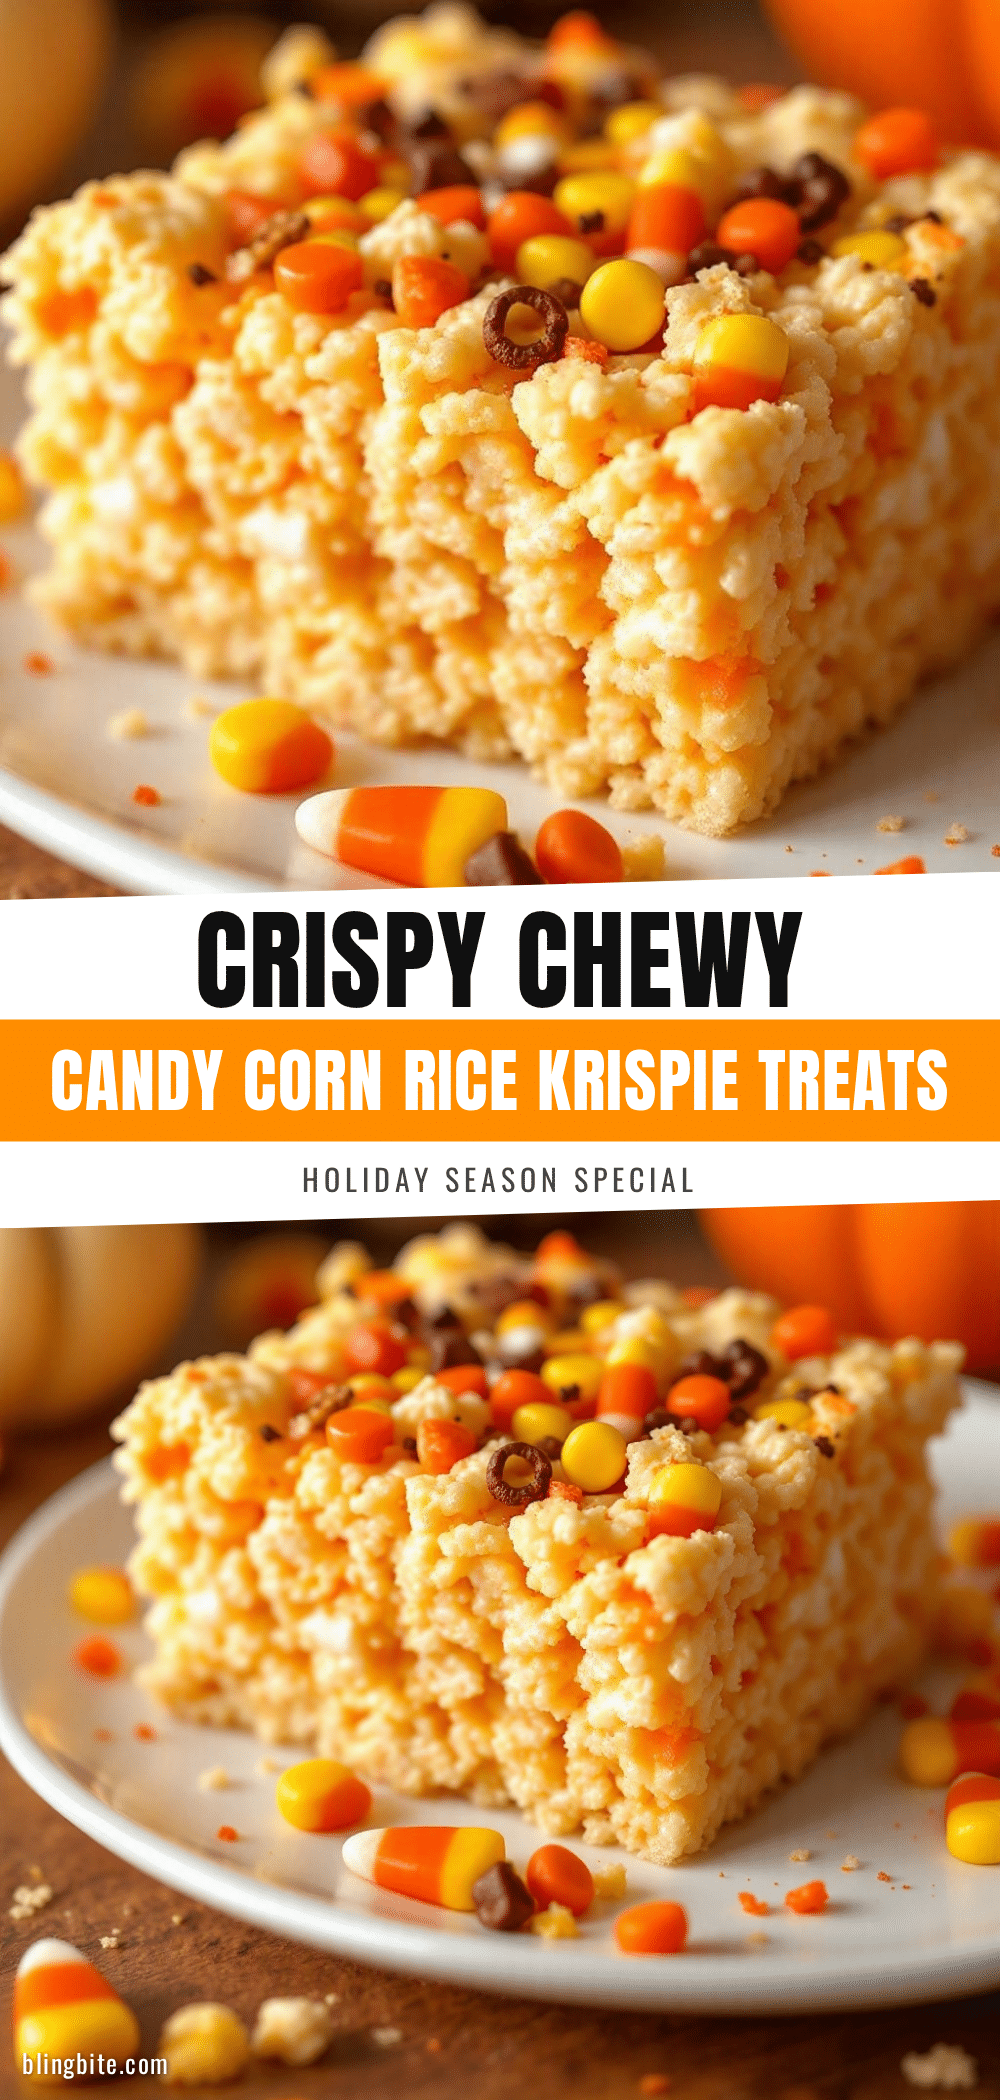
Crispy Chewy Candy Corn Rice Krispie Treats

A festive Halloween dessert that combines classic Rice Krispie treats with candy corn for a unique texture and tie-dye effect. These treats are quick to make, crowd-pleasing, and offer a perfect balance of crispy and chewy.
- Prep Time: 10 minutes
- Cook Time: 15 minutes
- Total Time: 25 minutes
- Yield: 24-30 servings 1x
- Category: Dessert
- Cuisine: American
Ingredients
- 3 tablespoons unsalted butter, softened
- 10 ounces mini marshmallows (about 6 cups)
- 6 cups Rice Krispies cereal
- 1 cup candy corn, divided (½ cup for melting, ½ cup for folding in)
- 1 teaspoon vanilla extract
- Non-stick spray for greasing pan
Instructions
- Lightly spray a 9×13 inch baking pan with non-stick cooking spray and set aside.
- Place a large, heavy-bottomed saucepan over medium-low heat and add the butter. Melt slowly, stirring occasionally, until liquid (about 2-3 minutes). Do not let it brown.
- Add ½ cup of candy corn to the melted butter and stir gently to coat.
- Add the mini marshmallows to the pan. Stir constantly for 5-7 minutes until fully melted and the mixture is smooth and glossy. Use a silicone spatula to scrape the sides and bottom.
- Remove the pan from heat and stir in the vanilla extract.
- Immediately add the 6 cups of Rice Krispies cereal. Fold gently with the spatula until every piece of cereal is evenly coated (about 2-3 minutes).
- Fold in the remaining ½ cup of candy corn.
- Transfer the mixture to the prepared baking pan. Spray hands with non-stick spray or wet them, then press the mixture firmly and evenly into the pan.
- Let cool at room temperature for at least 30 minutes.
- Cut into squares and serve.
Notes
Use fresh cereal to ensure crunch. Keep heat on medium-low to prevent burning marshmallows. For cleaner cuts, lightly oil the knife or wipe it between cuts. Treats taste even better on the second day as flavors meld.
Nutrition
- Serving Size: 1 square
- Calories: 120
- Sugar: 14
- Sodium: 60
- Fat: 4
- Saturated Fat: 2.5
- Carbohydrates: 20
- Protein: 1
Keywords: Halloween recipe, Rice Krispie treats, candy corn treats, easy dessert, kids baking, fall treats, crispy chewy treats


