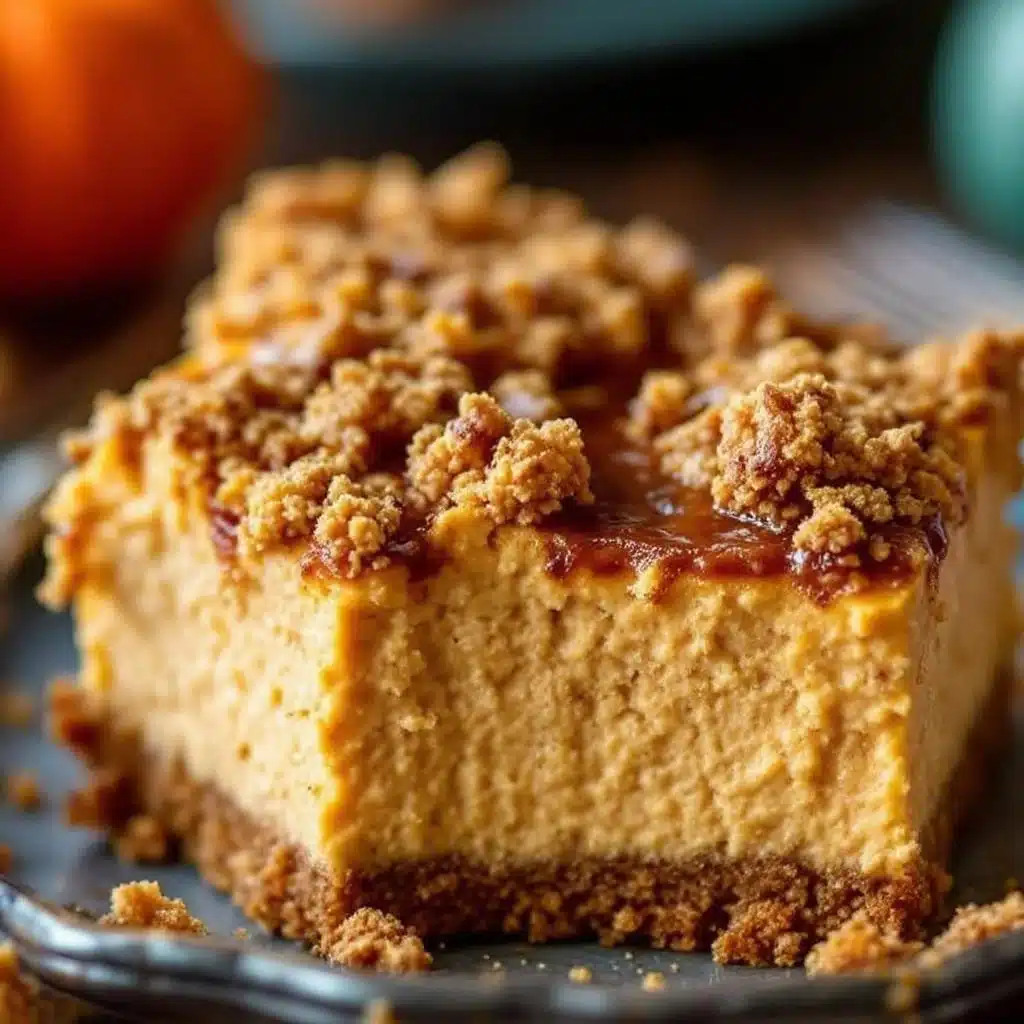
Fourth time in a week and the oven light is still flickering like it’s judging me. I stared at the cooling rack, waiting for that specific wobble—the one that says the center is set but still silky. Honestly, I should have stopped after the first batch. But then I tasted it, and the pumpkin spice hit my brain like a warm hug, and I just had to know if I could tweak the crust. So I did. Again. And again.
By the fourth time I made these creamy pumpkin cheesecake bars, I noticed something weird. The edges got slightly darker, crispier, and honestly? That’s where the best flavor lived. The contrast between the tangy, dense pumpkin filling and the buttery graham cracker base is just too good to ignore. I spent three hours last night just watching the steam rise off the pan, thinking about how this tastes like autumn wrapped in a blanket.
My kitchen smelled like cinnamon and regret for a few days, mostly because I kept opening the oven door to check on them. You know how it is. One peek turns into ten. But every time I pulled that pan out, the reward was worth the calorie guilt. These bars aren’t just dessert; they’re a mood. A very specific, cozy, fall-in-love-with-your-kitchen mood.
I realized halfway through the fifth batch that I wasn’t baking because I was hungry. I was baking because it was the only thing that made sense on a rainy Tuesday. The repetition became a ritual. Chop, mix, bake, wait, eat. Repeat. It’s strange how food can anchor you when everything else feels chaotic. These bars grounded me. They’re simple, sure, but they’re also complicated in the best way. The balance of sweet and tangy requires patience, and I’ve got plenty of that now.
There’s a quiet satisfaction in knowing you can make something this good from scratch, even if you do it four times in seven days. It’s not about perfection. It’s about the process. The smell of baking graham crackers filling the house. The sound of the mixer whirring. The taste of pure comfort. I’m still not sure why I couldn’t stop, but I’m glad I didn’t. Because now you can have them too.
Why You’ll Love This Recipe
Let’s be real for a second. Most pumpkin desserts are just sweet breads with a dusting of cinnamon. They’re fine. But they don’t hit that same spot in your brain that a proper cheesecake does. These bars are different because they actually respect the texture of cheesecake while embracing the flavor of pumpkin pie. It’s a hybrid that shouldn’t work, but it absolutely does.
I’ve tested a lot of pumpkin recipes over the years. Some are too runny. Some are too dry. This one? It’s got that dense, fudgy consistency that makes you take a second bite before you realize you’re still holding the first one. Here is why this recipe stands out from the crowd:
- Quick & Easy Setup: You don’t need a water bath or complicated equipment. It comes together in under 30 minutes of prep time, which is perfect for those busy weeknights when you want something fancy but don’t have hours to spare.
- Simple Ingredients: No fancy grocery trips needed. You likely already have cream cheese, pumpkin puree, and graham crackers in your pantry. It’s pantry-friendly comfort food at its finest.
- Perfect for Fall Gatherings: Whether it’s a last-minute potluck, a cozy dinner party, or just a Tuesday night treat, these bars fit the bill. They travel well, too, which is a huge plus if you’re bringing them to a friend’s house.
- Crowd-Pleaser: Kids love the sweetness, and adults love the tang. It’s one of those rare desserts that satisfies both demographics without needing a separate “kids’ table” option.
- Unbelievably Delicious: The texture is next-level. It’s smooth, rich, and packed with warm spices. It’s comfort food reimagined—healthier than a whole cake, but with the same soul-soothing satisfaction.
What makes this recipe different is the ratio. I’ve found that adding a little sour cream to the filling cuts the sweetness and adds a brightness that balances the heavy pumpkin flavor. It’s a small tweak, but it makes all the difference. This isn’t just another pumpkin recipe; it’s the best version of one. It’s the kind of dessert that makes you close your eyes after the first bite and just breathe. It’s perfect for impressing guests without the stress of baking a whole cake, or turning a simple evening into something memorable.
What Ingredients You Will Need
This recipe uses simple, wholesome ingredients to deliver bold flavor and satisfying texture without the fuss. The magic here is in the quality of the dairy and the pumpkin. Don’t skimp on the cream cheese, and definitely use real pumpkin puree, not pie filling. Pie filling has added sugar and spices that will mess up the balance.
Here is what you need to get started:
For the Crust
- Graham Cracker Crumbs (1 ½ cups): You can buy pre-made crumbs or crush them yourself. I prefer crushing them by hand for a slightly chunkier, more homemade texture.
- Unsalted Butter (6 tablespoons, melted): Real butter is non-negotiable here. It provides the richness and helps the crust bind together. Salted butter works, but you’ll need to reduce the added salt in the filling.
- Granulated Sugar (2 tablespoons): Just a touch to sweeten the crust without overpowering the graham cracker flavor.
- Ground Cinnamon (½ teaspoon): Adds a warm note that ties the crust to the filling.
For the Filling
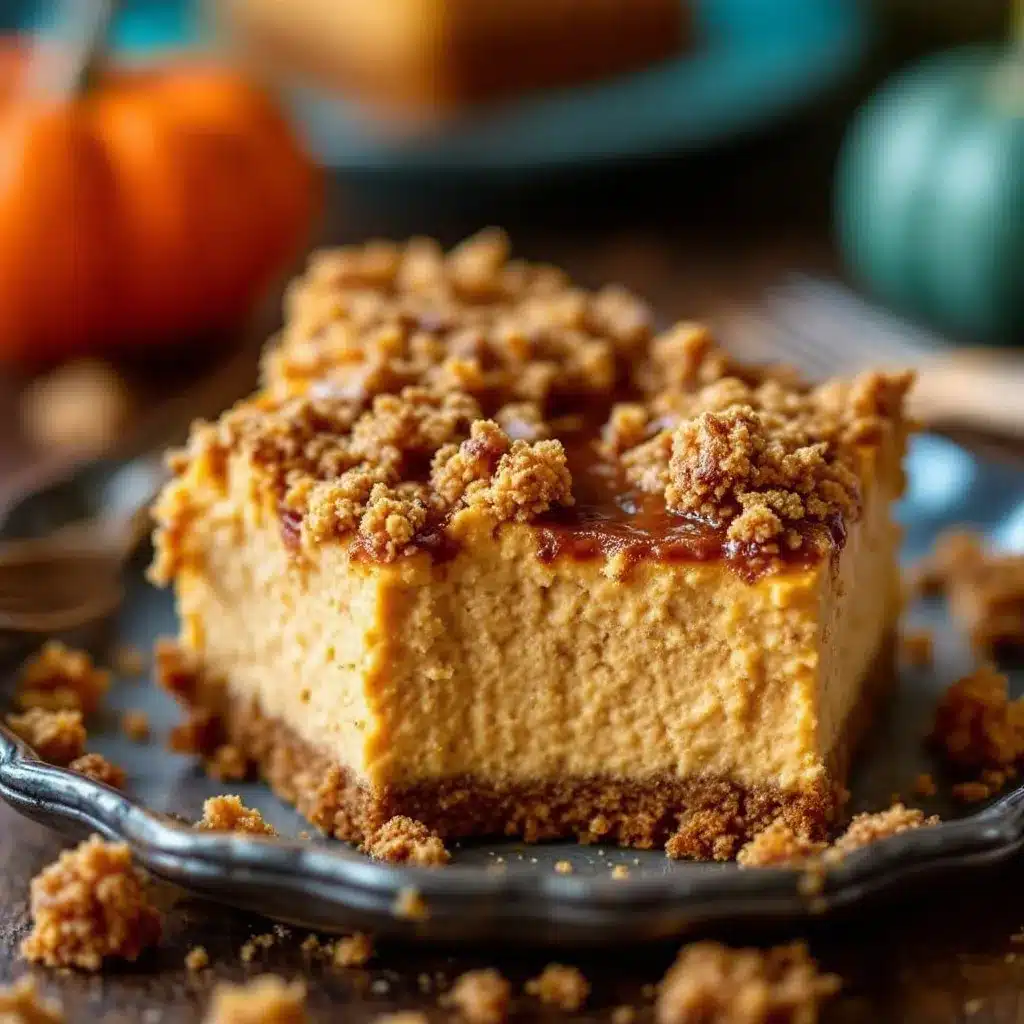
- Cream Cheese (24 ounces, softened): This is the star. Use full-fat brick cream cheese, not the spreadable kind in a tub. I recommend Philadelphia for its consistent texture and reliable tang. Soften it in the microwave or on the counter for at least an hour.
- Pure Pumpkin Puree (15 ounces): One standard can. Make sure it’s 100% pumpkin, not pumpkin pie mix. Look for firm, smooth puree for the best texture.
- Sour Cream (½ cup): This adds tang and creaminess, helping to stabilize the filling and prevent it from being too dense. Use full-fat sour cream for the best results.
- Heavy Cream (½ cup): Adds luxury and helps create that silky, smooth mouthfeel. You can substitute with half-and-half if you want it slightly lighter, but heavy cream is ideal.
- Granulated Sugar (1 cup): Provides the necessary sweetness to balance the tang of the cream cheese and sour cream.
- Light Brown Sugar (½ cup, packed): Adds a molasses depth that complements the pumpkin spice perfectly.
- Large Eggs (3, room temperature): Room temperature eggs blend more smoothly and prevent lumps. Cold eggs can cause the filling to curdle.
- Pumpkin Pie Spice (2 teaspoons): A blend of cinnamon, ginger, nutmeg, and cloves. If you don’t have it, you can make your own mix.
- Ground Ginger (½ teaspoon): Adds a spicy kick that pairs beautifully with the pumpkin.
- Ground Nutmeg (¼ teaspoon): Use freshly grated if you can. It has a much brighter, more aromatic flavor than pre-ground.
- Vanilla Extract (1 teaspoon): Enhances all the other flavors. Use pure vanilla extract, not imitation.
- Salt (½ teaspoon): Essential for balancing the sweetness. Don’t skip it.
For the Topping (Optional)
- Whipped Cream: Homemade is best, but store-bought works in a pinch.
- Extra Pumpkin Pie Spice: For a nice dusting on top.
Equipment Needed
You don’t need a lot of fancy gear for this, but having the right tools makes a huge difference.
- 9×13 Inch Baking Pan: This is the standard size for bars. Make sure it’s metal, not glass, for even baking. If you only have glass, reduce the oven temperature by 25°F.
- Parchment Paper: Line the pan with parchment, leaving an overhang on the sides. This is crucial for lifting the bars out later. It makes cleanup a breeze.
- Electric Mixer: A hand mixer or stand mixer is best for beating the cream cheese until smooth. Doing this by hand is possible but tiring.
- Large Mixing Bowls: You’ll need one for the crust and one for the filling.
- Spatula: A silicone spatula is great for scraping the bowl and folding in ingredients.
- Wire Cooling Rack: Allows air to circulate under the pan, preventing the bottom crust from getting soggy.
If you don’t have a hand mixer, you can use a whisk, but you’ll need to be patient. The key is to avoid overmixing once you add the eggs, as that incorporates air and can cause cracks. Budget-friendly tip: If you don’t have parchment paper, you can grease the pan heavily with butter and dust it with flour, but parchment is worth the few cents for the ease of removal.
Preparation Method
Getting these bars right is all about technique and patience. Here is how to do it step-by-step.
- Prep the Pan and Oven: Preheat your oven to 325°F (165°C). Line your 9×13 inch baking pan with parchment paper, leaving a 2-inch overhang on the long sides. Grease the parchment lightly with butter or cooking spray. This ensures nothing sticks.
- Make the Crust: In a medium bowl, combine the graham cracker crumbs, melted butter, granulated sugar, and cinnamon. Mix until the crumbs look like wet sand. Press this mixture firmly and evenly into the bottom of the prepared pan. Use the bottom of a measuring cup to pack it down tight. A loose crust will crumble when you cut the bars. Bake the crust for 8-10 minutes until it’s lightly golden and fragrant. Remove from the oven and let it cool while you make the filling. Lower the oven temperature to 300°F (150°C).
- Beat the Cream Cheese: In a large bowl, beat the softened cream cheese on medium speed until it is completely smooth and creamy, about 2-3 minutes. Scrape down the sides and bottom of the bowl. This step is critical; any lumps will show up in the final product.
- Add Sugars and Dairy: Add the granulated sugar, brown sugar, sour cream, and heavy cream to the cream cheese. Beat on low speed until just combined. Don’t overmix here, or you’ll incorporate too much air.
- Add Spices and Vanilla: Add the pumpkin pie spice, ground ginger, nutmeg, vanilla extract, and salt. Mix until incorporated. The mixture should look pale orange and smell amazing.
- Incorporate the Pumpkin: Add the pumpkin puree. Beat on low speed until smooth. The batter will be thick and creamy.
- Add Eggs Last: Add the eggs one at a time, mixing on low speed just until the yellow disappears. Stop mixing as soon as the eggs are incorporated. Overmixing at this stage is the #1 cause of cracks and dense texture. The batter should be smooth and glossy.
- Pour and Bake: Pour the filling over the cooled crust. Smooth the top with a spatula. Bake at 300°F (150°C) for 45-55 minutes. The edges should be set, but the center should still have a slight jiggle, like Jell-O. It will continue to set as it cools.
- Cool Completely: Turn off the oven and crack the door open. Let the bars cool in the oven for 1 hour. This gradual cooling helps prevent cracks. Then, remove the pan and let it cool completely on a wire rack. Finally, refrigerate for at least 4 hours, preferably overnight. This chilling time is non-negotiable for clean cuts.
- Cut and Serve: Lift the bars out of the pan using the parchment overhang. Use a sharp knife to cut into squares. Wipe the knife clean between cuts for neat edges. Top with whipped cream and a sprinkle of pumpkin pie spice if desired.
Cooking Tips & Techniques
I’ve made a few mistakes along the way, so you don’t have to. Here are some pro tips to ensure success.
First, soften your cream cheese. If it’s cold, it won’t blend smoothly, and you’ll end up with a lumpy filling. Cut it into cubes and let it sit on the counter for an hour, or microwave it in 10-second bursts until it’s soft but not melted.
Second, don’t overmix the eggs. Once the eggs are in the batter, mix them in just until combined. Overmixing adds air bubbles, which expand in the oven and then collapse as the bars cool, leading to cracks. If you see cracks, don’t panic. They’re still delicious. Just cover them with whipped cream.
Third, use a water bath if you’re worried about cracks. I usually skip it for bars because it can make the bottom crust soggy, but if you’re a perfectionist, you can place the pan in a larger roasting pan and fill the roasting pan with an inch of hot water. This creates a humid environment that bakes the cheesecake gently.
Fourth, be patient with the cooling. The most common mistake is cutting the bars too soon. They need to be fully chilled to set properly. If you cut them warm, they’ll be mushy. Plan ahead.
Finally, check for doneness with the jiggle test. The center should wobble slightly but not look liquid. If it’s still very liquid, give it more time. If it’s firm all the way through, it’s overbaked.
Variations & Adaptations
While the classic version is my favorite, there are plenty of ways to tweak this recipe.
- Gluten-Free: Swap the graham crackers for a gluten-free version, or use crushed gluten-free cookies. Make sure your pumpkin puree and spices are certified gluten-free if you have celiac disease.
- Dairy-Free: Use vegan cream cheese (like Kite Hill or Tofutti) and vegan butter. Swap the sour cream and heavy cream for coconut cream and coconut yogurt. The texture will be slightly different, but still delicious.
- Maple Pecan Crust: Add ½ cup of chopped pecans to the crust mixture for extra crunch and nuttiness. Toast the pecans first for deeper flavor.
- White Chocolate Swirl: Melt ½ cup of white chocolate chips and drizzle it over the filling before baking. Use a knife to swirl it in for a marbled effect.
- Caramel Drizzle: After the bars are cooled and cut, drizzle them with salted caramel sauce. This adds a salty-sweet contrast that is absolutely divine.
I tried adding a layer of pumpkin spice cake batter on top of the crust once, but it made the bars too heavy. Stick to the classic version for the best texture.
Serving & Storage Suggestions
These bars are best served chilled. The cold temperature enhances the tang of the cream cheese and makes the texture firmer and more sliceable.
- Serving: Top with a dollop of homemade whipped cream and a sprinkle of pumpkin pie spice. They pair beautifully with a cup of hot coffee or tea. For a more substantial dessert, serve alongside a slice of cozy roasted butternut squash soup for a savory-sweet contrast.
- Storage: Store the bars in an airtight container in the refrigerator for up to 5 days. They actually taste better on day two as the flavors meld together.
- Freezing: You can freeze these bars for up to 3 months. Wrap individual bars in plastic wrap and then in foil. Thaw them in the refrigerator overnight before serving.
- Reheating: These are best served cold. If you want them slightly softer, let them sit at room temperature for 15 minutes before eating.
The flavors develop over time, so don’t be surprised if they taste even better a few days later. The pumpkin and spices have time to infuse into the cream cheese, creating a deeper, more complex flavor profile.
Nutritional Information & Benefits
These bars are rich and indulgent, so enjoy them in moderation. Each bar (assuming 16 bars) contains approximately 350-400 calories, with 25g of fat, 30g of carbs, and 5g of protein.
Pumpkin is a great source of Vitamin A, fiber, and potassium. It adds volume and nutrients without adding too many calories. Cream cheese provides calcium and protein, but it’s also high in saturated fat. The graham cracker crust adds carbohydrates and sugar.
For a lighter option, you can reduce the sugar in the filling by 25% without significantly affecting the taste. You can also use low-fat cream cheese, though the texture will be less rich.
If you have allergies, be aware that this recipe contains dairy, eggs, and gluten. The variations section offers substitutions for these allergens.
Personally, I find these bars to be a comforting treat that satisfies my sweet tooth without leaving me feeling sluggish, thanks to the protein and fat content. They’re a balanced indulgence.
Conclusion
These creamy pumpkin cheesecake bars are the ultimate fall dessert. They’re easy to make, delicious to eat, and perfect for sharing. I hope you try this recipe and find as much joy in making it as I did. Don’t be afraid to experiment with variations and toppings to make it your own.
If you make this recipe, I’d love to hear about it. Leave a comment below and let me know how it turned out. Share your photos on social media and tag me so I can see your creations. And if you need more fall inspiration, check out this savory butternut squash galette for a lighter option.
Thanks for reading, and happy baking!
FAQs
Can I use canned pumpkin pie filling instead of pure pumpkin puree?
No. Pumpkin pie filling has added sugar and spices, which will throw off the balance of the recipe. Always use 100% pure pumpkin puree.
Why did my cheesecake bars crack?
Cracks are usually caused by overmixing the batter (which incorporates air) or baking at too high a temperature. To prevent this, mix the eggs gently, bake at a lower temperature, and cool the bars gradually in the turned-off oven.
Can I make these bars ahead of time?
Yes! These bars actually taste better the next day. You can make them up to 3 days in advance. Store them in the refrigerator in an airtight container.
Can I freeze these bars?
Yes. Wrap individual bars tightly in plastic wrap and then in foil. They will keep in the freezer for up to 3 months. Thaw in the refrigerator overnight.
What is the best way to cut clean slices?
Use a sharp knife. Wipe the blade clean with a damp paper towel between each cut. For even cleaner cuts, dip the knife in hot water and dry it before each slice.
Pin This Recipe!
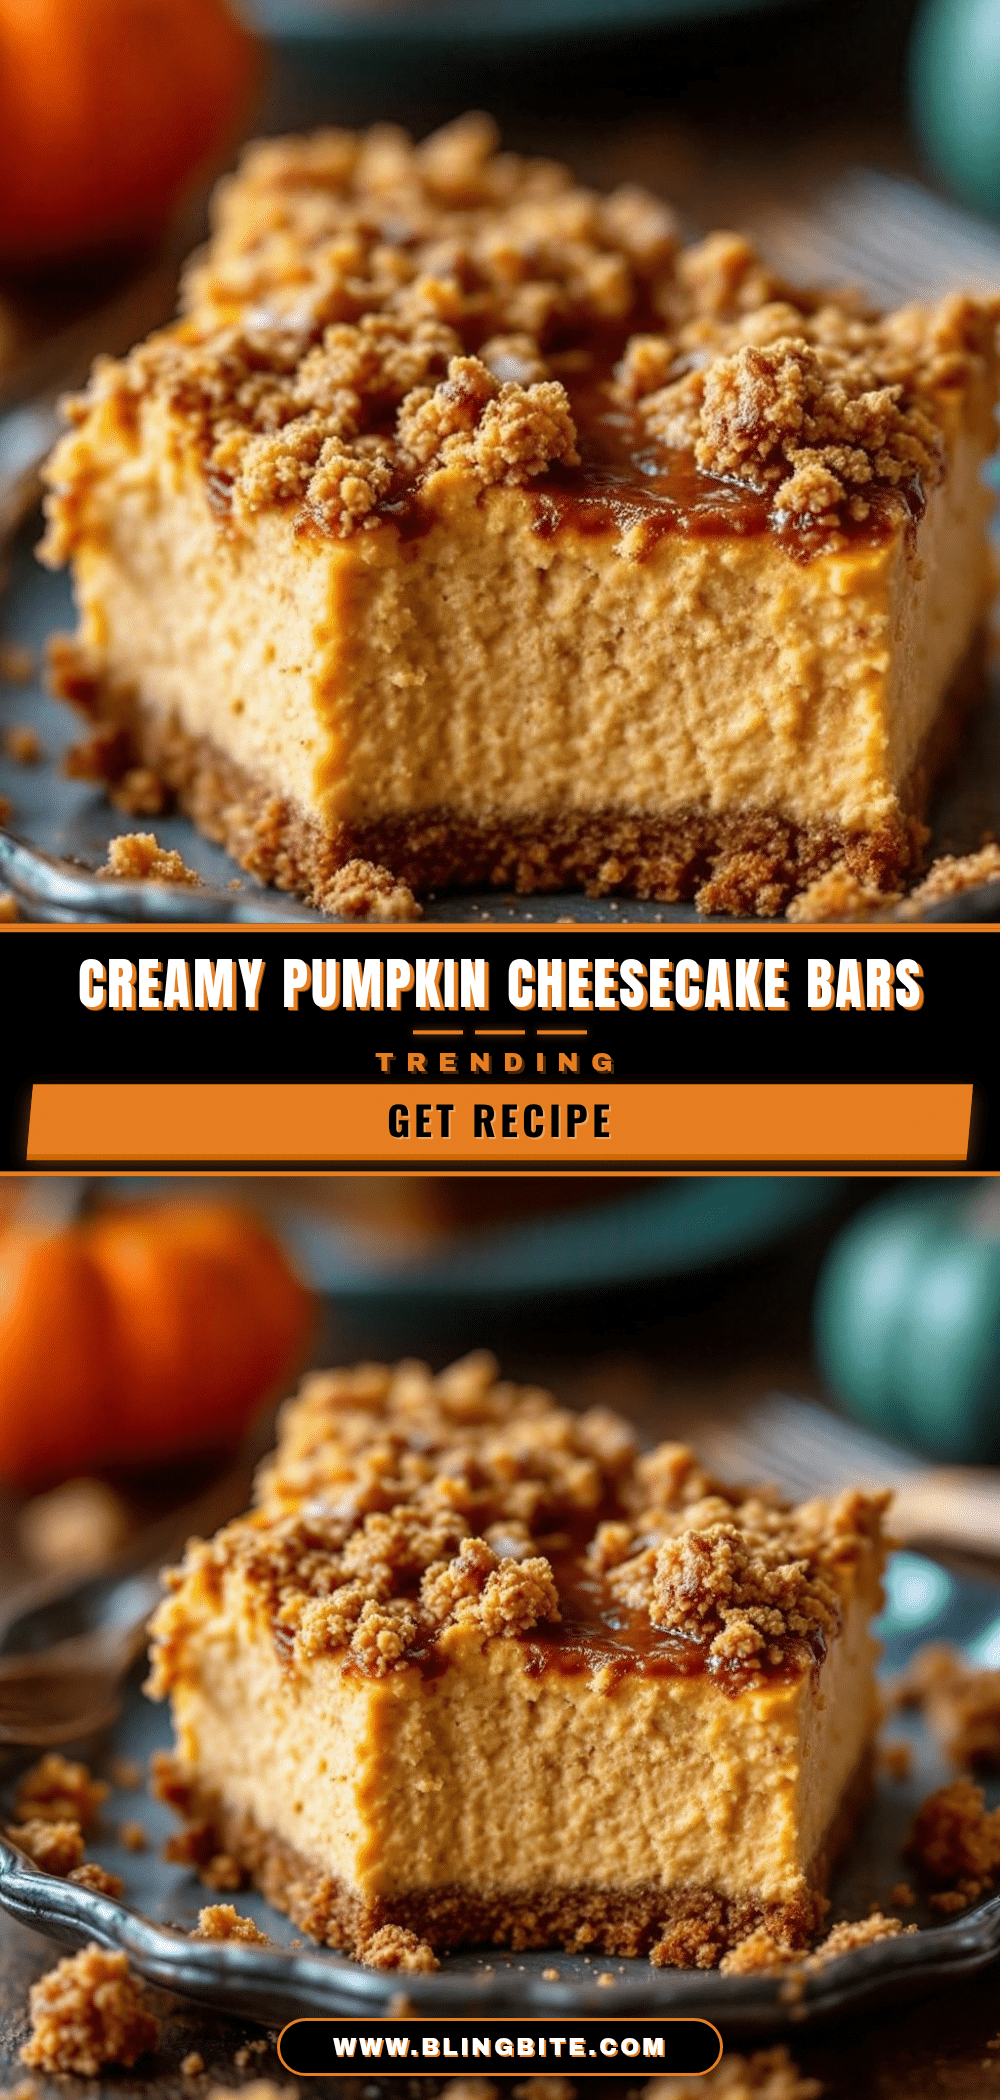
Creamy Pumpkin Cheesecake Bars: Best Easy Fall Dessert
These creamy pumpkin cheesecake bars feature a buttery graham cracker crust and a dense, tangy pumpkin filling. They are an easy, crowd-pleasing fall dessert that requires no water bath and offers a perfect balance of sweet and spicy flavors.
- Prep Time: 30 minutes
- Cook Time: 1 hour 5 minutes
- Total Time: 5 hours 35 minutes
- Yield: 16 servings 1x
- Category: Dessert
- Cuisine: American
Ingredients
- 1 ½ cups graham cracker crumbs
- 6 tablespoons unsalted butter, melted
- 2 tablespoons granulated sugar
- ½ teaspoon ground cinnamon
- 24 ounces cream cheese, softened
- 15 ounces pure pumpkin puree
- ½ cup sour cream
- ½ cup heavy cream
- 1 cup granulated sugar
- ½ cup light brown sugar, packed
- 3 large eggs, room temperature
- 2 teaspoons pumpkin pie spice
- ½ teaspoon ground ginger
- ¼ teaspoon ground nutmeg
- 1 teaspoon vanilla extract
- ½ teaspoon salt
Instructions
- Preheat oven to 325°F (165°C). Line a 9×13 inch baking pan with parchment paper, leaving an overhang on the long sides, and grease lightly.
- In a medium bowl, combine graham cracker crumbs, melted butter, 2 tablespoons granulated sugar, and cinnamon. Mix until resembling wet sand.
- Press the crust mixture firmly and evenly into the bottom of the prepared pan. Bake for 8-10 minutes until lightly golden. Remove and let cool. Lower oven temperature to 300°F (150°C).
- In a large bowl, beat the softened cream cheese on medium speed until smooth and creamy (2-3 minutes). Scrape down sides and bottom.
- Add 1 cup granulated sugar, brown sugar, sour cream, and heavy cream. Beat on low speed until just combined.
- Add pumpkin pie spice, ground ginger, nutmeg, vanilla extract, and salt. Mix until incorporated.
- Add pumpkin puree and beat on low speed until smooth.
- Add eggs one at a time, mixing on low speed just until the yellow disappears. Do not overmix.
- Pour filling over the cooled crust and smooth the top.
- Bake at 300°F (150°C) for 45-55 minutes until edges are set but the center has a slight jiggle.
- Turn off the oven, crack the door open, and let bars cool inside for 1 hour.
- Remove from oven and cool completely on a wire rack.
- Refrigerate for at least 4 hours or overnight until fully set.
- Lift bars out using parchment overhang. Cut into squares and serve with whipped cream if desired.
Notes
Ensure cream cheese is fully softened to avoid lumps. Do not overmix after adding eggs to prevent cracks. For clean cuts, use a sharp knife and wipe it between slices. The bars taste better after chilling overnight as flavors meld.
Nutrition
- Serving Size: 1 bar
- Calories: 375
- Sugar: 22
- Sodium: 280
- Fat: 25
- Saturated Fat: 14
- Carbohydrates: 30
- Fiber: 1
- Protein: 5
Keywords: pumpkin cheesecake bars, fall dessert, easy pumpkin recipe, graham cracker crust, cream cheese filling, autumn baking, holiday dessert


