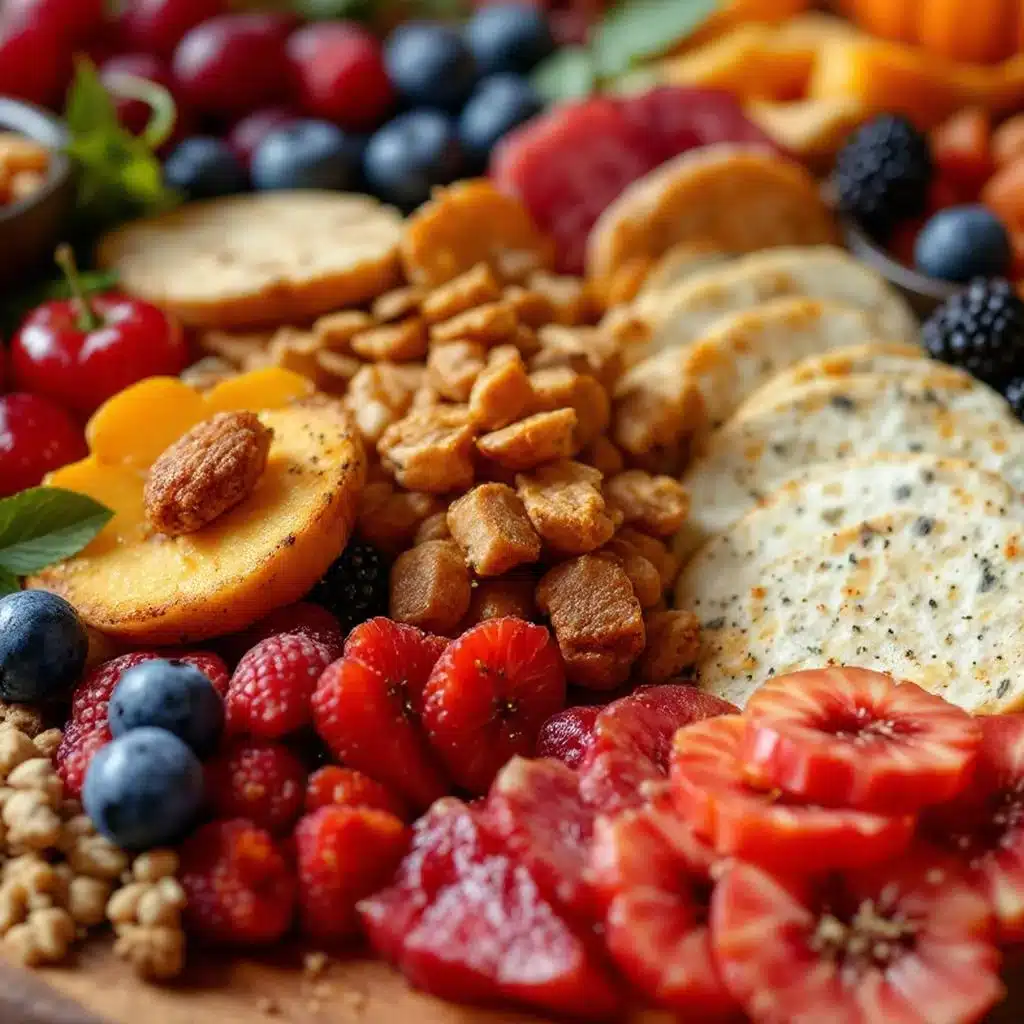
I want cheese. I want the kind of cheese that sticks to the roof of your mouth if you eat it too fast, and I want it surrounded by fruit that tastes like it fell off a tree in October. It is 4:00 PM on a Tuesday, and the idea of standing over a hot stove for three hours to prepare a traditional Thanksgiving dinner feels like a punishment I am not willing to accept. Honestly, I just want to sit on the floor with my friends, drink wine, and eat things off a big wooden board. That is the only way this holiday works for me anymore. The stress of cooking a turkey for twenty people is real, but the joy of grazing with good people is higher. So, I decided to build the ultimate Friendsgiving charcuterie board with fall fruits instead. It is not about perfection. It is about abundance. It is about having everything ready before the doorbell rings so you can actually enjoy your guests. You know how it is when you are hosting. You want to be present, not stuck in the kitchen scrubbing pots while everyone else is already eating. This board solves that. It looks impressive, sure. It looks like you spent hours curating it. But really, it just looks like you bought good stuff and arranged it nicely. And let’s face it, that is 90% of the battle. The colors are warm. The textures are varied. It tastes like autumn without the heavy carb coma. I keep thinking about how much better this feels than a formal sit-down meal. It is casual. It is inviting. It lets people move around and talk. That is what Friendsgiving is supposed to be. It is about the company, not the cuisine. So, I am going to show you how to put this together. It is easier than you think. And once you try it, you might never go back to the traditional setup again. Or maybe you will have both. But this board? This is the star.
Why You’ll Love This Recipe
Let’s be real for a second. Hosting a group dinner is exhausting. You want to impress your friends, but you also want to survive the night. This ultimate Friendsgiving charcuterie board with fall fruits is the secret weapon that saves your sanity. I have tested dozens of platter arrangements over the years, from simple cheese plates to elaborate multi-tiered displays. This one hits the sweet spot. It is approachable yet sophisticated. It does not require a culinary degree to pull off. It requires a shopping list and a little bit of creativity. Here is why this specific setup works so well for your next gathering:
- Quick & Easy Setup: You can assemble this entire board in under 30 minutes. That is right. Thirty minutes. This leaves you plenty of time to shower, change into something comfortable, and actually have a drink before your guests arrive. It is perfect for busy weeknights or those chaotic last-minute plans where you realize you forgot to buy appetizers.
- Simple Ingredients: You likely already have half of this in your pantry or fridge. Crackers, nuts, dried fruit, and cheese are staples. The fresh fall fruits are seasonal and widely available. You do not need to hunt down obscure ingredients or spend a fortune at a specialty grocer. It is budget-friendly without looking cheap.
- Perfect for Friendsgiving: This is the ideal centerpiece for a casual autumn gathering. It fits the theme perfectly with its warm, harvest-inspired colors. It encourages mingling. People can grab a plate, find a spot on the couch, and eat while they chat. It takes the pressure off everyone to be formally seated at the same time.
- Crowd-Pleaser: Everyone loves cheese and fruit. It is a universal truth. Whether your friends are vegetarian, gluten-free, or just hungry, there is something on this board for them. I have served this at parties where picky eaters and foodies alike have gone back for seconds. It never fails to get rave reviews.
- Unbelievably Delicious: The combination of salty, sweet, crunchy, and creamy creates a flavor profile that keeps people coming back. The sharp cheddar cuts through the sweetness of the figs. The honey adds a richness that ties it all together. It is next-level comfort food that feels light but satisfying.
What makes this recipe different from the rest is the focus on texture and seasonal balance. Many charcuterie boards rely too heavily on cured meats, which can be heavy and salty. By shifting the spotlight to fall fruits and artisanal cheeses, you create a lighter, more refreshing experience. It is not just another version of a snack platter. It is your best version. It shows you put thought into the colors and the flavors. It taps into that cozy, autumnal feeling we all crave. This board is the kind that makes you close your eyes after the first bite of a honey-drizzled pear slice. It is comfort food reimagined—healthier, faster, but with the same soul-soothing satisfaction. It is perfect for impressing guests without stress, or turning a simple meal into something memorable.
What Ingredients You Will Need
This recipe uses simple, wholesome ingredients to deliver bold flavor and satisfying texture without the fuss. The beauty of a charcuterie board is that you can customize it based on what you find at the store or what is in season. However, for the ultimate Friendsgiving experience, I recommend sticking to this core list. It balances savory, sweet, salty, and crunchy elements perfectly. Most of these items are pantry staples, but the fresh fruits are what bring it all together with that seasonal flair. You can swap items out if needed, but try to keep the ratio of cheese to fruit to crackers roughly equal for a balanced board.
For the Cheese Selection
Having a variety of textures and flavors is key. You want something hard, something soft, and something funky.
- Sharp Cheddar Cheese: Block form, cut into cubes or slices. This provides a strong, salty punch that pairs well with sweet fruits. I recommend Cabot Extra Sharp Cheddar for its clean, tangy flavor.
- Brie or Camembert: Soft-ripened cheese. It is creamy and buttery. Serve it whole or cut into wedges. Look for one with a white, bloomy rind that yields slightly to pressure.
- Manchego: A Spanish sheep’s milk cheese. It has a nutty, buttery flavor and a firm texture. It holds up well when cut into small chunks. I prefer La Mancha brand for its authentic taste.
- Gouda: Smoked or aged Gouda adds a unique dimension. Smoked Gouda pairs beautifully with fall flavors like apple and pear. It has a caramel-like sweetness.
For the Fall Fruits
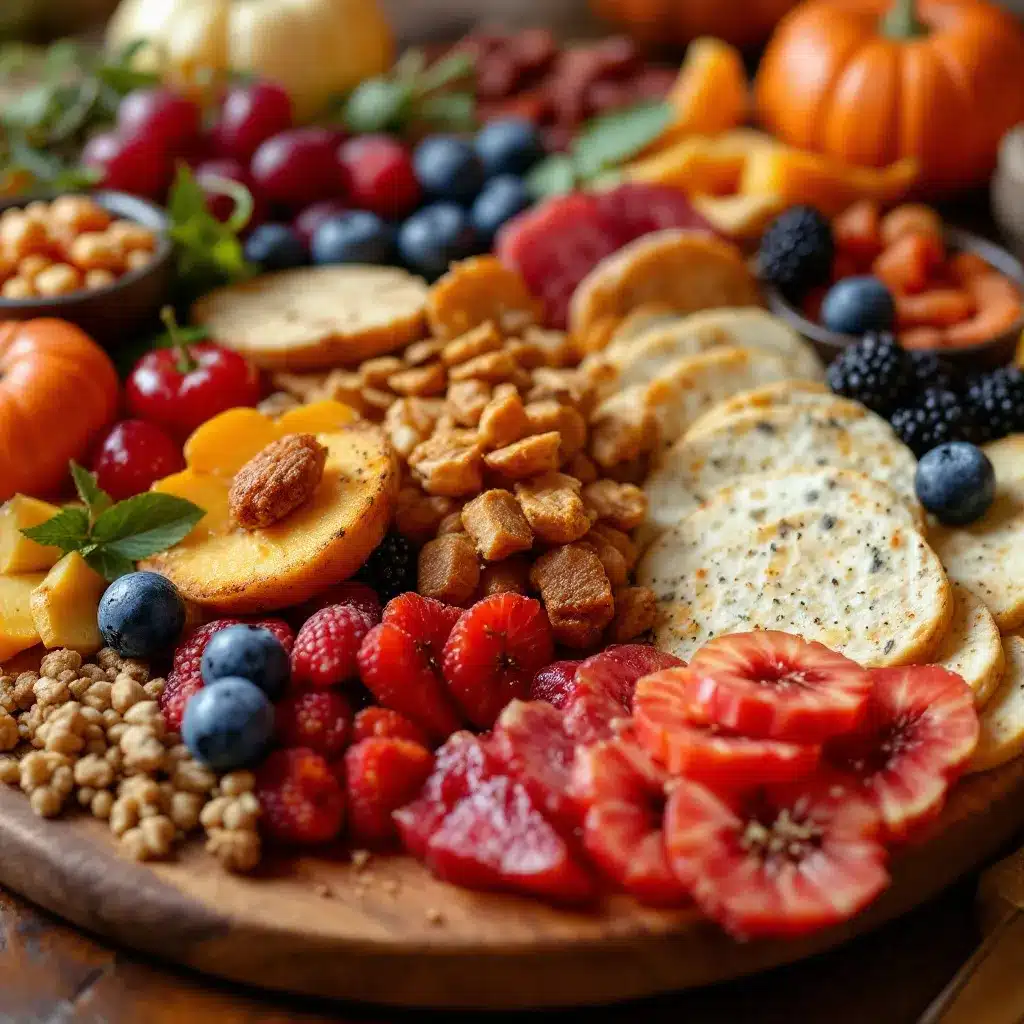
Fresh and dried fruits add color, natural sweetness, and acidity to cut through the richness of the cheese.
- Fresh Grapes: Red and green seedless grapes. They are easy to eat and add a burst of juiciness. Leave them on the vine for a rustic look.
- Figs: Fresh figs are in season in the fall. They are sweet and earthy. If you cannot find fresh ones, high-quality dried figs work well too. Halve them for easy eating.
- Pears: Bosc or Anjou pears are firm and hold up well. Slice them thinly. They have a subtle sweetness that complements sharp cheeses.
- Apples: Honeycrisp or Fuji apples. Slice them into wedges or rounds. Toss them in a little lemon juice to prevent browning if you are prepping early.
- Dried Apricots & Cranberries: These add a chewy texture and tartness. They are great for scattering in the empty spaces of the board.
For the Crunch & Savory Elements
You need something to scoop or spread the cheese on, plus some salty snacks to balance the sweetness.
- Crackers: Get a mix. Water crackers for the soft cheeses, seeded crackers for the hard cheeses, and maybe some pretzel crisps for extra crunch. I like Ryvita or Triscuits.
- Nuts: Walnuts, pecans, or almonds. Toast them lightly for better flavor. They add a necessary crunch and healthy fats.
- Olives: Marinated artichoke hearts or kalamata olives. They add a briny, savory note that contrasts with the fruit.
- Cured Meats: Prosciutto or salami. Fold them into rosettes for a pretty presentation. Optional, but classic for a charcuterie board.
For the Finish
- Honey: Drizzle it over the Brie or figs. It adds gloss and sweetness.
- Fresh Herbs: Rosemary or thyme sprigs. They look beautiful and add a fragrant aroma. They are also edible and pair well with the cheeses.
Equipment Needed
You do not need a lot of fancy gadgets to build this board. In fact, keeping it simple is part of the charm. The most important piece of equipment is your serving surface. A large wooden cutting board, a slate slab, or even a clean marble countertop works beautifully. Wood adds warmth and fits the fall theme perfectly. I prefer a large, rectangular wooden board because it gives you plenty of space to arrange everything without it feeling cramped. If you do not have a big board, use a large platter or even combine two smaller boards.
You will also need a sharp cheese knife. A standard kitchen knife works, but a cheese knife with a blade that has holes in it helps prevent the soft cheese from sticking. For the hard cheeses, a sturdy chef’s knife is fine. Have a few small bowls ready for the nuts, olives, and honey. Ceramic or glass bowls look nice and prevent spills. A small honey dipper or spoon is helpful for drizzling. Finally, have a paper towel or napkin handy for wiping your fingers and cleaning up any drips. It sounds basic, but a clean workspace makes the whole process faster and more enjoyable.
Preparation Method
Building the board is a creative process, but having a plan helps. Do not just throw items on randomly. Think about color, height, and distribution. Here is how to put it all together step-by-step.
- Prepare the Cheeses (10 minutes): Take your cheeses out of the fridge about 30 minutes before assembling. Cheese tastes better at room temperature. Cut the hard cheeses like cheddar and Manchego into cubes or thin slices. For the Brie, you can leave it whole or cut it into wedges. If using smoked Gouda, cut it into cubes. Arrange the cheese blocks on the board first. Place them at different points on the board, leaving space for the other items. This anchors the board.
- Add the Crackers and Bread (5 minutes): Place your crackers and bread next to the cheeses. You can stack them in piles or lay them out flat. If stacking, vary the heights to create visual interest. Place one stack near one cheese and another stack near a different cheese. This ensures everyone can easily access both.
- Place the Fresh Fruits (10 minutes): Wash and prep your fresh fruits. Slice the pears and apples. Halve the figs. Leave the grapes on the vine. Scatter the grapes around the board, filling in gaps between the cheeses. Arrange the fruit slices in a fan shape or a neat pile. Try to alternate colors. Red grapes next to green pears. Yellow figs next to dark walnuts. This makes the board pop visually.
- Scatter the Dried Fruits and Nuts (5 minutes): Take your dried apricots, cranberries, and nuts. Sprinkle them into the empty spaces on the board. Do not just put them in bowls. Let them spill out onto the board surface. This creates a sense of abundance and makes it look more rustic and inviting. Place a few nuts on top of the cheese for an extra touch.
- Add the Savory Elements (5 minutes): Place your olives and marinated artichokes in small bowls or directly on the board. If using cured meats, fold the prosciutto or salami into loose rosettes and place them near the cheeses. This adds another layer of flavor and texture.
- Drizzle and Garnish (5 minutes): Drizzle honey over the Brie and the figs. Do not overdo it. A light drizzle is enough. Add sprigs of fresh rosemary or thyme around the board. The herbs add height and a beautiful green contrast to the warm autumn colors. Step back and look at your board. Adjust anything that looks off. Add more fruit to empty spots. Tuck in a few more nuts. Make sure it looks balanced.
The whole process should take about 30 to 40 minutes if you are moving at a relaxed pace. Remember, it does not need to be perfect. A slightly messy board looks more inviting than a rigid, geometric one. You are aiming for “effortlessly chic.”
Cooking Tips & Techniques
Building a great charcuterie board is less about cooking and more about presentation and balance. Here are some pro tips I have learned from years of hosting to make your board stand out.
Think in Triangles: When placing your cheeses, try to place them in a triangular formation across the board. This draws the eye around the entire platter and prevents all the cheese from being clustered in one corner. It creates a visual flow.
Use Height: Flat boards can look boring. Use small bowls, stacked crackers, or folded meats to create vertical interest. If you have a cheese that is too flat, prop it up against a jar or a bunch of grapes. Height adds dimension.
Fill the Gaps: The biggest mistake people make is leaving too much empty space. Use nuts, dried fruit, and herbs to fill in any holes. These small items are like the mortar that holds the bricks together. They make the board look full and abundant.
Consider Color Contrast: Look at your board from a distance. Do you see a mix of colors? If everything is brown and beige, it will look dull. Add red grapes, green apples, orange apricots, and green herbs. The more color, the more appetizing it looks.
Prep Ahead: You can prep most of the ingredients the day before. Cut the cheeses and fruits and store them in airtight containers in the fridge. Assemble the board just before serving. This saves you time on the day of the party. Just remember to take the cheese out of the fridge early so it can come to room temperature.
Don’t Overcrowd: While you want to fill gaps, do not overcrowd the board. Leave enough space for people to grab items with their hands or crackers. If it is too packed, people will struggle to serve themselves. Aim for a cluttered-but-organized look.
Variations & Adaptations
One of the best things about a charcuterie board is its flexibility. You can adapt it to fit different dietary needs or flavor preferences. Here are a few variations I have tried that work wonderfully.
Vegan Option: You can easily make this board vegan. Swap the dairy cheese for high-quality vegan cheese alternatives. Brands like Miyoko’s or Violife make excellent cashew-based cheeses that slice and melt well. Keep the fruits, nuts, crackers, and olives. Add some hummus or a vegan dip for extra flavor. It is just as satisfying and inclusive.
Gluten-Free Option: Simply swap the regular crackers for gluten-free options. There are many delicious rice crackers, almond flour crackers, and gluten-free pretzels available now. Make sure to check the labels on your cured meats and olives to ensure they are gluten-free, as some can have added starches or fillers. The rest of the board is naturally gluten-free.
Low-Carb Option: For a low-carb or keto-friendly board, skip the crackers and bread entirely. Focus on the cheeses, meats, nuts, and fresh vegetables. Add some cucumber slices, bell pepper strips, and celery sticks. These add crunch without the carbs. You can use cheese slices as “chips” to scoop up toppings.
Seasonal Twist: In the spring, swap the fall fruits for strawberries, kiwi, and melon. Add some fresh mint and basil. In the summer, try watermelon, peaches, and grapes with fresh mozzarella and basil. The concept remains the same, but the ingredients change with the seasons. This keeps the board feeling fresh and relevant year-round.
Spicy Kick: If your friends like heat, add some spicy chorizo or pepperoni. You can also drizzle hot honey over the cheeses. Or add some pickled jalapeños on the side. This adds a nice contrast to the sweet fruits and creamy cheeses. It wakes up the palate.
Serving & Storage Suggestions
Serve this board at room temperature. Cold cheese does not taste as good, and cold fruit can be bland. Take everything out of the fridge about 30 minutes before serving. Let the board sit on the table while your guests arrive. This gives them something to graze on immediately, which helps break the ice.
Pair this board with a crisp white wine, like a Pinot Grigio, or a light red, like a Pinot Noir. A glass of cider also works well for the fall theme. If you want to get fancy, serve it alongside a warm soup, like my creamy roasted butternut squash soup, for a heartier meal. The board acts as a perfect appetizer or light dinner.
Any leftovers can be stored in the refrigerator. Keep the cheeses in airtight containers or wrapped in wax paper. The fruits should be stored separately to prevent them from getting soggy. The crackers should be kept in a dry place to maintain their crunch. Try to eat the leftovers within two days for the best quality. The flavors will meld together in the fridge, making the cheeses taste even stronger.
If you are serving this as part of a larger meal, place it in the center of the table. If it is the main focus, place it on a side table or bar area. This encourages movement and interaction. People will naturally gather around it, chat, and grab a bite. It is a social food. Enjoy it with good company and good conversation.
Nutritional Information & Benefits
While charcuterie boards are often seen as indulgent, they can be a balanced meal if you choose your ingredients wisely. This ultimate Friendsgiving charcuterie board with fall fruits offers a mix of protein, healthy fats, and fiber. The cheeses provide calcium and protein, which help keep you full. The nuts add healthy omega-3 fatty acids, which are good for heart health. The fresh fruits provide vitamins, antioxidants, and fiber. The dried fruits offer quick energy. This combination helps stabilize blood sugar levels, preventing the crash that comes from eating only carbs.
For those watching their calorie intake, be mindful of portion sizes. Cheese and nuts are calorie-dense. A little goes a long way. Use smaller crackers and focus on the fruits and vegetables to fill up on volume. This board is also naturally gluten-free if you choose the right crackers, making it suitable for many dietary restrictions. It is a great way to introduce new flavors to picky eaters, as they can pick and choose what they like. It is a low-stress way to eat well and enjoy your food.
Conclusion
Creating the ultimate Friendsgiving charcuterie board with fall fruits is a wonderful way to celebrate the season without the stress. It is beautiful, delicious, and easy to make. It brings people together in a relaxed, enjoyable way. I love this recipe because it allows me to be present with my friends. I do not have to be stuck in the kitchen. I can sit on the floor, eat cheese, and laugh. It is simple, but it feels special. I encourage you to try it. Customize it with your favorite flavors. Add your own twists. Make it your own. And when you do, I would love to hear how it went. Leave a comment below and tell me what ingredients you chose. Share your photos on social media and tag me. Let’s share the love of good food and great company. This board is more than just food. It is a memory in the making. So grab a board, buy some cheese, and get ready to host the best Friendsgiving ever.
Frequently Asked Questions
How far in advance can I prepare the charcuterie board?
You can prep the ingredients up to 24 hours in advance. Cut the fruits and cheeses and store them in the fridge. Assemble the board just before serving, about 30 minutes before your guests arrive. This ensures the cheese is at the right temperature and the fruits look fresh.
What type of cheese is best for a fall charcuterie board?
Sharp cheddar, Brie, Gouda, and Manchego are excellent choices for fall. They pair well with autumn fruits like figs, pears, and apples. The mix of hard and soft cheeses adds variety to the board.
Can I make this board vegan?
Yes! Simply substitute the dairy cheese with vegan cheese alternatives. Keep the fruits, nuts, crackers, and olives. You can also add vegan dips like hummus or marinara. It is just as delicious and inclusive.
What drinks pair well with this board?
Crisp white wines like Pinot Grigio, light reds like Pinot Noir, and apple cider are great options. Non-alcoholic options like sparkling water with lemon or herbal tea also work well.
How do I prevent the fruits from browning?
Toss sliced apples and pears in a little lemon juice before arranging them on the board. This helps prevent oxidation and keeps them looking fresh. Serve the board as soon as possible for the best appearance.
Pin This Recipe!
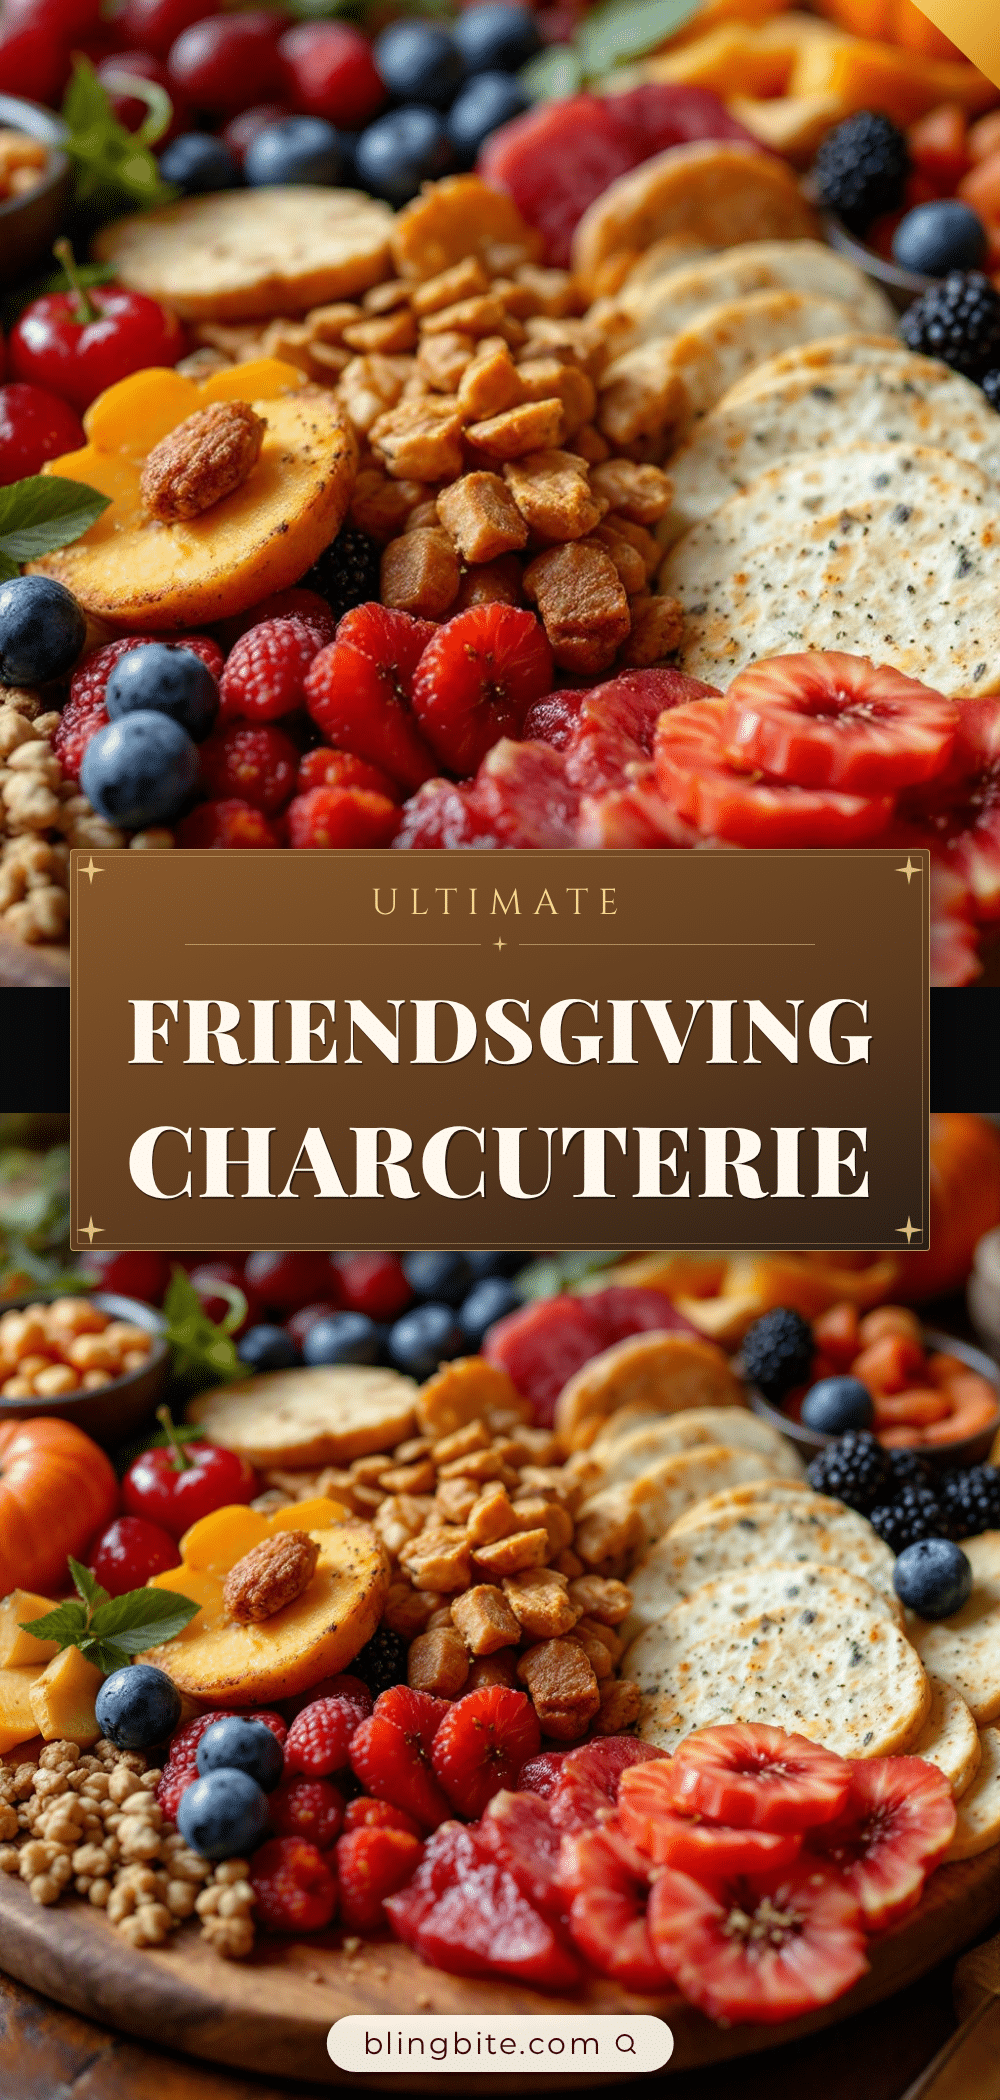
Ultimate Friendsgiving Charcuterie Board: Easy Fall Fruit Platter
An effortless, stress-free charcuterie board featuring a curated selection of fall fruits, artisanal cheeses, nuts, and crackers. Perfect for hosting gatherings without the hassle of cooking.
- Prep Time: 30 minutes
- Cook Time: 0 minutes
- Total Time: 30 minutes
- Yield: 8-10 servings
- Category: Appetizer
- Cuisine: American
Ingredients
- Sharp Cheddar Cheese (block form, cut into cubes or slices)
- Brie or Camembert (soft-ripened cheese)
- Manchego cheese (Spanish sheep’s milk cheese)
- Smoked or Aged Gouda
- Fresh Grapes (red and green seedless)
- Fresh Figs (halved) or high-quality dried figs
- Pears (Bosc or Anjou, sliced thinly)
- Apples (Honeycrisp or Fuji, sliced into wedges/rounds)
- Dried Apricots
- Dried Cranberries
- Crackers (water crackers, seeded crackers, pretzel crisps)
- Nuts (walnuts, pecans, or almonds, lightly toasted)
- Olives (Kalamata) or Marinated Artichoke Hearts
- Cured Meats (Prosciutto or Salami, optional)
- Honey (for drizzling)
- Fresh Herbs (Rosemary or Thyme sprigs)
Instructions
- Take cheeses out of the fridge 30 minutes before assembling to reach room temperature.
- Cut hard cheeses (Cheddar, Manchego, Gouda) into cubes or slices. Cut Brie into wedges or leave whole.
- Arrange cheese blocks on the board at different points to anchor the display.
- Place crackers and bread next to the cheeses, stacking them to create visual height.
- Wash and prep fresh fruits: slice pears and apples, halve figs, and leave grapes on the vine.
- Scatter grapes around the board and arrange fruit slices in fan shapes or neat piles, alternating colors.
- Sprinkle dried apricots, cranberries, and nuts into empty spaces to create a sense of abundance.
- Place olives or artichokes in small bowls or directly on the board. Fold cured meats into rosettes if using.
- Drizzle honey lightly over the Brie and figs.
- Garnish with fresh rosemary or thyme sprigs for height and aroma.
- Step back and adjust any empty spots to ensure a balanced, ‘effortlessly chic’ look.
Notes
[‘Prep ingredients up to 24 hours in advance, but assemble the board just before serving.’, ‘Toss sliced apples and pears in lemon juice to prevent browning.’, ‘Serve at room temperature for best flavor.’, ‘Think in triangles when placing cheeses to draw the eye around the platter.’, ‘Use height by stacking crackers or folding meats to avoid a flat look.’, ‘Fill gaps with nuts and dried fruit to make the board look abundant.’]
Nutrition
- Serving Size: Varied pieces per pe
- Calories: 350
- Sugar: 18
- Sodium: 450
- Fat: 22
- Saturated Fat: 10
- Carbohydrates: 28
- Fiber: 4
- Protein: 12
Keywords: Friendsgiving, charcuterie board, fall fruit platter, cheese board, easy appetizer, autumn recipes, grazing board, party food


