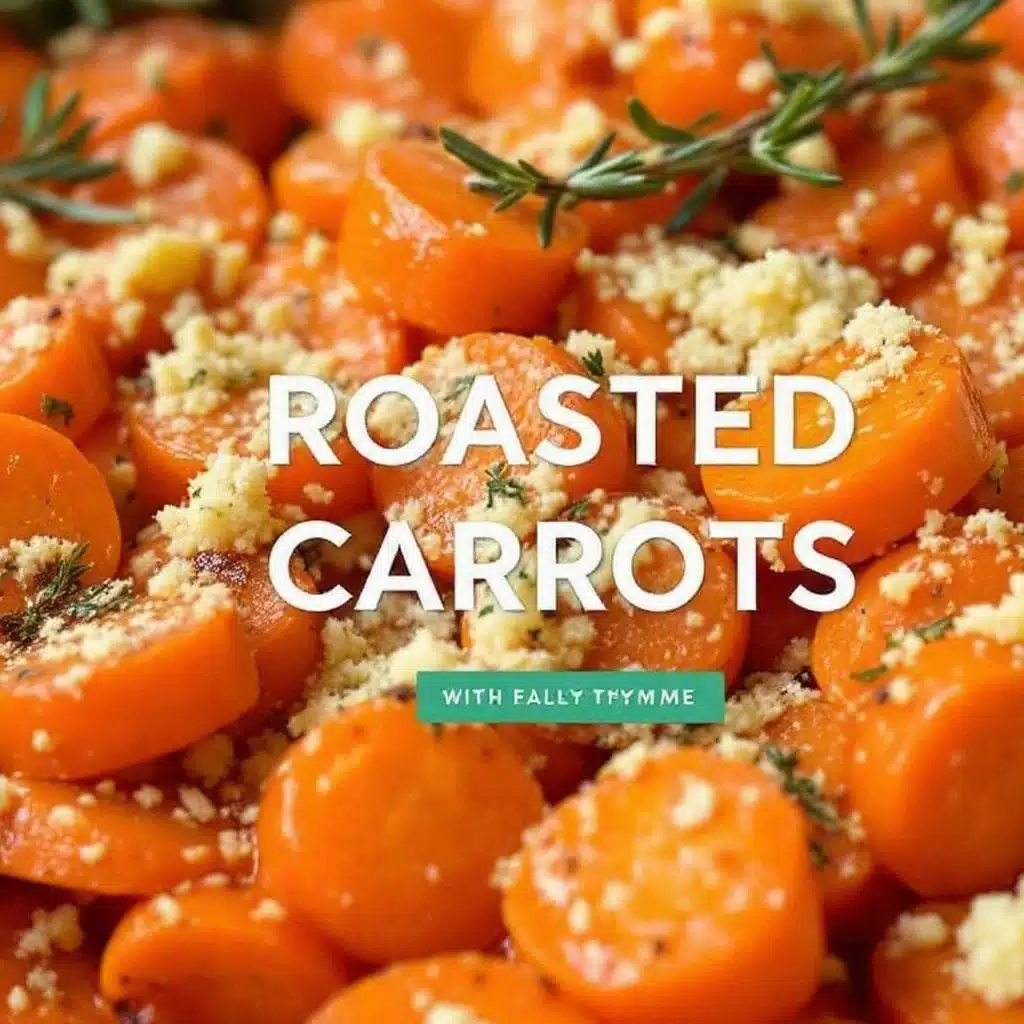
The edges are dark, almost burnt, and that’s the whole point. I stared at the roasting pan, waiting for the smell of caramelized sugar to overpower the sharp, herbal punch of the thyme. Honestly, I was worried I’d gone too far. The carrots looked less like vegetables and more like little logs from a campfire, glazed in a way that made them glisten under the kitchen lights. You know how some people talk about food with their eyes? I do that with my fingertips. I want to feel that snap before I taste the sweetness.
It wasn’t supposed to be this complicated. I just wanted roasted carrots. But then I remembered the rule I learned years ago: butter burns, but browned butter doesn’t care. The recipe for crispy herb butter roasted carrots with thyme started as a way to use up those bruised, ugly carrots from the bottom of the crisper drawer. They were limp, honestly. But once they hit the hot pan with the nutty brown butter, everything changed.
I watched the milk solids in the butter turn golden brown, sending up a cloud of scent that smelled like nuts and safety. It’s a specific kind of magic, the kind that makes you forget you’re standing in a messy kitchen at 7 PM on a Tuesday. The thyme leaves crisped up instantly, turning into tiny green shards that stuck to the orange skins. That crunch is what I made this for — everything else is secondary.
I took a bite while it was still too hot to handle. The inside was creamy and soft, but the outside? It shattered. It was like biting into a sweet potato chip, but with more depth. There’s a quiet realization that happens when you stop treating root vegetables like sides and start treating them like stars. This isn’t just a side dish. It’s the reason you might stay for seconds, or thirds, if I don’t watch myself.
Why You’ll Love This Recipe
Let’s be real for a second. Most roasted carrots are just… soft. They’re tender, sure, but they lack character. They sit on the plate looking like they gave up halfway through the cooking process. This recipe is different because it fights for texture. I’ve tested this method dozens of times, from using organic heirloom varieties to cheap supermarket bunches, and the result is always the same: a perfect balance of crunch and creaminess.
Here is why this dish deserves a spot in your weekly rotation:
* **Quick & Easy**: Despite the prep, this comes together in under 30 minutes. The high heat does the heavy lifting, so you aren’t tending to a pot all evening. It’s perfect for busy weeknights when you want something that tastes gourmet but doesn’t require a degree in culinary arts.
* **Simple Ingredients**: You likely already have everything in your kitchen. Carrots, butter, thyme, salt, and pepper. No fancy grocery trips needed. If you have a drawer full of old spices, this is the recipe to use them up.
* **Perfect for Dinner Parties**: This is great for potlucks or holiday mornings. It’s elegant enough to serve alongside red wine braised short ribs but simple enough for a casual Tuesday. The visual appeal of the dark edges against the bright orange makes it a centerpiece without trying too hard.
* **Crowd-Pleaser**: Always gets rave reviews from kids and adults alike. Kids love the sweetness; adults love the savory herb notes. It bridges the gap between “eat your vegetables” and “pass the bowl.”
* **Unbelievably Delicious**: The texture and flavor combo is next-level comfort food. The brown butter adds a nutty depth that regular butter just can’t achieve. It’s the kind of dish that makes you close your eyes after the first bite.
What makes this truly special is the technique. Most people just toss veggies in oil. We’re using brown butter, which changes the entire chemical structure of the coating. It clings better. It crisps faster. It creates a barrier that locks in moisture while the outside gets that desirable char. Whether you are a novice cook or a seasoned chef, this method is foolproof. It’s comfort food reimagined—healthier, faster, but with the same soul-soothing satisfaction.
What Ingredients You Will Need
This recipe uses simple, wholesome ingredients to deliver bold flavor and satisfying texture without the fuss. The magic here isn’t in complexity; it’s in quality and technique. You don’t need a farmer’s market haul to make this work, though fresh carrots definitely help. The key is understanding what each component brings to the pan.
* **Carrots**: Choose medium-sized carrots for even cooking. If they are too thick, they’ll be raw in the middle when the outside burns. If they are too thin, they’ll vanish into mush. I prefer organic bunches with the greens still attached because they’re usually fresher. Peel them, but leave the skin on if it’s clean and organic—it adds fiber and texture.
* **Unsalted Butter**: This is non-negotiable for the browning process. Salted butter has water content that can interfere with the browning of the milk solids. I recommend DairyPure or any high-fat European-style butter if you can find it. The higher the fat content, the richer the final flavor. You’ll need about half a cup.
* **Fresh Thyme**: Dried thyme works in a pinch, but fresh thyme has oils that release when heated, creating that aromatic smoke. Strip the leaves from the woody stems. If you don’t have fresh, use a teaspoon of dried, but add it later in the process so it doesn’t burn.
* **Olive Oil**: A tablespoon of neutral oil or olive oil helps prevent the butter from burning too quickly. Butter has a low smoke point, so the oil acts as a buffer.
* **Kosher Salt and Black Pepper**: Use coarse salt for better control. Fine table salt can clump and make certain spots overly salty. Freshly cracked black pepper adds a necessary heat to balance the sweetness.
* **Honey or Maple Syrup (Optional)**: If your carrots are particularly sweet, you might not need this. But for a deeper caramelization, a drizzle of honey helps the edges get dark faster.
* **Garlic Powder**: Just a pinch. Fresh garlic can burn and turn bitter in a 400°F oven. Garlic powder adds that savory backbone without the risk of charred bits.
I like to keep the seasoning minimal at first. You can always add more salt at the table. The carrots will release some water initially, so don’t panic if the pan looks wet at the start. That’s just nature doing its thing. Once that water evaporates, the real roasting begins.
Equipment Needed
You don’t need a fancy kitchen to make this happen. The right tools just make the process less stressful.
* **Rimmed Baking Sheet**: This is crucial. Use a sheet with edges to catch any melted butter that might spill over. A flat cookie sheet might let the butter run off, leaving your carrots dry. I use a heavy-gauge aluminum sheet because it conducts heat evenly.
* **Large Mixing Bowl**: You need enough space to toss the carrots thoroughly. A bowl that’s too small will result in uneven coating.
* **Pastry Brush**: Optional, but helpful for brushing on extra brown butter at the end if you want extra shine and flavor.
* **Sharp Knife**: To trim the tops and bottoms of the carrots. A dull knife will crush the carrots, making them look messy.
* **Paper Towels**: To pat the carrots dry. This step is often skipped, but it’s the secret to crispiness. Wet carrots steam instead of roast.
If your baking sheet is scratched or dark, it might brown faster. Keep an eye on them. A lighter-colored sheet will give you more control. I’ve ruined batches by using a blackened, old sheet without adjusting the time. Learn from my mistakes.
Preparation Method
Getting the texture right is a game of timing and temperature. Here is how you do it without stress.
1. **Preheat the Oven**: Set your oven to 425°F (220°C). This high heat is necessary for caramelization. Lower temperatures will just dry out the carrots.
2. **Prep the Carrots**: Wash the carrots thoroughly. Trim off the green tops and the root ends. If the carrots are thick, cut them in half lengthwise. If they are thin, leave them whole. Uniformity is key for even cooking.
3. **Dry Them Well**: Pat the carrots completely dry with paper towels. This sounds tedious, but it’s the most important step. Moisture is the enemy of crispiness.
4. **Brown the Butter**: In a small saucepan over medium heat, melt the butter. Watch it closely. It will foam up, then subside. Listen for a sizzling sound. Look for golden brown bits at the bottom. This means the milk solids are browning. Remove from heat immediately.
5. **Toss the Carrots**: In your large bowl, combine the carrots, olive oil, garlic powder, salt, and pepper. Toss until coated.
6. **Add the Brown Butter**: Pour the brown butter (and all those golden bits!) over the carrots. Add the fresh thyme leaves. Toss again. The carrots should look glossy and speckled with green.
7. **Spread on Sheet**: Line your baking sheet with parchment paper for easy cleanup. Spread the carrots in a single layer. Do not crowd them. If they touch, they’ll steam. Give them space to breathe.
8. **Roast**: Place in the oven. Roast for 15 minutes.
9. **Flip and Check**: Pull the tray out. Flip the carrots. You should see some browning on the edges. If not, give them another 5-10 minutes.
10. **Final Crisp**: Roast for another 5-10 minutes until the edges are dark and crisp. The carrots should be tender when pierced with a fork.
11. **Serve**: Transfer to a serving dish. Taste and add more salt if needed.
Cooking Tips & Techniques
I’ve burned a lot of butter in my time. Here’s how to avoid doing the same.
* **Watch the Butter**: Brown butter goes from perfect to burnt in seconds. If it smells like smoke, toss it. You can’t fix burnt butter.
* **Don’t Crowd the Pan**: This is the most common mistake. Overcrowded pans create steam. Steam prevents browning. Use two pans if necessary.
* **Uniform Size**: Cut your carrots to similar sizes. Big pieces take longer. Small pieces cook fast. If you mix them, you’ll have mush and raw bits.
* **The Flip**: Flipping halfway ensures even browning. It’s a small step that makes a big difference.
* **Taste as You Go**: Carrots vary in sweetness. Taste one after roasting. If it’s bland, add salt. If it’s bland and sweet, add pepper or acid.
I once tried this with baby carrots straight from the bag. They were too uniform and too wet. They turned out soggy. Always dry them. Always trim them.
Variations & Adaptations
This recipe is a canvas. Here are a few ways to play with it.
* **Spicy Kick**: Add a pinch of cayenne pepper or red pepper flakes to the butter. It cuts through the richness nicely.
* **Citrus Zest**: Add lemon zest right after roasting. The acid brightens the earthy flavors.
* **Gluten-Free**: This recipe is naturally gluten-free, but check your butter if you use flavored varieties.
* **Vegan Swap**: Use vegan butter and skip the honey. It still works, though the flavor profile is slightly different.
* **Herb Swap**: Try rosemary or sage instead of thyme. Rosemary is stronger, so use less.
I once made this with parsnips and carrots mixed. The parsnips got even crispier. It was a hit. Don’t be afraid to experiment.
Serving & Storage Suggestions
Serve these hot, right out of the oven. They lose their crunch if they sit too long.
* **Pairing**: Great with creamy sausage and lemon pasta or roasted chicken. The herbs complement poultry well.
* **Storage**: Store in an airtight container in the fridge for up to 3 days.
* **Reheating**: Reheat in an air fryer or toaster oven to restore crispiness. Microwave will make them soft.
* **Freezing**: Not recommended. They become mushy upon thawing.
The flavors meld over time, so leftovers taste different. Still good, just different.
Nutritional Information & Benefits
Carrots are rich in beta-carotene, which converts to vitamin A. Good for eyes, skin, and immunity. The butter adds fat, which helps absorb the vitamins. It’s a balanced side.
* **Calories**: Approx. 150 per serving.
* **Carbs**: 10g.
* **Fat**: 10g.
* **Protein**: 1g.
It’s not a low-calorie dish, but it’s nutrient-dense. Enjoy in moderation.
Conclusion
This recipe is worth trying because it changes how you see carrots. They aren’t just filler. They’re a star. Customize it with your favorite herbs. Share it with friends. I love this recipe because it’s simple but impressive. It’s the kind of dish that makes people ask for the secret. The secret is brown butter and patience.
Try it tonight. Let me know how it turns out. Did you burn the butter? Did you get the crunch? I want to hear about it. Cooking is better when we share it.
Frequently Asked Questions
Can I use frozen carrots?
No. Frozen carrots are too wet and will turn to mush. Always use fresh.
Why did my butter burn?
The heat was too high or you didn’t watch it. Brown butter requires attention. Keep the heat medium and watch closely.
Can I add cheese?
Yes. Parmesan or feta works well. Add it in the last 2 minutes so it doesn’t burn.
How do I know when they are done?
The edges should be dark and crisp. The inside should be tender.
Can I make this ahead of time?
You can prep the carrots and brown the butter ahead, but roast them fresh for best texture.
Pin This Recipe!
Crispy Herb Butter Roasted Carrots: Perfect Thyme Recipe

Roasted carrots tossed in nutty brown butter and fresh thyme, achieving a perfect balance of crispy, caramelized edges and creamy, tender interiors.
- Prep Time: 15 minutes
- Cook Time: 20-25 minutes
- Total Time: 35-40 minutes
- Yield: 4 servings 1x
- Category: Side Dish
- Cuisine: American
Ingredients
- 2 lbs medium carrots, peeled and trimmed
- 1/2 cup unsalted butter
- 1 tbsp olive oil
- 1 tsp garlic powder
- 1 tsp kosher salt (plus more to taste)
- 1/2 tsp freshly cracked black pepper
- 2 tbsp fresh thyme leaves
- 1 tbsp honey or maple syrup (optional)
Instructions
- Preheat oven to 425°F (220°C).
- Wash carrots thoroughly, trim tops and ends, and cut thick carrots in half lengthwise for uniformity.
- Pat carrots completely dry with paper towels to ensure crispiness.
- In a small saucepan over medium heat, melt butter until it foams, then subsides and turns golden brown with nutty aroma. Remove from heat immediately.
- In a large mixing bowl, combine carrots, olive oil, garlic powder, salt, and pepper. Toss to coat.
- Pour the brown butter (including the golden bits) over the carrots and add fresh thyme leaves. Toss until carrots are glossy and speckled.
- Line a rimmed baking sheet with parchment paper. Spread carrots in a single layer, ensuring they do not touch.
- Roast for 15 minutes.
- Remove from oven, flip carrots, and check for browning.
- Return to oven and roast for another 5-10 minutes until edges are dark and crisp, and interiors are tender.
- Serve immediately, adding more salt if needed.
Notes
Ensure carrots are completely dry before roasting to prevent steaming. Watch butter closely as it burns quickly. Do not crowd the pan to allow for proper caramelization. For extra crispiness, reheat leftovers in an air fryer or toaster oven.
Nutrition
- Serving Size: 1 cup
- Calories: 150
- Sugar: 5
- Sodium: 300
- Fat: 10
- Saturated Fat: 6
- Carbohydrates: 10
- Fiber: 2
- Protein: 1
Keywords: roasted carrots, brown butter, thyme, crispy vegetables, side dish, healthy dinner, gluten-free, vegetarian


