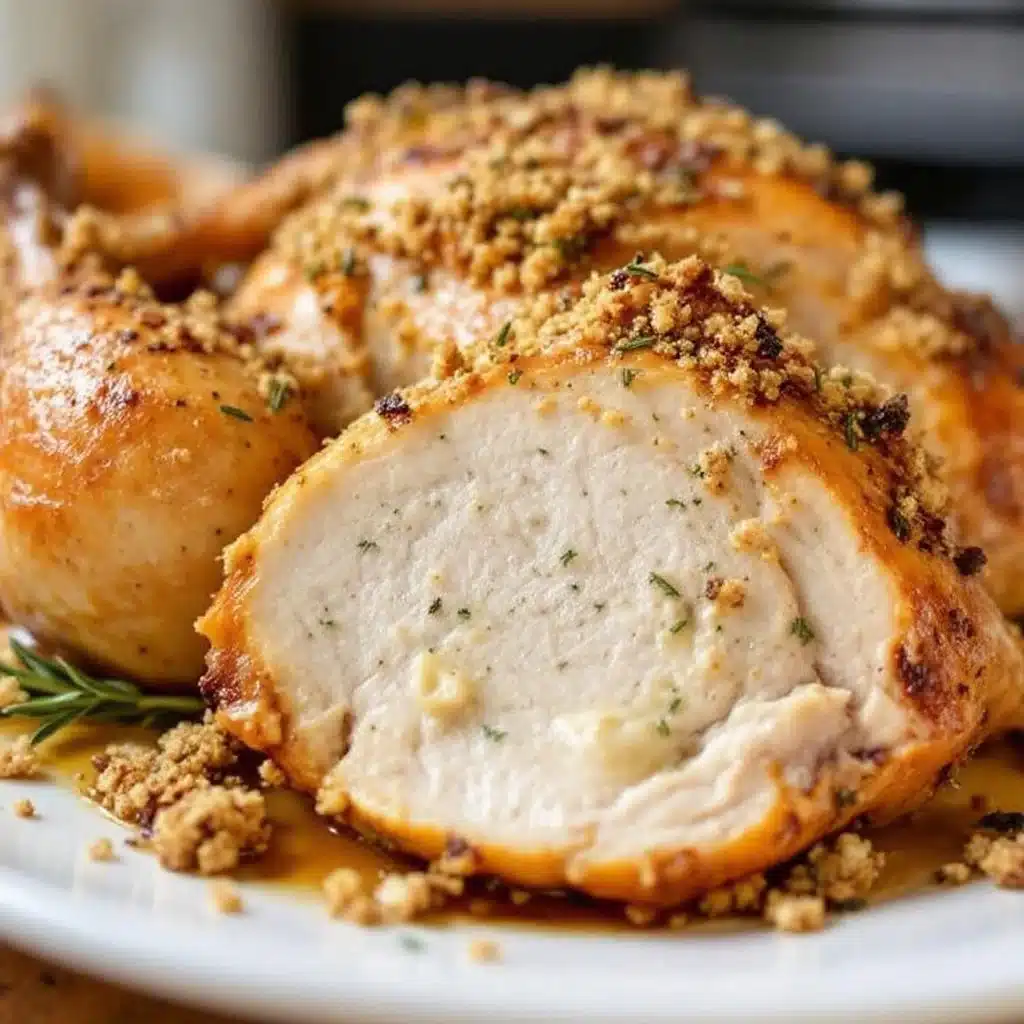
I did not trust herb butter on turkey. Honestly, I thought slathering a raw bird with softened butter and fresh rosemary sounded like a mistake until I tasted the first bite of that golden, crispy skin. My uncle always swore by dry brining and plain oil, claiming that any addition of dairy would just make the meat soggy or burn in the oven. He was loud about it. He was wrong.
The turning point happened during a chaotic Thanksgiving dinner three years ago. I was stressed, the kitchen was a mess, and I had no time for complex brines or waiting days for flavors to penetrate. I panicked and just mashed up butter with garlic and thyme, rubbing it under the skin because that’s all I had left in my fridge. I expected dry, bland meat.
Instead, I got something that felt like magic. The skin didn’t just crisp; it caramelized into a deep, mahogany bronze that shattered when you cut into it. The meat underneath was so moist it practically fell apart. My uncle ate three plates and didn’t say a word about the butter. He just kept asking for more gravy.
That was the moment I realized that the secret to juicy roasted turkey isn’t about avoiding fat—it’s about using the right kind of fat in the right place. The herb butter acts as a barrier, trapping steam and juices inside the meat while simultaneously browning the skin. It’s simple, yes, but it changes everything.
I still get nervous when I pull a 20-pound bird out of the fridge, but I know exactly what to do now. This recipe has saved me from dry holiday disasters more times than I can count. It’s reliable, it’s delicious, and it finally gives me confidence when the whole family is watching.
Why You’ll Love This Recipe
There are a hundred ways to cook a turkey, but most of them leave you with either a dry bird or a greasy mess. This juicy herb butter roasted turkey with garlic hits that sweet spot that every home cook is chasing. It’s not just about following instructions; it’s about understanding how the ingredients work together to create something greater than the sum of its parts.
Here is why this method actually works:
- Quick & Easy Prep: Unlike dry brining, which requires planning days ahead, this recipe comes together in under 45 minutes before it goes in the oven. It’s perfect for busy weeknights or last-minute holiday planning where you need to keep your sanity intact.
- Simple Ingredients: You likely already have everything in your kitchen. Fresh herbs, garlic, butter, and a good bird. No fancy grocery trips needed for obscure spices or hard-to-find glazes.
- Perfect for Holidays: Whether it’s Thanksgiving, Christmas, or Easter, this is the centerpiece that makes the table feel special. It’s elegant enough for guests but forgiving enough for beginners.
- Crowd-Pleaser: Kids love the savory garlic flavor, and adults appreciate the moist texture. It always gets rave reviews because it tastes like “real” food, not processed deli slices.
- Unbelievably Delicious: The texture and flavor combo is next-level comfort food. The herb butter creates a rich, aromatic crust that contrasts beautifully with the tender white meat.
What makes this recipe different from the rest? It’s the technique of pushing the butter *under* the skin. Most people just slap it on top, which burns before the meat cooks. By lifting the skin and spreading the mixture directly onto the breast meat, you baste the turkey from the inside out. It’s a small detail that makes a massive difference.
This recipe isn’t just good—it is the kind that makes you close your eyes after the first bite. It’s comfort food reimagined—healthier than deep-fried options, faster than slow-roasting, but with the same soul-soothing satisfaction. It’s perfect for impressing guests without stress, or turning a simple meal into something memorable.
What Ingredients You Will Need
This recipe uses simple, wholesome ingredients to deliver bold flavor and satisfying texture without the fuss. The key is quality. Since there are only a few components, each one needs to shine. I prefer using unsalted butter so I can control the sodium level, and fresh herbs for that bright, peppery kick that dried herbs just can’t match.
Here is what you need to gather:
- Whole Turkey (12-14 lbs): Look for a fresh, organic bird if possible. Avoid turkey that has been injected with a saline solution, as these are already salted and can turn out too salty. Pat it completely dry; this is crucial for crispy skin.
- Unsalted Butter (1 cup / 227g): Softened to room temperature. I recommend using a high-quality European-style butter like Plugra or Kerrygold for a richer flavor and better browning. Margarine will not work here.
- Garlic Cloves (1 whole head): Minced finely. Fresh garlic is non-negotiable. Jarred garlic has a metallic taste that ruins the delicate flavor of the herbs. Peel it and mash it into a paste.
- Fresh Rosemary (3-4 sprigs): The leaves stripped and chopped. Rosemary has a piney, strong flavor that stands up well to the rich turkey. If you don’t like piney flavors, swap for sage.
- Fresh Thyme (3-4 sprigs): Leaves stripped and chopped. Thyme adds an earthy, subtle note that balances the rosemary. It’s a classic pairing for poultry.
- Fresh Parsley (1 bunch): Flat-leaf parsley, chopped. This adds a fresh, grassy brightness that cuts through the richness of the butter.
- Extra Virgin Olive Oil (2 tablespoons): Helps emulsify the butter and adds a fruity note. It also helps the herbs stick to the meat.
- Kosher Salt (2 tablespoons): Diamond Crystal kosher salt is preferred because the flakes are larger and easier to distribute evenly. Avoid table salt, which is too dense and salty.
- Black Pepper (1 tablespoon): Freshly cracked. Adds a bit of heat and visual contrast.
- Lemon (1 large): Halved. Used to stuff the cavity for aromatic steam, not for eating.
- Onion (1 large): Quartered. Adds sweetness and depth to the drippings for gravy.
- Carrots and Celery (2 stalks each): Chopped roughly. These aromatic vegetables go in the bottom of the roasting pan to keep the turkey elevated and add flavor to the pan juices.
If you are making this for a smaller family, you can easily scale this down for a smaller bird, but the ratios of the herb butter should remain the same. The butter mixture is the star, so don’t skimp on it.
Equipment Needed
You don’t need a professional kitchen to roast a turkey, but having the right tools makes the process much less stressful. Here is what I use:
- Roasting Pan with Rack: A heavy-gauge metal roasting pan is best. Avoid glass pans as they can crack under high heat. The rack lifts the turkey off the bottom, allowing heat to circulate evenly. If you don’t have a rack, you can use the chopped vegetables as a bed.
- Meat Thermometer: This is the most important tool. An instant-read digital thermometer is essential. Guessing doneness is how people get food poisoning or dry meat. I recommend a Thermapen or a similar high-quality probe.
- Large Mixing Bowl: For mashing the butter and herbs together. A wide bowl makes it easier to mix thoroughly.
- Chef’s Knife and Cutting Board: For chopping herbs and prepping vegetables. A sharp knife makes quick work of the garlic and herbs.
- Paper Towels: Lots of them. You need to dry the turkey inside and out thoroughly. Wet skin equals steamed skin, not crispy skin.
- Butter Knife or Spatula: A flexible spatula is great for sliding the herb butter under the skin without tearing it.
If you are on a budget, a standard aluminum roasting pan from the grocery store works fine. Just make sure it’s sturdy. Avoid disposable pans if your turkey is heavy, as they can warp.
Preparation Method
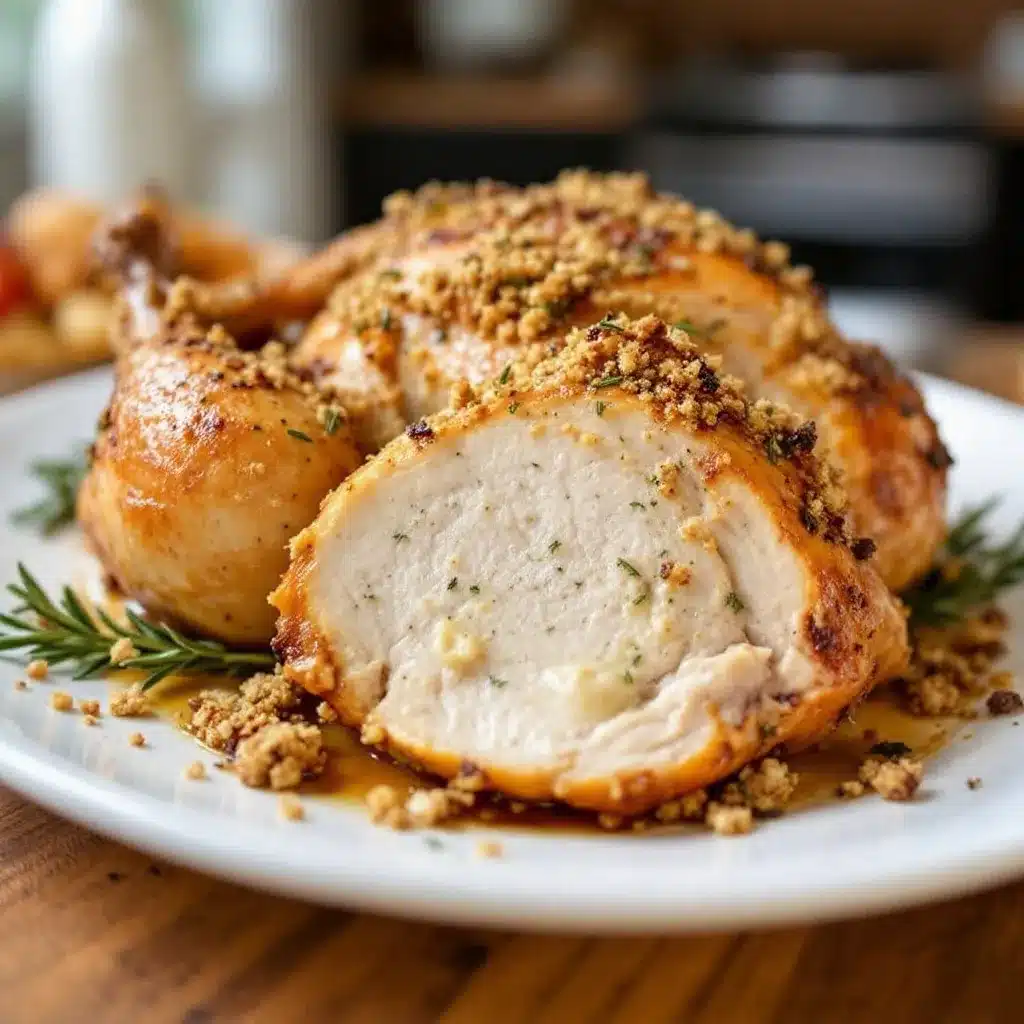
Let’s get this bird into the oven. Here is the step-by-step process to ensure your juicy herb butter roasted turkey with garlic turns out perfectly every time.
- Preheat the Oven (10 minutes prep): Set your oven to 425°F (220°C). You want a high initial heat to crisp the skin quickly. Place the rack in the lower third of the oven. This position helps brown the bottom without burning the top.
- Prepare the Turkey (15 minutes prep): Remove the turkey from the refrigerator. Take out the neck and giblets from the cavity. Pat the turkey completely dry with paper towels. This is non-negotiable. Moisture is the enemy of crispiness. Dry the inside of the cavity too.
- Make the Herb Butter (5 minutes prep): In a medium bowl, combine the softened unsalted butter, minced garlic, chopped rosemary, thyme, parsley, olive oil, salt, and pepper. Mix vigorously with a spoon or your hands until it forms a uniform paste. It should smell amazing. If it’s too cold to mix, microwave it for 10 seconds.
- Loosen the Skin (5 minutes prep): Gently insert your fingers under the skin of the breast, starting at the neck end. Carefully work your way down, separating the skin from the meat. Be careful not to tear the skin. You want to create a pocket. Do the same for the thighs and drumsticks if the skin allows.
- Apply the Butter (5 minutes prep): Take handfuls of the herb butter mixture and slide it under the skin. Spread it evenly over the breast meat and thighs. You want a layer of butter directly on the meat. Rub the remaining butter all over the outside of the turkey. Don’t be shy; coat it well.
- Stuff the Cavity (2 minutes prep): Toss the halved lemon and quartered onion into the cavity. Add any leftover herb sprigs. This isn’t for stuffing the meat, but for flavoring the steam as it cooks. Tie the legs together with kitchen twine if you want a neat look, though it’s not strictly necessary.
- Roast the Turkey (45 minutes at high heat): Place the turkey on the rack in the roasting pan. Put it in the oven and roast at 425°F (220°C) for 45 minutes. This high heat sears the skin and starts the browning process.
- Reduce Heat and Continue Roasting (Approx. 1.5 – 2 hours): After 45 minutes, reduce the oven temperature to 350°F (175°C). Continue roasting. The general rule is about 13-15 minutes per pound, but always rely on the thermometer. Baste the turkey with pan juices every 30 minutes if you like, though the under-skin butter does most of the work.
- Check for Doneness (5 minutes): Insert the meat thermometer into the thickest part of the thigh, avoiding the bone. It should read 165°F (74°C). If it’s not there, keep roasting and check every 10 minutes. The breast should read around 155-160°F (68-71°C) as it will carry over cook.
- Rest the Turkey (30-45 minutes): Once done, remove the turkey from the oven. Transfer it to a cutting board or platter. Tent it loosely with foil. Let it rest for at least 30 minutes, preferably 45. This allows the juices to redistribute. If you cut it too soon, all that juice will run out onto the board, leaving you with dry meat.
Cooking Tips & Techniques
I’ve made my fair share of mistakes over the years, and here is what I’ve learned. The biggest mistake people make is rushing the prep. Take your time drying the turkey. I mean really dry it. If the skin is wet, it will steam.
Another tip is about the butter temperature. If your butter is too cold, it won’t spread under the skin. If it’s too melted, it will run out into the pan. Room temperature is the sweet spot. It should be soft enough to spread like frosting but still hold its shape.
Don’t open the oven door too often. Every time you open it, you lose heat and extend the cooking time. Trust the process. The only time you should open it is to check the temperature or baste if you really want to.
I also learned the hard way that tying the legs is helpful. It keeps the turkey compact, ensuring the thighs cook at a similar rate to the breast. If the legs are splayed out, they can dry out faster. Use kitchen twine to tie them together neatly.
Finally, don’t skip the rest. I know it’s tempting to carve as soon as the timer goes off, but patience pays off. The meat needs time to relax. If you cut it hot, the fibers are tight, and the juice escapes. Resting keeps it juicy.
Variations & Adaptations
While this recipe is fantastic as is, you can tweak it to suit your tastes or dietary needs. Here are a few ideas:
- Herb Swap: If you don’t like rosemary, use sage or marjoram. Sage has a more traditional, savory flavor that pairs well with poultry. You can also use a blend of Italian herbs if you prefer a milder taste.
- Spicy Kick: Add a teaspoon of red pepper flakes or a dash of cayenne pepper to the butter mixture. It adds a subtle heat that cuts through the richness.
- Lemon Garlic Twist: Add the zest of one lemon to the butter. The citrus oils brighten the flavor and make it feel lighter.
- Dairy-Free Option: Substitute the butter with high-quality olive oil or avocado oil. It won’t be as rich, but it will still help crisp the skin. You can add a splash of chicken broth to the pan for moisture.
- Smoky Flavor: Add a teaspoon of smoked paprika to the herb butter. This gives the turkey a subtle barbecue-like flavor that is surprisingly good.
I once tried adding a bit of miso paste to the butter for umami depth. It was a bit unusual, but it added a savory richness that I really enjoyed. Feel free to experiment, but stick to the basics if you are hosting important guests.
Serving & Storage Suggestions
Serve the turkey hot, sliced against the grain. The grain of turkey breast runs lengthwise, so slice perpendicular to that for tender bites. Serve with the pan juices or a gravy made from the drippings.
For leftovers, store the turkey in an airtight container in the refrigerator for up to 4 days. The meat actually tastes better the next day as the flavors meld. You can use the leftover turkey for sandwiches, salads, or soups. My favorite way to use it is in a quick turkey pot pie or a creamy turkey rice soup.
To freeze, wrap the turkey meat tightly in plastic wrap and then aluminum foil. It can be frozen for up to 3 months. Thaw in the refrigerator overnight before reheating.
When reheating, use a low temperature to avoid drying it out. You can warm slices in a saucepan with a little broth or stock. Avoid the microwave if possible, as it tends to make the meat rubbery. If you must use the microwave, cover it with a damp paper towel and heat on low power in short bursts.
Nutritional Information & Benefits
Turkey is a lean source of protein, making it a great choice for a balanced meal. A 3-ounce serving of roasted turkey breast contains about 25-30 grams of protein, which is essential for muscle repair and satiety. It is also rich in vitamins B6 and B12, which support energy levels and brain function.
The skin, while delicious, adds saturated fat. If you are watching your fat intake, you can remove the skin before eating. The herbs and garlic add antioxidants and anti-inflammatory properties, making this dish not just tasty but also nutritious.
This recipe is naturally gluten-free, making it safe for those with celiac disease or gluten sensitivity. Just ensure your butter and other ingredients are certified gluten-free if cross-contamination is a concern.
Conclusion
Making a juicy herb butter roasted turkey with garlic doesn’t have to be intimidating. With the right prep, a good thermometer, and a little patience, you can create a centerpiece that will have your family begging for seconds. It’s a recipe that rewards preparation and pays off with incredible flavor and texture.
I encourage you to try this method for your next holiday or special dinner. Customize the herbs to your liking, and don’t be afraid to make it your own. Cooking is about experimenting and finding what works for you.
I love this recipe because it brings people together. There is something special about sharing a meal cooked with care and attention. It’s not just about the food; it’s about the time spent in the kitchen and the joy of eating together.
Please share your results in the comments below. I’d love to hear how your turkey turned out and if you tried any of the variations. Happy cooking!
FAQs
Do I need to brine the turkey before roasting?
No, you do not need to brine this turkey. The herb butter applied under the skin provides enough moisture and flavor. Brining can make the meat too salty if you aren’t careful, and this method is simpler and faster.
Can I cook the turkey at a lower temperature the whole time?
Yes, you can roast at 325°F (165°C) for the entire time, but the skin may not get as crispy. The high-heat start helps brown the skin quickly. If you prefer a slower cook, just be prepared for a longer cooking time and potentially softer skin.
How do I know when the turkey is done without a thermometer?
It’s very hard to guess accurately. The safest way is to use a meat thermometer. If you don’t have one, check the juices by piercing the thigh; they should run clear, not pink. However, a thermometer is the only reliable way to ensure food safety and juiciness.
Can I freeze the leftover turkey?
Yes, leftover turkey freezes well for up to 3 months. Wrap it tightly in plastic wrap and foil to prevent freezer burn. Thaw it in the refrigerator before reheating.
What side dishes go well with this turkey?
Classic sides like mashed potatoes, green bean casserole, and cranberry sauce pair perfectly. You can also serve it with roasted root vegetables or a fresh arugula salad to balance the richness. For appetizers, try puff pastry baked brie or creamy herb and garlic cheese ball bites to start the meal.
Pin This Recipe!
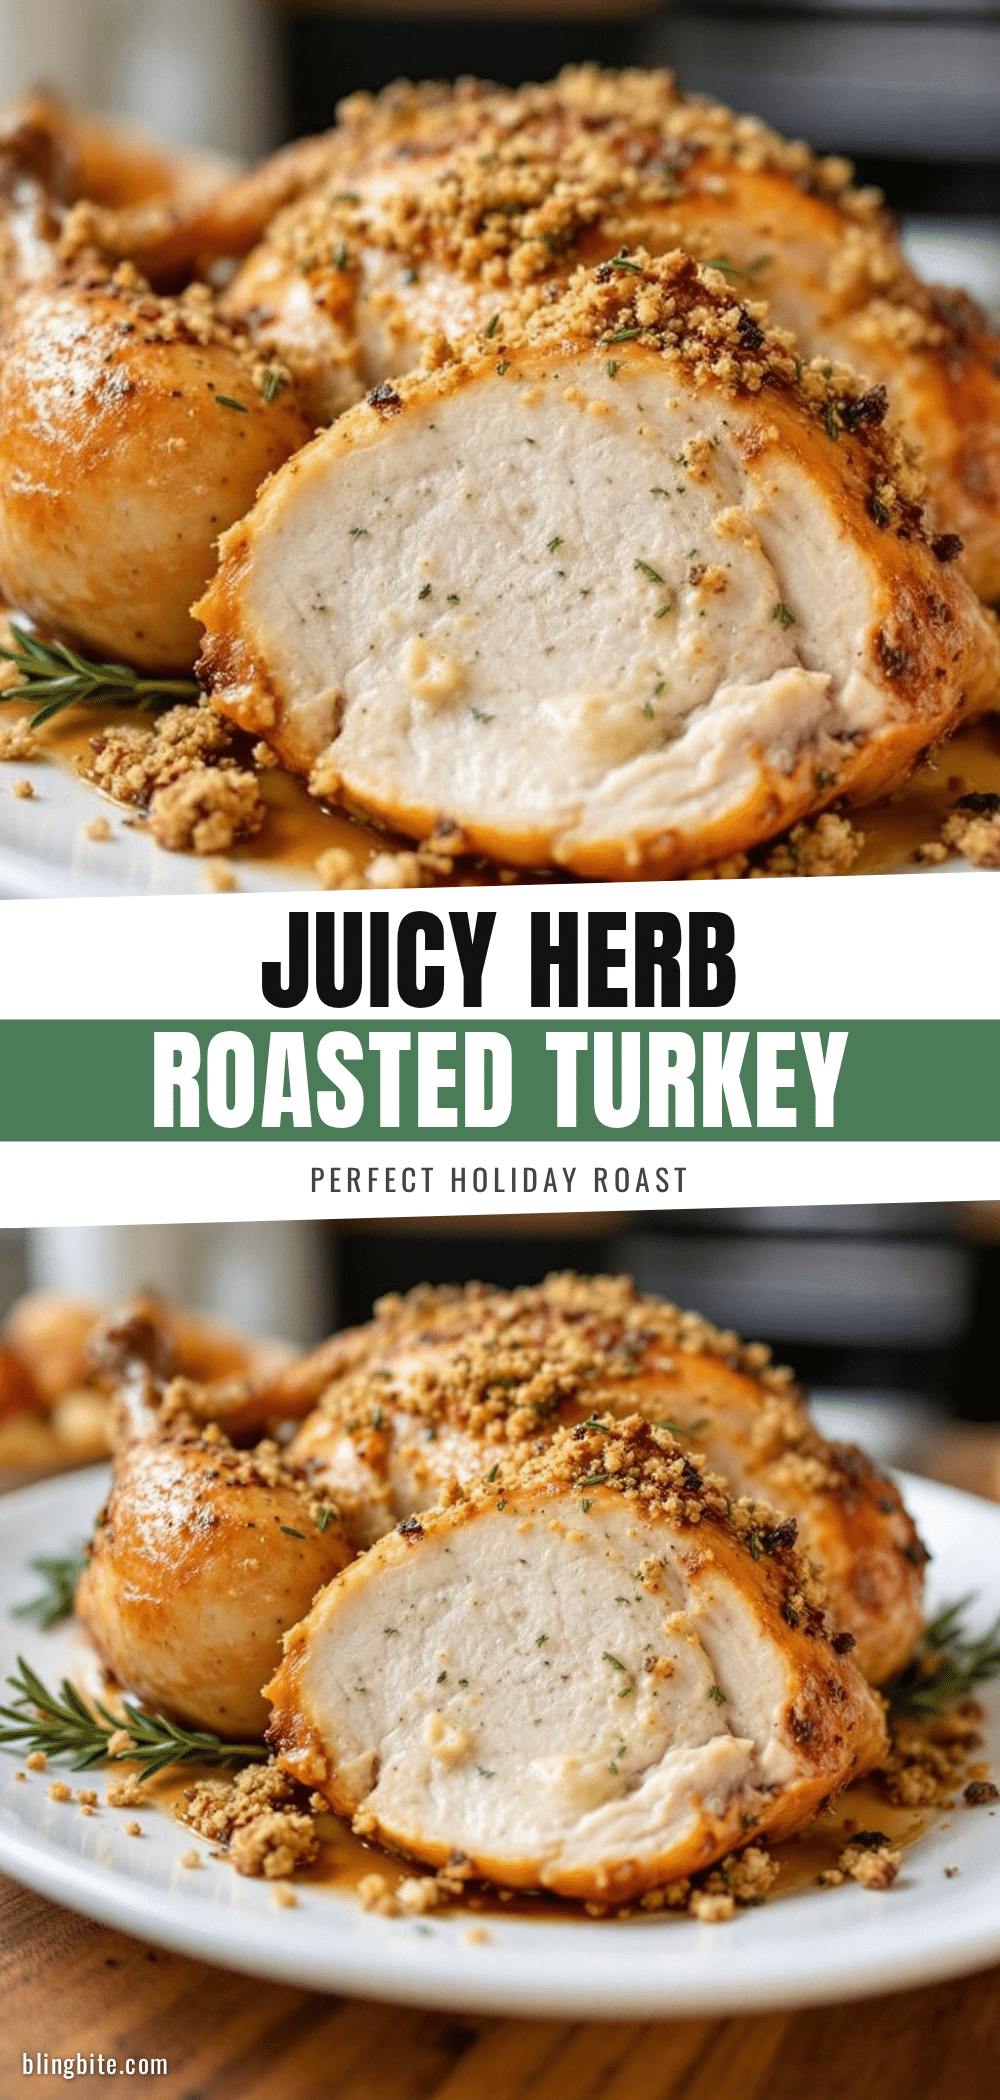
Juicy Herb Butter Roasted Turkey with Garlic
A reliable and delicious roasted turkey recipe featuring a secret herb butter mixture pushed under the skin to ensure moist meat and crispy, caramelized skin.
- Prep Time: 45 minutes
- Cook Time: 2 hours 15 minutes
- Total Time: 3 hours
- Yield: 12-14 servings 1x
- Category: Main Course
- Cuisine: American
Ingredients
- 1 whole turkey (12–14 lbs), fresh, neck and giblets removed
- 1 cup (227g) unsalted butter, softened to room temperature
- 1 head garlic, minced finely
- 3–4 sprigs fresh rosemary, leaves stripped and chopped
- 3–4 sprigs fresh thyme, leaves stripped and chopped
- 1 bunch fresh parsley, flat-leaf, chopped
- 2 tablespoons extra virgin olive oil
- 2 tablespoons kosher salt
- 1 tablespoon black pepper, freshly cracked
- 1 large lemon, halved
- 1 large onion, quartered
- 2 stalks carrots, chopped roughly
- 2 stalks celery, chopped roughly
- Kitchen twine (optional)
Instructions
- Preheat oven to 425°F (220°C) and place the rack in the lower third of the oven.
- Remove turkey from refrigerator, remove neck and giblets, and pat the turkey completely dry inside and out with paper towels.
- In a medium bowl, combine softened butter, minced garlic, chopped rosemary, thyme, parsley, olive oil, salt, and pepper. Mix until a uniform paste forms.
- Gently insert fingers under the skin of the breast and thighs to create pockets, being careful not to tear the skin.
- Slide handfuls of the herb butter mixture under the skin, spreading it evenly over the breast meat and thighs. Rub any remaining butter over the outside of the turkey.
- Stuff the cavity with halved lemon, quartered onion, and any leftover herb sprigs. Tie legs together with kitchen twine if desired.
- Place turkey on a rack in a roasting pan and roast at 425°F (220°C) for 45 minutes.
- Reduce oven temperature to 350°F (175°C) and continue roasting for approximately 1.5 to 2 hours (about 13-15 minutes per pound), basting every 30 minutes if desired.
- Check for doneness: thigh should read 165°F (74°C) and breast around 155-160°F (68-71°C).
- Remove turkey from oven, transfer to a cutting board, tent loosely with foil, and rest for at least 30-45 minutes before carving.
Notes
Ensure the turkey is completely dry before roasting for crispy skin. Use room temperature butter for easier spreading under the skin. Do not skip the resting period to allow juices to redistribute. For dairy-free, substitute butter with olive oil or avocado oil.
Nutrition
- Serving Size: 3-4 ounces per perso
- Calories: 350
- Sodium: 600
- Fat: 22
- Saturated Fat: 9
- Carbohydrates: 2
- Protein: 35
Keywords: roasted turkey, herb butter turkey, holiday dinner, Thanksgiving turkey, juicy turkey, garlic turkey, crispy skin turkey


