My neighbor Carol wasn’t trying to impress anyone. I’d stopped by to borrow a ladder—ours had mysteriously vanished after the last garage sale—and the smell hit me before I even got through her screen door. Something warm. Something spiced. Something that made me forget entirely why I’d walked over in the first place.
“Oh, those? Just some cookies I threw together,” she said when I finally found her in the kitchen, flour dusted across her favorite worn-out apron. She was piping little orange faces onto rounds of dough like it was nothing. Like she wasn’t creating the cutest, most ridiculously delicious thing I’d seen all fall season. I stood there, ladder completely forgotten, watching her work.
Carol’s got this way of cooking that makes you feel like you’re missing some secret gene. She doesn’t measure things precisely. She doesn’t stress. She just… does it. And somehow, everything she makes turns out perfect. I asked her what she called them, and she shrugged. “Pumpkin pie cookies, I guess. The kids helped me make them last year for Halloween.”
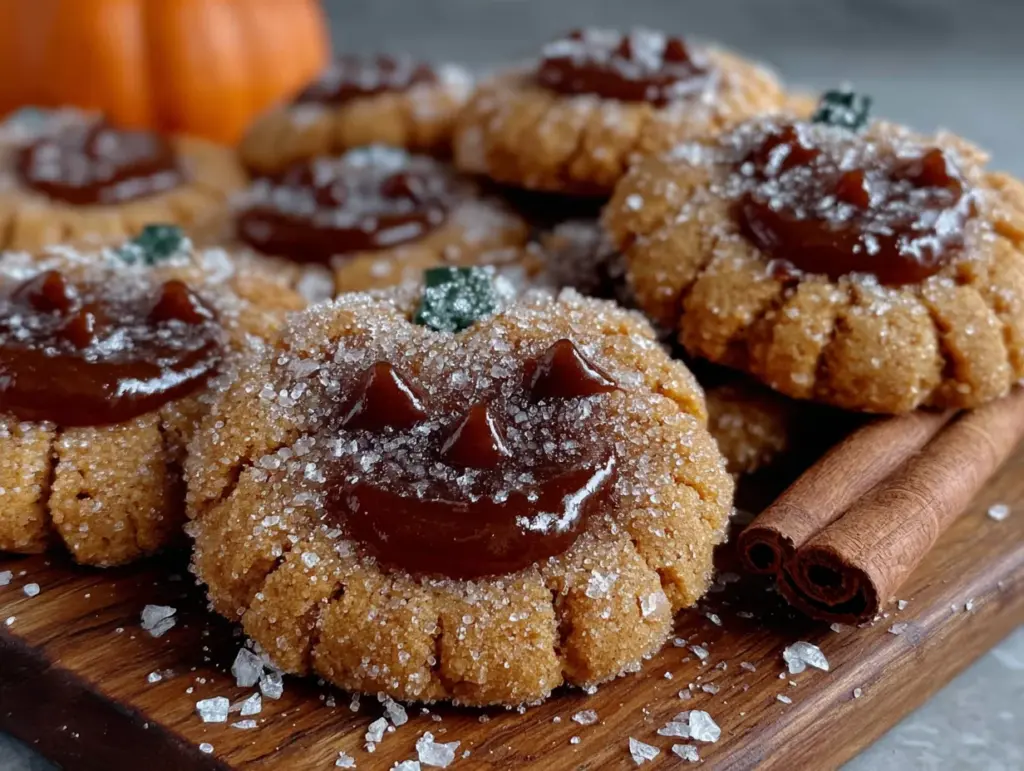
I went home that afternoon without the ladder—honestly, I’d figure that out later—but with a napkin full of the best cookies I’d eaten in years. They had that perfect shortbread texture, a little crumbly but not dry, and the filling tasted exactly like pumpkin pie but concentrated into one glorious bite. The little jack-o’-lantern faces on top? Pure genius. Maybe you’ve been there, standing in someone else’s kitchen, realizing you’re about to completely remake your entire baking rotation based on something they just “threw together.”
It took me three tries to get the recipe right. Carol’s version was more “a pinch of this, a handful of that,” so I had to reverse-engineer the whole thing. But I got there eventually, and let me tell you—these Easy Jack-O’-Lantern Pumpkin Pie Thumbprint Cookies have become a non-negotiable part of our October baking tradition. They’re the thing my kids request before pumpkin carving, before costume planning, before anything else. And honestly? I don’t blame them.
Why You’ll Love This Recipe
These Easy Jack-O’-Lantern Pumpkin Pie Thumbprint Cookies aren’t just another Halloween treat. They’re the kind of cookie that makes people stop mid-conversation and ask for the recipe. Here’s why they’ve earned a permanent spot in my fall baking rotation:
- Quick & Easy: From start to finish, you’re looking at about 45 minutes. The dough comes together in one bowl, and the filling takes maybe five minutes. Perfect for those after-school baking sessions when the kids are already asking “are they done yet?” before you’ve even preheated the oven.
- Simple Ingredients: No weird specialty items here. Butter, flour, sugar, pumpkin puree, and basic spices. You probably have everything in your pantry right now, except maybe the pumpkin—and that’s a dollar-fifty at any grocery store.
- Perfect for Halloween Parties: These cookies do double duty. They’re cute enough for a costume party spread but sturdy enough to pack in lunchboxes for days. I’ve brought them to school functions, neighbor gatherings, and even my book club (we were discussing a thriller, but everyone was talking about the cookies).
- Crowd-Pleaser: My oldest son swears he doesn’t like pumpkin desserts. He ate six of these before I could stop him. Something about the shortbread base and the creamy filling changes minds. Even the adults who “don’t do Halloween baking” end up reaching for seconds.
- Unbelievably Delicious: The texture is what gets me every time. That buttery, slightly crisp cookie with the soft, spiced pumpkin filling on top—it’s comfort food in miniature form. The little jack-o’-lantern faces made from chocolate chips? That’s just the cherry on top.
What makes these different from every other pumpkin cookie recipe out there? It’s the technique. Instead of mixing pumpkin into the dough (which can make cookies cakey and weird), we keep the pumpkin in a concentrated filling. That means you get the pure pumpkin pie flavor without sacrificing the perfect cookie texture. Plus, the thumbprint method creates a natural little “bowl” for the filling, so every bite has the perfect ratio of cookie to pumpkin.
This recipe isn’t just good—it’s the kind that makes you close your eyes after the first bite. It’s Halloween nostalgia turned into something you can actually eat. And the best part? You don’t need to be a professional baker to pull it off. If I can make these work after three failed attempts, you absolutely can nail them on your first try.
What Ingredients You Will Need
This recipe uses simple, wholesome ingredients to deliver that perfect pumpkin pie flavor in cookie form. Most of these are pantry staples, which means you can whip up a batch whenever the Halloween craving hits without a special trip to the store.
For the Cookie Base:
- 1 cup (2 sticks) unsalted butter, softened — Make sure it’s truly at room temperature. Cold butter won’t cream properly, and melted butter will make your cookies spread too thin. I like using Land O’Lakes for consistent results.
- 2/3 cup granulated sugar — Regular white sugar gives these cookies that perfect crisp edge. You could try coconut sugar, but the texture won’t be quite the same.
- 1 large egg yolk — Just the yolk, not the whole egg. The yolk adds richness and tenderness without making the dough too wet. Save the white for your morning omelet.
- 1 teaspoon vanilla extract — Pure vanilla makes a difference here. I’ve used imitation in a pinch, and honestly, you can taste the difference. Get the real stuff if you can.
- 1 1/2 cups all-purpose flour — Spoon and level your flour. Scooping directly from the bag packs it down and gives you way too much. Trust me on this one—I learned the hard way.
- 1/2 teaspoon salt — Don’t skip this. Salt balances the sweetness and makes the pumpkin flavor pop.
- 1/2 teaspoon baking powder — Just enough to give them a little lift without making them puffy.
For the Pumpkin Pie Filling:
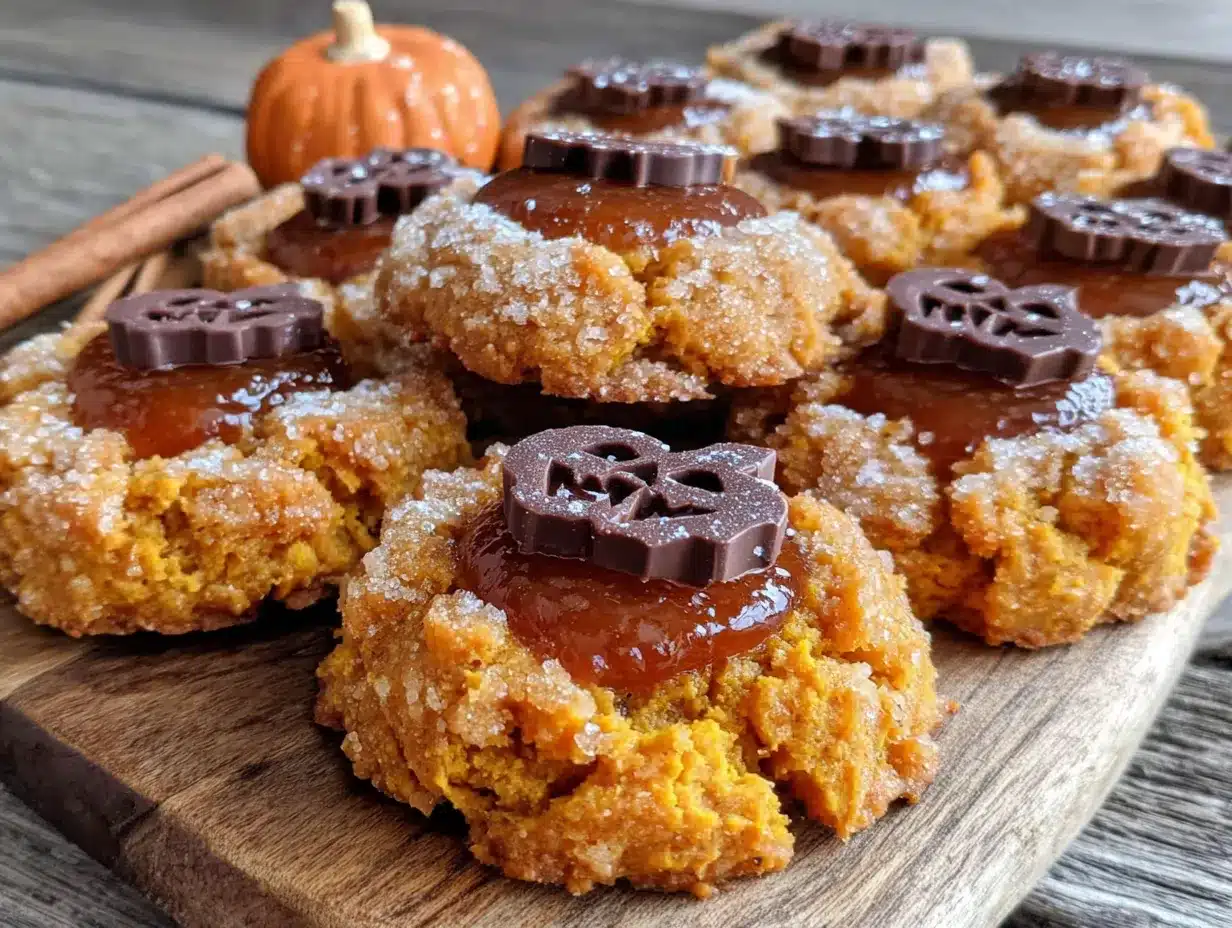
- 1/2 cup pumpkin puree — Not pumpkin pie filling. Get the plain puree. Libby’s is my go-to because it’s consistently thick and not watery. If your puree looks runny, pat it with paper towels before using.
- 1/4 cup brown sugar, packed — Light or dark both work. Dark brown sugar gives a deeper molasses flavor that I personally love with the pumpkin.
- 1 large egg yolk — Same deal as the cookie base. The yolk thickens the filling and gives it that custard-like texture.
- 1 teaspoon pumpkin pie spice — You can buy it pre-mixed, or make your own: 1/2 teaspoon cinnamon, 1/4 teaspoon ginger, 1/4 teaspoon nutmeg, and a pinch of cloves. I actually prefer making my own because I can adjust the ratios.
- 1/2 teaspoon vanilla extract — Rounds out all those warm spices beautifully.
For the Jack-O’-Lantern Faces:
- About 30 mini chocolate chips — These become the eyes and mouths. Regular chocolate chips are too big for the faces. If you only have regular-sized ones, you can cut them in half with a sharp knife.
The beauty of this ingredient list is its simplicity. You don’t need to hunt down specialty items or spend a fortune. Everything comes together to create something that tastes far more complicated than it actually is. And if you’re feeding a family on a budget, that’s exactly the kind of recipe you want in your back pocket.
Equipment Needed
You don’t need a fancy bakery setup for these cookies. Here’s what you’ll actually use:
- Mixer — A stand mixer with the paddle attachment works best, but a hand mixer does the job perfectly fine. I’ve made these with both, and honestly, the hand mixer version works just as well. It just takes a little more arm work.
- Baking sheets — Two standard half-sheet pans will hold the full batch. If you only have one, just let the pan cool completely between batches. Putting dough on a hot pan equals flat, sad cookies.
- Parchment paper or silicone baking mats — Parchment is cheaper and disposable. Silicone mats are reusable and give slightly more even browning. I use parchment because I’m lazy about cleanup.
- Small cookie scoop or teaspoon — For portioning the dough evenly. A #60 scoop (about 1 tablespoon) is perfect. If you’re using a teaspoon, just make sure each ball is roughly the same size so they bake evenly.
- Measuring cups and spoons — Accurate measurements matter more in baking than in regular cooking. Use proper dry measuring cups for the flour and sugar.
- Small piping bag or zip-top bag — For piping the filling into the thumbprints. A zip-top bag with the corner snipped off works like a charm. No need to buy special equipment.
- Cooling rack — Letting cookies cool on the pan traps steam and makes them soggy on the bottom. A simple wire rack fixes that problem.
My best advice? Don’t overthink the equipment. I’ve made these in a friend’s kitchen with a fork instead of a mixer and a butter knife instead of a piping bag. They still turned out great. The recipe is forgiving that way.
Preparation Method
Alright, let’s get to the good part. Here’s how to make these Easy Jack-O’-Lantern Pumpkin Pie Thumbprint Cookies step by step. I’ve included all the little details I wish someone had told me the first time.
-
Preheat your oven to 350°F (175°C). Line two baking sheets with parchment paper or silicone mats. Do this first so the oven is ready when you are. I’ve forgotten to preheat before and then stood there holding a tray of dough like an idiot.
-
Make the cookie dough. In a large bowl, beat the softened butter and granulated sugar together until light and fluffy. This takes about 2-3 minutes with a mixer on medium speed. You’re looking for a pale, creamy texture—like the color of homemade whipped cream. Scrape down the sides of the bowl halfway through.
-
Add the wet ingredients. Beat in the egg yolk and vanilla extract until just combined. Don’t overmix here. A few streaks are fine; we’ll fix them in the next step.
-
Mix the dry ingredients. In a separate small bowl, whisk together the flour, salt, and baking powder. Gradually add this to the butter mixture, mixing on low speed until a soft dough forms. The dough should be slightly crumbly but hold together when pressed. If it seems too dry, add a teaspoon of cold water. If it’s too sticky, add a tablespoon more flour.
-
Chill the dough (optional but helpful). If your kitchen is warm or your butter got too soft, pop the dough in the fridge for 15-20 minutes. This makes the dough easier to handle and helps the cookies hold their shape better. I skip this step in winter but never in summer.
-
Portion the dough. Scoop rounded tablespoons of dough and roll them into balls. Place them on the prepared baking sheets about 2 inches apart. You should get about 20-24 cookies total, depending on how generous your scoops are.
-
Create the thumbprints. Here’s the trick: use your thumb or the back of a rounded teaspoon to make an indentation in the center of each dough ball. Press down until the indentation is about 1/2 inch deep and the edges crack slightly. Don’t worry if they crack—that’s normal and actually looks rustic and charming. If the cracks bother you, just smooth them gently with your fingers.
-
Make the filling. In a small bowl, whisk together the pumpkin puree, brown sugar, egg yolk, pumpkin pie spice, and vanilla extract until smooth. The mixture should be thick but spreadable—think the consistency of canned frosting. If it looks runny, your pumpkin puree might be too watery. Add an extra tablespoon of brown sugar to thicken it up.
-
Fill the thumbprints. Transfer the pumpkin filling to a small piping bag or a zip-top bag with the corner snipped off. Pipe the filling into each indentation, filling it almost to the top but not overflowing. You want a nice little mound of filling in each cookie. Don’t overfill—it will spread slightly as it bakes.
-
Bake the cookies. Bake for 12-14 minutes, or until the edges of the cookies are lightly golden and the filling is set. The centers might still look slightly soft, but that’s okay. They’ll firm up as they cool. Rotate the pans halfway through baking for even results.
-
Add the faces immediately. Here’s the fun part. As soon as the cookies come out of the oven, press two mini chocolate chips into the filling for eyes and a few more in a curved line for the jack-o’-lantern mouth. Do this while the cookies are still warm so the chocolate sticks. Work quickly—the filling sets fast.
-
Cool completely. Let the cookies cool on the baking sheets for 5 minutes, then transfer them to a wire rack to cool completely. The filling will continue to set as they cool, giving you that perfect pumpkin pie texture.
A few things I’ve learned the hard way: Don’t skip the step of adding the faces while the cookies are warm. If you wait until they’re cool, the chocolate chips won’t stick and you’ll end up with sad, faceless pumpkins. Also, if your filling starts to look too dark during baking, that’s normal—the brown sugar caramelizes and gives it that beautiful deep orange color.
Cooking Tips & Techniques
After making these cookies more times than I care to count, I’ve picked up a few tricks that make the process smoother and the results more consistent. Here’s what I wish I’d known from the start:
Room temperature ingredients matter. I know, I know, everyone says this. But it’s true. Cold butter won’t cream properly, and cold egg yolk won’t incorporate smoothly. Take your butter out an hour before you start baking. If you forgot, cut it into small cubes and microwave it in 5-second bursts until it’s soft but not melted. The egg yolk can sit in a bowl of warm water for 5 minutes.
Don’t overmix the dough. Once you add the flour, mix just until it disappears. Overmixing develops gluten and makes your cookies tough instead of tender. I’ve made that mistake exactly once, and the cookies came out like little hockey pucks. Learn from my failure.
The thumbprint technique matters. Press firmly and evenly. If your indentation is too shallow, the filling will overflow and make a mess. Too deep, and the cookie might crack apart. I use the handle end of a wooden spoon for consistent depth—about 1/2 inch works perfectly.
Watch your oven temperature. Every oven runs differently. My old oven ran hot, and I burned two batches before I figured it out. If your cookies are browning too fast on the bottom, try baking on the middle rack. If they’re pale after 14 minutes, your oven might run cool. An oven thermometer is a cheap investment that saves a lot of heartache.
Make ahead tip: You can prepare the dough and filling separately a day ahead. Keep the dough wrapped in plastic in the fridge, and store the filling in an airtight container. When you’re ready to bake, let the dough sit at room temperature for 10 minutes so it’s soft enough to shape.
Batch baking strategy: If you’re making these for a party, double the recipe and bake in shifts. Let the baking sheets cool completely between batches. Putting dough on a hot pan is a guaranteed way to get flat, spreading cookies. I keep a second set of pans for this reason.
Variations & Adaptations
One of the best things about this recipe is how flexible it is. Here are some variations I’ve tried and loved:
Gluten-Free Version: Substitute the all-purpose flour with a 1:1 gluten-free baking flour blend. I’ve used Bob’s Red Mill and King Arthur with great results. The texture is slightly more tender, but the flavor is spot-on. Just make sure your blend contains xanthan gum for structure.
Dairy-Free Option: Use vegan butter sticks (not the spreadable kind in a tub) in place of regular butter. I like Miyoko’s for baking. The cookies might spread a tiny bit more, but the taste is nearly identical. My dairy-sensitive nephew couldn’t tell the difference.
Spice It Up: For a bolder flavor, add 1/4 teaspoon of cardamom or a pinch of black pepper to the pumpkin filling. The pepper sounds weird, I know, but it actually enhances the pumpkin flavor in a subtle way. I tried this on a whim and now I do it every time.
Chocolate Lovers’ Version: Swap the pumpkin filling for chocolate-hazelnut spread or melted dark chocolate. Skip the jack-o’-lantern faces and just dust with powdered sugar. My kids actually prefer this version, though I think they’re wrong.
Savory Twist: For a completely different take, omit the sugar from the dough, skip the pumpkin filling, and fill the thumbprints with a savory pumpkin and sage mixture. Top with a sprinkle of sea salt. These are surprisingly good with a cheese board.
Mini Cookie Version: Use a teaspoon scoop instead of a tablespoon for bite-sized cookies. Reduce the baking time to 8-10 minutes. These are perfect for party platters where people want to sample multiple treats without committing to a full-sized cookie.
I’ve also tried adding orange zest to the dough for extra citrus brightness. It works beautifully, especially if you’re serving these alongside a cup of hot apple cider. The orange and pumpkin combo is surprisingly good.
Serving & Storage Suggestions
These cookies are versatile enough for any fall occasion. Here’s how I serve and store them:
Serving Temperature: These cookies are best at room temperature. The filling sets perfectly as they cool, giving you that ideal pumpkin pie texture. If you’re serving them at a party, arrange them on a platter with a dusting of cinnamon or a drizzle of caramel sauce for extra flair.
Presentation Ideas: For Halloween parties, arrange the cookies on a black or orange platter. Add a few fake spiderwebs or mini pumpkins around the edges for a festive look. I’ve also stacked them in a clear jar tied with a ribbon for a cute hostess gift.
Complementary Dishes: These cookies pair beautifully with hot apple cider, spiced chai, or a simple vanilla latte. For a dessert spread, serve them alongside chocolate chip cookies and brownies. The pumpkin flavor stands out without overwhelming the other treats.
Storage Instructions: Store the cookies in an airtight container at room temperature for up to 5 days. Layer them with parchment paper between each layer to prevent sticking. The cookies actually taste better on day two—the flavors meld together and the filling becomes perfectly creamy.
Freezer Instructions: These freeze beautifully. Place the baked, cooled cookies in a single layer on a baking sheet and freeze until solid, then transfer to a freezer-safe container with parchment between layers. They’ll keep for up to 3 months. To thaw, let them sit at room temperature for about 30 minutes.
Reheating Tips: If you like your cookies slightly warm, pop them in a 300°F oven for 3-4 minutes. Don’t use the microwave—it makes the cookies tough and the filling rubbery. I learned this one the hard way.
Flavor Development: Here’s something interesting: the pumpkin spice flavor actually intensifies after a day or two in storage. So if you’re making these for a party, bake them a day ahead. Your future self will thank you.
Nutritional Information & Benefits
While these are definitely a treat, they’re not without some redeeming qualities. Here’s the breakdown per cookie (based on 24 cookies):
| Nutrient | Amount Per Cookie |
|---|---|
| Calories | 145 |
| Total Fat | 8g |
| Saturated Fat | 5g |
| Cholesterol | 35mg |
| Sodium | 85mg |
| Total Carbohydrates | 17g |
| Dietary Fiber | 1g |
| Sugars | 10g |
| Protein | 2g |
Health Highlights: Pumpkin is packed with vitamin A, which supports eye health and immune function. The butter provides vitamin A and healthy fats, while the egg yolks add protein and choline for brain health. Plus, using pumpkin instead of more butter in the filling reduces overall fat content.
Dietary Considerations: These cookies are vegetarian and can be made gluten-free and dairy-free with the substitutions mentioned earlier. They are not vegan due to the egg yolks, but you could try a flax egg substitute if you’re adventurous.
Allergen Note: Contains wheat, dairy, and eggs. The chocolate chips may contain traces of soy and milk. If you’re serving these at a gathering with allergy concerns, label them clearly or offer an alternative treat.
My Personal Take: Look, these aren’t health food. But they’re made with real ingredients—no artificial flavors, no preservatives, no weird chemicals. In a world of packaged snacks with ingredient lists a mile long, there’s something satisfying about knowing exactly what went into your treat. And honestly, a cookie made with butter and pumpkin feels a lot more wholesome than one made with hydrogenated oils and high fructose corn syrup.
Conclusion
These Easy Jack-O’-Lantern Pumpkin Pie Thumbprint Cookies have become my go-to fall recipe for a reason. They’re cute enough to impress at parties, simple enough to make on a random Tuesday afternoon, and delicious enough that people will ask you for the recipe every single time. The combination of buttery shortbread and creamy pumpkin pie filling is just perfect—it’s like two desserts in one, but without the fuss of making an actual pie.
What I love most about this recipe is how it brings people together. I’ve made these with my kids on rainy October afternoons, packed them for school Halloween parties, and brought them to neighbor gatherings where they disappeared within minutes. There’s something about the little jack-o’-lantern faces that makes everyone smile, regardless of age.
Don’t be afraid to make this recipe your own. Add extra spice if you like things bold. Skip the faces if you’re short on time. Double the batch because, trust me, one batch is never enough. The beauty of baking at home is that you’re in control—you get to decide what “perfect” looks like.
I’d love to hear how these turn out for you. Drop a comment below and let me know if your family loved them as much as mine does. Did you try any variations? Did the kids help with the faces? Share your pictures and tag me—I absolutely love seeing these cookies in different kitchens. Happy baking, and here’s to a fall season filled with warm cookies, good company, and maybe a little bit of pumpkin spice magic.
Frequently Asked Questions
Can I use canned pumpkin pie filling instead of pure pumpkin puree?
No, please don’t. Canned pumpkin pie filling has sugar and spices already added, plus it’s much looser than pure pumpkin puree. Your filling will be too runny and the cookies won’t set properly. Stick with 100% pure pumpkin puree for the best results. If you only have pie filling, you can try reducing it on the stove to thicken it, but honestly, it’s easier to just grab the right can.
My cookies spread too much. What went wrong?
This usually happens for one of three reasons: your butter was too soft, you didn’t chill the dough, or your baking sheets were too warm. Make sure your butter is softened but not melted, chill the dough for at least 15 minutes if your kitchen is warm, and always let your baking sheets cool completely between batches. If your cookies still spread, try adding an extra tablespoon of flour to the dough next time.
Can I freeze the unbaked dough?
Absolutely! Shape the dough into balls and place them on a parchment-lined baking sheet. Freeze until solid, then transfer to a freezer bag. When you’re ready to bake, there’s no need to thaw—just add 2-3 minutes to the baking time. You can also freeze the filled, unbaked cookies, but the texture of the filling might change slightly. I prefer freezing just the dough and making the filling fresh.
How do I get the jack-o’-lantern faces to stay on?
The key is adding the chocolate chips while the cookies are still warm from the oven. The residual heat slightly melts the chocolate, helping it stick. If you wait until the cookies are completely cool, the chocolate chips will just fall off. Also, press them in firmly but gently—you want them to stay put without sinking completely into the filling.
Can I make these cookies ahead for a party?
Yes, and I actually recommend it! These cookies taste even better the next day because the flavors have time to meld together. Bake them a day ahead, let them cool completely, and store them in an airtight container at room temperature. If you’re worried about the faces getting smudged, add the chocolate chips right before serving. Just warm the cookies slightly in a low oven and press the chips in while they’re still warm.
Pin This Recipe!
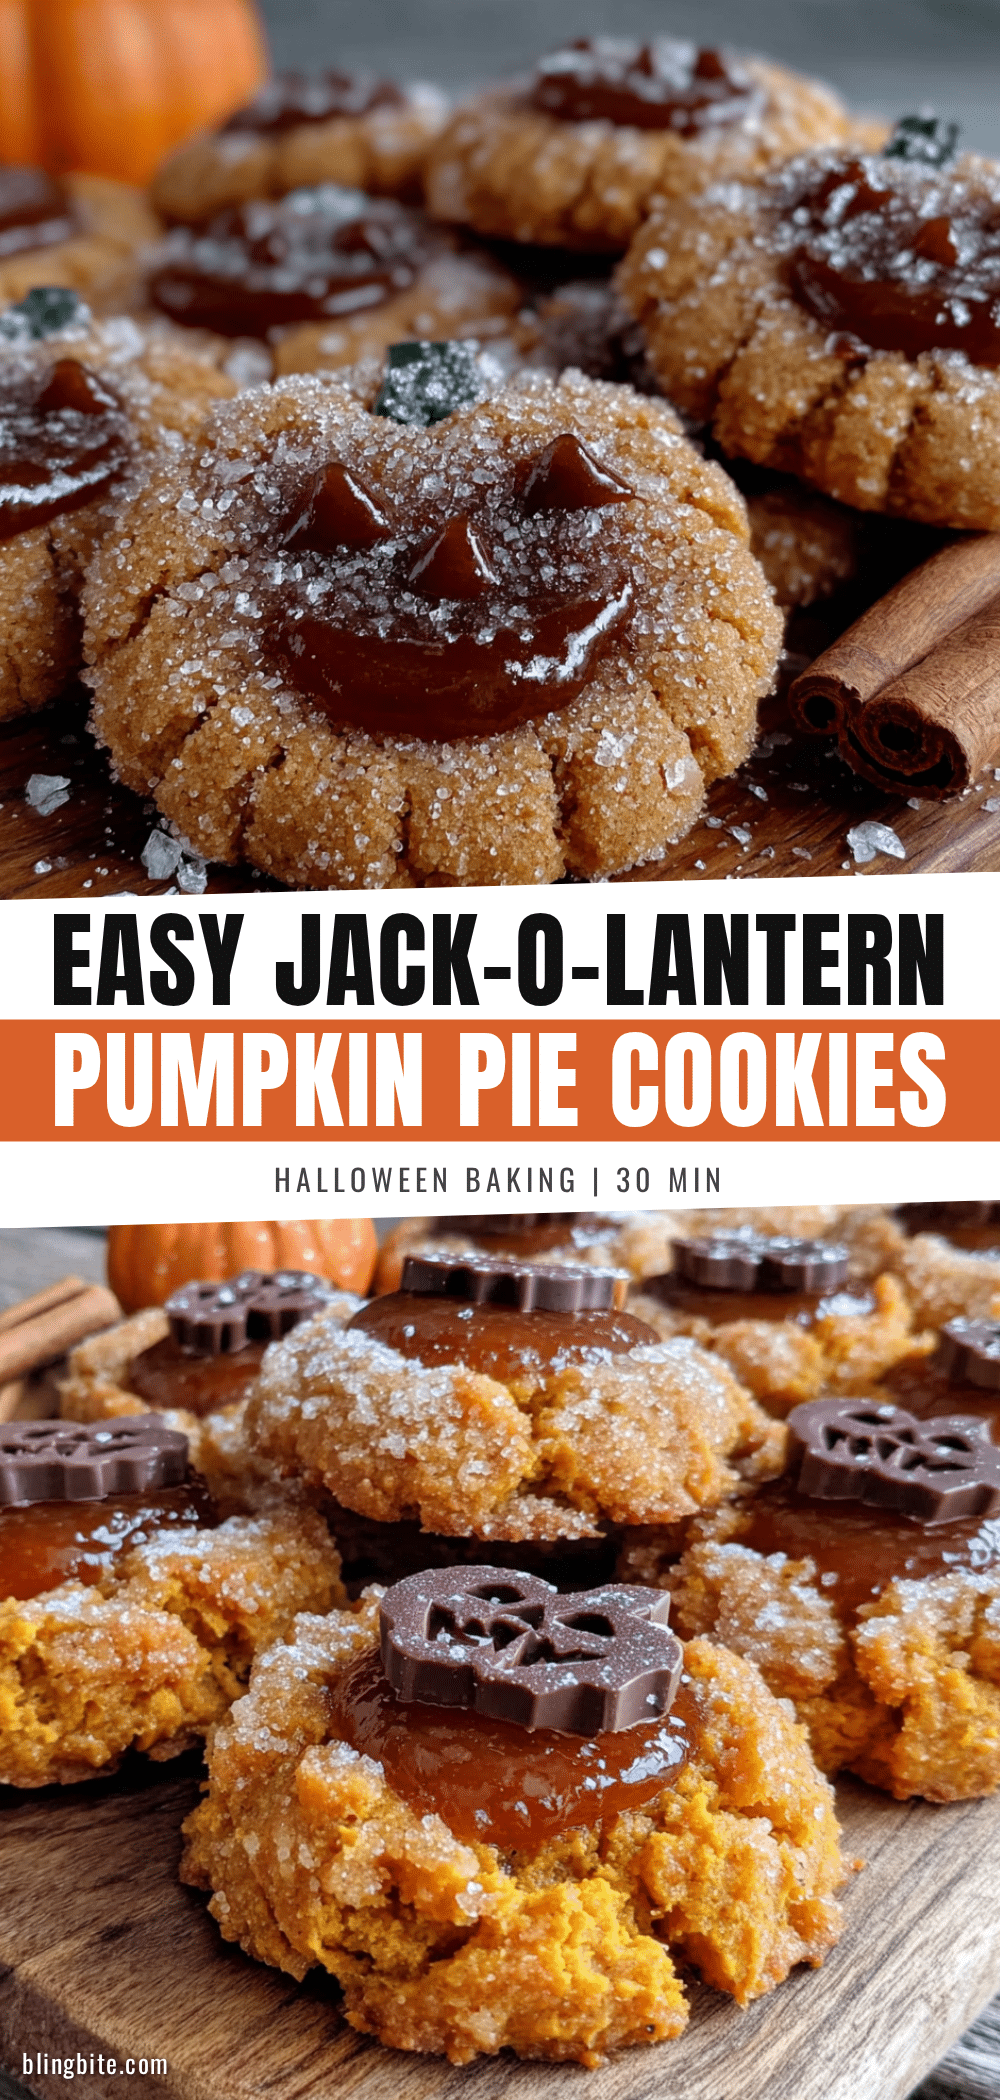
Easy Jack-O-Lantern Pumpkin Pie Thumbprint Cookies

These Easy Jack-O’-Lantern Pumpkin Pie Thumbprint Cookies combine a buttery shortbread base with a creamy pumpkin pie filling, topped with adorable chocolate chip jack-o’-lantern faces. Perfect for Halloween parties, lunchboxes, or any fall gathering.
- Prep Time: 15 minutes
- Cook Time: 12-14 minutes
- Total Time: 45 minutes
- Yield: 20-24 cookies 1x
- Category: Dessert
- Cuisine: American
Ingredients
- 1 cup (2 sticks) unsalted butter, softened
- 2/3 cup granulated sugar
- 1 large egg yolk
- 1 teaspoon vanilla extract
- 1 1/2 cups all-purpose flour
- 1/2 teaspoon salt
- 1/2 teaspoon baking powder
- 1/2 cup pumpkin puree
- 1/4 cup brown sugar, packed
- 1 large egg yolk
- 1 teaspoon pumpkin pie spice
- 1/2 teaspoon vanilla extract
- About 30 mini chocolate chips
Instructions
- Preheat your oven to 350°F (175°C). Line two baking sheets with parchment paper or silicone mats.
- In a large bowl, beat the softened butter and granulated sugar together until light and fluffy, about 2-3 minutes on medium speed. Scrape down the sides halfway through.
- Beat in the egg yolk and vanilla extract until just combined.
- In a separate small bowl, whisk together the flour, salt, and baking powder. Gradually add to the butter mixture, mixing on low speed until a soft dough forms. If too dry, add a teaspoon of cold water; if too sticky, add a tablespoon more flour.
- If the dough is too soft, chill in the fridge for 15-20 minutes.
- Scoop rounded tablespoons of dough and roll into balls. Place on prepared baking sheets about 2 inches apart. You should get about 20-24 cookies.
- Use your thumb or the back of a rounded teaspoon to make an indentation in the center of each dough ball, about 1/2 inch deep. Smooth any cracks gently with your fingers.
- In a small bowl, whisk together the pumpkin puree, brown sugar, egg yolk, pumpkin pie spice, and vanilla extract until smooth. The mixture should be thick but spreadable.
- Transfer the pumpkin filling to a small piping bag or a zip-top bag with the corner snipped off. Pipe the filling into each indentation, filling almost to the top but not overflowing.
- Bake for 12-14 minutes, or until the edges are lightly golden and the filling is set. Rotate the pans halfway through baking.
- As soon as the cookies come out of the oven, press two mini chocolate chips into the filling for eyes and a few more in a curved line for the mouth. Work quickly while the cookies are warm.
- Let the cookies cool on the baking sheets for 5 minutes, then transfer to a wire rack to cool completely.
Notes
Add chocolate chip faces while cookies are warm so they stick. If filling looks runny, add extra brown sugar to thicken. For best results, use room temperature butter and egg yolk. Cookies taste even better the next day.
Nutrition
- Serving Size: 1 cookie
- Calories: 145
- Sugar: 10
- Sodium: 85
- Fat: 8
- Saturated Fat: 5
- Carbohydrates: 17
- Fiber: 1
- Protein: 2
Keywords: pumpkin pie thumbprint cookies, jack-o-lantern cookies, Halloween cookies, pumpkin cookies, thumbprint cookies, fall baking, easy Halloween treats


