This was supposed to be a creamy potato gratin. The kind with layers of thinly sliced Yukon Golds, a heavy blanket of Gruyère, and enough butter to make a cardiologist wince. I had the mandoline out, the cheese grated, the cream measured. Then I realized the bag of potatoes I’d bought three days ago had gone soft—every single one had a suspicious give when I squeezed it, like a tired handshake. It was the Wednesday before Thanksgiving. The store was a war zone. I was already running late on the side dish prep, and honestly, I just stood there in my kitchen, staring at the sad potatoes, feeling the familiar panic of a holiday cook who has overcommitted. I grabbed the only thing in my crisper drawer that looked hopeful: a big, heavy head of cauliflower. I figured I’d roast it with some garlic and maybe, just maybe, trick myself into not missing the gratin. What came out was nothing like the plan—and better. Let me tell you, that first bite of this roasted garlic cauliflower mash was a genuine surprise. It was silky, rich, and had this deep, nutty sweetness from the roasted garlic that a potato gratin could only dream of. I mean, I actually sat down on my kitchen stool and ate a spoonful right out of the bowl, completely forgetting about the chaos around me. Maybe you’ve been there—standing over a hot stove on Thanksgiving morning, wondering why you signed up for this. This mash became my secret weapon. It’s the dish I now look forward to making, not because it’s the healthy alternative, but because it honestly tastes that good.
Why You’ll Love This Recipe
Let’s be real for a second. Thanksgiving sides can be a minefield of heavy, overly rich dishes that leave you reaching for antacids before dessert. This roasted garlic cauliflower mash is the perfect counterbalance—it’s creamy and indulgent without the gut-bomb feeling. I’ve tested this recipe through three different Thanksgiving dinners (and a few random Tuesdays), and it consistently gets the same reaction: people asking for the recipe before they even ask about the turkey.
- Quick & Easy: Comes together in under 45 minutes, most of which is hands-off oven time. Perfect for freeing up your stovetop on the big day.
- Simple Ingredients: No fancy grocery trips needed. You likely already have cauliflower, garlic, butter, and cream cheese in your kitchen right now.
- Perfect for Thanksgiving: This dish fits right in alongside the turkey and stuffing. It’s light enough to not weigh you down, but satisfying enough to feel like a real side.
- Crowd-Pleaser: I’ve served this to staunch cauliflower skeptics (my uncle included), and they went back for seconds. It’s that good.
- Unbelievably Delicious: The texture is what gets you. It’s not watery or grainy like some cauliflower mashes. It’s silky, almost buttery, with that deep roasted garlic flavor running through every bite.
What makes this recipe different from the rest? It’s the double-roasting technique. I roast the cauliflower until it’s deeply golden and caramelized, not just steamed. That extra step concentrates the flavor and removes excess moisture, giving you a mash that’s rich and creamy, not watery. Plus, using a whole head of roasted garlic instead of raw garlic adds a mellow sweetness that won’t overpower the dish. This isn’t just another version of cauliflower mash—it’s the one that will convince you to make it even when it’s not Thanksgiving.
What Ingredients You Will Need
This recipe uses simple, wholesome ingredients to deliver bold flavor and satisfying texture without the fuss. Most of these are pantry staples, especially if you’re already gearing up for Thanksgiving cooking.
- 1 large head of cauliflower (about 2 pounds / 900g), cut into florets (look for a tight, creamy-white head with no brown spots; I prefer organic when I can find it)
- 1 whole head of garlic (yes, the whole thing—trust me on this)
- 3 tablespoons olive oil, divided (a good extra virgin adds flavor, but regular works fine)
- 2 tablespoons unsalted butter (adds richness; I use Kerrygold for the best flavor)
- 2 ounces cream cheese, softened (this is my secret for that silky texture; use dairy-free if needed)
- 1/4 cup heavy cream (or whole milk for a lighter version; you can also use unsweetened almond milk)
- 1/2 teaspoon salt, plus more to taste (I recommend kosher salt for better control)
- 1/4 teaspoon black pepper, freshly ground
- 1/4 teaspoon garlic powder (optional, for an extra garlic punch)
- Fresh chives or parsley, chopped, for garnish
For the roasted garlic, you’ll want a whole head. Don’t be tempted to skip this or use pre-minced garlic. Roasting transforms the cloves into a sweet, spreadable paste that adds depth without any sharpness. I’ve tried using jarred roasted garlic in a pinch, and honestly, it’s just not the same—the flavor is more muted and slightly metallic. Trust the process and roast your own.
If you’re dairy-free, you can substitute the butter with a high-quality vegan butter, the cream cheese with a dairy-free version (Kite Hill makes a good one), and the heavy cream with full-fat coconut cream. The taste will be slightly different, but still delicious.
Equipment Needed
You don’t need a ton of fancy equipment for this recipe, which is part of its beauty. Here’s what you’ll need:
- Baking sheet (a half-sheet pan is perfect; line it with parchment for easy cleanup)
- Small piece of aluminum foil (for roasting the garlic)
- Large pot or Dutch oven (for boiling the cauliflower)
- Colander (for draining)
- Food processor or high-powered blender (I prefer a food processor because it gives you more control over the texture; a Vitamix works too, but be careful not to over-process)
- Sharp knife and cutting board
- Chef’s knife (for mincing the roasted garlic)
- Rubber spatula (for scraping every last bit of mash out of the bowl)
If you don’t have a food processor, a potato masher will work, but you’ll get a chunkier texture. I actually prefer the food processor for that completely smooth, silky result. My first attempt at this recipe, I used a hand mixer, and it turned out a bit lumpy and uneven. The food processor is the way to go for that restaurant-quality finish.
Preparation Method
- Preheat your oven to 400°F (200°C). Get this going first so it’s nice and hot when you’re ready.
- Prep the garlic for roasting. Take your whole head of garlic and slice off the top quarter-inch to expose the cloves. Don’t peel it—just cut the top off. Place it on a piece of aluminum foil, drizzle with about 1 tablespoon of olive oil, and sprinkle with a pinch of salt. Wrap the foil tightly around the garlic to form a little packet. This will steam the garlic as it roasts, making it soft and sweet.
- Roast the garlic. Place the foil packet directly on the oven rack and roast for 40-45 minutes, until the cloves are soft and golden. You’ll know it’s done when you can easily pierce a clove with a knife. Let it cool for a few minutes before handling.
- While the garlic roasts, prep the cauliflower. Cut the cauliflower into uniform florets. Try to keep them about the same size so they cook evenly. Don’t throw away the leaves and tender stems—they’re perfectly edible and add a bit of texture.
- Roast the cauliflower. On a large baking sheet, toss the cauliflower florets with the remaining 2 tablespoons of olive oil and a generous pinch of salt. Spread them out in a single layer (crowding will steam them instead of roasting). Roast for 20-25 minutes, flipping halfway through, until the florets are deeply golden and tender when pierced with a fork. The edges should be slightly browned and caramelized.
- Bring a large pot of salted water to a boil. Once the cauliflower is roasted, transfer it to the boiling water. This step might seem redundant, but it ensures the cauliflower is completely tender and breaks down into a silky mash. Boil for 5-7 minutes, until the florets are very soft.
- Drain the cauliflower thoroughly. This is crucial. Use a colander and let it sit for a minute or two to drain off excess water. You can even gently press on the florets with a paper towel to remove more moisture. Too much water will make your mash watery.
- Squeeze the roasted garlic. Once the garlic is cool enough to handle, squeeze the bottom of the head. The soft, roasted cloves will pop right out. Use a knife to mash them into a paste.
- Combine everything in the food processor. Add the drained cauliflower, roasted garlic paste, butter, cream cheese, heavy cream, salt, pepper, and garlic powder (if using).
- Pulse until smooth. Start with short pulses, then let it run for 10-15 seconds until the mixture is completely smooth and creamy. Stop to scrape down the sides with a rubber spatula halfway through. Be careful not to over-process, or it can turn gummy. You want it silky, not gluey.
- Taste and adjust seasoning. This is your moment. Add more salt or pepper if needed. I often add an extra pinch of salt at this stage.
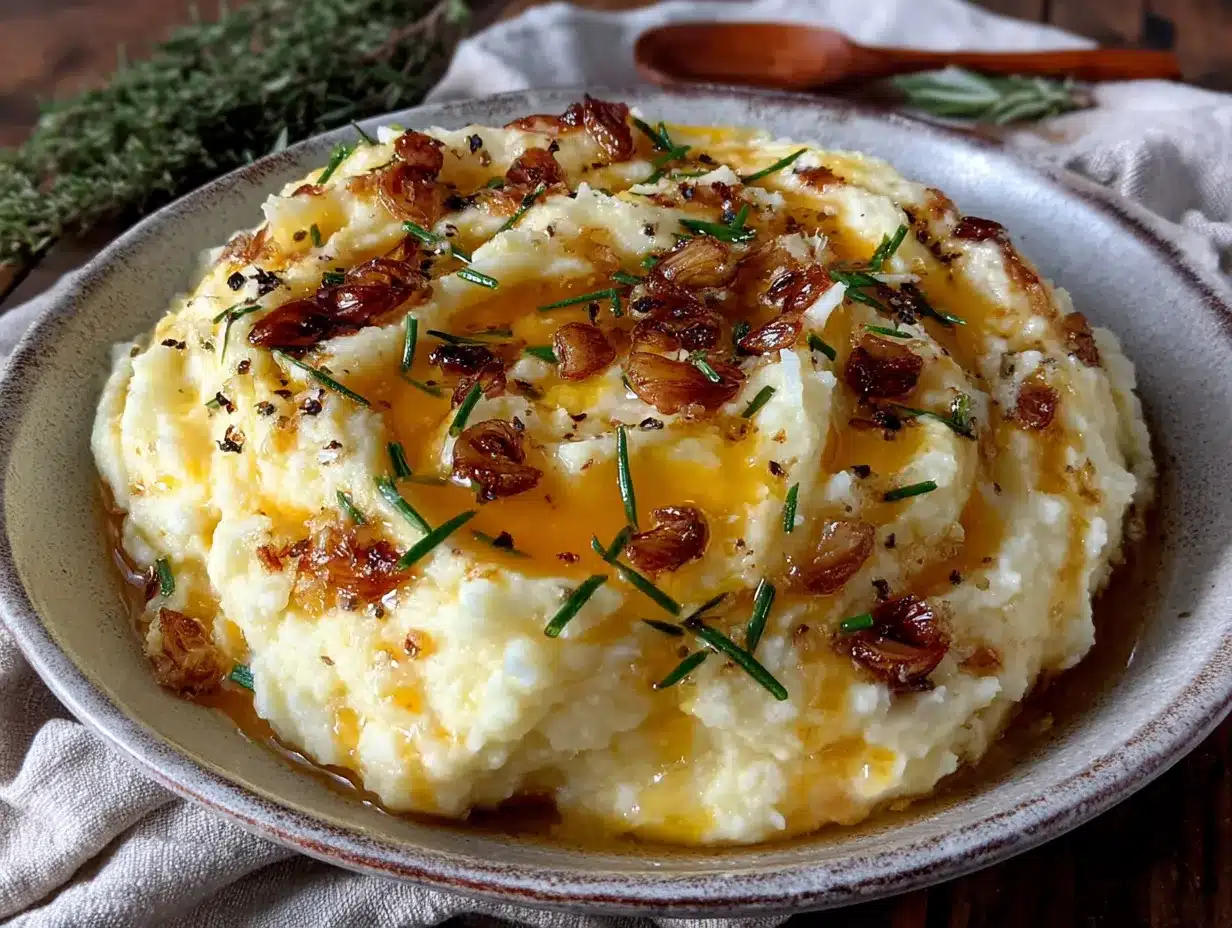
- Serve immediately. Transfer to a serving bowl, garnish with fresh chives or parsley, and a pat of butter if you’re feeling extra indulgent.
Pro tip: If you’re making this ahead of time, stop after step 10. Let the mash cool completely, then store it in an airtight container in the fridge. When you’re ready to serve, reheat it gently on the stovetop with a splash of cream or milk to loosen it up.
Cooking Tips & Techniques
I’ve made this recipe more times than I can count, and I’ve learned a few things the hard way. Here are my best tips for getting it right every time.
Don’t skip the roasting step. I know it’s tempting to just boil the cauliflower and call it a day, but roasting first adds a depth of flavor that you simply can’t get any other way. The caramelization brings out the natural sweetness and gives the mash a nutty, almost buttery taste. Trust me on this one.
Watch your moisture levels. Cauliflower is basically a sponge for water. If you don’t drain it well after boiling, you’ll end up with a watery, sad mash. I like to let it sit in the colander for a full two minutes, then gently press on it with a clean kitchen towel to squeeze out any remaining liquid. It makes a huge difference.
Temperature matters. Make sure your cream cheese and butter are at room temperature before you add them to the food processor. Cold ingredients won’t blend as smoothly, and you’ll end up with little lumps of cream cheese in your mash. I learned this the hard way on my second attempt—I was in a hurry and used cold cream cheese, and the texture was noticeably grainy.
Don’t over-process. This is the number one mistake people make with cauliflower mash. If you let the food processor run too long, the cauliflower releases its starches and turns into a gluey, unappetizing mess. Pulse until it’s just smooth, then stop. You can always pulse a few more times if needed.
Season generously. Cauliflower is a mild vegetable, and it needs a good amount of salt to bring out its flavor. Don’t be shy with the seasoning. I always taste and adjust at the end, and I usually end up adding more salt than I think I need.
Variations & Adaptations
One of the best things about this recipe is how versatile it is. Here are a few variations I’ve tried and loved.
Vegan Version: Swap the butter for vegan butter or olive oil, the cream cheese for a dairy-free version (Kite Hill works great), and the heavy cream for full-fat coconut cream. The coconut flavor is subtle and actually complements the roasted garlic beautifully.
Cheesy Cauliflower Mash: Add 1/2 cup of freshly grated Parmesan or sharp cheddar cheese along with the cream cheese. The cheese melts into the mash and adds a savory, umami kick. I did this for a non-Thanksgiving dinner party, and it was a huge hit.
Herb-Infused Version: Add a tablespoon of fresh thyme leaves or a teaspoon of dried rosemary to the food processor along with the other ingredients. The herbs add a lovely aromatic quality that pairs perfectly with the roasted garlic.
Spicy Kick: For those who like a little heat, add a pinch of red pepper flakes or a dash of cayenne pepper along with the salt and pepper. It gives the mash a subtle warmth that’s really nice alongside a rich turkey or ham.
Low-Carb/Keto Adaptation: This recipe is already naturally low-carb and keto-friendly. Just use full-fat cream cheese and heavy cream to keep the fat content high. You can also add an extra tablespoon of butter for richness.
Serving & Storage Suggestions
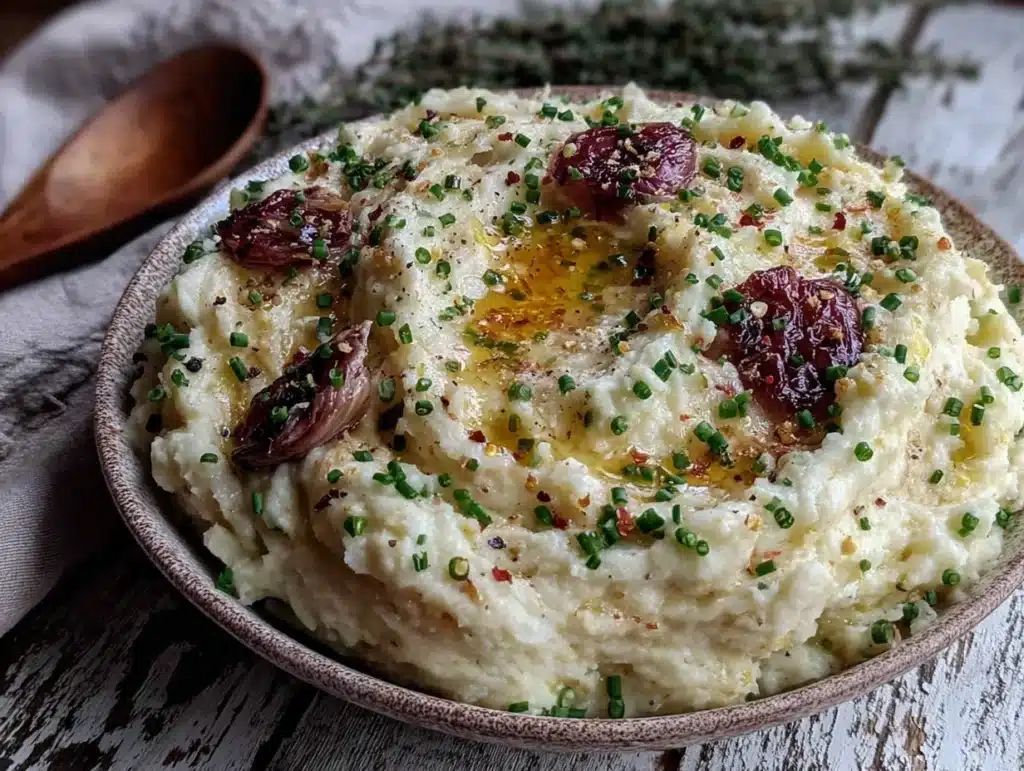
This roasted garlic cauliflower mash is best served hot, straight from the food processor. I like to transfer it to a warm serving bowl, top it with a pat of butter, and sprinkle with fresh chives or parsley. The contrast of the creamy white mash with the bright green herbs is gorgeous on a Thanksgiving table.
It pairs beautifully with roasted turkey, of course, but don’t limit yourself. It’s equally delicious alongside a juicy steak, roasted chicken, or even as a base for sautéed mushrooms. I’ve also used it as a topping for shepherd’s pie—it’s a game changer.
Storage: Leftover mash keeps well in an airtight container in the refrigerator for up to 4 days. The flavors actually meld together overnight, so it might taste even better the next day.
Reheating: The best way to reheat is on the stovetop over low heat. Add a splash of cream or milk to loosen it up, and stir frequently until heated through. You can also microwave it in 30-second intervals, stirring between each, but the texture won’t be quite as smooth. If it seems thick, just add a little more liquid.
Freezing: This mash freezes surprisingly well. Let it cool completely, then transfer to a freezer-safe container. It will keep for up to 3 months. Thaw overnight in the refrigerator, then reheat as directed above. The texture might be slightly less silky after freezing, but it’s still delicious.
Nutritional Information & Benefits
One serving of this roasted garlic cauliflower mash (about 1 cup) contains approximately:
- Calories: 180
- Fat: 14g
- Carbohydrates: 10g
- Fiber: 4g
- Protein: 5g
- Sugar: 4g
Compared to traditional mashed potatoes, this dish has about half the calories and a fraction of the carbs. It’s also packed with fiber, vitamin C, and antioxidants from the cauliflower. The roasted garlic adds allicin, a compound known for its immune-boosting properties—perfect for the cold and flu season that often follows Thanksgiving.
This dish is naturally gluten-free, low-carb, and vegetarian. It can easily be made vegan and dairy-free with the substitutions mentioned above. The only potential allergen to watch for is dairy, which can be swapped out.
I personally love that I can enjoy a generous serving of this mash without feeling weighed down. It’s comfort food that actually makes me feel good, and on a holiday built around indulgence, that’s a welcome balance.
Conclusion
This roasted garlic cauliflower mash started as a happy accident born from a bag of sad potatoes, but it’s become a non-negotiable part of my Thanksgiving spread. It’s creamy, rich, and packed with flavor—everything you want from a comfort food side dish, without the heavy feeling that usually follows. Whether you’re looking to lighten up your holiday table or just want a delicious new side dish to add to your rotation, this recipe delivers.
I encourage you to make it your own. Add extra garlic, throw in some cheese, or keep it simple and pure. The beauty of this recipe is that it’s forgiving and adaptable. And if you happen to serve it to a table full of cauliflower skeptics? Just watch their faces as they go back for seconds.
I’d love to hear how it turns out for you. Leave a comment below and let me know if you tried any variations, or share a photo of your mash on social media. Happy Thanksgiving, and happy cooking!
Frequently Asked Questions
Can I make this cauliflower mash ahead of time?
Absolutely. You can make it up to 2 days in advance. Just prepare the mash completely, let it cool, and store it in an airtight container in the fridge. Reheat gently on the stovetop with a splash of cream or milk to restore its creamy texture.
Why is my cauliflower mash watery?
This usually happens when the cauliflower isn’t drained properly after boiling. Make sure to let it sit in a colander for a few minutes, and gently press out any excess moisture with a paper towel or clean kitchen towel before adding it to the food processor.
Can I use frozen cauliflower instead of fresh?
You can, but I don’t recommend it for this recipe. Frozen cauliflower holds a lot of water, which can make your mash watery. If you’re in a pinch, thaw the frozen cauliflower completely and squeeze out as much moisture as possible before roasting.
How do I get the smoothest texture?
The key is a food processor or high-powered blender. A potato masher will give you a chunkier texture. Also, make sure your cauliflower is very tender before blending, and don’t skimp on the cream cheese and butter—they’re what make it silky.
Can I skip the roasting step?
You can, but you’ll lose a lot of flavor. Roasting the cauliflower caramelizes its natural sugars, giving the mash a deeper, nuttier taste. If you’re short on time, you can boil the cauliflower directly, but the result won’t be as rich and complex.
Pin This Recipe!
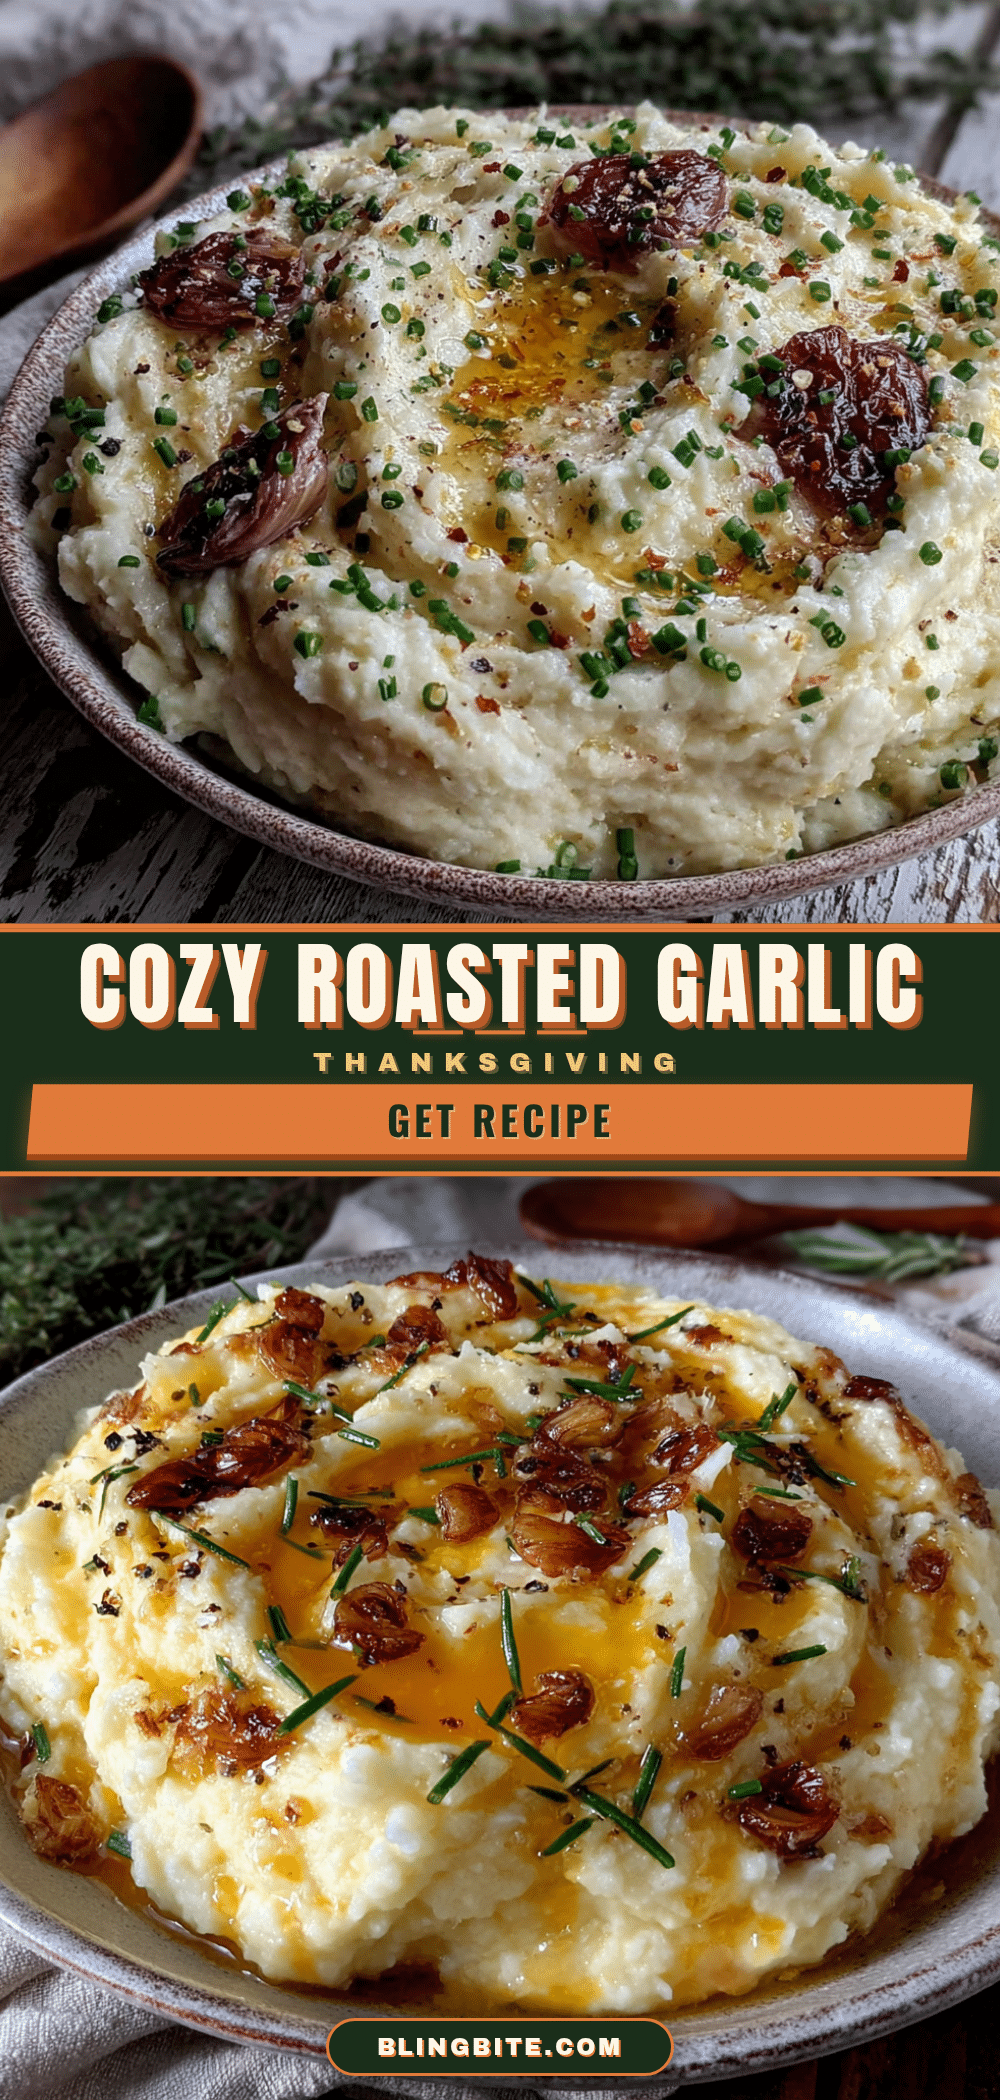
Best Roasted Garlic Cauliflower Mash for Thanksgiving

This creamy, silky roasted garlic cauliflower mash is the perfect Thanksgiving side dish. It’s rich, indulgent, and packed with deep roasted garlic flavor, yet light enough to not weigh you down.
- Prep Time: 15 minutes
- Cook Time: 45 minutes
- Total Time: 1 hour
- Yield: 4 servings 1x
- Category: Side Dish
- Cuisine: American
Ingredients
- 1 large head of cauliflower (about 2 pounds / 900g), cut into florets
- 1 whole head of garlic
- 3 tablespoons olive oil, divided
- 2 tablespoons unsalted butter
- 2 ounces cream cheese, softened
- 1/4 cup heavy cream
- 1/2 teaspoon salt, plus more to taste
- 1/4 teaspoon black pepper, freshly ground
- 1/4 teaspoon garlic powder (optional)
- Fresh chives or parsley, chopped, for garnish
Instructions
- Preheat your oven to 400°F (200°C).
- Prep the garlic for roasting: slice off the top quarter-inch of the garlic head to expose the cloves. Place on a piece of aluminum foil, drizzle with 1 tablespoon olive oil, and sprinkle with a pinch of salt. Wrap tightly in foil.
- Roast the garlic: place the foil packet directly on the oven rack and roast for 40-45 minutes, until cloves are soft and golden. Let cool.
- While garlic roasts, prep the cauliflower: cut into uniform florets.
- Roast the cauliflower: on a large baking sheet, toss cauliflower florets with remaining 2 tablespoons olive oil and a generous pinch of salt. Spread in a single layer. Roast for 20-25 minutes, flipping halfway, until deeply golden and tender.
- Bring a large pot of salted water to a boil. Add roasted cauliflower and boil for 5-7 minutes until very soft.
- Drain cauliflower thoroughly in a colander, pressing gently with a paper towel to remove excess moisture.
- Squeeze the roasted garlic cloves from the head and mash into a paste.
- In a food processor, combine drained cauliflower, roasted garlic paste, butter, cream cheese, heavy cream, salt, pepper, and garlic powder (if using).
- Pulse until smooth, then process for 10-15 seconds until creamy. Scrape down sides as needed. Do not over-process.
- Taste and adjust seasoning with more salt or pepper if needed.
- Serve immediately, garnished with fresh chives or parsley and a pat of butter if desired.
Notes
For make-ahead: prepare through step 10, cool completely, and refrigerate for up to 2 days. Reheat on stovetop with a splash of cream. For dairy-free: use vegan butter, dairy-free cream cheese, and full-fat coconut cream. Do not skip roasting the cauliflower for best flavor. Drain cauliflower well to avoid watery mash.
Nutrition
- Serving Size: 1 cup
- Calories: 180
- Sugar: 4
- Sodium: 350
- Fat: 14
- Saturated Fat: 7
- Carbohydrates: 10
- Fiber: 4
- Protein: 5
Keywords: cauliflower mash, roasted garlic, Thanksgiving side dish, low-carb, keto, vegetarian, gluten-free