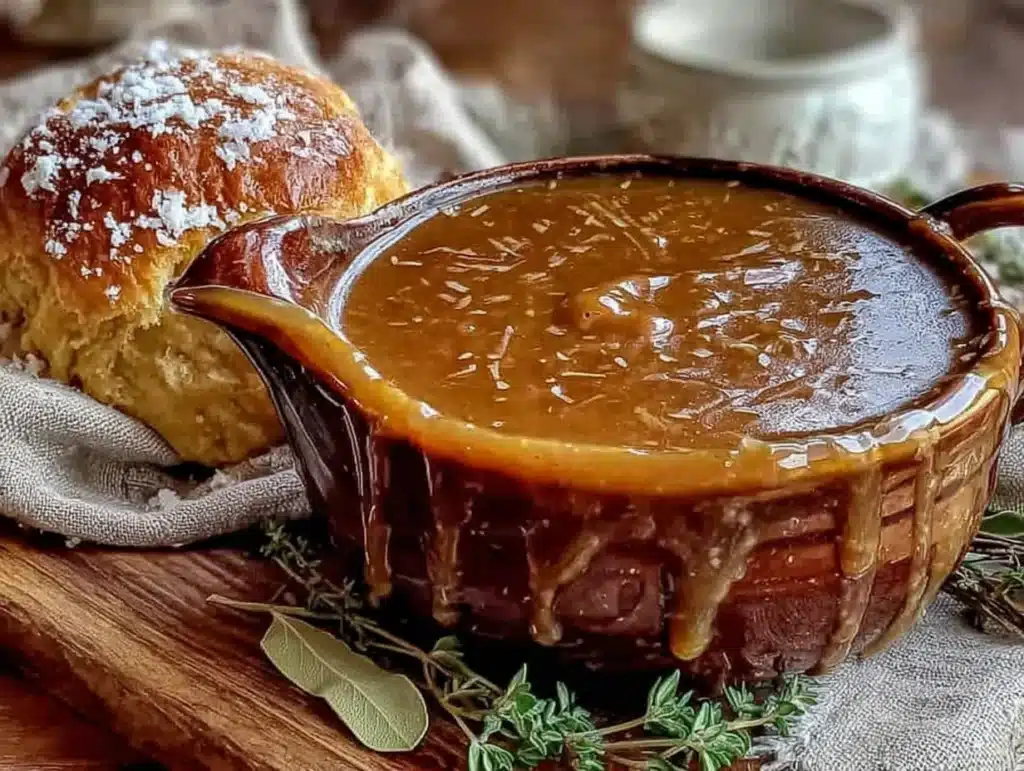
The Friendsgiving was in three hours and I’d completely forgotten about the gravy. Not the turkey – my sister had that handled. Not the mashed potatoes – my cousin was bringing those. But the gravy? That was my job. And I had nothing. No turkey drippings, no stock simmering on the stove, no plan. Everyone else was bringing these elaborate, multi-day preparations and I was standing in my kitchen at 2 PM on a Saturday with a bag of onions and a vague sense of panic.
I mean, honestly, you know that feeling when you volunteer for something simple and then realize simple doesn’t mean foolproof? That was me. I’d told everyone not to worry, that gravy was easy. And it is! But easy when you have a roasted turkey dripping with golden juices and a pan full of browned bits. Easy when you’ve planned ahead. I had done neither.
So I did what any reasonable person would do. I called my grandmother. Not the one with the famous gravy recipe – the other one, the one who had been cooking for sixty years and had seen it all. “Use chicken wings,” she said. “Brown them hard. Then make your stock. You won’t miss the drippings.” I hung up, looked at the clock, and got to work. The gravy came together in about an hour, and honestly? It was the best thing on the table. People asked for the recipe. Someone poured it over their turkey and then their potatoes and then their stuffing. I just smiled and said it was nothing special. But it was. It really was.
This make-ahead turkey gravy, no drippings needed, has been my secret weapon ever since. It saves me every Thanksgiving, every Friendsgiving, every holiday dinner where I’m asked to bring something and I inevitably forget until the last minute. Maybe you’ve been there too. Maybe you’re reading this the night before a big dinner, wondering how you’re going to pull it off. Trust me on this one. You’ve got this.
Why You’ll Love This Recipe
This isn’t just another gravy recipe. This is the gravy that will make people close their eyes after the first bite. It’s rich, silky, and packed with deep, savory flavor that you’d swear came straight from a roasted turkey. But here’s the kicker – it doesn’t need a single drop of turkey drippings.
Here’s why this gravy will become your go-to for every holiday gathering:
- Make-Ahead Magic : You can prepare this gravy up to three days in advance. One less thing to worry about on the big day. Just reheat and serve.
- No Drippings Required : Perfect for vegetarians, for when you’re cooking a turkey that’s too small, or for when, like me, you simply forget. The flavor comes from roasted chicken wings and aromatic vegetables.
- Deep, Rich Flavor : By roasting the wings and vegetables until deeply caramelized, you build layers of flavor that rival any pan-dripping gravy. The secret is in the browning.
- Perfect for Hosting : This gravy is designed to impress a crowd. It scales beautifully, holds well, and tastes even better the next day. Your guests will think you spent hours over a hot stove.
- Foolproof and Stress-Free : I’ve tested this recipe more times than I can count. It comes together with simple techniques and basic ingredients. No fancy equipment, no complicated steps.
This gravy is comfort food reimagined. It’s the kind of recipe that makes you feel like a hero in the kitchen without the stress. Whether you’re hosting a Thanksgiving for twelve or a small Friendsgiving for four, this gravy delivers every single time. It’s my best version, and I’m pretty sure it’ll become yours too.
What Ingredients You Will Need
This recipe uses simple, everyday ingredients to build extraordinary flavor. You likely already have most of them in your pantry. The key is using good quality stock and taking the time to brown everything properly.
For the Roasted Stock Base
- Chicken wings (2 pounds) – I prefer using whole wings, separated at the joints. They’re inexpensive and packed with collagen, which gives the gravy its silky texture. (Look for fresh wings, not frozen, for best results.)
- Onions (2 large, quartered) – Yellow onions are perfect here. They caramelize beautifully and add a sweet, savory depth. Don’t peel them completely – the skins add color.
- Carrots (3 large, roughly chopped) – Adds natural sweetness and body to the stock. I leave the skins on for extra flavor and color.
- Celery (3 stalks, roughly chopped) – Essential for that classic savory base. Chop them into big chunks – they’ll be strained out later.
- Garlic (1 whole head, halved crosswise) – Roasting the garlic mellows its sharpness and adds a rich, almost nutty flavor. Don’t skip this!
- Tomato paste (2 tablespoons) – This is my secret weapon. It adds umami and helps deepen the color of the gravy. I recommend the kind that comes in a tube – it’s easier to use and lasts longer.
- Fresh thyme (4 sprigs) – Earthy and aromatic. If you only have dried, use 1 teaspoon.
- Fresh rosemary (2 sprigs) – Piney and fragrant. Again, dried works – use 1 teaspoon.
- Bay leaves (2) – Adds a subtle floral note. Don’t skip them – they make a difference.
- Black peppercorns (1 teaspoon) – For gentle heat and complexity.
- Water (8 cups) – Or use low-sodium chicken broth for an even richer base. I’ve done both and prefer the broth version when I have it on hand.
For the Gravy
- Unsalted butter (4 tablespoons) – I prefer unsalted so I can control the salt level. If you only have salted, reduce the added salt later.
- All-purpose flour (4 tablespoons) – This creates the roux that thickens the gravy. For a gluten-free option, use a 1:1 gluten-free flour blend.
- Roasted chicken stock (4 cups) – From the steps above. If you’re short, supplement with good quality store-bought chicken broth. I recommend Swanson or Kitchen Basics.
- White wine (1/2 cup, optional) – Adds acidity and brightness. A dry white wine like Sauvignon Blanc or Pinot Grigio works well. You can substitute with an extra 1/2 cup of stock.
- Salt (1 teaspoon, or to taste) – Start with less and adjust at the end. The stock will already have some salt.
- Black pepper (1/2 teaspoon, freshly ground) – Freshly ground makes a difference. Don’t use pre-ground.
- Fresh herbs for garnish (optional) – A few thyme leaves or a sprig of rosemary for that final touch.
Equipment Needed
You don’t need a professional kitchen to make this gravy. Here’s what you’ll need:
- Large roasting pan or rimmed baking sheet – For roasting the chicken wings and vegetables. A rimmed sheet pan is easier to clean.
- Large stockpot or Dutch oven – For simmering the stock. I use my 6-quart Dutch oven, which distributes heat evenly.
- Fine-mesh strainer – For straining the stock. A cheesecloth-lined colander works too.
- Medium saucepan – For making the gravy. A heavy-bottomed pan prevents scorching.
- Whisk – Essential for a smooth, lump-free gravy. A flat whisk works best.
- Measuring cups and spoons – For accuracy. I keep a set specifically for baking and gravy making.
- Sharp knife and cutting board – For prepping vegetables.
- Tongs – For handling the hot chicken wings.
If you don’t have a fine-mesh strainer, use a colander lined with paper towels or a clean kitchen towel. It works just as well. And if you don’t have a Dutch oven, any large, heavy pot will do. I’ve made this in a cheap stockpot and it turned out perfectly.
Preparation Method
Let’s get cooking. This recipe has two main parts – making the stock and making the gravy. Both are simple, but each step builds on the last. Take your time and enjoy the process.
Part 1: Roast the Wings and Vegetables
- Preheat your oven to 425°F (220°C). While it heats, separate the chicken wings at the joints if they’re whole. Pat them dry with paper towels – this helps them brown better.
- Arrange the wings, quartered onions, chopped carrots, and celery on your roasting pan or baking sheet. Drizzle with a tablespoon of olive oil and toss to coat. Spread everything in a single layer – overcrowding will steam instead of brown.
- Roast for 30 minutes. The wings should be golden brown and the vegetables should be starting to caramelize. Remove the pan from the oven and add the halved garlic head, cut side down. Return to the oven for another 15 minutes.
- The wings should be deeply browned and the vegetables should be soft and charred in spots. This is where the flavor lives. Don’t rush this step – if they’re not dark enough, give them another 5-10 minutes.
Part 2: Make the Stock
- Transfer the roasted wings and vegetables to your large stockpot or Dutch oven. Don’t leave any browned bits behind – scrape them off the pan with a spatula. Those bits are pure gold.
- Place the roasting pan on the stovetop over medium heat. Add about 1 cup of water and scrape up all the browned bits from the bottom. This is called deglazing, and it adds incredible flavor. Pour this liquid into the pot with the wings and vegetables.
- Add the tomato paste, fresh thyme, rosemary, bay leaves, peppercorns, and 8 cups of water (or broth). Stir to combine.
- Bring the mixture to a boil over high heat, then reduce the heat to low. Let it simmer gently, uncovered, for 1 hour. You should see small bubbles breaking the surface – not a rolling boil. Skim off any foam that rises to the top during the first 15 minutes.
- After 1 hour, the stock should be fragrant and slightly reduced. Remove the pot from the heat. Use your fine-mesh strainer to strain the stock into a large bowl or another pot. Discard the solids. You should have about 4 cups of stock. If you have more, simmer it a bit longer to concentrate the flavor. If you have less, add a little water or broth.
Part 3: Make the Gravy
- In a medium saucepan, melt the butter over medium heat. Once it’s foaming, whisk in the flour. Cook, whisking constantly, for about 2 minutes. The mixture should be a light golden color and smell slightly nutty. This is your roux.
- Slowly pour in the white wine (if using), whisking continuously. It will bubble up and steam – that’s normal. Cook for about 30 seconds until it’s mostly absorbed.
- Gradually pour in the warm chicken stock, whisking constantly to prevent lumps. Start with a small amount, whisk until smooth, then add the rest. It might look thin at first, but it will thicken as it simmers.
- Bring the gravy to a gentle simmer, then reduce the heat to low. Let it cook for 10-15 minutes, stirring occasionally, until it’s thickened enough to coat the back of a spoon. If it gets too thick, add a splash of stock or water.
- Season with salt and pepper. Taste and adjust – you might need more salt than you think. Remember, you can always add more but you can’t take it out.
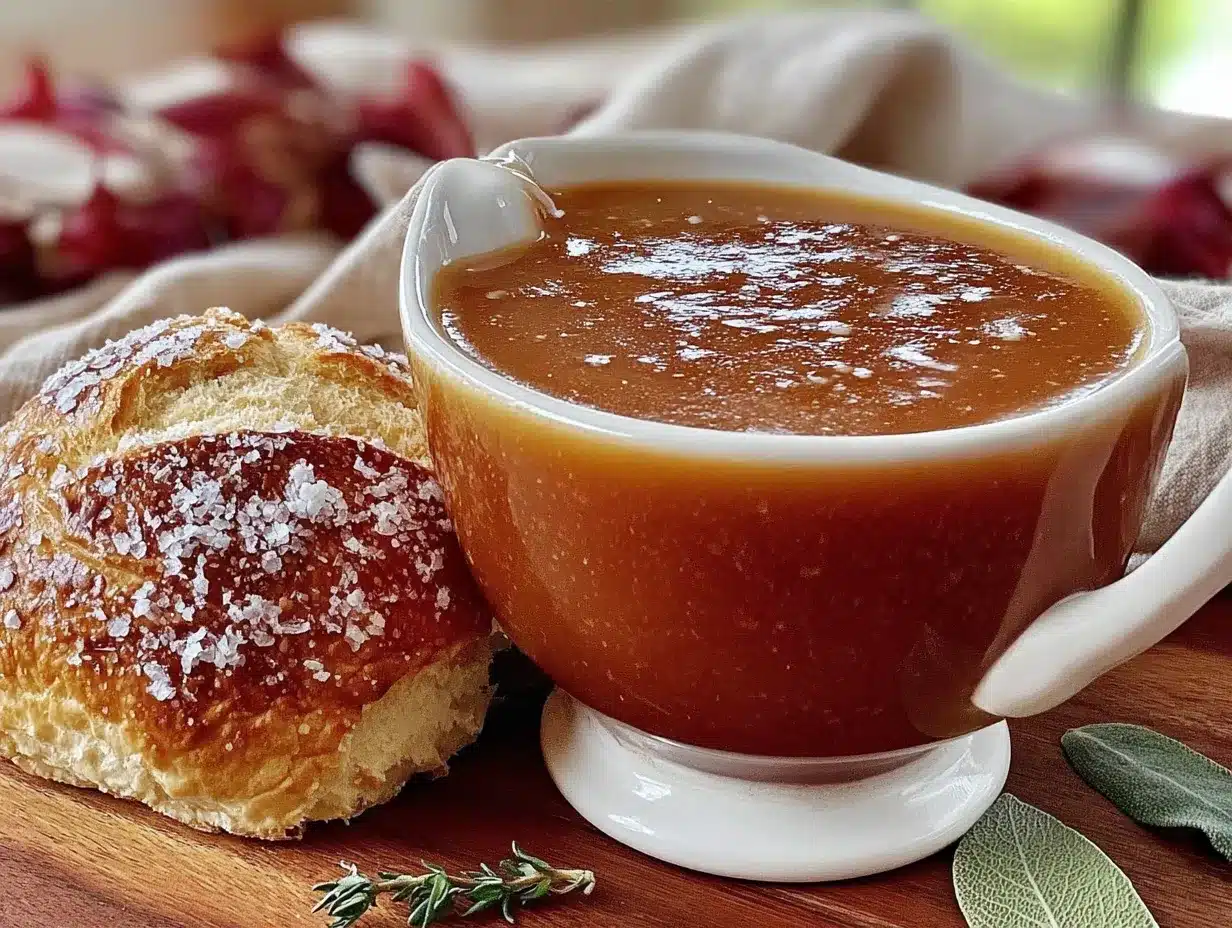
- If you’re serving immediately, pour into a warmed gravy boat. If you’re making it ahead, let it cool completely, then store in an airtight container in the refrigerator.
Cooking Tips & Techniques
I’ve made this gravy more times than I can count, and I’ve learned a few things along the way. Here are my best tips for perfect results every time.
Brown everything well. The deep, rich color of this gravy comes from browning, not from drippings. Don’t be shy – let those wings and vegetables get dark and caramelized. The darker they are, the more flavor you’ll have. I once pulled them out too early and the gravy was pale and bland. Never again.
Don’t rush the stock. That hour of simmering is where the magic happens. The collagen from the chicken wings breaks down and creates a silky, almost velvety texture. I’ve tried shortcut versions with just broth and butter, and they’re fine, but they’re not this. Trust the process.
Use a flat whisk for the roux. A flat whisk reaches the corners of the pan and prevents lumps. If you only have a balloon whisk, that works too – just be extra thorough. Lumpy gravy is fixable (strain it), but it’s easier to avoid in the first place.
Warm the stock before adding it to the roux. This is a game-changer. Cold stock can cause the roux to seize up and create lumps. I microwave my stock for a minute or two before adding it. If you forget, just add it slowly and whisk like crazy.
Taste as you go. I can’t stress this enough. Salt levels vary depending on your stock and your butter. Start with less and adjust at the end. A pinch of salt can transform a flat gravy into something spectacular.
Make it ahead. This gravy actually improves after a day in the fridge. The flavors meld and deepen. When reheating, add a splash of stock or water to thin it out, then whisk over low heat until smooth. I’ve reheated it three days later and it was just as good.
Variations & Adaptations
This recipe is incredibly versatile. Here are some ways to make it your own.
Turkey Wing Version
If you want an even more authentic turkey flavor, swap the chicken wings for turkey wings. The process is identical, but the flavor is slightly richer and more gamey. I do this when I’m making a full Thanksgiving spread and want everything to be turkey-based.
Vegetarian Gravy
For a vegetarian version, skip the chicken wings entirely. Roast the vegetables with a bit more olive oil and add 8 ounces of cremini mushrooms, sliced. Mushrooms are packed with umami and create a surprisingly meaty flavor. Use vegetable broth instead of water. The texture will be slightly different but still delicious.
Gluten-Free Gravy
Substitute the all-purpose flour with a 1:1 gluten-free flour blend or cornstarch. If using cornstarch, mix 2 tablespoons with 2 tablespoons of cold water to create a slurry, then whisk it into the simmering stock. Cook for an additional 2 minutes until thickened. I’ve tested this with Bob’s Red Mill 1:1 flour and it worked beautifully.
Herb Variations
Feel free to play with the herbs. Sage is a classic Thanksgiving addition – add 2 fresh sage leaves to the stock. Tarragon adds a lovely anise-like flavor that pairs well with chicken. Or go with a simple mix of parsley and chives for a fresher taste.
Make It Spicy
Add a pinch of cayenne pepper or a chopped chipotle pepper in adobo sauce to the stock for a smoky, spicy kick. I did this once for a Friendsgiving and it was a huge hit. Just be careful not to overdo it – you want warmth, not heat.
Serving & Storage Suggestions
This gravy is designed to be the star of your holiday table, but it’s also incredibly versatile.
Serving Temperature: Serve the gravy hot, straight from the saucepan or reheated. I like to pour it into a warmed gravy boat to keep it hot through the meal. If you’re serving a crowd, keep it in a slow cooker on the “warm” setting.
What to Serve It With: This gravy is perfect over roasted turkey, mashed potatoes, stuffing, and biscuits. It also works wonders on roasted vegetables, poutine, or even as a sauce for open-faced turkey sandwiches the next day. Honestly, I’ve been known to eat it with a spoon straight from the pot.
Storage Instructions: Let the gravy cool completely before storing. Transfer to an airtight container and refrigerate for up to 4 days. The gravy will solidify as it cools – that’s the collagen doing its job. Don’t worry, it will liquefy again when reheated.
Freezing Instructions: This gravy freezes beautifully. Pour it into freezer-safe bags or containers, leaving a little room for expansion. Freeze for up to 3 months. Thaw overnight in the refrigerator before reheating.
Reheating Tips: Reheat the gravy in a saucepan over low heat, whisking occasionally. Add a splash of stock, water, or even milk to thin it out if needed. If it’s too thin, simmer it for a few more minutes to reduce. I’ve reheated it in the microwave too – just do it in 30-second bursts, stirring in between.
Nutritional Information & Benefits
While gravy isn’t exactly health food, this version is made with real, whole ingredients and avoids the excessive salt and preservatives found in store-bought options.
Per 1/4 cup serving (approximate):
- Calories: 120
- Fat: 8g
- Saturated Fat: 4g
- Carbohydrates: 6g
- Protein: 5g
- Sodium: 300mg (varies based on stock and added salt)
The chicken wings provide collagen and protein, which contribute to the gravy’s silky texture. The vegetables add vitamins A and C, along with fiber. By making it from scratch, you control the sodium and avoid artificial thickeners or flavor enhancers.
For those watching their sodium, use low-sodium broth and reduce the added salt. For a lower-fat option, you can reduce the butter to 3 tablespoons, though the texture will be slightly less rich.
Conclusion
This make-ahead turkey gravy, no drippings needed, has saved my holiday dinners more times than I care to admit. It’s the recipe I turn to when I need something reliable, delicious, and stress-free. It’s proof that you don’t need a perfectly roasted turkey to make incredible gravy. You just need a little time, a few simple ingredients, and the willingness to brown things properly.
I love this recipe because it makes me feel like a hero in the kitchen. It’s the dish that people rave about, the one they ask for the recipe, the one that makes them think I spent hours slaving over a hot stove. And honestly? I did spend some time. But it was worth every minute.
I hope you give this gravy a try. Make it for your next holiday dinner, your next potluck, your next Sunday roast. Customize it with your favorite herbs or make it vegetarian for your friends. And when you do, I’d love to hear about it. Leave a comment below and tell me how it turned out. Share your own tips and variations. Let’s build a community of gravy lovers who don’t need drippings to make something amazing.
Happy cooking, and here’s to stress-free holidays!
Frequently Asked Questions
Can I use this gravy for a vegetarian Thanksgiving?
Absolutely! Simply omit the chicken wings and add cremini mushrooms for umami. Use vegetable broth instead of water. The flavor will be slightly different but still incredibly rich and satisfying.
How far in advance can I make this gravy?
You can make it up to 4 days ahead and store it in the refrigerator. It also freezes well for up to 3 months. The flavors actually deepen and improve after a day or two.
My gravy is too thin. How do I thicken it?
Simmer it over low heat for a few more minutes to reduce and concentrate the flavor. If it’s still too thin, mix 1 tablespoon of cornstarch with 1 tablespoon of cold water to create a slurry, then whisk it into the simmering gravy. Cook for 2 minutes until thickened.
My gravy is too thick. How do I thin it out?
Simply whisk in a splash of warm stock, water, or even milk until it reaches your desired consistency. Do this gradually – you can always add more, but you can’t take it out.
Can I use store-bought chicken broth instead of making my own stock?
Yes, you can. Use a high-quality low-sodium broth for the best flavor. I recommend Swanson or Kitchen Basics. The gravy won’t be quite as rich as with homemade stock, but it will still be delicious. You can enhance it by simmering the broth with a few sprigs of fresh herbs and a halved onion for 15 minutes before using.
Pin This Recipe!

Best Make-Ahead Turkey Gravy Recipe (No Drippings)

This make-ahead turkey gravy, no drippings needed, is rich, silky, and packed with deep, savory flavor. Perfect for Thanksgiving, Friendsgiving, or any holiday dinner, it can be prepared up to three days in advance and tastes even better the next day.
- Prep Time: 15 minutes
- Cook Time: 1 hour 45 minutes
- Total Time: 2 hours
- Yield: 4 cups (about 16 servings of 1/4 cup each) 1x
- Category: Sauce
- Cuisine: American
Ingredients
- 2 pounds chicken wings (separated at joints)
- 2 large yellow onions (quartered)
- 3 large carrots (roughly chopped)
- 3 stalks celery (roughly chopped)
- 1 whole head garlic (halved crosswise)
- 2 tablespoons tomato paste
- 4 sprigs fresh thyme (or 1 teaspoon dried)
- 2 sprigs fresh rosemary (or 1 teaspoon dried)
- 2 bay leaves
- 1 teaspoon black peppercorns
- 8 cups water (or low-sodium chicken broth)
- 4 tablespoons unsalted butter
- 4 tablespoons all-purpose flour
- 4 cups roasted chicken stock (from above)
- 1/2 cup dry white wine (optional, or extra stock)
- 1 teaspoon salt (or to taste)
- 1/2 teaspoon freshly ground black pepper
- Fresh herbs for garnish (optional)
Instructions
- Preheat oven to 425°F (220°C). Pat chicken wings dry with paper towels. Arrange wings, quartered onions, chopped carrots, and celery on a large rimmed baking sheet. Drizzle with 1 tablespoon olive oil and toss to coat. Spread in a single layer.
- Roast for 30 minutes until wings are golden brown and vegetables start to caramelize. Add halved garlic head, cut side down, and roast another 15 minutes until deeply browned.
- Transfer roasted wings and vegetables to a large stockpot or Dutch oven. Scrape any browned bits from the baking sheet.
- Place the baking sheet on the stovetop over medium heat. Add 1 cup water and scrape up all browned bits (deglaze). Pour this liquid into the pot.
- Add tomato paste, thyme, rosemary, bay leaves, peppercorns, and 8 cups water (or broth). Stir to combine.
- Bring to a boil over high heat, then reduce to low. Simmer gently, uncovered, for 1 hour. Skim off any foam during the first 15 minutes.
- Remove from heat. Strain stock through a fine-mesh strainer into a large bowl or pot. Discard solids. You should have about 4 cups of stock. If more, simmer to concentrate; if less, add water or broth.
- In a medium saucepan, melt butter over medium heat. Whisk in flour and cook, whisking constantly, for 2 minutes until light golden and nutty (roux).
- Slowly pour in white wine (if using), whisking continuously. Cook for 30 seconds until mostly absorbed.
- Gradually pour in warm chicken stock, whisking constantly to prevent lumps. Bring to a gentle simmer, then reduce heat to low. Cook for 10-15 minutes, stirring occasionally, until thickened enough to coat the back of a spoon.
- Season with salt and pepper. Taste and adjust. Serve immediately or let cool completely and store in an airtight container in the refrigerator for up to 4 days.
Notes
Brown everything well for deep flavor. Don’t rush the stock simmering. Warm the stock before adding to roux to prevent lumps. Gravy improves after a day in the fridge. For vegetarian version, omit chicken wings and add 8 oz cremini mushrooms; use vegetable broth. For gluten-free, use 1:1 gluten-free flour blend or cornstarch slurry (2 tbsp cornstarch + 2 tbsp cold water).
Nutrition
- Serving Size: 1/4 cup
- Calories: 120
- Sugar: 2
- Sodium: 300
- Fat: 8
- Saturated Fat: 4
- Carbohydrates: 6
- Protein: 5
Keywords: make-ahead gravy, turkey gravy, no drippings gravy, Thanksgiving gravy, holiday gravy, chicken wing gravy, homemade gravy