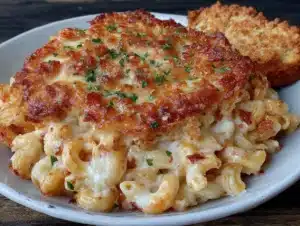
I still remember the Tuesday afternoon my neighbor, Mrs. Kowalski, found me staring blankly into my open refrigerator. I was supposed to be making dinner for friends, but my brain had just… stopped. She didn’t say anything at first. She just stood there in her floral apron, holding a small casserole dish wrapped in a tea towel. “You look like you need a hug in food form,” she said, and then she handed me this dish. It was warm through the towel. That was my first introduction to real, soul-soothing mac and cheese—not the boxed stuff I grew up on, but something that felt like a quiet Sunday afternoon. She told me the recipe was her mother’s, adapted over decades until it became this version: creamy, tangy from the cheddar, nutty from the Gruyère, with a garlicky, buttery crunch on top that makes you forget your own name. I’ve tweaked it a little over the years—added a pinch of smoked paprika, swapped in a sharper Parmesan—but the heart of it is still hers. Honestly, this is the recipe I turn to when the world feels a little too loud. Maybe you’ve been there, standing in your kitchen, needing something that feels less like cooking and more like a deep breath. This mac and cheese is that. It’s the kind of dish that makes people close their eyes on the first bite, and I’m so glad I get to share it with you.
Why You’ll Love This Recipe
This isn’t just another mac and cheese recipe. After testing this version over a dozen times—burning the first panko crust, making a sauce so thick it was basically cheese clay—I can tell you this is the one. It’s the kind of recipe that feels both special and completely doable on a Tuesday night.
- Incredibly Creamy, Never Grainy: The combination of sharp cheddar, Gruyère, and Parmesan creates a sauce that’s silky and rich without separating. No Velveeta needed here.
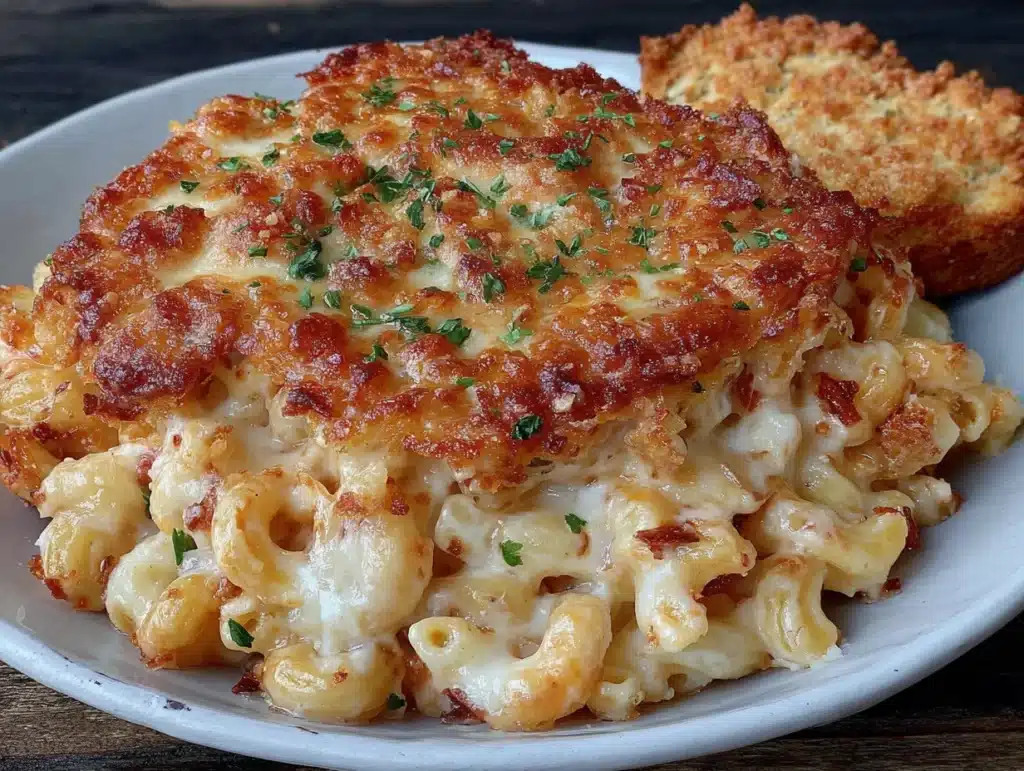
- That Garlic Panko Crust: Let’s be honest, the topping is the star. Golden, buttery, crispy, and packed with garlic flavor. It adds a texture that makes every bite interesting.
- Simple Ingredients, Big Flavor: No weird processed cheese blocks or specialty ingredients you’ll never use again. Just good cheese, butter, milk, and pasta.
- Perfect for Cozy Nights: Whether it’s a rainy Wednesday, a holiday side dish, or just a “I need comfort food” kind of day, this fits the bill.
- Make-Ahead Friendly: You can assemble it a day ahead and bake it when you’re ready. The flavors actually get better overnight.
- Always a Crowd-Pleaser: I’ve brought this to potlucks, family dinners, and even a casual book club. It disappears every single time. Kids and adults fight over the corner pieces with extra crust.
What Ingredients You Will Need
This recipe uses simple, everyday ingredients, but the quality of your cheese makes a real difference here. I learned that the hard way after using pre-shredded cheese and ending up with a gritty sauce. Freshly grated is non-negotiable for that smooth, creamy texture.
For the Mac and Cheese
- 1 pound (450g) elbow macaroni (or cavatappi, shells, or rotini — anything with nooks and crannies works beautifully)
- 4 tablespoons (56g) unsalted butter
- 1/4 cup (30g) all-purpose flour (use a gluten-free 1:1 blend if needed)
- 3 cups (720ml) whole milk (warm, for a smoother sauce — cold milk can cause lumps)
- 1 cup (240ml) heavy cream (this adds that extra luxurious texture)
- 2 cups (200g) sharp cheddar cheese, freshly grated (I prefer a good aged cheddar, like Cabot or Kerrygold)
- 1 1/2 cups (150g) Gruyère cheese, freshly grated (it melts like a dream and adds a nutty, slightly sweet flavor)
- 1/2 cup (50g) Parmesan cheese, freshly grated (use the real stuff, not the green can — it matters here)
- 1 teaspoon salt (plus more for pasta water)
- 1/2 teaspoon black pepper
- 1/4 teaspoon smoked paprika (optional, but adds a lovely subtle warmth)
- 1/4 teaspoon garlic powder
- Pinch of cayenne pepper (optional, just a tiny bit to cut the richness)
For the Garlic Panko Crust
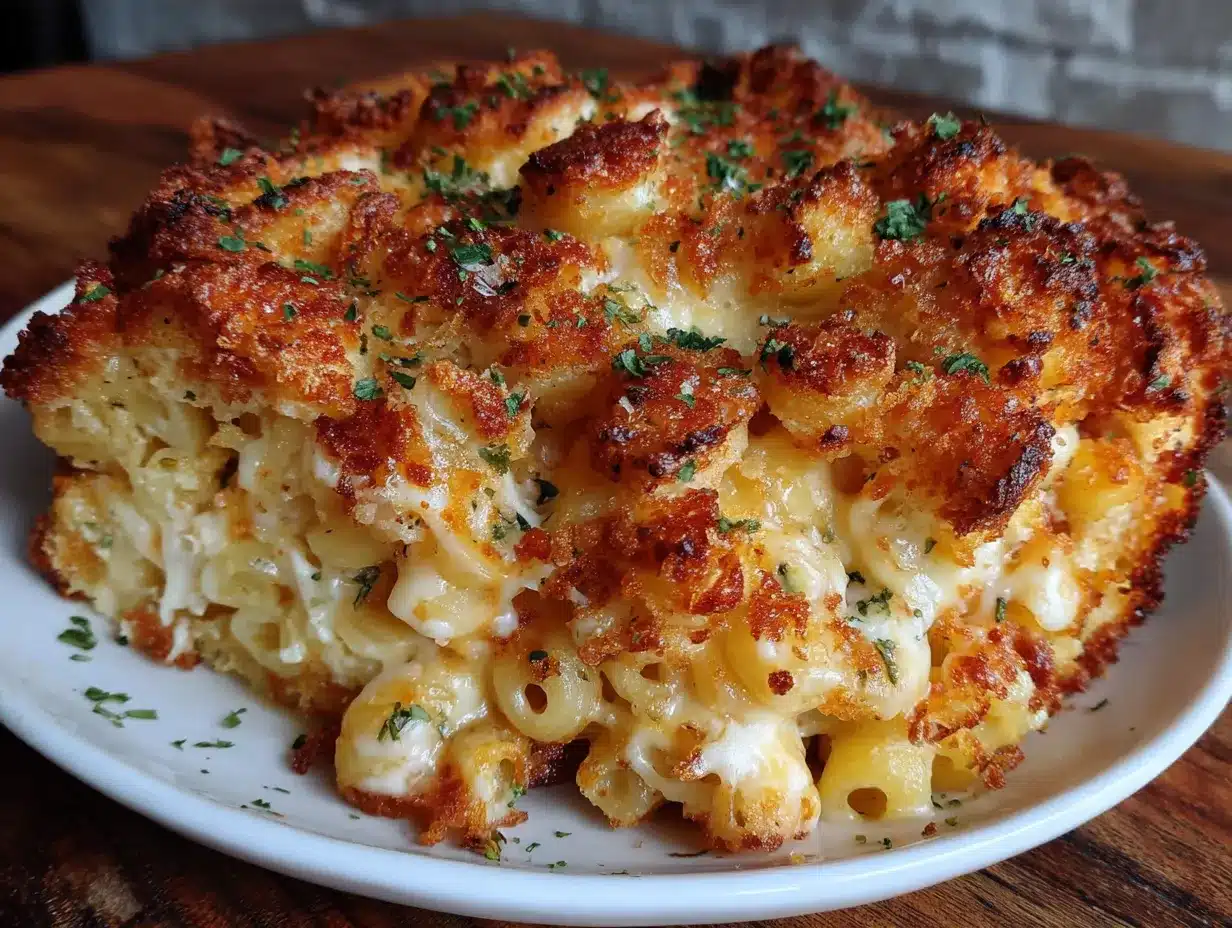
- 1 cup (100g) panko breadcrumbs (they stay crunchier than regular breadcrumbs)
- 3 tablespoons (42g) unsalted butter, melted
- 2 cloves garlic, minced (or 1/2 teaspoon garlic powder in a pinch)
- 2 tablespoons fresh parsley, finely chopped (optional, but adds a nice fresh pop)
- 1/4 cup (25g) Parmesan cheese, finely grated (for extra flavor in the crust)
Equipment Needed
You don’t need a professional kitchen for this, but a few key tools make the process much smoother. I’ve made this in a tiny apartment with minimal equipment, and it still turned out great.
- Large pot (5-6 quart): For boiling the pasta. You want enough water for the pasta to move freely.
- Medium saucepan: For making the cheese sauce. A heavy-bottomed one is best to prevent scorching.
- 9×13-inch baking dish: A 3-quart casserole dish works perfectly. Glass or ceramic is ideal for even baking.
- Whisk: Essential for a smooth, lump-free roux and cheese sauce.
- Box grater or microplane: Please, I beg you, grate your own cheese. Pre-shredded cheese has anti-caking agents that ruin the sauce texture.
- Wooden spoon or silicone spatula: For stirring the pasta and sauce.
- Small skillet: For toasting the panko topping. You can skip this step, but toasting it first gives you a guaranteed crispy crust.
- Chef’s knife and cutting board: For mincing garlic and chopping parsley.
Preparation Method
Alright, let’s make some magic. This recipe has a few steps, but I promise every single one is worth it. Take your time, especially with the sauce.
- Preheat and Prep: Preheat your oven to 375°F (190°C). Butter your 9×13-inch baking dish lightly. Set a large pot of salted water (it should taste like the sea) over high heat to boil.
- Cook the Pasta: Once the water is boiling, add your pasta and cook it according to package directions, but stop 1-2 minutes before al dente. You want it slightly undercooked because it will continue to cook in the oven. Drain the pasta and toss it with a tiny drizzle of olive oil to prevent sticking. Set it aside.
- Make the Roux: In your medium saucepan, melt 4 tablespoons of butter over medium heat. Once it’s bubbling, whisk in the flour. Cook this mixture, whisking constantly, for about 2 minutes. It should smell nutty and look like a thick, pale paste. This step is crucial — it cooks out the raw flour taste.
- Add the Milk and Cream: Slowly pour in the warm milk and heavy cream while whisking vigorously. Keep whisking until the mixture is smooth and starts to thicken, about 3-4 minutes. It should coat the back of a spoon. If you get lumps, don’t panic — just whisk harder. A lumpy sauce usually means you added the milk too fast or it was too cold.
- Melt the Cheese: Reduce the heat to low. Add your freshly grated cheddar, Gruyère, and 1/2 cup of Parmesan cheese in handfuls, stirring until each addition is fully melted before adding the next. Keep the heat low here — high heat will make the cheese sauce grainy and separate.
- Season the Sauce: Stir in the salt, black pepper, smoked paprika, garlic powder, and a tiny pinch of cayenne if you’re using it. Taste it. Adjust the salt if needed. It should be boldly flavored because the pasta will dilute it a bit.
- Combine Pasta and Sauce: Pour the cheese sauce over the cooked pasta and stir gently until every piece of pasta is coated. The sauce will seem a little loose, but that’s exactly what you want — the pasta will absorb some as it bakes.
- Make the Garlic Panko Crust: In a small skillet, melt 3 tablespoons of butter over medium heat. Add the minced garlic and cook for 30 seconds until fragrant. Stir in the panko breadcrumbs and cook, stirring constantly, for 2-3 minutes until they’re golden and smell toasty. Remove from heat and stir in the parsley and remaining 1/4 cup of Parmesan. Let it cool slightly.
- Assemble and Bake: Pour the mac and cheese mixture into your prepared baking dish and spread it evenly. Sprinkle the garlic panko topping all over the surface. Bake for 20-25 minutes, until the edges are bubbly and the top is deep golden brown. If you want an extra-crunchy top, broil it for the last 1-2 minutes, but watch it closely so it doesn’t burn.
- Rest Before Serving: This is the hardest part. Let the mac and cheese sit for at least 10 minutes before serving. This allows the sauce to set up a bit so it’s creamy, not runny. I know you want to dig in immediately, but trust me on this one.
Cooking Tips & Techniques
I’ve made every mistake possible with this recipe, so you don’t have to. Here are the things I wish someone had told me.
Grate your own cheese. I cannot say this enough. Pre-shredded cheese is coated in cellulose and starches to prevent clumping, which means it won’t melt smoothly. Your sauce will be grainy and sad. Spend the extra three minutes grating a block of cheese.
Don’t overcook the pasta. Mushy pasta in mac and cheese is a tragedy. Cook it just shy of al dente. It will finish cooking in the oven, and you’ll get that perfect, slightly firm bite that holds up to the creamy sauce.
Low and slow for the sauce. When you’re melting the cheese, keep the heat on low. If the sauce gets too hot, the proteins in the cheese tighten up and release their fat, leaving you with a greasy, separated mess. Patience is your friend here.
Toast the panko first. I used to just sprinkle raw panko on top and hope for the best. Sometimes it got crispy, but more often it just got soggy. Toasting it in butter first guarantees that golden, crunchy crust every single time.
Let it rest. I know, I know. But if you scoop it straight out of the oven, it will be a soupy mess. Those 10 minutes of resting allow the starches in the pasta to absorb excess moisture, giving you that perfect creamy-but-not-runny texture.
Variations & Adaptations
One of the best things about this recipe is how flexible it is. I’ve experimented with a bunch of variations, and they’ve all been delicious in their own way.
Add Some Protein: Stir in 2 cups of shredded rotisserie chicken, crispy bacon bits, or leftover pulled pork before baking. It turns this side dish into a full meal. I once added leftover smoked brisket, and honestly, it was life-changing.
Go Gluten-Free: Use a good quality gluten-free pasta (I like the brown rice and quinoa blends) and a 1:1 gluten-free flour blend for the roux. The rest of the ingredients are naturally gluten-free. Just be careful not to overcook the gluten-free pasta — it gets mushy fast.
Veggie-Packed Version: Fold in 1 cup of steamed broccoli florets, roasted cauliflower, or sautéed mushrooms. My personal favorite is adding roasted butternut squash cubes in the fall. The sweetness pairs beautifully with the sharp cheddar.
Spicy Kick: Add 1/2 teaspoon of chipotle powder or a diced jalapeño to the cheese sauce. Top with crispy fried onions for a fun twist on the classic.
Lighter Option: Swap the heavy cream for an extra cup of whole milk, and reduce the cheese by half a cup. It won’t be as rich, but it will still be creamy and satisfying. I’ve made this version for weeknight dinners when I wanted something cozy but a little lighter.
Serving & Storage Suggestions
This mac and cheese is a star on its own, but it plays well with others too. Here’s how I like to serve and store it.
Serving: Serve it hot, straight from the oven, with that gorgeous golden crust on top. I like to scoop out portions with a big spatula to keep that crust intact. It pairs beautifully with a simple green salad dressed with lemon vinaigrette — the acidity cuts through the richness perfectly. For a heartier meal, serve it alongside roasted chicken, grilled steak, or even a simple pan-seared salmon. A glass of crisp white wine or a light lager works wonders here.
Storage: Leftovers keep beautifully in an airtight container in the refrigerator for up to 4 days. The crust will soften, but the flavor will be even better the next day. To reheat, place individual portions in a microwave-safe dish and heat in 30-second bursts, stirring between each. For the best results, reheat it in a 350°F (175°C) oven for 10-15 minutes to recrisp the topping. You can also add a splash of milk before reheating to restore some creaminess.
Freezing: This mac and cheese freezes well for up to 3 months. Assemble the dish completely but don’t bake it. Wrap it tightly in plastic wrap and then foil. When you’re ready to eat, thaw it overnight in the fridge, then bake as directed, adding 10-15 minutes to the baking time since you’re starting from cold. I often make two batches — one for now, one for later.
Nutritional Information & Benefits
Let’s be honest, this is indulgent comfort food. But there are some redeeming qualities hidden in that creamy, cheesy goodness.
Per serving (based on 8 servings): Approximately 520 calories, 28g fat, 45g carbohydrates, 22g protein, 3g fiber, 680mg sodium. These are estimates and will vary based on your specific ingredients and portion sizes.
Nutritional Benefits: The cheese provides a good amount of calcium and protein. Gruyère is particularly rich in vitamin B12 and zinc. The milk and cream add vitamin D and more calcium. If you add broccoli or cauliflower, you’ll get a solid dose of fiber and vitamin C. The garlic in the crust has anti-inflammatory properties. So while this isn’t a health food, it’s not empty calories either.
Dietary Considerations: This recipe contains gluten and dairy. For a gluten-free version, use gluten-free pasta and flour. For a dairy-free version, I recommend using a high-quality plant-based butter, oat milk, and vegan cheese shreds. The texture won’t be identical, but it can still be delicious. I’ve tested it with oat milk and vegan cheddar, and while it’s different, my dairy-free friends were thrilled.
Conclusion
This cozy baked three-cheese mac and cheese with garlic panko crust is more than just a recipe — it’s a hug in a baking dish. It’s the meal I make when I need to feel grounded, when I want to show someone I care, or when I just want to enjoy a quiet night in with something truly satisfying. The creamy, tangy cheese sauce, the perfectly tender pasta, and that impossibly crunchy, garlicky topping come together in a way that feels both familiar and special. I hope you make it your own. Add your favorite mix-ins, adjust the cheese blend, or just follow it exactly as written. Either way, I promise you’ll end up with something worth every single bite.
I’d love to hear how it turns out for you! Drop a comment below and let me know if you tried any fun variations. Did you add bacon? Swap the Gruyère for something else? Burn the panko like I did the first time? Share your story — I read every single comment, and your ideas might just inspire my next recipe. Happy cooking, friend. You’ve got this.
Frequently Asked Questions
Can I use pre-shredded cheese for this recipe?
I really don’t recommend it. Pre-shredded cheese is coated with anti-caking agents like cellulose and potato starch, which prevent it from melting smoothly. You’ll end up with a grainy, clumpy sauce instead of that silky, creamy texture we’re going for. Grating your own cheese takes just a few extra minutes and makes a world of difference.
Why did my cheese sauce turn out grainy?
Grainy cheese sauce usually happens when the heat is too high or the cheese is added too quickly. Always melt your cheese over low heat, and add it in small handfuls, stirring until each addition is fully melted before adding the next. Also, make sure you’re using freshly grated cheese — pre-shredded cheese is a common culprit here.
Can I make this mac and cheese ahead of time?
Absolutely! You can assemble the entire dish (without the panko topping) up to 24 hours in advance. Cover it tightly with foil and refrigerate. When you’re ready to bake, make the panko topping fresh, sprinkle it on, and bake as directed, adding about 10 minutes to the baking time since you’re starting from cold.
How do I get the panko crust to stay crispy?
The key is toasting the panko in butter before baking. This creates a barrier that helps prevent the breadcrumbs from absorbing moisture from the sauce. Also, let the baked mac and cheese rest for 10 minutes before serving — this allows the steam to escape, which keeps the crust crunchier.
Can I freeze this mac and cheese?
Yes, it freezes beautifully! Assemble the dish completely but don’t bake it. Wrap it tightly in plastic wrap and then a layer of foil. Freeze for up to 3 months. When you’re ready to enjoy it, thaw it overnight in the refrigerator, then bake as directed, adding 10-15 minutes to the baking time. The texture will be slightly different, but it will still be delicious and comforting.
Pin This Recipe!
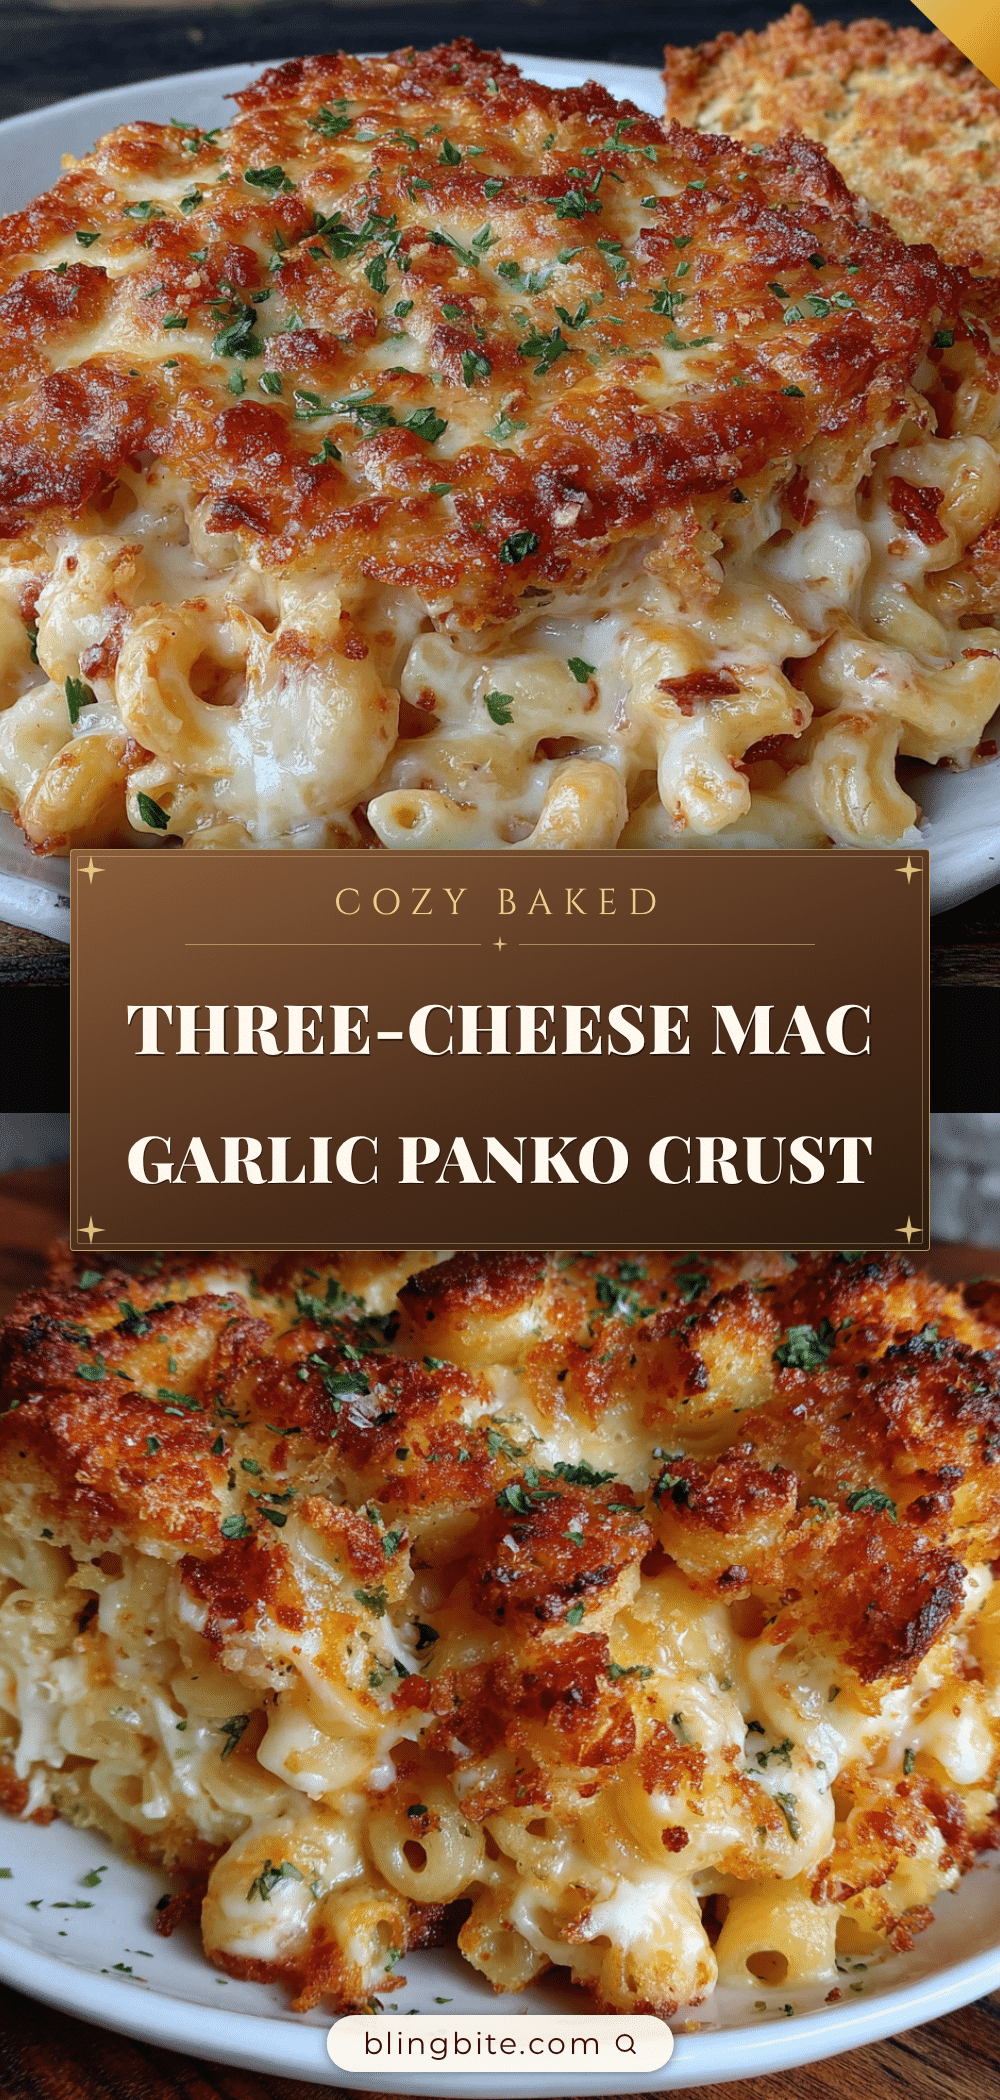
Cozy Baked Three-Cheese Mac and Cheese with Garlic Panko Crust
This creamy, tangy mac and cheese features a blend of sharp cheddar, nutty Gruyère, and Parmesan, topped with a buttery, garlicky panko crust. It’s the ultimate comfort food for cozy nights and always a crowd-pleaser.
- Prep Time: 20 minutes
- Cook Time: 25 minutes
- Total Time: 45 minutes
- Yield: 8 servings 1x
- Category: Main Course
- Cuisine: American
Ingredients
- 1 pound (450g) elbow macaroni (or cavatappi, shells, or rotini)
- 4 tablespoons (56g) unsalted butter
- 1/4 cup (30g) all-purpose flour (or gluten-free 1:1 blend)
- 3 cups (720ml) whole milk, warm
- 1 cup (240ml) heavy cream
- 2 cups (200g) sharp cheddar cheese, freshly grated
- 1 1/2 cups (150g) Gruyère cheese, freshly grated
- 1/2 cup (50g) Parmesan cheese, freshly grated
- 1 teaspoon salt (plus more for pasta water)
- 1/2 teaspoon black pepper
- 1/4 teaspoon smoked paprika (optional)
- 1/4 teaspoon garlic powder
- Pinch of cayenne pepper (optional)
- 1 cup (100g) panko breadcrumbs
- 3 tablespoons (42g) unsalted butter, melted
- 2 cloves garlic, minced (or 1/2 teaspoon garlic powder)
- 2 tablespoons fresh parsley, finely chopped (optional)
- 1/4 cup (25g) Parmesan cheese, finely grated
Instructions
- Preheat oven to 375°F (190°C). Butter a 9×13-inch baking dish. Bring a large pot of salted water to a boil.
- Cook pasta according to package directions, but stop 1-2 minutes before al dente. Drain and toss with a drizzle of olive oil to prevent sticking. Set aside.
- In a medium saucepan, melt 4 tablespoons butter over medium heat. Whisk in flour and cook for 2 minutes, whisking constantly, until nutty and thick.
- Slowly pour in warm milk and heavy cream while whisking vigorously. Continue whisking until smooth and thickened, about 3-4 minutes.
- Reduce heat to low. Add cheddar, Gruyère, and 1/2 cup Parmesan cheese in handfuls, stirring until each addition is fully melted before adding the next.
- Stir in salt, black pepper, smoked paprika, garlic powder, and cayenne (if using). Taste and adjust seasoning.
- Pour cheese sauce over cooked pasta and stir gently until every piece is coated.
- In a small skillet, melt 3 tablespoons butter over medium heat. Add minced garlic and cook for 30 seconds. Stir in panko breadcrumbs and cook for 2-3 minutes until golden. Remove from heat and stir in parsley and remaining 1/4 cup Parmesan.
- Pour mac and cheese mixture into prepared baking dish. Sprinkle garlic panko topping evenly over the surface.
- Bake for 20-25 minutes, until edges are bubbly and top is deep golden brown. For extra crunch, broil for 1-2 minutes, watching closely.
- Let rest for at least 10 minutes before serving.
Notes
Grate your own cheese for a smooth sauce. Do not overcook pasta; cook just shy of al dente. Toast panko first for a guaranteed crispy crust. Let the dish rest for 10 minutes before serving to allow the sauce to set. For make-ahead, assemble without topping, refrigerate up to 24 hours, then add fresh topping and bake, adding 10 minutes. Freezes well for up to 3 months.
Nutrition
- Serving Size: 1 serving (about 1/8
- Calories: 520
- Sugar: 6
- Sodium: 680
- Fat: 28
- Saturated Fat: 16
- Carbohydrates: 45
- Fiber: 3
- Protein: 22
Keywords: mac and cheese, baked mac and cheese, three cheese, garlic panko, comfort food, cheddar, gruyere, parmesan