Introduction
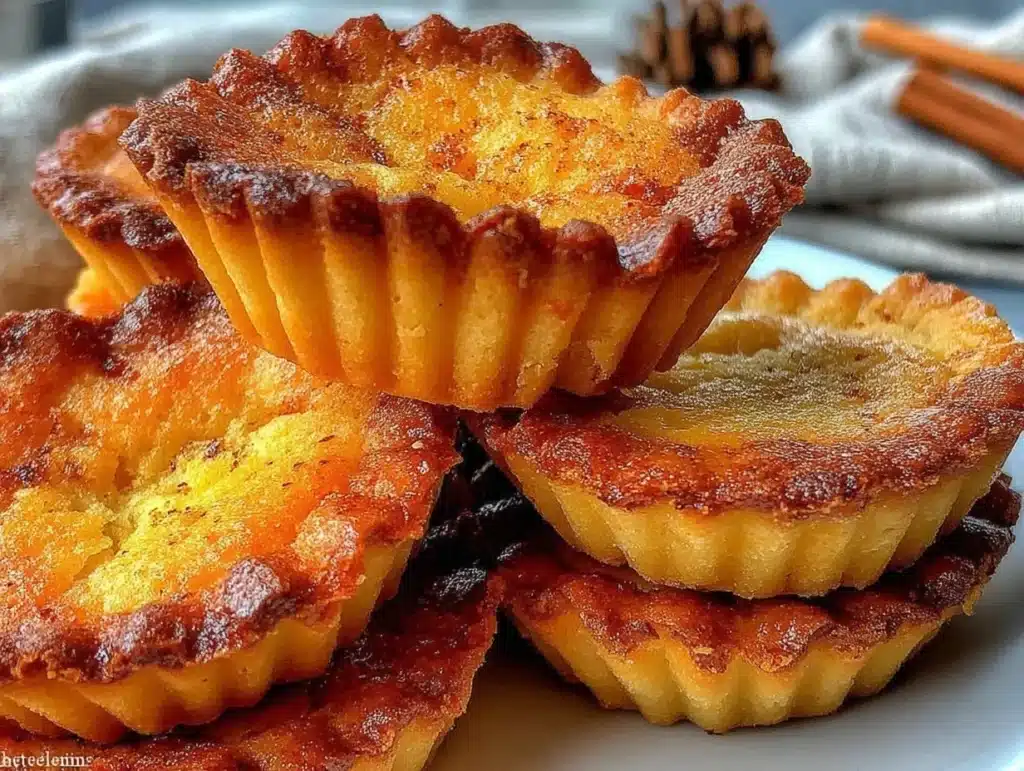
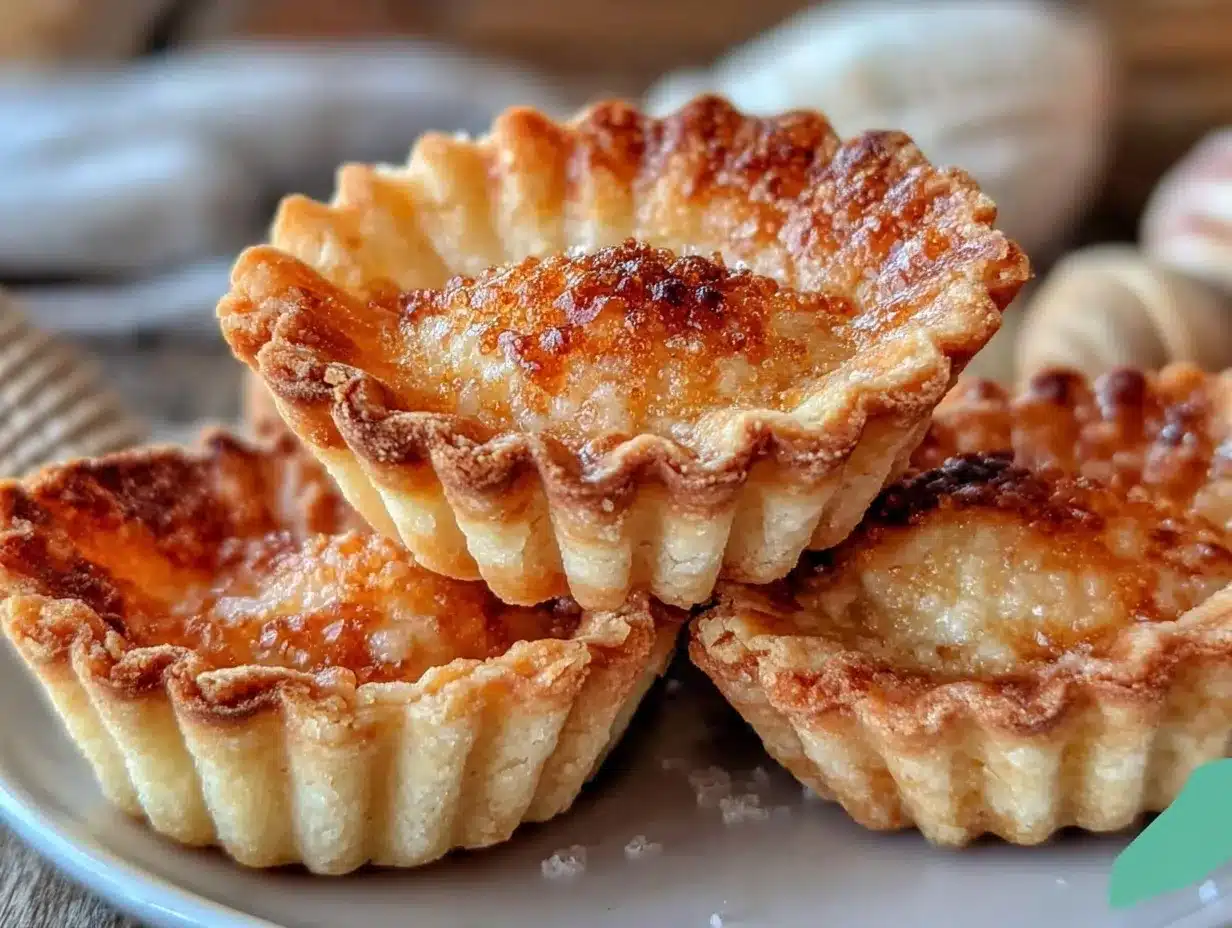
Let me tell you, the moment you bite into one of these crispy tartlet shells—flaky, buttery, and oh-so-delicate—you’ll understand why they’re a game-changer for fancy desserts. The first time I made these, I remember being completely floored by how professional they looked! It was like I had unlocked a secret pastry chef trick right in my own kitchen. The kind of moment where you pause for a second, look at your creation, and think, “Hold on, I made this?”
Years ago, I used to struggle with tartlet shells that were either too soggy or overly dense. It was frustrating, but honestly, it pushed me to find a recipe that hits the sweet spot—crispy and light, yet sturdy enough to hold all the decadent fillings you can dream of. These shells have since become a staple in my kitchen for everything from fruit tarts to creamy chocolate ganache creations.
My family absolutely loves them, and I’ve had friends sneak extra tartlets into their napkins at parties (no judgment here!). These shells are perfect for elevating your dessert game, whether you’re hosting brunch, prepping for the holidays, or simply treating yourself to a fancy snack. Oh, and did I mention they’re deceptively easy to make? You’re going to want to bookmark this recipe for all your future dessert adventures.
Why You’ll Love This Recipe
- Quick & Easy: These tartlet shells come together in under an hour, making them perfect for last-minute dessert prep.
- Simple Ingredients: No fancy pantry items required—you likely already have everything you need.
- Versatile: Fill them with fruit, custard, whipped cream, or savory toppings for endless possibilities.
- Perfect for Special Occasions: Ideal for weddings, holiday parties, brunch gatherings, or just impressing your dinner guests.
- Reliable Texture: The crispy yet tender texture holds up beautifully against moist fillings without getting soggy.
Unlike other tartlet shell recipes that might feel overly complicated or require specialty tools, this one is straightforward and beginner-friendly. Plus, the secret to their crispiness lies in a simple blind-baking technique that ensures perfection every time. Whether you’re a seasoned baker or a weekend kitchen dabbler, these tartlet shells are your ticket to dessert greatness.
What Ingredients You Will Need
This recipe uses simple, wholesome ingredients to deliver those perfectly crispy tartlet shells without any fuss. Here’s what you’ll need:
- All-purpose flour: The base of the dough, providing structure and crispness.
- Unsalted butter, chilled: Adds richness and creates those flaky layers (I recommend cubed butter for easier incorporation).
- Granulated sugar: Just a touch for a hint of sweetness.
- Egg yolks: Helps bind the dough and adds richness.
- Cold water: Needed to bring the dough together without making it too sticky.
- Salt: Enhances the flavor and balances the sweetness.
If you need substitutions, you can use gluten-free flour blends for a gluten-free option or dairy-free butter for a vegan-friendly version. These ingredients are pantry staples, so chances are you already have what you need to whip up a batch!
Equipment Needed
- Mixing bowl: For combining your dry and wet ingredients.
- Pastry cutter or food processor: Helps cut the butter into the flour for that perfect crumbly texture.
- Tartlet pans: Small pans or molds to shape your tartlet shells (muffin tins work great as an alternative).
- Rolling pin: For rolling out the dough evenly.
- Parchment paper and baking weights: Essential for blind baking to prevent the dough from puffing up.
If you don’t have tartlet pans, muffin tins or even cookie cutters can work to create mini shells—just get creative!
Preparation Method
- In a large mixing bowl, whisk together the flour, sugar, and salt.
- Add the chilled butter cubes and use a pastry cutter or your fingertips to work the butter into the flour until the mixture resembles coarse crumbs.
- In a small bowl, whisk the egg yolks with the cold water. Gradually add this mixture to the dry ingredients, stirring until the dough just comes together.
- Form the dough into a ball, wrap it in plastic wrap, and refrigerate for 30 minutes to allow it to rest and firm up.
- Preheat your oven to 350°F (175°C).
- Roll out the chilled dough on a lightly floured surface to about 1/8-inch thick. Use a round cutter slightly larger than your tartlet molds to cut out circles of dough.
- Press the dough circles gently into tartlet pans or muffin tins, ensuring an even thickness. Trim any excess dough hanging over the edges.
- Prick the bottom of each tartlet shell with a fork to prevent bubbling during baking.
- Place parchment paper squares inside each tartlet shell and fill with baking weights or dried beans for blind baking.
- Bake for 10 minutes, then remove the weights and parchment paper. Bake for another 5-7 minutes or until the edges are golden and crisp.
- Allow the shells to cool completely before removing them from the pans. They’re now ready to fill and serve!
Tip: If your dough feels too dry while mixing, add a teaspoon of cold water at a time until it’s workable. Avoid overworking the dough to maintain that tender, flaky texture.
Cooking Tips & Techniques
- Chill the Butter: Cold butter is key to achieving a flaky texture. If your kitchen is warm, pop the butter cubes in the freezer for a few minutes before mixing.
- Don’t Overwork the Dough: Handle the dough gently to prevent it from becoming tough.
- Use Baking Weights: Blind baking with weights ensures the tartlet shells hold their shape and don’t puff up during baking.
- Keep an Eye on the Edges: Overbaking can lead to overly brittle shells, so watch for a light golden color.
- Double the Batch: These freeze beautifully, so make extras and store them for future use.
Trust me, once you get the hang of making these, you’ll never want to go back to store-bought tartlet shells again!
Variations & Adaptations
- Gluten-Free: Swap the all-purpose flour with a gluten-free baking blend for a celiac-friendly option.
- Savory Tartlets: Reduce the sugar and add herbs like rosemary or thyme for shells perfect for savory fillings like cheese or quiche.
- Vegan: Replace the butter with plant-based butter and the egg yolks with a flaxseed or aquafaba binder.
- Seasonal Flavor Twist: Add citrus zest, cinnamon, or nutmeg to the dough for a subtle seasonal flavor boost.
Personally, I love adding a pinch of cardamom to the dough for a unique flavor that pairs beautifully with creamy fillings!
Serving & Storage Suggestions
Serve these tartlet shells at room temperature with your favorite fillings—think fresh berries, whipped cream, or silky chocolate ganache. For a fancy touch, dust the edges with powdered sugar or drizzle with melted chocolate.
Store any unfilled shells in an airtight container at room temperature for up to 3 days. If you’re planning to make them ahead, freeze the fully baked shells in a single layer before transferring them to a zip-top bag. Reheat in the oven at 300°F (150°C) for a few minutes to crisp them up before serving.
Pro tip: Let your filled tartlets sit for about 15 minutes before serving—the flavors meld beautifully, and the shells stay perfectly crisp!
Nutritional Information & Benefits
Here’s a rough estimate of the nutritional values per shell:
- Calories: Approximately 120
- Fat: 8g
- Carbohydrates: 12g
- Protein: 2g
Butter provides a dose of healthy fats, while the modest sugar content keeps these tartlets on the lighter side compared to other desserts. Feel free to adjust the recipe for specific dietary needs!
Conclusion
If you’ve been searching for the perfect crispy tartlet shell recipe, this is the one to try. Not only are they easy to make, but they’re also incredibly versatile and guaranteed to impress. Whether you’re hosting a gathering or treating yourself, these tartlets will elevate any dessert filling you pair them with.
Give this recipe a go, and don’t be afraid to experiment with flavors and fillings. I’d love to hear what you come up with—be sure to leave a comment below or share your creations on social media. Trust me, you’ll want to keep this recipe in your back pocket for all your fancy dessert needs!
Happy baking!
FAQs
Can I make the dough ahead of time?
Yes! You can prepare the dough up to 3 days in advance. Wrap it tightly in plastic wrap and store it in the fridge until ready to use.
What can I use if I don’t have tartlet pans?
Muffin tins work wonderfully as an alternative. Just press the dough into the cups and trim the edges for a clean look.
Can I freeze the tartlet shells?
Absolutely. Bake them fully, let them cool, and freeze them in a single layer. When needed, reheat in the oven to restore their crispiness.
Why did my tartlet shells turn out soggy?
This could happen if the dough wasn’t chilled properly or if they weren’t baked long enough. Be sure to blind bake with weights for the best results.
How do I prevent the dough from shrinking in the oven?
Chill the shells in the fridge for 15 minutes before baking to help them hold their shape.
Pin This Recipe!
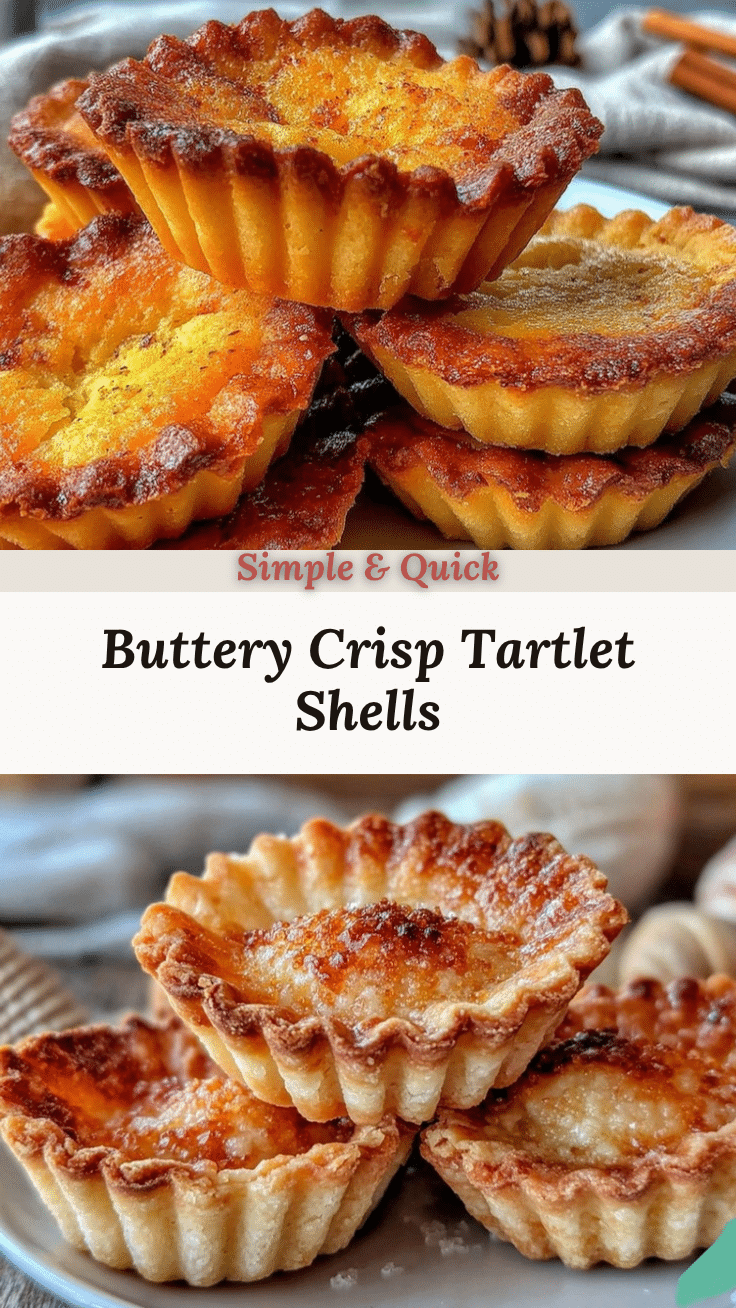
Crispy Tartlet Shells Recipe for Perfect Fancy Desserts

Flaky, buttery, and delicate tartlet shells that are easy to make and perfect for elevating your dessert game with endless filling possibilities.
- Prep Time: 30 minutes
- Cook Time: 15-17 minutes
- Total Time: 47 minutes
- Yield: 12 tartlet shells 1x
- Category: Dessert
- Cuisine: French
Ingredients
- 2 cups all-purpose flour
- 1/2 cup unsalted butter, chilled and cubed
- 2 tablespoons granulated sugar
- 2 egg yolks
- 2 tablespoons cold water
- 1/4 teaspoon salt
Instructions
- In a large mixing bowl, whisk together the flour, sugar, and salt.
- Add the chilled butter cubes and use a pastry cutter or your fingertips to work the butter into the flour until the mixture resembles coarse crumbs.
- In a small bowl, whisk the egg yolks with the cold water. Gradually add this mixture to the dry ingredients, stirring until the dough just comes together.
- Form the dough into a ball, wrap it in plastic wrap, and refrigerate for 30 minutes to allow it to rest and firm up.
- Preheat your oven to 350°F (175°C).
- Roll out the chilled dough on a lightly floured surface to about 1/8-inch thick. Use a round cutter slightly larger than your tartlet molds to cut out circles of dough.
- Press the dough circles gently into tartlet pans or muffin tins, ensuring an even thickness. Trim any excess dough hanging over the edges.
- Prick the bottom of each tartlet shell with a fork to prevent bubbling during baking.
- Place parchment paper squares inside each tartlet shell and fill with baking weights or dried beans for blind baking.
- Bake for 10 minutes, then remove the weights and parchment paper. Bake for another 5-7 minutes or until the edges are golden and crisp.
- Allow the shells to cool completely before removing them from the pans. They’re now ready to fill and serve!
Notes
[‘Chill the butter before mixing to achieve a flaky texture.’, ‘Avoid overworking the dough to maintain tenderness.’, ‘Blind baking with weights ensures the shells hold their shape.’, ‘Watch for a light golden color to avoid overbaking.’, ‘These shells freeze well for future use.’]
Nutrition
- Serving Size: 1 tartlet shell
- Calories: 120
- Sugar: 2
- Sodium: 60
- Fat: 8
- Saturated Fat: 5
- Carbohydrates: 12
- Protein: 2
Keywords: tartlet shells, crispy tartlets, dessert shells, fancy desserts, pastry shells


