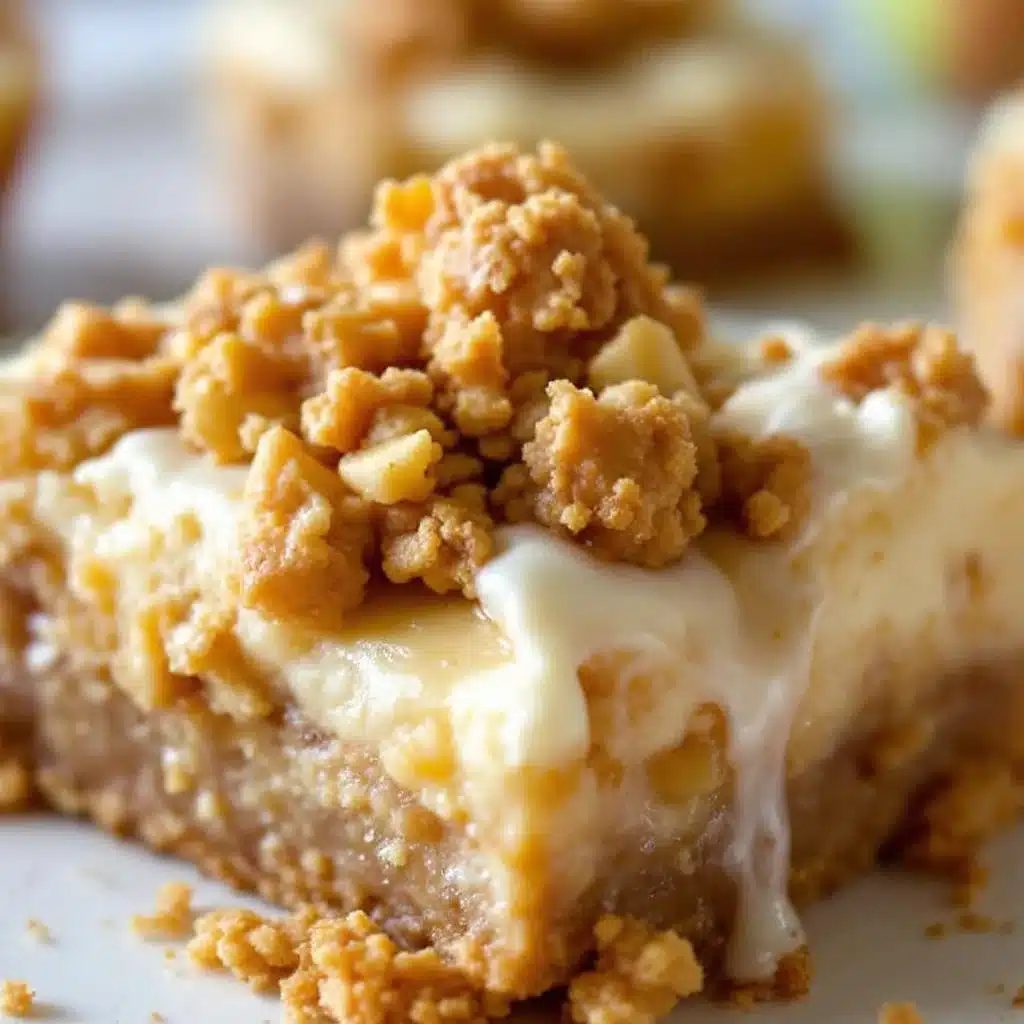
I kept seeing apple crisp cheesecake bars on bakery counters and in glossy magazines, but they always looked like two separate desserts stacked on top of each other with no real connection. The apple layer was watery, the cheesecake was dense, and the crumb topping slid off like an afterthought. For a while, I just accepted that a bar combining creamy cheesecake and tender apples wasn’t going to taste like the thing I imagined—the thing where each bite gives you a little bit of everything without any of it falling apart. So I started testing in my own kitchen, batch after batch, trying to figure out how to make the layers actually work together. It took more tries than I’d like to admit, but eventually I landed on these Creamy Apple Crisp Cheesecake Bars. They’re the kind of dessert that makes you pause mid-bite because the texture is exactly right. The cheesecake stays silky, the apples keep their shape without getting mushy, and the crisp topping stays crunchy even on day three. Honestly, I’m a little protective of this recipe now.
These are not the kind of bars that need a fancy occasion, though they certainly dress up well for company. They’re the dessert you make on a Sunday afternoon when the house smells like cinnamon and you want something that feels special without spending hours in the kitchen. The first time I made them, I brought a pan to a friend’s dinner party and watched people go back for seconds before anyone had touched the main course. That’s when I knew I had something worth keeping. There’s no complicated technique here, just a few smart choices that make the difference between a good bar and one you’ll crave again and again. And that’s exactly what these are—the kind of bar you’ll find yourself thinking about on a random Tuesday night.
Why You’ll Love These Creamy Apple Crisp Cheesecake Bars
Let me tell you why these bars have become my most-requested dessert. I’ve tested this recipe at least a dozen times, tweaking the ratios and baking times until every element works in harmony. And I’ve learned a few things along the way that I think you’ll appreciate.
- Quick & Easy : From start to finish, these bars come together in about 50 minutes, with only 15 minutes of active prep. No water baths, no complicated techniques, no stress.
- Simple Ingredients : You probably have most of these ingredients in your kitchen right now. Cream cheese, butter, flour, sugar, apples, cinnamon—nothing fancy, nothing hard to find.
- Perfect for Fall Gatherings : These bars are ideal for Thanksgiving, Friendsgiving, apple picking parties, or just a cozy weekend treat. They travel well and slice cleanly, which makes them perfect for sharing.
- Crowd-Pleaser : I’ve served these to kids, adults, picky eaters, and dessert snobs, and every single person has asked for the recipe. The combination of creamy cheesecake and spiced apples is universally loved.
- Unbelievably Delicious : The texture is what sets these apart. The cheesecake layer is velvety and smooth, the apples are tender but not mushy, and the crisp topping stays perfectly crunchy. It’s comfort food at its finest.
What makes these bars different from other apple cheesecake recipes is the technique. I pre-cook the apples just enough to release their excess moisture, which prevents the dreaded watery layer that ruins so many apple desserts. And I use a simple trick with the crust that ensures it stays firm and buttery, even under the weight of the cheesecake filling. These aren’t just another version of apple cheesecake bars—they’re the version I’ve perfected through trial and error, and I’m confident you’ll love them.
These bars are the kind of dessert that makes you close your eyes after the first bite. They’re comfort food reimagined—creamy, spiced, and completely satisfying without being overly sweet. Perfect for impressing guests without stress, or turning a simple weeknight into something memorable.
What Ingredients You Will Need
This recipe uses simple, wholesome ingredients to deliver that perfect balance of creamy, fruity, and crunchy. Most of these are pantry staples, which makes these bars an easy last-minute dessert option.
For the Crust
- 1 ½ cups (180g) graham cracker crumbs — You can use store-bought crumbs or crush your own. I prefer the texture of homemade crumbs, but either works fine.
- ¼ cup (50g) granulated sugar — Just enough to sweeten the crust without making it candy-like.
- 6 tablespoons (85g) unsalted butter, melted — Use real butter here, not margarine. It makes a big difference in flavor and texture.
- ½ teaspoon ground cinnamon — This adds warmth that complements the apple layer beautifully.
For the Apple Layer
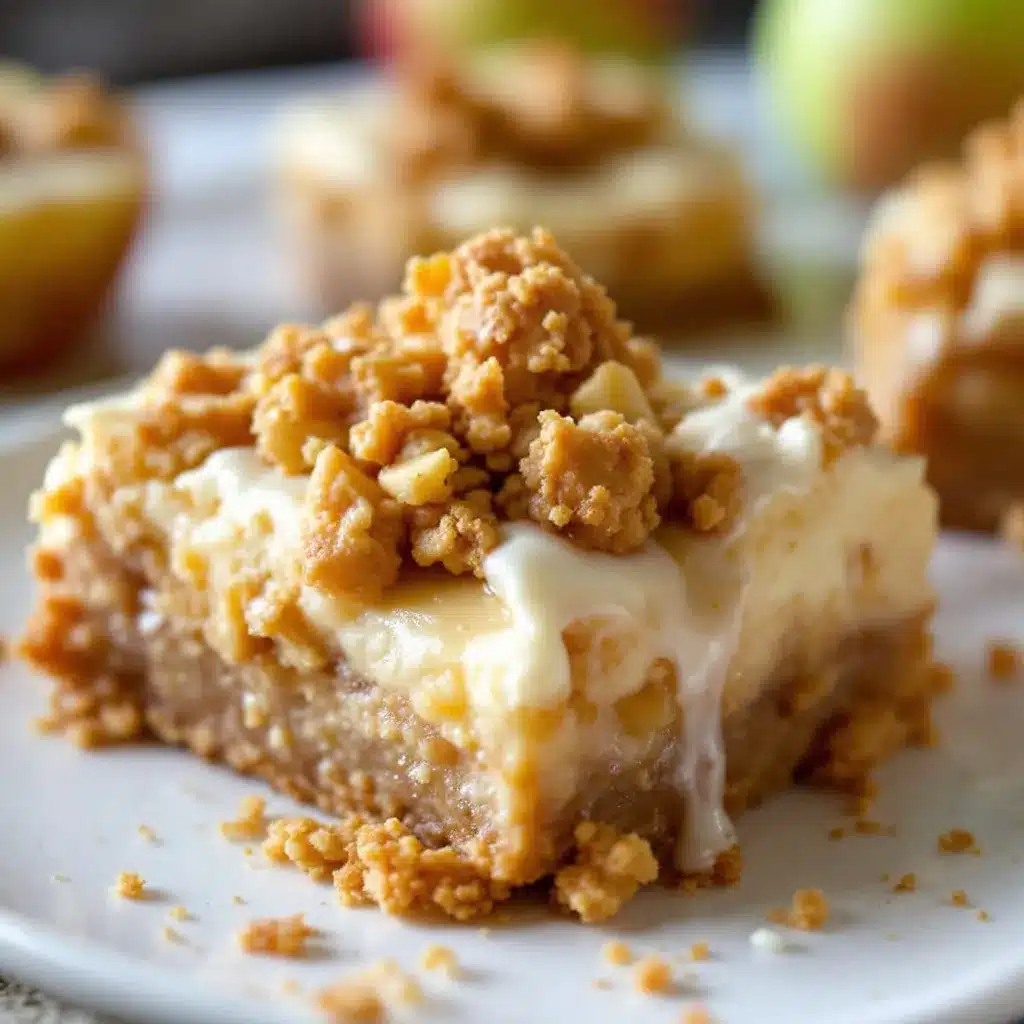
- 3 medium apples (about 450g), peeled and diced — I recommend Honeycrisp, Granny Smith, or Fuji. You want apples that hold their shape when baked, not ones that turn into applesauce.
- 2 tablespoons (28g) unsalted butter — For sautéing the apples to release their moisture.
- 2 tablespoons (25g) brown sugar, packed — Adds depth and caramel notes.
- 1 teaspoon ground cinnamon — The star spice here. Don’t skimp.
- ¼ teaspoon ground nutmeg — Freshly grated if you have it, but pre-ground works too.
- 1 tablespoon (8g) all-purpose flour — This helps thicken any remaining apple juices.
For the Cheesecake Filling
- 16 oz (452g) cream cheese, softened — Full-fat cream cheese is essential for the right texture. I use Philadelphia brand for consistent results.
- ½ cup (100g) granulated sugar — Sweet enough to balance the tangy cream cheese.
- 2 large eggs, room temperature — Room temperature eggs incorporate more smoothly, preventing lumps.
- 1 teaspoon vanilla extract — Pure vanilla, not imitation, if you can swing it.
- ¼ cup (60g) sour cream, room temperature — This is my secret weapon for extra creamy cheesecake. It adds richness and tang.
For the Crisp Topping
- ½ cup (60g) all-purpose flour
- ½ cup (40g) old-fashioned rolled oats — Not quick oats. The texture of old-fashioned oats holds up better in the topping.
- ½ cup (100g) brown sugar, packed
- ½ teaspoon ground cinnamon
- ¼ teaspoon salt — Don’t skip this. Salt balances the sweetness.
- 6 tablespoons (85g) cold unsalted butter, cut into small cubes — Cold butter is key for a crumbly, not greasy, topping.
Substitution Notes: For a gluten-free version, use gluten-free graham crackers and a 1:1 gluten-free flour blend. You can swap the sour cream with full-fat Greek yogurt if needed. And if you’re dairy-free, use a plant-based cream cheese and butter alternative, though the texture will be slightly different.
Equipment Needed
You don’t need a lot of fancy equipment to make these bars, which is part of their appeal. Here’s what you’ll need:
- 9×9-inch baking pan — This size gives you thick, satisfying bars. An 8×8-inch pan works too, but you’ll need to increase the baking time by 5-7 minutes.
- Parchment paper — I recommend lining the pan with parchment paper that overhangs on two sides. This makes lifting the bars out so much easier and prevents any sticking.
- Electric hand mixer or stand mixer — For beating the cream cheese until smooth. A whisk will work, but it takes more elbow grease and you might end up with lumps.
- Medium skillet — For pre-cooking the apples. A non-stick skillet works well here.
- Mixing bowls — You’ll need a few: one for the crust, one for the cheesecake filling, and one for the crisp topping.
- Pastry cutter or fork — For cutting the butter into the crisp topping. You can also use your fingers, just work quickly so the butter stays cold.
If you don’t have a pastry cutter, don’t worry. I’ve used a fork many times and it works just fine. The key is to work the butter into the dry ingredients until it resembles coarse sand with a few pea-sized butter pieces remaining. Those little chunks are what create those irresistible crisp clusters.
Preparation Method
Let’s walk through this step by step. Trust me, if you follow these instructions, you’ll end up with perfect bars every time.
- Preheat your oven to 350°F (175°C). Line a 9×9-inch baking pan with parchment paper, leaving an overhang on two sides. This will make lifting the bars out super easy later.
- Make the crust. In a medium bowl, combine the graham cracker crumbs, ¼ cup sugar, and ½ teaspoon cinnamon. Pour in the melted butter and stir until everything is evenly moistened. It should look like wet sand. Press the mixture firmly into the bottom of your prepared pan. Use the bottom of a measuring cup to really pack it down—this prevents the crust from crumbling when you cut the bars. Bake for 10 minutes, then set aside to cool slightly while you prepare the other layers.
- Cook the apples. In a medium skillet over medium heat, melt 2 tablespoons of butter. Add the diced apples, brown sugar, 1 teaspoon cinnamon, and nutmeg. Cook for 5-7 minutes, stirring occasionally, until the apples are tender but still hold their shape. You’ll notice liquid releasing from the apples—that’s exactly what we want. Sprinkle the flour over the apples and stir for another minute. The flour will absorb any excess liquid, preventing a watery layer in your bars. Remove from heat and let the apples cool while you make the cheesecake filling.
- Make the cheesecake filling. In a large bowl, beat the softened cream cheese with an electric mixer on medium speed until smooth and creamy, about 2 minutes. Scrape down the sides of the bowl, then add ½ cup sugar and beat until combined. Add the eggs one at a time, beating on low speed after each addition until just incorporated. Over-beating at this stage can incorporate too much air, which can cause cracks. Finally, add the vanilla extract and sour cream, and beat on low until smooth. The mixture should be silky and lump-free.
- Make the crisp topping. In a small bowl, whisk together the flour, oats, brown sugar, cinnamon, and salt. Add the cold butter cubes and use a pastry cutter or fork to cut the butter into the dry ingredients until the mixture resembles coarse crumbs with some pea-sized butter pieces remaining. Don’t overwork it—you want those butter chunks to create a crunchy, clustered topping.
- Assemble the bars. Pour the cheesecake filling over the pre-baked crust and spread it evenly. Spoon the cooked apples over the cheesecake layer, distributing them evenly. Don’t press them in—just let them sit on top. Sprinkle the crisp topping evenly over the apples, covering them completely.
- Bake. Place the pan in the preheated oven and bake for 35-40 minutes, or until the edges are set and the center is just slightly jiggly. The top should be golden brown and the crisp topping should look crunchy. A toothpick inserted near the center should come out with just a few moist crumbs, not wet batter.
- Cool completely. This is the hardest part, I know. Let the bars cool in the pan on a wire rack for at least 1 hour at room temperature, then transfer to the refrigerator and chill for at least 3 hours, or overnight. Chilling is essential for clean slices. The cheesecake needs time to fully set, and the flavors meld together beautifully overnight.
- Slice and serve. Once fully chilled, use the parchment paper overhang to lift the bars out of the pan. Place on a cutting board and use a sharp knife to slice into 9 or 16 squares, depending on how generous you want to be. For the cleanest cuts, wipe the knife clean between each slice.
Cooking Tips & Techniques
Over the years, I’ve made plenty of mistakes with cheesecake bars, and I’ve learned a few things that I want to share with you.
Room temperature ingredients are non-negotiable. I know it’s tempting to use cold cream cheese straight from the fridge, but trust me, it will result in a lumpy filling. Take the cream cheese, eggs, and sour cream out of the refrigerator at least 30 minutes before you start baking. If you’re in a hurry, you can cut the cream cheese into cubes and microwave it on low power for 10-15 seconds, but be careful not to melt it.
Don’t skip pre-cooking the apples. This was the game-changer for me. Raw apples release a lot of moisture as they bake, which can make the cheesecake layer watery and prevent the bars from setting properly. By cooking the apples first, you’re removing that excess moisture and concentrating the apple flavor. Plus, the brief sauté in butter and brown sugar adds a caramelized depth that you just can’t get from raw apples.
Watch your baking time. Every oven runs a little differently, so start checking your bars at the 30-minute mark. The edges should be set and slightly puffed, while the center should still have a slight jiggle when you gently shake the pan. Over-baking is the most common cause of dry, cracked cheesecake. Remember, the bars will continue to set as they cool.
Patience with cooling pays off. I know it’s torture to wait, but if you try to slice these bars while they’re still warm, you’ll end up with a messy, gooey disaster. The cheesecake needs time to firm up, and the flavors need time to meld. I’ve learned this the hard way more times than I care to admit. Give them at least 3 hours in the fridge, and you’ll be rewarded with perfectly clean slices.
Use a sharp knife for clean cuts. A dull knife will drag through the cheesecake and mess up your beautiful layers. Run the knife under hot water, dry it off, and make one clean cut. Wipe the blade clean between each slice. This little extra effort makes a huge difference in presentation.
Variations & Adaptations
One of the things I love about this recipe is how adaptable it is. Here are some of my favorite variations:
Gluten-Free Version: Use gluten-free graham crackers for the crust and a 1:1 gluten-free flour blend for both the apple layer and the crisp topping. The texture will be slightly different, but still delicious. I’ve tested this with Bob’s Red Mill 1:1 Baking Flour and it worked beautifully.
Dairy-Free Version: Swap the cream cheese with a high-quality dairy-free alternative, use coconut oil or vegan butter in the crust and topping, and replace the sour cream with coconut yogurt. The flavor will be a bit different, but the texture holds up surprisingly well.
Spiced Apple Variation: Add ¼ teaspoon each of ground ginger, allspice, and cloves to the apple layer for a more complex, chai-inspired flavor. This is my go-to for holiday gatherings when I want something a little extra special.
Pear and Ginger Variation: Replace the apples with ripe but firm pears, and add 1 tablespoon of finely grated fresh ginger to the apple layer. The peppery warmth of ginger pairs beautifully with sweet pears. I stumbled upon this combination one fall when I had too many pears and not enough apples, and it was a happy accident.
Caramel Drizzle: For an extra indulgent touch, drizzle homemade or store-bought caramel sauce over the bars just before serving. The combination of creamy cheesecake, spiced apples, crunchy topping, and silky caramel is absolutely divine. I’ve been known to add a pinch of sea salt to the caramel for that sweet-salty contrast.
If you love this kind of creamy, comforting dessert, you’ll definitely enjoy my Creamy Roasted Butternut Squash Soup for another cozy fall recipe. And for a different take on apple desserts, my Apple Cider Pulled Pork Sliders are a savory option that uses similar seasonal flavors.
Serving & Storage Suggestions
These Creamy Apple Crisp Cheesecake Bars are versatile enough for any occasion. Here’s how to serve and store them for the best experience.
Serving Temperature: I prefer these bars chilled straight from the fridge. The cheesecake layer is firm and creamy, and the crisp topping stays crunchy. If you prefer a softer texture, let them sit at room temperature for 10-15 minutes before serving. Either way, they’re delicious.
Presentation: For a simple presentation, arrange the bars on a platter and dust with a little powdered sugar or cinnamon. For something more decadent, add a drizzle of caramel sauce and a dollop of whipped cream. A few fresh apple slices on the side make a beautiful garnish.
Complementary Dishes: These bars pair beautifully with a hot cup of coffee, a spiced chai latte, or a glass of cold milk. For a dessert spread, serve them alongside a Decadent Chocolate Ganache Brownies for a crowd-pleasing combination. They also work wonderfully as part of a Thanksgiving dessert table.
Storage: Store any leftover bars in an airtight container in the refrigerator for up to 5 days. The crisp topping will soften slightly over time, but the bars will still be delicious. I actually think they taste even better on day two, after the flavors have had time to meld.
Freezing: These bars freeze beautifully. Once fully chilled and sliced, place the bars in a single layer on a baking sheet and freeze until solid, about 1 hour. Transfer the frozen bars to a freezer-safe container or zip-top bag, separating layers with parchment paper. They’ll keep for up to 3 months. To thaw, transfer to the refrigerator overnight or let sit at room temperature for about 30 minutes.
Reheating: If you prefer warm bars, you can reheat individual servings in the microwave for 15-20 seconds. The cheesecake will soften, and the apples will warm through, but the crisp topping will lose some of its crunch. For a better texture, reheat in a 300°F oven for 5-7 minutes.
Nutritional Information & Benefits
While these bars are definitely a treat, they do offer some nutritional benefits worth noting. Here’s the estimated nutritional information per serving (based on 16 servings):
- Calories: 320
- Total Fat: 20g
- Saturated Fat: 12g
- Cholesterol: 85mg
- Sodium: 220mg
- Total Carbohydrates: 33g
- Dietary Fiber: 2g
- Sugars: 22g
- Protein: 5g
Health Benefits: Apples are a great source of dietary fiber and vitamin C, and they contain antioxidants that support heart health. The oats in the crisp topping provide soluble fiber, which can help lower cholesterol. Cream cheese and sour cream offer calcium and protein, though they’re also higher in fat, so moderation is key.
Dietary Considerations: This recipe contains gluten, dairy, and eggs. For gluten-free and dairy-free adaptations, see the Variations section above. These bars are not suitable for a vegan diet in their current form, but you can experiment with plant-based alternatives.
Personal Wellness Perspective: I believe in enjoying desserts as part of a balanced lifestyle. These bars are rich and satisfying, which means a small serving is usually enough to curb a sweet craving. I often cut them into 16 smaller squares rather than 9 large ones, and they’re plenty satisfying that way.
Conclusion
These Creamy Apple Crisp Cheesecake Bars are everything I want in a fall dessert. They’re creamy, crunchy, fruity, and spiced, all in one perfect bite. The layers work together in harmony, each one complementing the others without overpowering them. And the best part? They’re surprisingly easy to make. No water baths, no complicated techniques, no stress. Just simple ingredients and a little bit of patience.
I encourage you to make these bars your own. Try different apple varieties, experiment with the spices, or add a drizzle of caramel. The recipe is forgiving and adaptable, which is exactly what a good dessert should be.
I’d love to hear how these turn out for you. Leave a comment below and let me know if you tried any variations, or share a photo of your bars on social media and tag me. There’s nothing that makes me happier than seeing someone else fall in love with a recipe I’ve worked so hard to perfect.
Happy baking, friends. I hope these bars bring as much joy to your kitchen as they’ve brought to mine.
Frequently Asked Questions
Can I use a different type of apple?
Absolutely. I recommend firm, tart-sweet apples like Honeycrisp, Granny Smith, Fuji, or Braeburn. These hold their shape well during baking and provide a nice contrast to the sweet cheesecake. Avoid soft apples like McIntosh or Red Delicious, as they can turn mushy.
Can I make these bars ahead of time?
Yes, and I actually recommend it! These bars taste even better the next day after the flavors have had time to meld. You can make them up to 2 days in advance and store them in the refrigerator. Just wait to add any caramel drizzle or garnishes until right before serving.
Why did my cheesecake layer crack?
Cracks usually happen for one of two reasons: over-baking or over-mixing. Make sure you’re not over-beating the cheesecake filling, especially after adding the eggs. And watch your baking time carefully—the center should still have a slight jiggle when you pull the bars out of the oven. They’ll continue to set as they cool.
Can I freeze these bars?
Yes, they freeze beautifully. Once fully chilled and sliced, freeze the bars in a single layer on a baking sheet, then transfer to a freezer-safe container. They’ll keep for up to 3 months. Thaw in the refrigerator overnight before serving.
How do I get clean slices?
Patience is key. Make sure the bars are fully chilled before slicing. Use a sharp knife and run it under hot water, drying it off between each cut. Wipe the blade clean after every slice for the cleanest edges. This extra step makes a big difference in presentation.
Pin This Recipe!
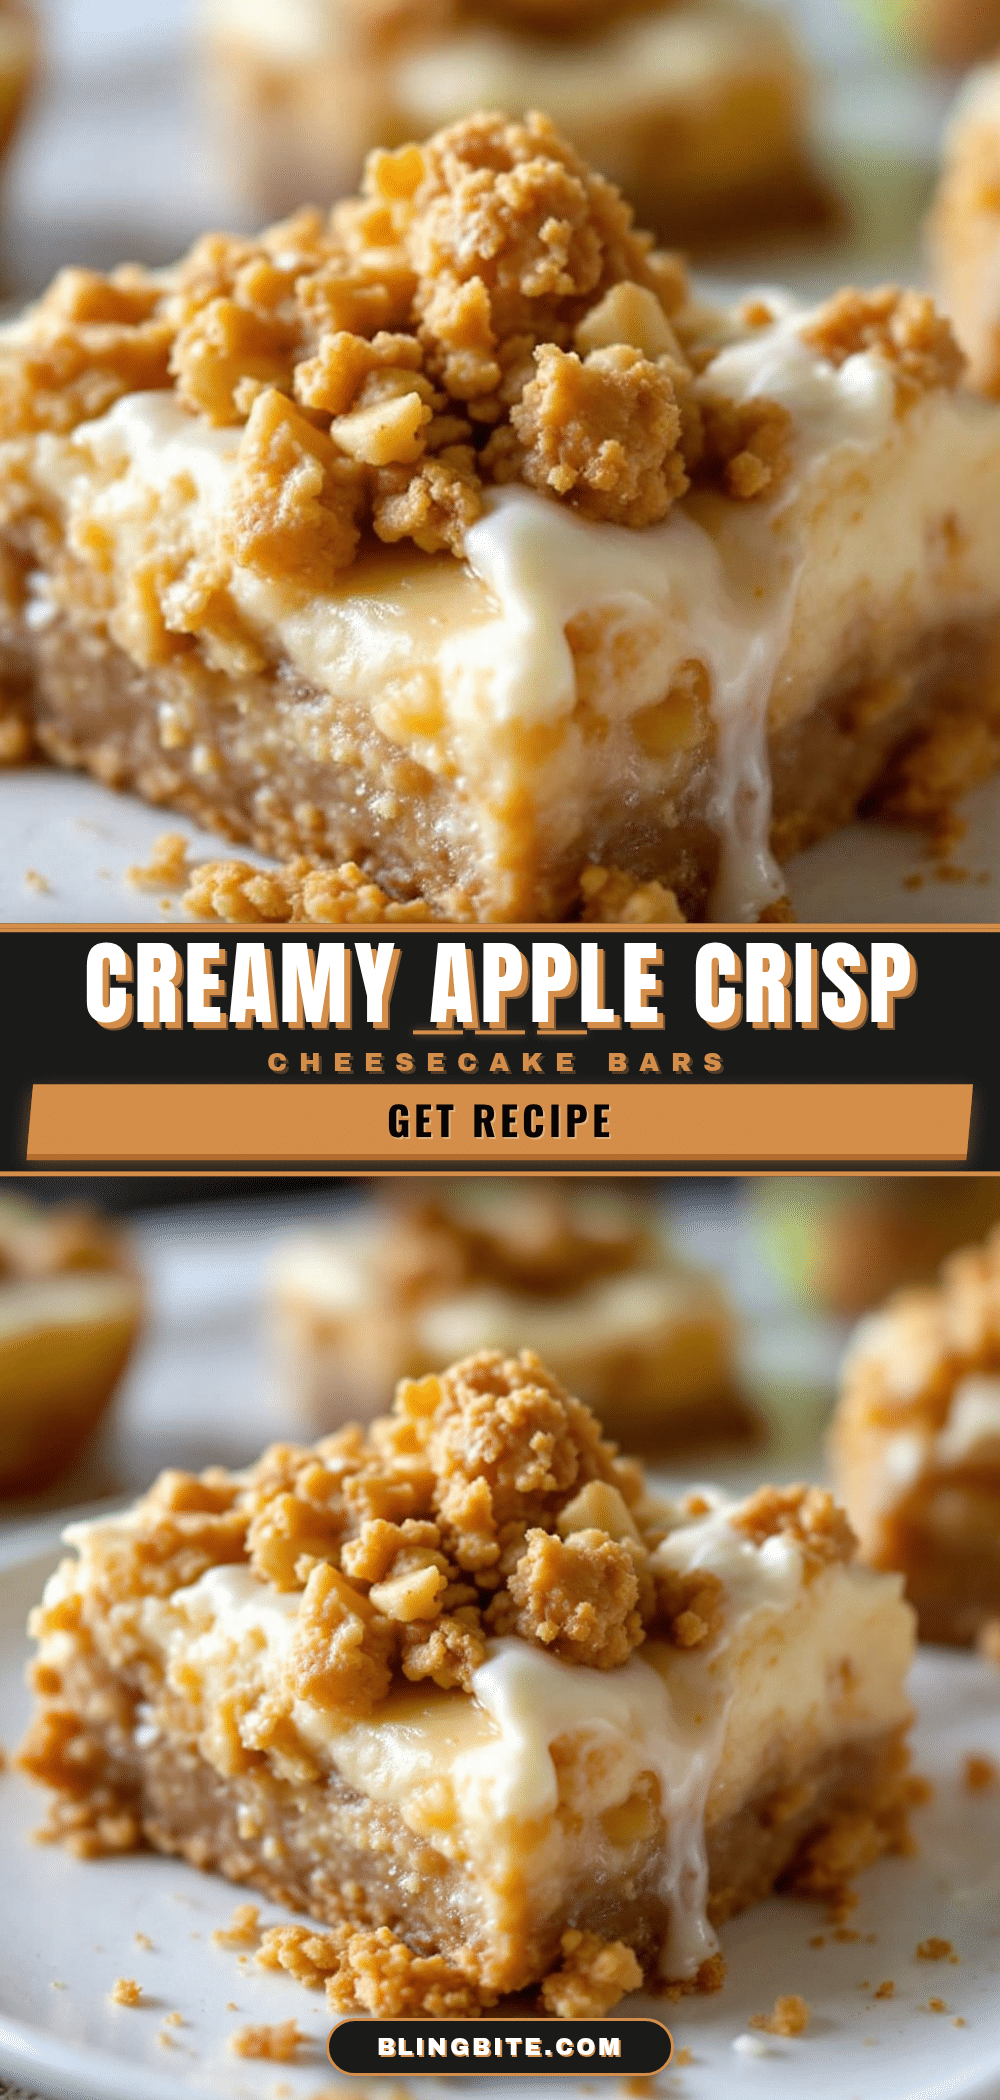
50-Minute Creamy Apple Crisp Cheesecake Bars
These Creamy Apple Crisp Cheesecake Bars combine a buttery graham cracker crust, silky cheesecake filling, tender spiced apples, and a crunchy oat crisp topping. They’re the perfect fall dessert that comes together in about 50 minutes with only 15 minutes of active prep.
- Prep Time: 15 minutes
- Cook Time: 35 minutes
- Total Time: 50 minutes
- Yield: 16 servings 1x
- Category: Dessert
- Cuisine: American
Ingredients
- 1 ½ cups (180g) graham cracker crumbs
- ¼ cup (50g) granulated sugar
- 6 tablespoons (85g) unsalted butter, melted
- ½ teaspoon ground cinnamon
- 3 medium apples (about 450g), peeled and diced
- 2 tablespoons (28g) unsalted butter
- 2 tablespoons (25g) brown sugar, packed
- 1 teaspoon ground cinnamon
- ¼ teaspoon ground nutmeg
- 1 tablespoon (8g) all-purpose flour
- 16 oz (452g) cream cheese, softened
- ½ cup (100g) granulated sugar
- 2 large eggs, room temperature
- 1 teaspoon vanilla extract
- ¼ cup (60g) sour cream, room temperature
- ½ cup (60g) all-purpose flour
- ½ cup (40g) old-fashioned rolled oats
- ½ cup (100g) brown sugar, packed
- ½ teaspoon ground cinnamon
- ¼ teaspoon salt
- 6 tablespoons (85g) cold unsalted butter, cut into small cubes
Instructions
- Preheat your oven to 350°F (175°C). Line a 9×9-inch baking pan with parchment paper, leaving an overhang on two sides.
- Make the crust: In a medium bowl, combine graham cracker crumbs, ¼ cup sugar, and ½ teaspoon cinnamon. Pour in melted butter and stir until evenly moistened. Press firmly into the bottom of the prepared pan. Bake for 10 minutes, then set aside to cool slightly.
- Cook the apples: In a medium skillet over medium heat, melt 2 tablespoons butter. Add diced apples, brown sugar, 1 teaspoon cinnamon, and nutmeg. Cook for 5-7 minutes, stirring occasionally, until apples are tender but still hold their shape. Sprinkle flour over apples and stir for another minute. Remove from heat and let cool.
- Make the cheesecake filling: In a large bowl, beat softened cream cheese with an electric mixer on medium speed until smooth, about 2 minutes. Add ½ cup sugar and beat until combined. Add eggs one at a time, beating on low after each addition. Add vanilla extract and sour cream, beat on low until smooth.
- Make the crisp topping: In a small bowl, whisk together flour, oats, brown sugar, cinnamon, and salt. Add cold butter cubes and use a pastry cutter or fork to cut butter into dry ingredients until mixture resembles coarse crumbs with some pea-sized butter pieces.
- Assemble the bars: Pour cheesecake filling over pre-baked crust and spread evenly. Spoon cooked apples over cheesecake layer. Sprinkle crisp topping evenly over apples.
- Bake for 35-40 minutes, until edges are set and center is just slightly jiggly. Top should be golden brown.
- Cool completely in pan on a wire rack for at least 1 hour at room temperature, then refrigerate for at least 3 hours or overnight.
- Once fully chilled, use parchment overhang to lift bars out of pan. Slice into 9 or 16 squares using a sharp knife, wiping blade clean between cuts.
Notes
Room temperature ingredients are essential for a smooth cheesecake filling. Pre-cooking the apples prevents a watery layer. For clean slices, chill bars thoroughly and use a sharp knife wiped clean between cuts. Bars can be stored in the refrigerator for up to 5 days or frozen for up to 3 months.
Nutrition
- Serving Size: 1 bar (based on 16 s
- Calories: 320
- Sugar: 22
- Sodium: 220
- Fat: 20
- Saturated Fat: 12
- Carbohydrates: 33
- Fiber: 2
- Protein: 5
Keywords: apple crisp cheesecake bars, apple cheesecake bars, fall dessert, apple dessert, cheesecake bars, apple crisp bars


