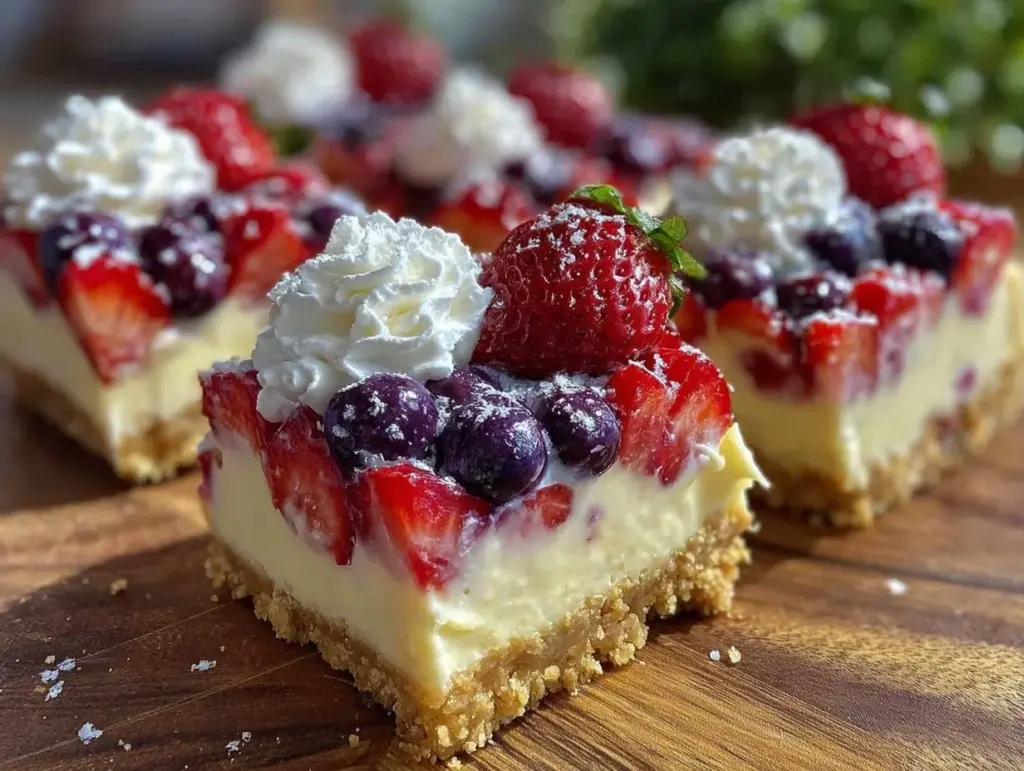
Velvety, cool, and just firm enough to hold its shape—that’s what the Easy No-Bake Flag Berry Cheesecake Bars are all about. The look of those perfectly smooth cream cheese layers, topped with a mosaic of juicy red strawberries, vibrant blueberries, and delicate white cream is what I made this for — everything else is secondary. The bars have that satisfying, creamy texture that almost melts when you bite into them, and the contrasting crumbly crust adds just the right amount of resistance before giving way. You know, it’s like the first touch of a soft blanket on a warm summer night—comforting and inviting.
One summer afternoon, while prepping for a laid-back backyard gathering, I realized I didn’t want to turn on the oven or fuss with complicated desserts. I needed something that looked festive yet was effortless to put together. That’s when these no-bake cheesecake bars came to life, letting me focus on the fun part: arranging the berries into a little flag pattern that somehow made the whole thing feel extra special. The texture obsession kicked in hard—each bite balanced creamy, crumbly, juicy, and slightly tangy, all without a single moment of baking heat.
Honestly, the recipe stuck because it’s not just pretty—it’s a reliable crowd-pleaser that comes together before you know it, perfect for summer parties where you want to impress without the stress. And the quiet realization? When you’ve got something this easy and this textured on hand, you start looking for every excuse to bring it out again.
Why You’ll Love This Recipe
- Quick & Easy: Ready in under 30 minutes, no oven required, making it ideal for hot summer days or last-minute celebrations.
- Simple Ingredients: Uses pantry staples and fresh berries—no fancy or hard-to-find items.
- Perfect for Summer Parties: The patriotic colors make it an eye-catching dessert for Independence Day, Memorial Day, or any summer gathering.
- Crowd-Pleaser: Kids love the sweet creaminess, adults appreciate the light, refreshing finish—everyone asks for seconds.
- Unbelievably Delicious: The silky cream cheese layer paired with the buttery crust and fresh berries creates a next-level flavor and texture combo.
- What Sets It Apart: The no-bake approach means you avoid the pitfalls of overbaking or cracking cheesecake tops, and the flag pattern adds a fun, creative twist that’s surprisingly easy to pull off.
- Emotional Connection: This recipe isn’t just a dessert; it’s the kind that makes you pause mid-bite and smile. It’s light-hearted, festive, and just right for sharing good times without fuss.
What Ingredients You Will Need
This recipe uses simple, wholesome ingredients to deliver bold flavor and satisfying texture without the fuss. Most are pantry basics or fresh market finds, and you can easily swap in alternatives if needed.
- For the Crust:
- 1 ½ cups graham cracker crumbs (about 12 full sheets, finely crushed; I prefer Honey Maid for the best texture)
- ⅓ cup unsalted butter, melted (adds richness and helps bind the crust)
- 2 tablespoons granulated sugar (balances the buttery flavor)
- For the Cheesecake Layer:
- 16 oz (450 g) cream cheese, softened (room temperature for smooth blending)
- ½ cup powdered sugar (for subtle sweetness without graininess)
- 1 teaspoon pure vanilla extract (adds depth)
- 1 cup heavy cream, cold (whipped to soft peaks for lightness)
- For the Berry Topping:
- 1 cup fresh strawberries, hulled and sliced (choose firm berries for neat layering)
- 1 cup fresh blueberries (washed and patted dry to prevent sogginess)
- Optional: a few fresh raspberries or blackberries for added color contrast
If you want a gluten-free crust, almond flour or gluten-free graham cracker crumbs work well. For a dairy-free version, swap cream cheese and heavy cream with coconut-based alternatives, though texture will differ slightly. In summer, swapping fresh berries with frozen (thawed and drained) is a handy shortcut, but fresh is best for that crisp texture.
Equipment Needed
- 9×9-inch (23×23 cm) square baking pan — a glass or metal pan works great for setting the bars evenly.
- Mixing bowls — one large for crust mixing, another for the cheesecake filling.
- Electric mixer or stand mixer with a whisk attachment — helps whip the cream to the perfect soft peak consistency.
- Spatula — for folding in the whipped cream gently without deflating it.
- Measuring cups and spoons — for accurate ingredient portions.
- Plastic wrap or foil — to cover and chill the bars overnight or for at least 4 hours.
If you don’t have an electric mixer, a sturdy whisk and some elbow grease will do the job, though whipping cream takes a bit longer. For a budget-friendly option, a simple metal pan and wooden spoon can suffice, but I recommend investing in at least a hand mixer for smoother results.
Preparation Method
- Prepare the crust: In a medium bowl, combine 1 ½ cups graham cracker crumbs, ⅓ cup melted butter, and 2 tablespoons sugar. Mix until the crumbs are evenly coated and resemble wet sand. Press this mixture firmly and evenly into the bottom of your 9×9-inch pan. Use the back of a spoon or a flat-bottomed glass to compact it tightly. Chill in the fridge while you prepare the filling (about 10 minutes).
- Make the cheesecake filling: In a large bowl, beat 16 oz softened cream cheese with ½ cup powdered sugar and 1 teaspoon vanilla extract until smooth and creamy, about 2-3 minutes. It’s important the cream cheese is fully softened; otherwise, you’ll get lumps.
- Whip the cream: In a separate bowl, whip 1 cup cold heavy cream to soft peaks. This means when you lift the whisk, the peaks should just hold their shape but still look slightly droopy.
- Fold the whipped cream: Gently fold the whipped cream into the cream cheese mixture using a spatula. Do this in batches and with slow, sweeping motions to keep the mixture light and airy.
- Spread the filling: Spoon the cheesecake mixture over the chilled crust, spreading it evenly with your spatula or an offset knife. The thickness should be about 1 inch (2.5 cm). Smooth the surface as much as possible because it will be the canvas for your “flag.”
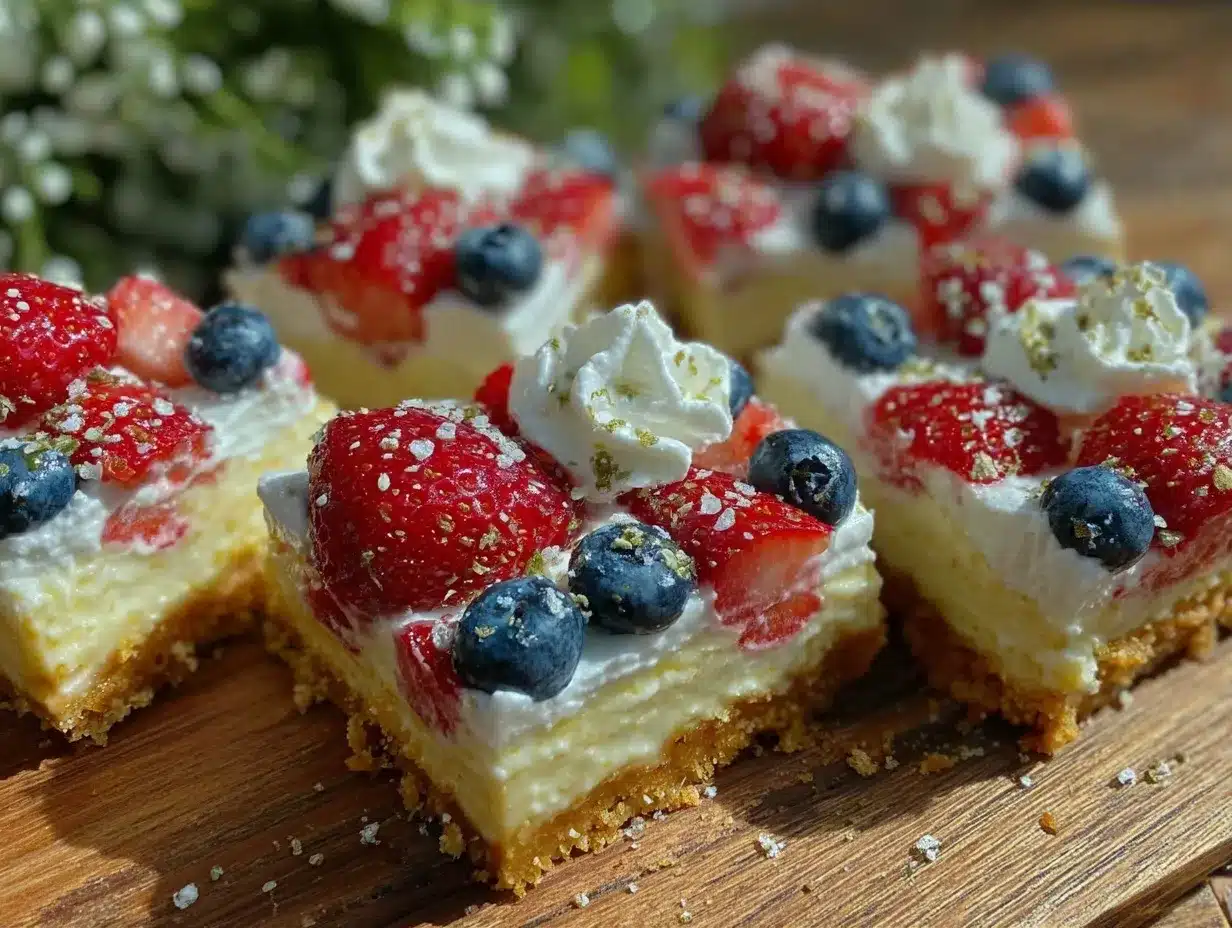
- Arrange the berries: Carefully place sliced strawberries in rows to form the red stripes of the flag. Use blueberries to mimic the blue canton (upper-left corner), filling that space densely for a bold color block. Fill remaining white spaces with dollops or rows of whipped cream if desired, or leave the cream cheese layer as the white. This step is about visual impact, so take your time to get it just right.
- Chill to set: Cover the pan with plastic wrap and refrigerate for at least 4 hours, but preferably overnight. This allows the crust to firm up and the filling to set perfectly.
- Serve: Once set, use a sharp knife warmed in hot water (wiped dry before cutting) to slice the cheesecake bars cleanly without cracking or sticking.
Pro tip: If the edges crack slightly when cutting, running the knife under hot water between cuts smooths the process. Also, pressing the crust firmly is key—if too loose, the bars won’t hold well.
Cooking Tips & Techniques
Getting the texture right in no-bake cheesecake can sometimes be tricky, but here are some lessons learned from my kitchen trials:
- Softened cream cheese is your best friend. If it’s not soft enough, your filling will be lumpy and uneven. Leave it out at room temperature for at least an hour or microwave briefly in 10-second bursts.
- Whip the cream just right. Under-whipped cream won’t provide the airy lift you want, but over-whipped cream can turn grainy and eventually into butter. Stop at soft peaks to fold it gently into the cream cheese.
- Don’t rush chilling. The bars need several hours to firm up. I learned this the hard way when cutting too soon resulted in a sloppy mess.
- Firm crust means firm bars. Press the graham cracker crust firmly and evenly. If you’re in a hurry, briefly baking the crust (5-7 minutes at 350°F/175°C) before cooling can help it hold together better, but it’s not required.
- Multitasking tip: While the crust chills, whip your cream and soften the cream cheese to save time.
Variations & Adaptations
This recipe is flexible and easy to adapt depending on your needs or what’s in season.
- Dietary swaps: Use coconut cream and dairy-free cream cheese for a vegan-friendly version. Almond or gluten-free graham crumbs make it safe for gluten sensitivities.
- Seasonal fruit twists: In fall or winter, try swapping the berries for pomegranate seeds and kiwi slices for a festive red and green pattern.
- Flavor infusions: Add lemon zest or a teaspoon of almond extract in the filling for a bright, unexpected flavor.
- Alternative crusts: Crushed vanilla wafers or digestive biscuits can replace graham crackers for a different base flavor.
- Personal favorite: Once, I added a thin layer of homemade strawberry jam between the crust and cheesecake layer for extra berry punch, which was a hit at a summer potluck.
Serving & Storage Suggestions
Serve these Easy No-Bake Flag Berry Cheesecake Bars chilled right from the fridge to keep the creamy texture intact. They look beautiful on a simple white platter or rustic wooden board to make the colors pop.
Pair them with a light sparkling wine or a fresh lemonade for a festive summer vibe. They also complement savory dishes well, like the creamy herb and garlic cheese ball bites for a full spread of party snacks.
Store leftovers tightly covered in the refrigerator for up to 4 days. The flavors actually deepen after a day or two, and the texture firms up even more. Avoid freezing, as the delicate cream cheese layer can become grainy and separate.
For reheating (if you prefer less cold), let the bars sit at room temperature for 10-15 minutes before serving so the texture softens slightly without melting.
Nutritional Information & Benefits
Each serving (about 1 bar if cut into 12) contains approximately:
| Calories | 250-280 |
|---|---|
| Fat | 18g |
| Protein | 4g |
| Carbohydrates | 20g |
| Sugar | 14g |
The recipe offers a good source of calcium from the cream cheese and heavy cream. Fresh berries add antioxidants and vitamin C, making these bars a lighter dessert option compared to dense baked cheesecakes. They’re naturally gluten-containing unless you swap crust ingredients, and contain dairy, so keep that in mind for allergies.
From a wellness perspective, this cheesecake satisfies sweet cravings with real food ingredients, and the portion control is easy since it’s pre-sliced. I appreciate that it doesn’t rely on artificial flavors or preservatives, which aligns with my approach to balanced indulgence.
Conclusion
Easy No-Bake Flag Berry Cheesecake Bars are a summer celebration essential—not just because they look festive, but because they come through every time with that perfect creamy texture and bright berry burst. You can mix and match the berries or adapt the crust to suit your pantry or dietary needs, making this recipe truly your own.
I love that it takes the guesswork out of dessert for warm-weather gatherings and adds that little wow factor without any oven heat or complicated steps. If you’ve enjoyed this, you might find inspiration in other crowd-pleasers like the crispy buffalo cauliflower bites for your appetizer lineup or the Meyer lemon olive oil pound cake for a citrusy finish.
Feel free to leave a comment and share how you styled your bars or any tweaks you made. There’s nothing better than swapping ideas and seeing this recipe show up on your summer tables. Here’s to many creamy, colorful bites ahead!
FAQs
Can I make these cheesecake bars ahead of time?
Yes! They actually taste better after chilling overnight. Just cover tightly and keep refrigerated until serving.
What if I don’t have graham crackers for the crust?
You can substitute with crushed vanilla wafers, digestive biscuits, or gluten-free cracker crumbs depending on your preference.
How do I keep the berries from making the cheesecake soggy?
Pat berries dry before arranging and add them just before serving or chilling. This helps prevent excess moisture from soaking into the cream cheese layer.
Can I use frozen berries for this recipe?
Yes, but thaw and drain them well to avoid soggy bars. Fresh berries give the best texture and appearance though.
Is it possible to make this dessert vegan?
Yes, by using dairy-free cream cheese and coconut cream as substitutes, and a plant-based crust. The texture will be a bit different but still delicious.
Pin This Recipe!
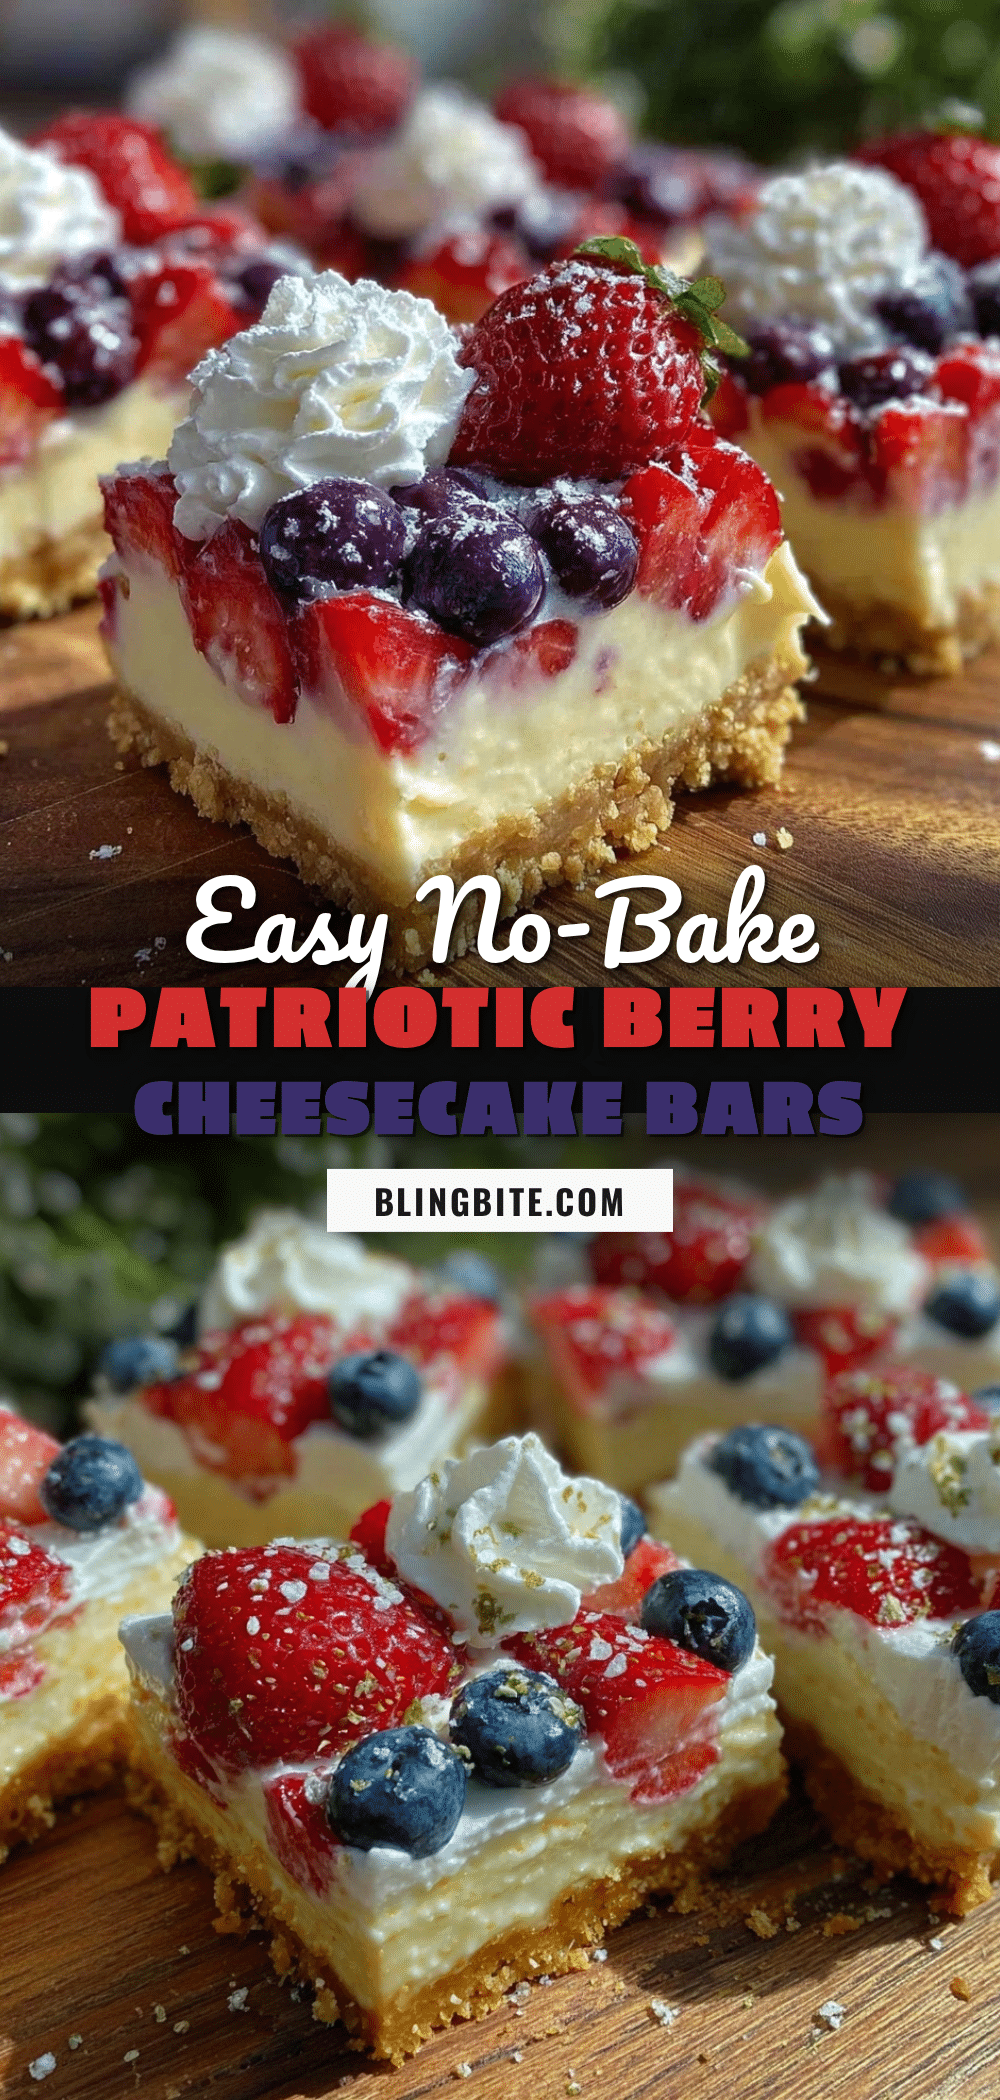
Easy No-Bake Flag Berry Cheesecake Bars Recipe for Summer Parties
Velvety, cool, and just firm enough to hold its shape, these no-bake cheesecake bars feature a creamy cream cheese layer topped with a mosaic of fresh strawberries and blueberries arranged in a patriotic flag pattern. Perfect for summer parties, they come together quickly without any oven heat.
- Prep Time: 15 minutes
- Cook Time: 0 minutes
- Total Time: 4 hours 15 minutes
- Yield: 12 servings 1x
- Category: Dessert
- Cuisine: American
Ingredients
- 1 ½ cups graham cracker crumbs (about 12 full sheets, finely crushed)
- ⅓ cup unsalted butter, melted
- 2 tablespoons granulated sugar
- 16 oz (450 g) cream cheese, softened
- ½ cup powdered sugar
- 1 teaspoon pure vanilla extract
- 1 cup heavy cream, cold
- 1 cup fresh strawberries, hulled and sliced
- 1 cup fresh blueberries
- Optional: a few fresh raspberries or blackberries for added color contrast
Instructions
- Prepare the crust: In a medium bowl, combine 1 ½ cups graham cracker crumbs, ⅓ cup melted butter, and 2 tablespoons sugar. Mix until the crumbs are evenly coated and resemble wet sand. Press this mixture firmly and evenly into the bottom of your 9×9-inch pan. Use the back of a spoon or a flat-bottomed glass to compact it tightly. Chill in the fridge while you prepare the filling (about 10 minutes).
- Make the cheesecake filling: In a large bowl, beat 16 oz softened cream cheese with ½ cup powdered sugar and 1 teaspoon vanilla extract until smooth and creamy, about 2-3 minutes.
- Whip the cream: In a separate bowl, whip 1 cup cold heavy cream to soft peaks.
- Fold the whipped cream: Gently fold the whipped cream into the cream cheese mixture using a spatula in batches with slow, sweeping motions to keep the mixture light and airy.
- Spread the filling: Spoon the cheesecake mixture over the chilled crust, spreading it evenly with your spatula or an offset knife to about 1 inch thickness. Smooth the surface.
- Arrange the berries: Place sliced strawberries in rows to form the red stripes of the flag. Use blueberries to mimic the blue canton (upper-left corner), filling that space densely. Fill remaining white spaces with dollops or rows of whipped cream if desired.
- Chill to set: Cover the pan with plastic wrap and refrigerate for at least 4 hours, preferably overnight.
- Serve: Use a sharp knife warmed in hot water (wiped dry before cutting) to slice the cheesecake bars cleanly without cracking or sticking.
Notes
Softened cream cheese is essential for a smooth filling. Whip the cream to soft peaks to maintain lightness. Press the crust firmly to ensure bars hold together. Chill bars for at least 4 hours or overnight for best results. Warm the knife between cuts to prevent cracking. Fresh berries are preferred for texture; if using frozen, thaw and drain well.
Nutrition
- Serving Size: 1 bar (if cut into 1
- Calories: 265
- Sugar: 14
- Fat: 18
- Carbohydrates: 20
- Protein: 4
Keywords: no-bake cheesecake, flag berry cheesecake bars, summer dessert, patriotic dessert, easy cheesecake bars, no oven dessert, berry cheesecake


