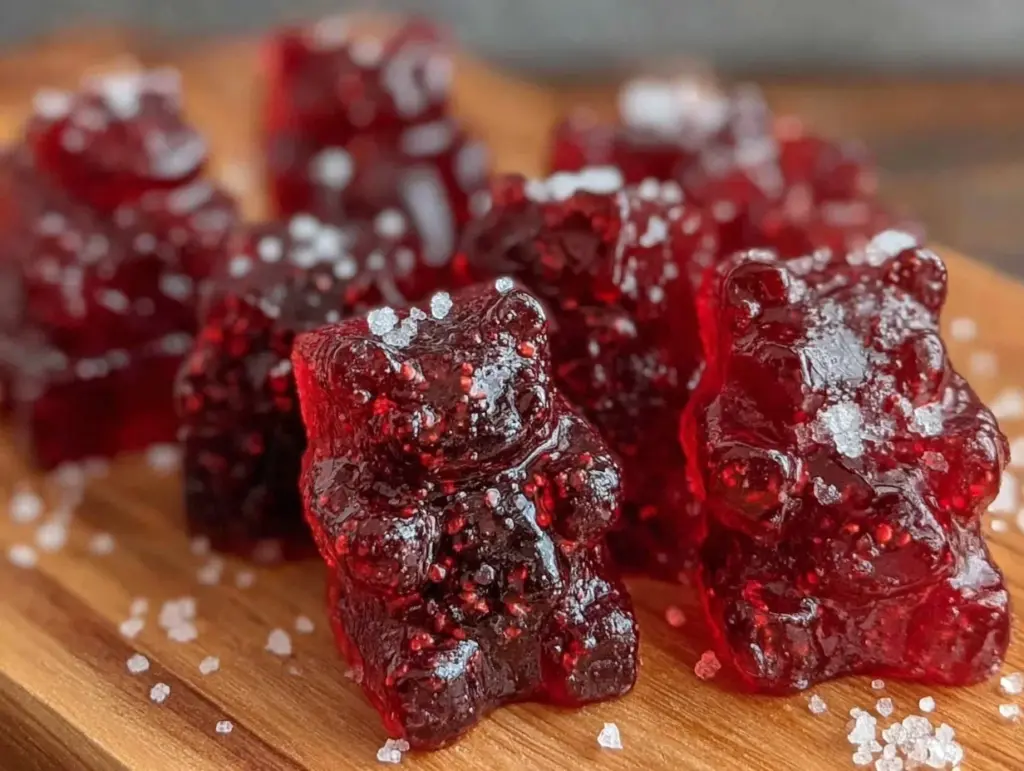
That faintly tart, fruity tang lingering on my fingertips—the kind that clings just a little after gently squishing elderberries—transports me straight back to my grandmother’s kitchen. It was late autumn, and the windows were fogged with the chill that had settled outside. As she mashed the dark purple berries with a wooden spoon, the air filled with a cozy mix of sweet and sharp, a scent that felt like comfort wrapped in a berry-scented hug. I wasn’t just watching her make jam that day; unknowingly, I was learning a ritual of wellness passed down through seasons and sniffles alike.
Years later, I find myself drawn to that same familiar flavor, only now I want to bottle it into a form that’s easy to pop anytime—especially during cold season. That’s how these healthy elderberry gummy bears with vitamin C and zinc came to be. They’re more than just candy-shaped nostalgia; they’re a little nugget of care you can hand to yourself or loved ones without the sugar overload or artificial fillers.
Honestly, making these gummies feels like weaving a thread between past and present—combining the wisdom of natural remedies with a kid-friendly treat. Each bite carries a gentle boost, not just in taste but in immune-loving nutrients, all tucked inside a chewy, fun shape. It’s not just a recipe; it’s a quiet reminder to take care, one gummy at a time.
Why You’ll Love This Recipe
Through many kitchen trials (and a few gummy mishaps, believe me), this recipe has settled into something reliable and genuinely tasty. These healthy elderberry gummy bears with vitamin C and zinc are my go-to during those months when I want a little extra immune support, but I’m tired of swallowing pills or bitter syrups. Here’s why you might find yourself reaching for these too:
- Quick & Easy: Mix, pour, and chill—ready in under 30 minutes, perfect for busy afternoons or spontaneous self-care moments.
- Simple Ingredients: Nothing fancy or exotic—just elderberry syrup, natural juice, gelatin, and immune-boosting vitamin C and zinc powders you can find easily.
- Perfect for Families: Makes a great little immune boost for kids and adults alike, especially when cold season strikes or allergies flare.
- Crowd-Pleaser: Soft, chewy, and just sweet enough—these gummies have a way of disappearing fast at gatherings or after school.
- Unbelievably Delicious: The balance of elderberry’s deep fruitiness with a hint of citrus zing makes these far from your average gummy.
- A Thoughtful Twist: Adding zinc and vitamin C powder ensures you’re getting not just flavor but real immune support in every bite.
This isn’t your run-of-the-mill gummy recipe. The texture is soft but holds its shape, thanks to a careful gelatin blend I experimented with until it felt just right. Plus, the vitamin C comes from pure ascorbic acid powder, which dissolves smoothly without turning the gummies grainy. Honestly, it’s the kind of treat that makes you pause and realize wellness doesn’t have to be bitter or boring.
Whether you’re looking to impress guests with a homemade touch or just want a better-for-you snack that supports your health, these gummies fit the bill. And hey, they even make a fun little gift, much like the cozy party appetizers I’ve shared before, like those pimento cheese jalapeño poppers that sneak in a little heat and comfort in every bite.
What Ingredients You Will Need
This recipe keeps things straightforward, relying on simple, wholesome ingredients to deliver a gummy that’s flavorful and supportive without the junk. Most items are pantry staples or easy to find online, and many have handy substitutions if you’re tweaking for allergies or preferences.
- Elderberry Syrup: 1/2 cup (120 ml) of a good-quality elderberry syrup (I like Earth’s Elderberry for its rich flavor and purity)
- Freshly Squeezed Orange Juice: 1/2 cup (120 ml) (adds natural vitamin C and bright citrus notes; you can swap for lemon juice if preferred)
- Gelatin Powder: 3 tablespoons (about 30 g) (use grass-fed gelatin for best texture and nutrition; vegetarian alternatives like agar won’t set quite the same)
- Vitamin C Powder (Ascorbic Acid): 1 teaspoon (around 5 g) (pure powder works best—avoid effervescent tablets)
- Zinc Powder: 1/4 teaspoon (approx. 1 g) (make sure it’s food-grade; zinc citrate powder blends well)
- Raw Honey or Maple Syrup: 2 tablespoons (30 ml) (for gentle sweetness; adjust to taste)
- Filtered Water: 1/2 cup (120 ml) (to bloom gelatin and adjust consistency)
For those who want to experiment:
- Substitutions: If you’re vegan or vegetarian, try using agar powder, but note the texture will be slightly different and may require some trial.
- Seasonal Twist: Swap orange juice with tart cherry juice in winter for a deeper fruit flavor and extra antioxidants.
- Allergen Note: Honey is optional—maple syrup keeps it vegan and allergy-friendly.
Having made elderberry syrups and jams before, I learned that the syrup quality really makes or breaks the flavor here. Avoid overly sweet or diluted brands. If you’re feeling adventurous, making your own elderberry syrup at home is a rewarding project (you might appreciate the natural flavors as much as I do after making these gummies!).
Equipment Needed
Making these elderberry gummy bears is simple, but having the right tools helps the process go smoothly. Here’s what you’ll need:
- Silicone Gummy Bear Mold: Flexible and easy for unmolding gummies without damage. I recommend a mold with smaller cavities for bite-sized treats.
- Small Saucepan: For gently heating the mixture without boiling off precious nutrients.
- Whisk or Small Spoon: To stir and dissolve gelatin evenly.
- Measuring Spoons and Cups: Accuracy is key for the powders and liquids.
- Dropper or Small Measuring Cup: Optional but helpful for filling molds neatly.
If you don’t have a silicone mold, mini ice cube trays with small compartments work as a budget-friendly alternative, though the gummy bears won’t have the classic shape. I’ve tried both, and while the molds add charm, the flavor and texture are the real stars. Also, cleaning silicone molds is a breeze—just rinse with warm water and mild soap, and they’re ready for the next batch.
Preparation Method
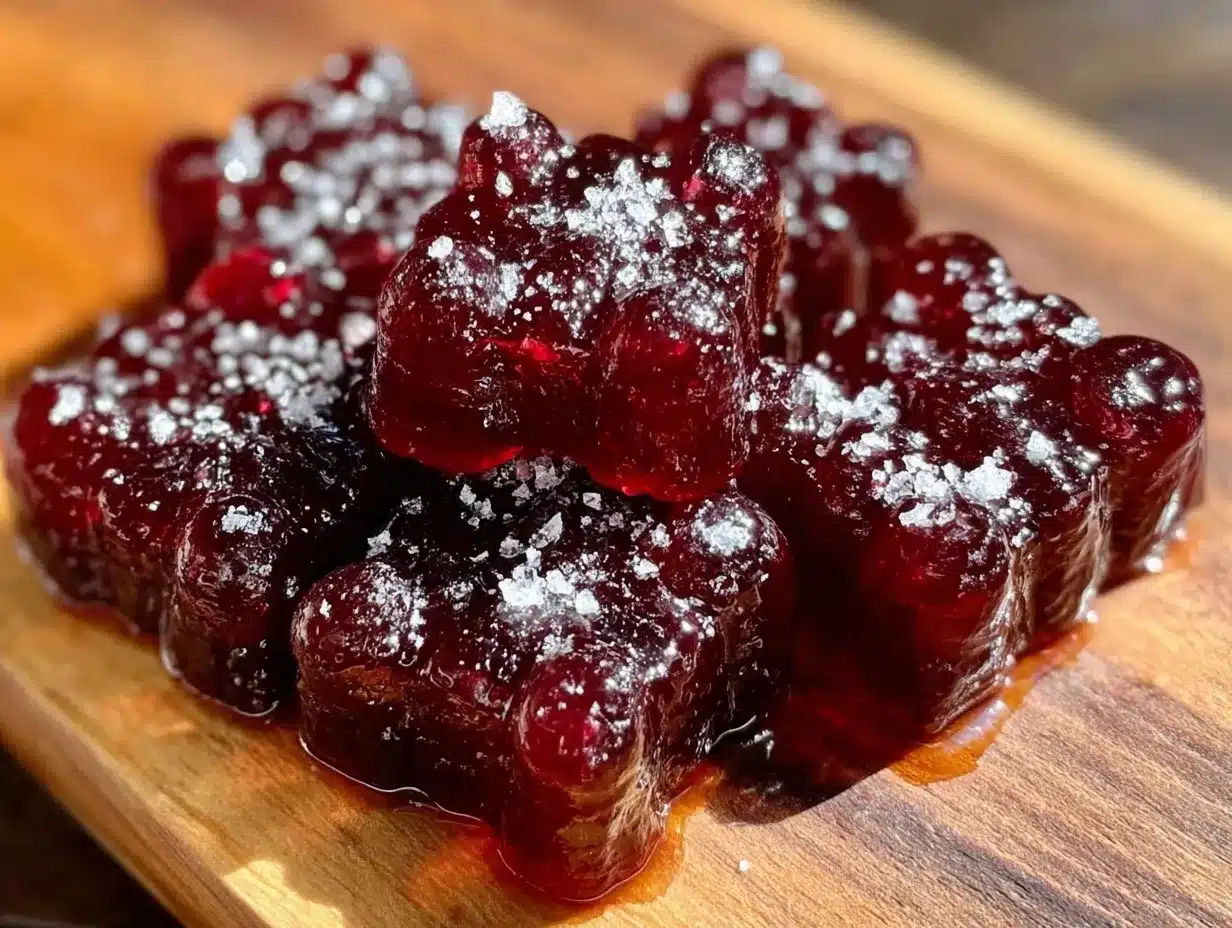
- Bloom the Gelatin: In a small bowl, sprinkle 3 tablespoons (30 g) of gelatin powder over 1/2 cup (120 ml) of cold filtered water. Let it sit for about 5 minutes until it thickens and becomes spongy. This step is crucial to prevent clumps and ensure smooth gummies.
- Warm the Liquid Base: Pour the elderberry syrup (1/2 cup / 120 ml), freshly squeezed orange juice (1/2 cup / 120 ml), and 2 tablespoons (30 ml) of honey or maple syrup into a small saucepan. Warm gently over low heat, stirring occasionally. Avoid boiling to preserve vitamin content—aim for about 110°F (43°C).
- Add Vitamin Powders: Stir in 1 teaspoon (5 g) of vitamin C powder and 1/4 teaspoon (1 g) of zinc powder until fully dissolved. These powders can be a bit grainy, so keep stirring gently to avoid lumps.
- Incorporate Bloomed Gelatin: Add the thickened gelatin to the warm liquid mixture. Whisk continuously until the gelatin is completely dissolved, about 2-3 minutes. The mixture should be smooth, without any visible grains.
- Pour into Molds: Carefully fill your silicone gummy bear molds using a dropper, small spoon, or measuring cup. Work quickly but gently to avoid air bubbles. If bubbles appear, tap the mold lightly on the counter to release them.
- Chill to Set: Transfer the filled molds to the refrigerator. Let the gummies set for at least 2 hours or until firm to the touch. Patience here pays off with perfect chewiness!
- Unmold and Store: Gently pop the gummy bears out of the molds. Store them in an airtight container in the fridge for up to two weeks, or freeze for longer storage.
A quick tip: If you want a firmer gummy, increase gelatin by 1/2 tablespoon next time. If your gummies feel a bit sticky, lightly dust them with cornstarch or powdered sugar, but honestly, these come out beautifully smooth when done right.
Cooking Tips & Techniques
Making healthy elderberry gummy bears is about gentle technique and attention to detail. Here’s what I’ve learned from trial and error:
- Don’t Boil the Mixture: High heat can kill the vitamin C and ruin the gelatin’s setting power. Keep your mixture warm, not hot.
- Bloom Gelatin Properly: This prevents lumps and gives gummies that perfect chew. Skip this, and you’ll regret it.
- Stir Consistently: When adding vitamin powders, stir until fully dissolved to avoid gritty texture.
- Use Fresh Juice: Freshly squeezed orange juice brightens the flavor and adds natural vitamin C, which complements the elderberry syrup beautifully.
- Work Quickly: Gelatin sets fast once mixed, so pour into molds promptly to avoid thick, uneven gummies.
- Chill Long Enough: Don’t rush the setting step—2 hours minimum makes all the difference.
- Multitasking Tip: Bloom your gelatin while prepping other ingredients to save time.
One personal mishap: I once added the vitamin C powder after the mixture had cooled too much, and the gummies refused to set properly. Lesson learned—timing is everything here!
Variations & Adaptations
These gummies are a flexible base for all sorts of tweaks depending on your needs or flavor preferences:
- Vegan Version: Use agar powder instead of gelatin. Note that agar sets differently and can be firmer and less chewy. You may need to experiment with quantities.
- Flavor Variations: Swap orange juice for tart cherry or pomegranate juice for a different antioxidant profile and taste. Adding a drop of vanilla extract can soften the tartness.
- Boost with Herbs: Add a teaspoon of elderflower or echinacea tincture for extra immune support, but reduce liquid slightly to keep consistency.
- Less Sweet: Cut back on honey or maple syrup if you prefer a tangier gummy. You can also use stevia or monk fruit sweeteners but watch texture changes.
- Personal Twist: I once added a pinch of cinnamon for warmth during winter months, and it was a subtle, cozy hit.
Serving & Storage Suggestions
These gummies are delightful chilled and best eaten cold, but they soften slightly at room temperature. Serve them as a little pick-me-up snack or a pre-bedtime treat to soothe and support immunity.
Pair them with a warm cup of herbal tea or alongside a cozy dish like my creamy roasted butternut squash soup for a comforting wellness ritual. They’re also a fun addition to a snack plate featuring savory bites like the crispy buffalo cauliflower bites, balancing spicy and sweet.
Store gummies in an airtight container in the refrigerator for up to two weeks. They can also be frozen for up to three months—thaw in the fridge before enjoying. Over time, the flavor deepens slightly, and the texture softens a bit, which some people prefer.
A quick note: avoid storing gummies near strong-smelling foods, as they can absorb odors.
Nutritional Information & Benefits
Each gummy packs a punch of immune-supporting goodness without excess sugar or additives. Estimated per serving (about 10 gummies):
| Calories | 40 |
|---|---|
| Vitamin C | 60 mg (~67% DV) |
| Zinc | 3 mg (~27% DV) |
| Sugar | 5 g (from honey/maple syrup and juice) |
Elderberries are rich in antioxidants and vitamins that help fend off colds and flu. Vitamin C supports immune cell function and skin health, while zinc plays a key role in healing and immune system regulation. Together, they form a natural defense team.
Plus, using real fruit juice and natural sweeteners means you’re avoiding synthetic colors, flavors, and excess refined sugars common in store-bought gummies. This recipe fits nicely into gluten-free and low-dairy diets too.
Conclusion
Making these healthy elderberry gummy bears with vitamin C and zinc has become a little ritual of care in my kitchen, a way to blend tradition and modern wellness into something tasty and fun. They’re a gentle reminder that taking care of yourself doesn’t have to be complicated or bland—it can be a sweet, chewy moment you actually look forward to.
Feel free to tweak the flavors or boost the nutrients to match your family’s needs. I love how these gummies make immune support accessible and enjoyable, and I hope they find a cozy spot in your routine too.
If you try this recipe, I’d love to hear how you make it your own or what flavors you mix in. Sharing these little bites of wellness feels like passing on a secret handshake—one gummy at a time.
FAQs
Can I make elderberry gummy bears without gelatin?
Yes, you can use agar agar as a vegan alternative, but the texture will be firmer and less chewy. You might need to experiment with the amount, as agar sets differently.
How should I store elderberry gummies?
Store them in an airtight container in the fridge for up to two weeks. They can also be frozen for up to three months; just thaw in the fridge before eating.
Can children eat these gummies?
Yes, these gummies are kid-friendly and a tasty way to support their immune system. Just be sure to check for any allergies to ingredients like honey or zinc.
What if I don’t have elderberry syrup?
You can make your own by simmering dried elderberries with water and sweetener or substitute with a similar tart berry syrup, but the flavor and benefits might differ.
Why is it important not to boil the mixture?
Boiling can destroy vitamin C and weaken gelatin’s setting ability, resulting in gummies that don’t set properly or lose nutritional value.
Pin This Recipe!
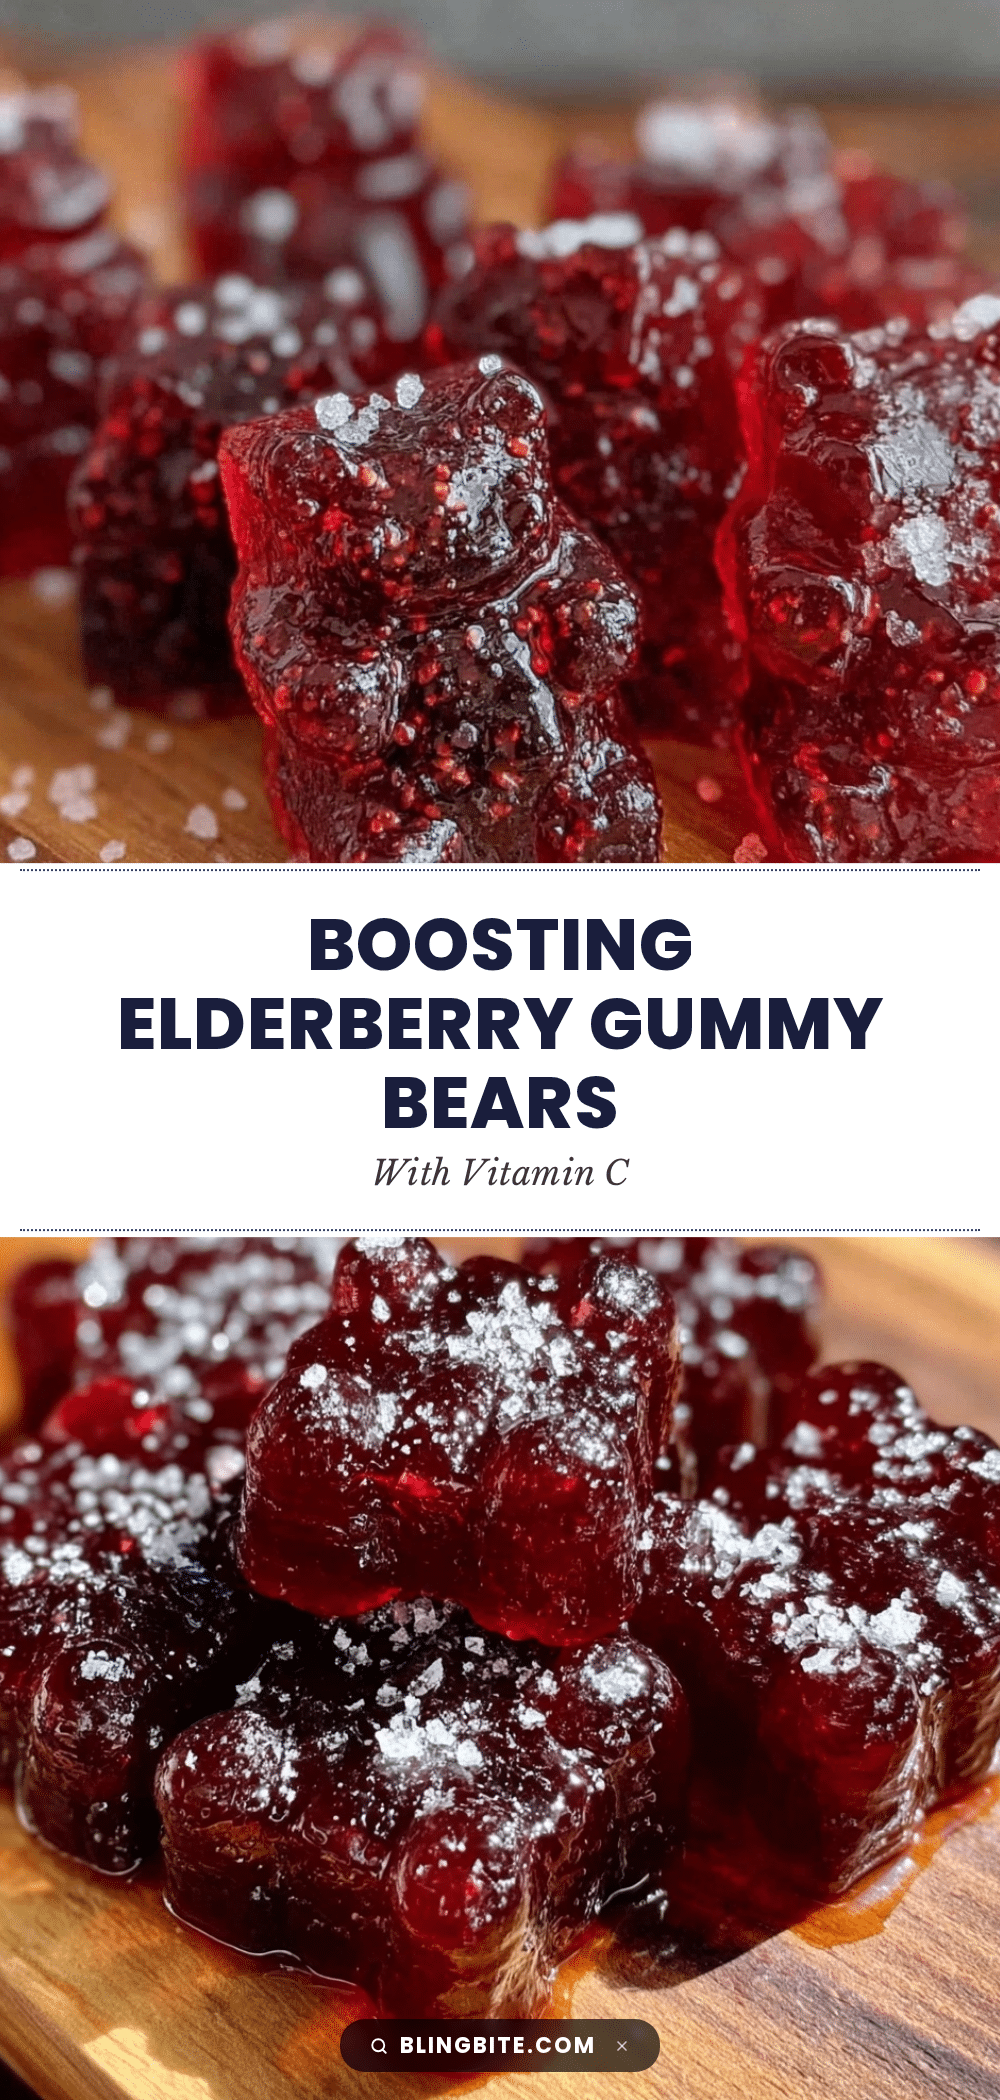
Healthy Elderberry Gummy Bears Recipe with Vitamin C and Zinc for Immune Boost
These healthy elderberry gummy bears combine elderberry syrup, vitamin C, and zinc into a soft, chewy treat that supports immune health without excess sugar or artificial fillers. Perfect for kids and adults during cold season.
- Prep Time: 10 minutes
- Cook Time: 10 minutes
- Total Time: 2 hours 20 minutes
- Yield: About 10 gummies per serving 1x
- Category: Snack
- Cuisine: American
Ingredients
- 1/2 cup (120 ml) elderberry syrup
- 1/2 cup (120 ml) freshly squeezed orange juice
- 3 tablespoons (about 30 g) gelatin powder
- 1 teaspoon (around 5 g) vitamin C powder (ascorbic acid)
- 1/4 teaspoon (approx. 1 g) zinc powder (food-grade zinc citrate)
- 2 tablespoons (30 ml) raw honey or maple syrup
- 1/2 cup (120 ml) filtered water
Instructions
- Bloom the gelatin: Sprinkle 3 tablespoons (30 g) of gelatin powder over 1/2 cup (120 ml) of cold filtered water. Let it sit for about 5 minutes until thickened and spongy.
- Warm the liquid base: In a small saucepan, gently warm elderberry syrup, orange juice, and honey or maple syrup over low heat, stirring occasionally. Keep temperature around 110°F (43°C), do not boil.
- Add vitamin powders: Stir in 1 teaspoon vitamin C powder and 1/4 teaspoon zinc powder until fully dissolved, stirring gently to avoid lumps.
- Incorporate bloomed gelatin: Add the thickened gelatin to the warm liquid mixture and whisk continuously until completely dissolved, about 2-3 minutes, ensuring a smooth mixture.
- Pour into molds: Carefully fill silicone gummy bear molds using a dropper or small spoon. Tap molds lightly to release air bubbles.
- Chill to set: Refrigerate molds for at least 2 hours or until gummies are firm to the touch.
- Unmold and store: Gently pop gummies out of molds and store in an airtight container in the refrigerator for up to two weeks or freeze for longer storage.
Notes
Do not boil the mixture to preserve vitamin C and gelatin setting power. Bloom gelatin properly to avoid lumps. Use fresh juice for best flavor. Work quickly when pouring into molds to avoid thickening. For firmer gummies, increase gelatin by 1/2 tablespoon. Dust gummies with cornstarch or powdered sugar if sticky. Agar powder can be used as a vegan alternative but will yield a firmer texture.
Nutrition
- Serving Size: About 10 gummies
- Calories: 40
- Sugar: 5
- Sodium: 5
- Carbohydrates: 6
- Protein: 1
Keywords: elderberry gummies, immune boost, vitamin C gummies, zinc gummies, healthy snacks, homemade gummies, elderberry syrup, natural remedies


