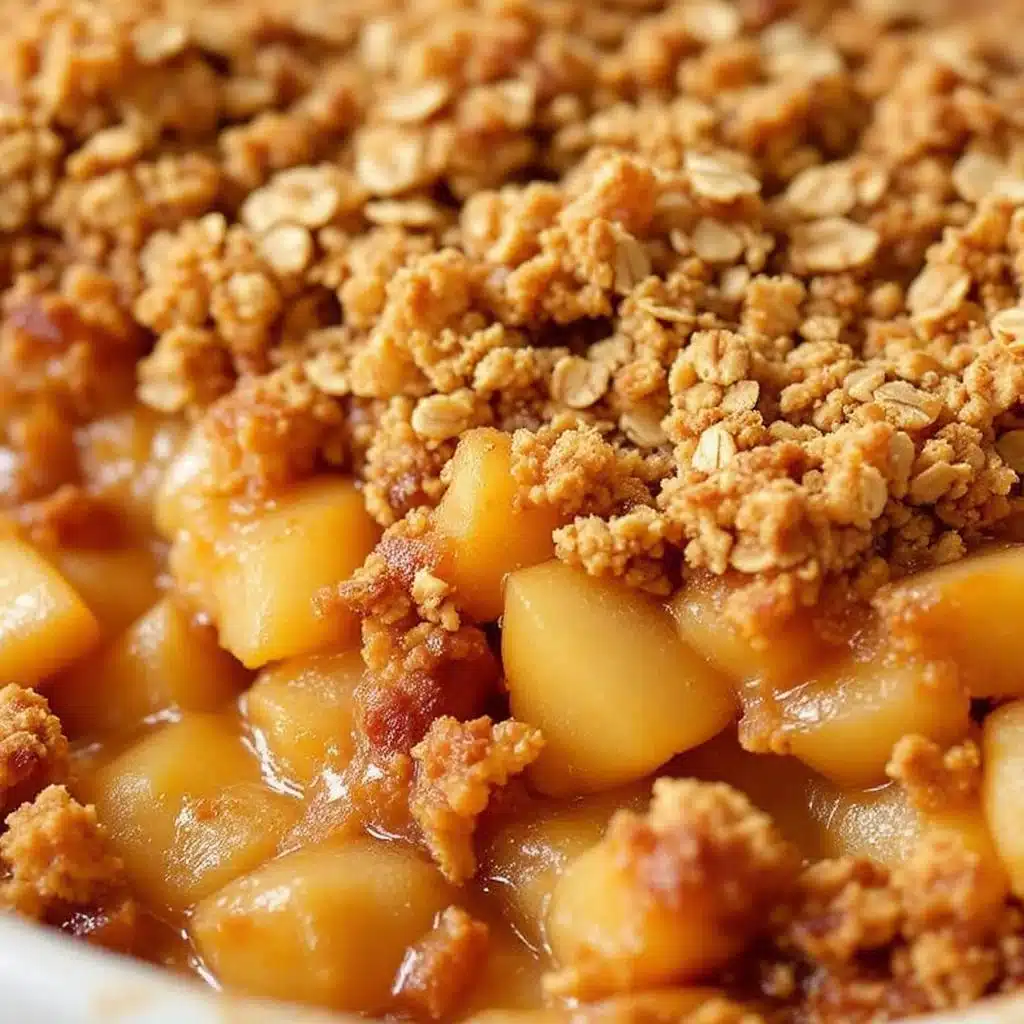
The baking dish sat on the counter, still warm, with just one corner of golden oat crumble left clinging to the edge. My neighbor had called me that morning, her voice a little sheepish. “I don’t suppose you have any of that apple crisp left?” she asked. “My kids haven’t stopped talking about it since Sunday.”
That’s the thing about this homemade classic apple crisp with oat crumble topping. It has a way of making people remember. It’s not fancy or fussy, but there’s something about the way the soft, cinnamon-spiced apples sink into that buttery, crunchy oat blanket that just sticks with you. I first made it on a chilly October afternoon when I had a bag of apples that were starting to look a little sad. I didn’t want to fuss with pie dough, and honestly, I just wanted something warm and comforting without a whole production.
I remember pulling it out of the oven and thinking, “Well, that’s not much to look at.” But the smell—that mix of brown sugar, cinnamon, and baked fruit—had already filled the whole house. My husband came downstairs in his sweats and stood there, just sniffing the air. We ate it straight from the dish, still steaming, with a scoop of vanilla ice cream melting into every crevice. It was one of those quiet, perfect moments that you don’t plan for. And I’ve been making it ever since, every time I need a little bit of that feeling back.
Why You’ll Love This Recipe
Let me be honest with you. I’ve tested a lot of apple crisp recipes over the years. Some were too watery. Some had a topping that turned into a sad, soggy mess. And some just didn’t have enough of that buttery, oat-y crunch to make it worth the effort. This one is different. This one works every single time, and here’s why you’re going to love it too.
- Simple, Pantry-Friendly Ingredients: You probably already have most of what you need. Apples, oats, flour, butter, sugar, and cinnamon. No trips to a specialty store required.
- Comes Together in Under an Hour: From start to finish, you’re looking at about 50 minutes. That’s way faster than a pie, and honestly, it tastes just as good.
- Perfect for Any Occasion: It’s cozy enough for a quiet Tuesday night, but impressive enough for a holiday dinner or a fall potluck. I’ve even brought it to a casual brunch, and it disappeared before the quiche.
- Crowd-Pleasing Texture: The apples get soft and jammy, while the oat crumble stays crispy and golden. It’s that perfect contrast that keeps you coming back for one more spoonful.
- No Fancy Techniques Needed: If you can peel an apple and stir a bowl of oats, you can make this. There’s no rolling dough, no blind baking, no stress.
What really sets this recipe apart is the topping. I spent a long time trying to figure out why some crisps turn out soggy on top. The trick is in the ratio of butter to oats and the way you bake it. This topping stays crunchy because it gets a head start in the oven before the apples release too much juice. It’s a small tweak, but it makes all the difference. Honestly, the first time I made it this way, I almost cried. That’s not an exaggeration. It was just that good.
What Ingredients You Will Need
This classic apple crisp uses straightforward ingredients, but each one plays an important role in creating that perfect balance of sweet, tart, and crunchy. Here’s what you’ll need to grab.
For the Apple Filling
- Apples (6 medium, about 2 pounds): You want a mix of tart and sweet apples. I love using Granny Smith for tartness and Honeycrisp or Fuji for sweetness. If you use only sweet apples, it can get a bit one-note.
- Granulated Sugar (¼ cup): Just enough to sweeten the apples without making them syrupy. You can adjust this based on how sweet your apples are.
- Brown Sugar (2 tablespoons, packed): Adds a deeper, almost molasses-like sweetness that pairs perfectly with the cinnamon.
- All-Purpose Flour (2 tablespoons): This helps thicken the juices as the apples bake, so you don’t end up with a watery mess.
- Ground Cinnamon (1½ teaspoons): The star spice here. Don’t be shy with it.
- Lemon Juice (1 tablespoon): A little acidity brightens everything up and keeps the apples from browning too much.
- Vanilla Extract (1 teaspoon): Adds warmth and rounds out the flavors. I use pure vanilla extract when I have it, but imitation works fine too.
For the Oat Crumble Topping
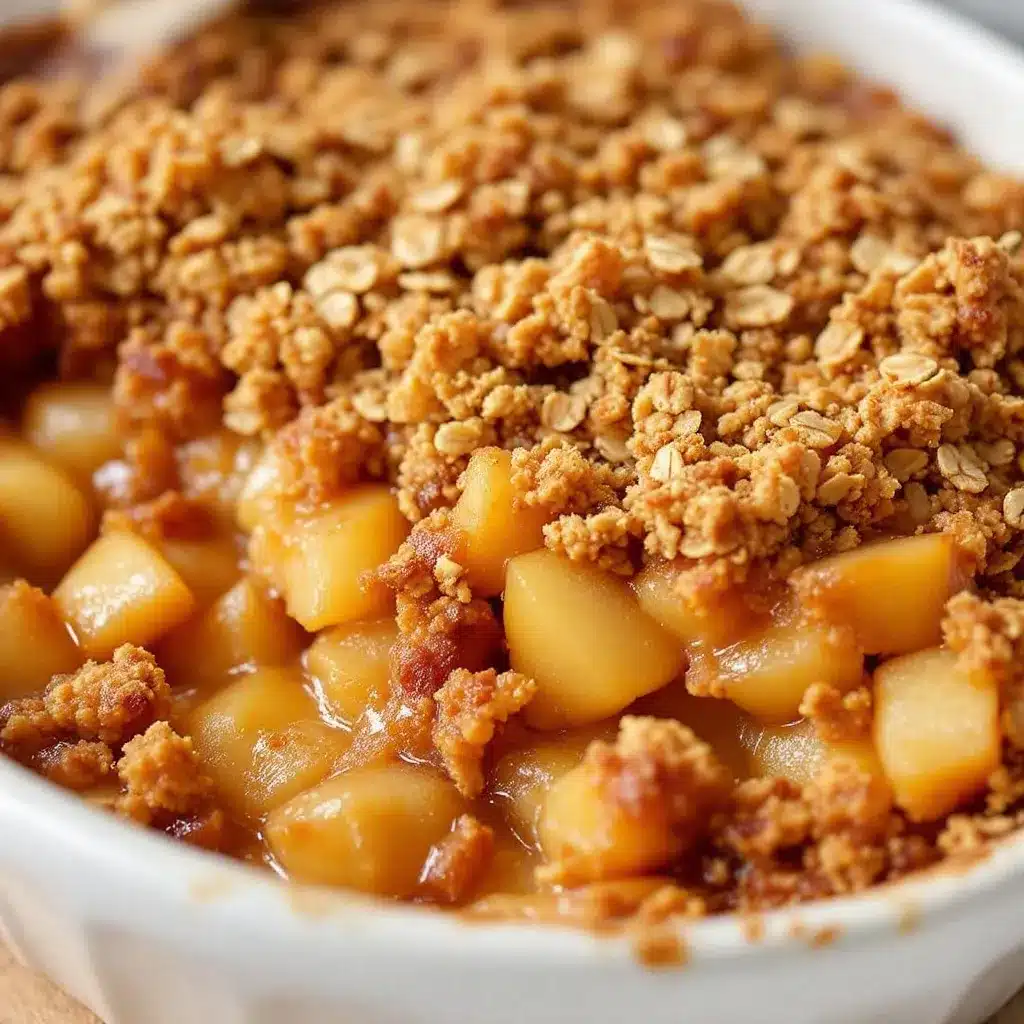
- Old-Fashioned Rolled Oats (1 cup): These give the topping its signature texture. Don’t use quick oats—they’ll turn mushy. I prefer Bob’s Red Mill brand for their hearty texture.
- All-Purpose Flour (¾ cup): Provides structure so the crumble holds together in clumps.
- Brown Sugar (½ cup, packed): For that deep, caramel-like sweetness that gets all crispy on top.
- Granulated Sugar (¼ cup): Adds a bit of extra sweetness and helps with browning.
- Ground Cinnamon (1 teaspoon): More cinnamon, because you can never have too much.
- Salt (¼ teaspoon): Balances the sweetness and enhances all the flavors.
- Unsalted Butter (½ cup, cold, cut into small cubes): The secret to a flaky, crunchy topping. Cold butter creates little pockets of steam as it bakes, which gives you those perfect crumbly bits.
Equipment Needed
You don’t need a professional kitchen to make this recipe, but having the right tools makes the process smoother. Here’s what I use.
- 8×8 or 9×9 Baking Dish: A square dish works perfectly for this amount of filling. You can also use a 9-inch pie plate or a small cast-iron skillet if you want a rustic look.
- Mixing Bowls: You’ll need one large bowl for the apples and one medium bowl for the topping.
- Sharp Knife and Cutting Board: For peeling and slicing the apples. A good vegetable peeler also helps speed things up.
- Pastry Cutter or Fork: For cutting the cold butter into the dry ingredients. If you don’t have a pastry cutter, you can use your fingertips—just work quickly so the butter doesn’t warm up.
- Measuring Cups and Spoons: Accuracy matters, especially with the flour and oats.
- Rubber Spatula: For folding the topping ingredients together without overmixing.
- Baking Sheet (optional): I like to place my baking dish on a sheet pan to catch any drips. It also makes it easier to get in and out of the oven.
If you don’t have a pastry cutter, honestly, your hands are the best tool. Just rub the butter into the flour mixture until it looks like coarse sand with some pea-sized lumps. It’s a little messy, but it works beautifully.
Preparation Method
Alright, let’s get cooking. This recipe moves quickly once you start, so I like to have everything prepped and measured before I turn on the oven. It makes the whole process feel calm and enjoyable instead of rushed.
- Preheat your oven to 350°F (175°C). Position a rack in the center of the oven. While it heats, prep your baking dish by lightly greasing it with butter or non-stick spray.
- Peel, core, and slice the apples. Aim for slices about ¼-inch thick. Not too thin, or they’ll turn to mush, and not too thick, or they won’t soften enough. I usually slice them into uniform pieces so they cook evenly. This takes about 10 minutes, but it’s worth doing right.
- Make the apple filling. In a large bowl, toss the sliced apples with the granulated sugar, brown sugar, flour, cinnamon, lemon juice, and vanilla extract. Use your hands or a spatula to make sure every slice is coated. Let it sit for 5 minutes while you prepare the topping. This resting time helps the apples start releasing their juices, which will create that lovely syrupy sauce as they bake.
- Make the oat crumble topping. In a medium bowl, whisk together the rolled oats, all-purpose flour, brown sugar, granulated sugar, cinnamon, and salt. Add the cold, cubed butter. Use a pastry cutter or your fingertips to work the butter into the dry mixture until it looks like coarse crumbs with some larger clumps. Don’t overdo it—you want those little butter pockets to stay intact. The mixture should hold together when you squeeze a handful, but still feel crumbly.
- Assemble the crisp. Pour the seasoned apples into your prepared baking dish and spread them into an even layer. Sprinkle the oat crumble topping evenly over the apples. Don’t press it down—just let it fall naturally in clumps. Some apples will peek through, and that’s totally fine.
- Bake for 40-45 minutes. Place the dish on a baking sheet to catch any drips. Bake until the topping is deep golden brown and the apple filling is bubbling up around the edges. You should see thick, syrupy bubbles, not thin juice. If the topping starts browning too quickly after 30 minutes, tent it loosely with foil for the remaining time.
- Cool for at least 15 minutes. This is the hardest part, I know. But letting it cool allows the filling to set up a bit. If you dig in right away, it will be runny. After 15 minutes, it’s still warm but holds its shape beautifully.
A quick note: If you want an extra crunchy topping, you can broil it for the last 1-2 minutes. Keep a close eye on it, because it can go from golden to burnt in seconds. I’ve learned this the hard way more than once.
Cooking Tips & Techniques
Over the years, I’ve made this apple crisp more times than I can count. And I’ve definitely made my share of mistakes. Here are the lessons I’ve learned so you don’t have to repeat them.
Don’t skip the lemon juice. I know it seems like a small thing, but that tablespoon of acid does two important jobs. It keeps the apples from turning brown, and it balances the sweetness so the dessert doesn’t taste cloying. I once forgot it, and the crisp was just… flat. Not bad, but not memorable either.
Use cold butter for the topping. This is non-negotiable. Warm butter will melt into the flour and oats, creating a dense, pasty layer instead of a crunchy crumble. If your kitchen is warm, pop the butter in the freezer for 10 minutes before you start. Your future self will thank you.
Let the apples rest before baking. That 5-minute rest after tossing the apples with sugar and flour is not just a suggestion. It gives the flour time to start absorbing the juices, which helps thicken the filling. If you skip this step, you might end up with a watery crisp.
Watch the topping, not the clock. Every oven runs a little differently. Instead of relying solely on the timer, look for visual cues. The topping should be a deep, golden brown, and the filling should be bubbling vigorously around the edges. If the bubbles are small and lazy, it needs more time.
Don’t overmix the topping. I used to stir and stir until everything was perfectly combined. But that just makes the crumble dense. You want some clumps and some loose bits. That variation in texture is what makes the topping so satisfying to eat.
Variations & Adaptations
One of the best things about this recipe is how flexible it is. You can change it up based on what you have on hand or what you’re craving. Here are some of my favorite variations.
Gluten-Free Version: Swap the all-purpose flour with a good gluten-free flour blend (I like King Arthur’s or Bob’s Red Mill 1:1). Make sure your oats are certified gluten-free, too. The texture will be slightly different, but it’s still incredibly delicious.
Dairy-Free Version: Use cold coconut oil or a plant-based butter stick instead of regular butter. I’ve tried this with Miyoko’s vegan butter, and it works beautifully. The topping won’t be quite as crispy, but it’s still very satisfying.
Add Some Warm Spices: Feel free to add ¼ teaspoon of nutmeg or ground ginger to the apple filling. Sometimes I also add a pinch of cardamom for a more complex flavor profile. It gives the crisp a little something extra without overwhelming the apples.
Mix in Some Berries: Toss a handful of fresh or frozen cranberries, raspberries, or blueberries into the apple mixture before baking. The tartness of the berries cuts through the sweetness and adds a beautiful pop of color. I did this with cranberries last Thanksgiving, and it was a huge hit.
Change the Topping: If you’re out of oats, you can make a streusel topping with just flour, butter, and sugar. Or add some chopped pecans or walnuts to the oat mixture for extra crunch. Toasted nuts take this dessert to another level.
Serving & Storage Suggestions
This apple crisp is at its absolute best when served warm, with something cold and creamy melting into every bite. A scoop of vanilla bean ice cream is the classic choice, but I’ve also used whipped cream, crème fraîche, or even a drizzle of heavy cream straight from the carton. Don’t judge—it’s amazing.
For a cozy presentation, spoon the crisp into shallow bowls and top with your chosen accompaniment. A light dusting of cinnamon or a drizzle of caramel sauce on top makes it feel extra special. If you’re serving it for a crowd, you can even set up a little topping bar with ice cream, whipped cream, and chopped nuts.
Storage: Cover the baking dish tightly with foil or plastic wrap and store in the refrigerator for up to 4 days. The topping will lose some of its crunch over time, but the flavors actually get better as they meld together. I sometimes make it a day ahead on purpose for this reason.
Reheating: The best way to revive the crisp is in the oven. Place it in a 350°F (175°C) oven for 10-15 minutes, until warmed through and the topping crisps up again. You can also use the microwave in a pinch, but the topping will be soft. If you’re reheating a single serving, the air fryer works great—just 3-4 minutes at 350°F.
Freezing: You can freeze the unbaked crisp for up to 3 months. Assemble it in a freezer-safe dish, wrap it tightly in plastic wrap and foil, and freeze. Bake directly from frozen, adding about 15-20 minutes to the baking time. Baked crisp can also be frozen, but the texture won’t be quite as good after thawing.
Nutritional Information & Benefits
While this is definitely a dessert, it does have some redeeming qualities. Apples are a great source of fiber and vitamin C, and oats are known for their heart-healthy beta-glucan. Here’s an approximate breakdown per serving (based on 8 servings).
| Nutrient | Amount Per Serving |
|---|---|
| Calories | 345 |
| Total Fat | 14g |
| Saturated Fat | 8g |
| Carbohydrates | 55g |
| Fiber | 5g |
| Sugar | 34g |
| Protein | 4g |
| Sodium | 95mg |
If you’re looking to lighten it up, you can reduce the sugar by a quarter cup or use a sugar substitute like coconut sugar. The texture will change slightly, but it’s still delicious. For a lower-fat option, reduce the butter in the topping by half and add a splash of apple juice or water to hold it together.
This recipe is naturally vegetarian and can be made vegan with the substitutions I mentioned earlier. It contains gluten, dairy, and oats, so it’s not suitable for those with celiac disease or dairy allergies without modifications.
Conclusion
This homemade classic apple crisp with oat crumble topping is more than just a dessert. It’s the kind of recipe that becomes part of your life. You’ll make it for cozy fall evenings, for holiday dinners, for random Tuesdays when you just need something warm and sweet. It’s reliable, forgiving, and deeply satisfying in a way that fancy desserts sometimes aren’t.
I love this recipe because it reminds me that you don’t need complicated techniques or exotic ingredients to make something truly wonderful. You just need good apples, a little patience, and the willingness to let butter and sugar do their magic. And honestly, that’s a lesson that applies to a lot more than just baking.
If you make this recipe, I’d love to hear about it. Leave a comment below and let me know how it turned out, or share your own twist on it. Did you add extra cinnamon? Throw in some cranberries? Serve it with a scoop of something unexpected? Tell me all about it. And if you’re looking for more cozy dessert ideas, you might also love this decadent chocolate ganache brownies recipe or these quick mug cake recipes for easy sweet cravings. Happy baking, friends!
Frequently Asked Questions
Can I use quick oats instead of old-fashioned oats?
I wouldn’t recommend it. Quick oats are more finely processed and will absorb too much moisture, turning the topping into a mushy, pasty layer instead of a crunchy crumble. Stick with old-fashioned rolled oats for the best texture.
What are the best apples for apple crisp?
A mix of tart and sweet apples gives the best flavor. Granny Smith for tartness, and Honeycrisp, Fuji, or Braeburn for sweetness. Avoid Red Delicious, as they can turn mealy when baked.
Why is my apple crisp watery?
This usually happens when the apples release too much juice before the topping has a chance to set. Make sure you’re using enough flour in the filling (2 tablespoons), and let the apples rest for 5 minutes after tossing to help the flour start absorbing the liquid. Also, don’t overfill the baking dish—leave a little room at the top.
Can I make this apple crisp ahead of time?
Absolutely. You can assemble the crisp (without baking) up to 24 hours in advance. Cover and refrigerate, then bake as directed, adding about 10 minutes to the baking time. You can also bake it fully, cool, and reheat the next day.
How do I get a crunchier topping?
Make sure your butter is very cold, and don’t overmix the topping. You want visible clumps of butter throughout. You can also broil the crisp for the last 1-2 minutes of baking, but watch it closely so it doesn’t burn. Adding a handful of chopped nuts to the topping also helps with crunch.
Pin This Recipe!
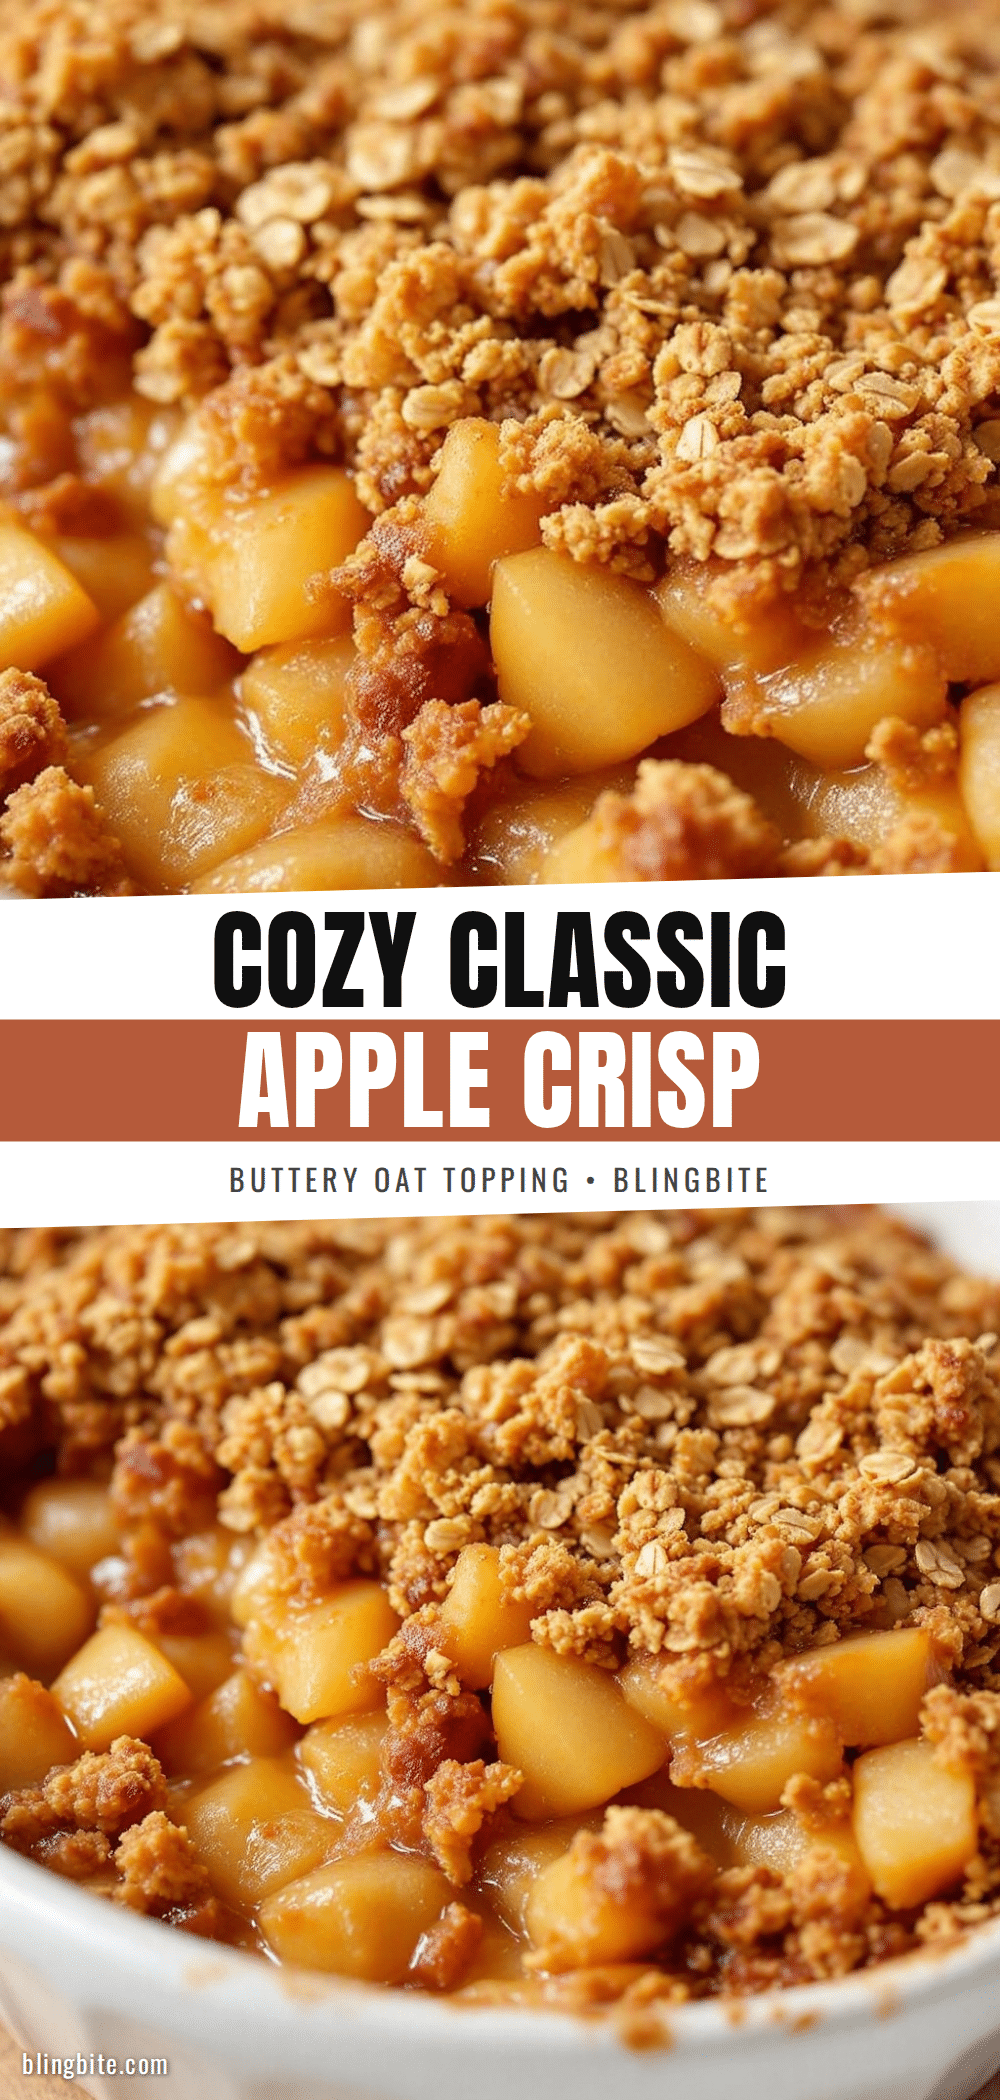
Homemade Classic Apple Crisp with Easy Oat Crumble Topping
This homemade classic apple crisp with oat crumble topping is a cozy, comforting dessert that comes together in under an hour. With soft, cinnamon-spiced apples and a buttery, crunchy oat blanket, it’s perfect for any occasion.
- Prep Time: 15 minutes
- Cook Time: 45 minutes
- Total Time: 1 hour
- Yield: 8 servings 1x
- Category: Dessert
- Cuisine: American
Ingredients
- 6 medium apples (about 2 pounds), a mix of tart and sweet (e.g., Granny Smith and Honeycrisp or Fuji)
- ¼ cup granulated sugar
- 2 tablespoons packed brown sugar
- 2 tablespoons all-purpose flour
- 1½ teaspoons ground cinnamon
- 1 tablespoon lemon juice
- 1 teaspoon vanilla extract
- 1 cup old-fashioned rolled oats
- ¾ cup all-purpose flour
- ½ cup packed brown sugar
- ¼ cup granulated sugar
- 1 teaspoon ground cinnamon
- ¼ teaspoon salt
- ½ cup cold unsalted butter, cut into small cubes
Instructions
- Preheat your oven to 350°F (175°C). Lightly grease an 8×8 or 9×9 baking dish with butter or non-stick spray.
- Peel, core, and slice the apples into ¼-inch thick slices.
- In a large bowl, toss the sliced apples with ¼ cup granulated sugar, 2 tablespoons brown sugar, 2 tablespoons flour, 1½ teaspoons cinnamon, lemon juice, and vanilla extract. Let sit for 5 minutes.
- In a medium bowl, whisk together the rolled oats, ¾ cup flour, ½ cup brown sugar, ¼ cup granulated sugar, 1 teaspoon cinnamon, and salt. Add the cold butter cubes and cut in with a pastry cutter or your fingertips until the mixture resembles coarse crumbs with some larger clumps.
- Pour the seasoned apples into the prepared baking dish and spread into an even layer. Sprinkle the oat crumble topping evenly over the apples.
- Place the dish on a baking sheet and bake for 40-45 minutes, until the topping is deep golden brown and the filling is bubbling around the edges. If the topping browns too quickly, tent loosely with foil after 30 minutes.
- Cool for at least 15 minutes before serving. Serve warm with vanilla ice cream, whipped cream, or a drizzle of heavy cream.
Notes
For extra crunchy topping, broil for the last 1-2 minutes, watching closely. Use cold butter for the topping and don’t overmix. Let apples rest after tossing to help thicken the filling.
Nutrition
- Serving Size: 1 serving
- Calories: 345
- Sugar: 34
- Sodium: 95
- Fat: 14
- Saturated Fat: 8
- Carbohydrates: 55
- Fiber: 5
- Protein: 4
Keywords: apple crisp, oat crumble, easy dessert, fall dessert, homemade apple crisp


