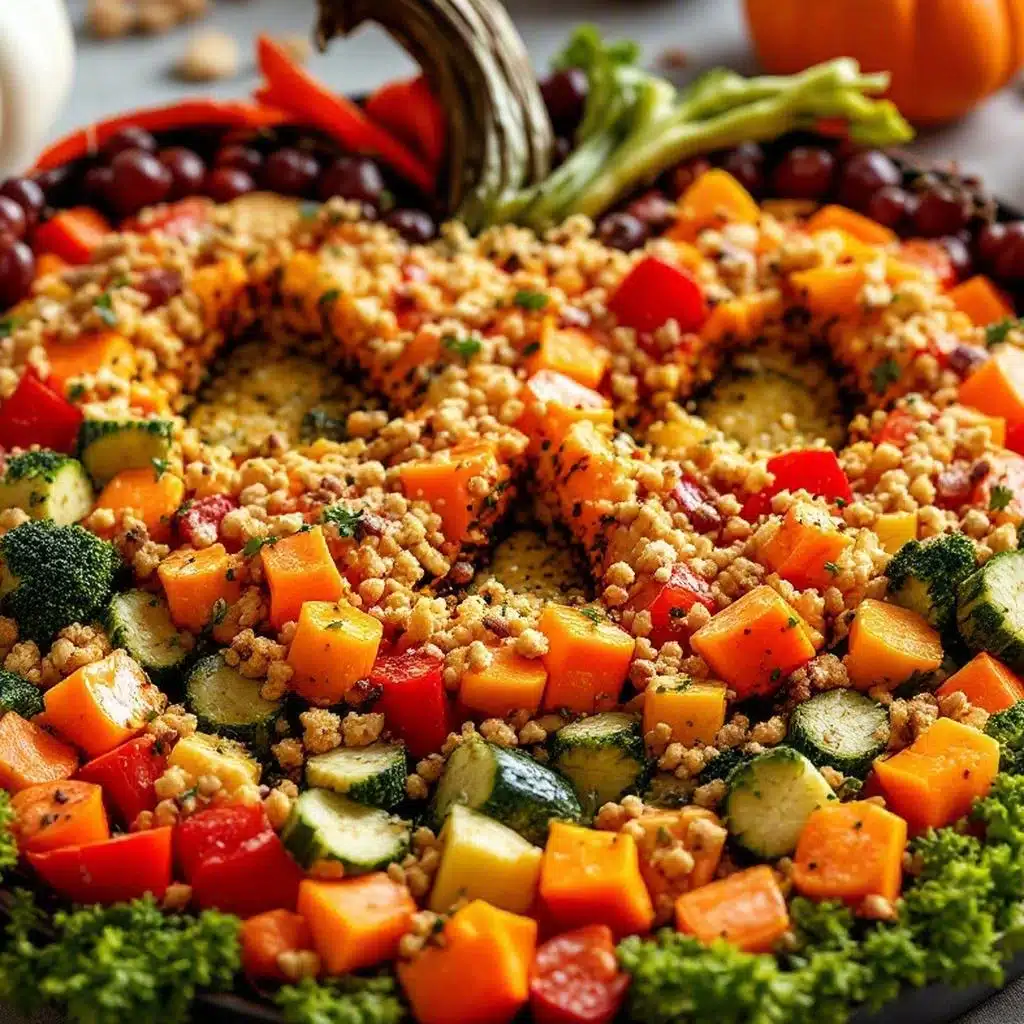
Late October, and the only thing my four-year-old wanted was a pumpkin. Not for carving, mind you—she wanted to eat one. I had just pulled a sheet pan of roasted vegetables out of the oven, and she pointed at the butternut squash cubes and said, “That one looks like a pumpkin.” I looked at the golden, caramelized squares and thought, you know, she’s not wrong. But a tray full of roasted squash wasn’t going to cut it for the Halloween party I was throwing that weekend. I needed something that looked like a pumpkin, felt festive, and didn’t involve me carving a melon or, honestly, making anything too complicated. That’s when this Fun Halloween Pumpkin Veggie Tray idea was born.
I wanted a centerpiece that screamed Halloween but actually encouraged people to eat their vegetables. You know, the kind of snack that looks so good on the table that even the kids grab a pepper strip without a fuss. I spent an evening arranging broccoli florets and bell peppers into the shape of a pumpkin, and I’ll be honest—my first attempt looked like a sad, green blob. But I tweaked it, figured out the best veggie combos, and landed on this version that’s almost too cute to eat. Almost.
It’s not just a veggie tray. It’s a conversation starter, a healthy option at a party full of candy, and a way to get your daily dose of crunch without any of the guilt. Plus, it’s surprisingly easy to put together. You don’t need any special tools, just a steady hand and a little patience. This is the kind of recipe that makes you feel like a Pinterest pro, even if you’re just a regular person with a cutting board and a dream.
Why You’ll Love This Recipe
Listen, I’ve made a lot of party appetizers in my time. From creamy herb and garlic cheese ball bites to spicy pimento cheese stuffed jalapeños, I love a good finger food. But this pumpkin veggie tray? It hits different. Here’s why you’re going to love it.
- Super Easy to Make: No cooking required. Seriously. You just chop, arrange, and serve. It takes about 20 minutes of active time, which is less time than it takes to decide what Halloween costume to wear.
- Healthy-ish & Crowd-Pleasing: Let’s face it—Halloween is a sugar bomb. This tray gives people a crunchy, savory option that balances out all the candy corn and chocolate. Even picky eaters will grab a pepper strip because, well, it’s shaped like a pumpkin.
- Perfect for Any Party: Whether it’s a school Halloween party, a work potluck, or just a spooky movie night at home, this tray fits right in. It’s festive without being fussy.
- Customizable: Don’t like broccoli? Swap it out. Want more color? Add some yellow peppers. This recipe is a template, not a rulebook.
- Visually Stunning: It looks like you spent an hour on it. I won’t tell if you don’t. The pumpkin shape is naturally eye-catching, and the ranch dip “stem” adds a fun, creamy element.
What makes this different from a basic veggie platter? It’s the presentation. You’re not just throwing carrots and celery on a plate. You’re creating a centerpiece that fits the theme. It’s the kind of thing that makes people say, “Oh, that’s so cute!” before they even take a bite. And honestly, that’s the best kind of compliment.
What Ingredients You Will Need
This recipe uses simple, fresh ingredients that you can find at any grocery store. The magic is in the arrangement, not the complexity of the components. Here’s what you’ll need to build your pumpkin.
- Broccoli Florets: About 3 cups of fresh florets. These form the base and the “flesh” of the pumpkin. Look for tight, dark green crowns. You want them to be bite-sized, so chop any large pieces in half. (Pro tip: Make sure they are very dry after washing—wet broccoli makes the tray soggy.)
- Orange Bell Peppers: 2-3 large peppers. These are the star of the show. The bright orange color mimics the pumpkin’s hue perfectly. Slice them into 2-inch strips. You’ll use these to create the vertical lines of the pumpkin.
- Yellow Bell Pepper: 1 medium pepper. Cut into small, thin strips. These add a pop of contrast and help define the pumpkin shape.
- Cauliflower Florets: About 1 cup. These are optional but add a nice white contrast against the orange and green. They look like little ghostly clouds.
- Cherry Tomatoes: 1 cup. Use these to fill in any gaps and add a burst of red color. Halved or whole, they work great.
- Cucumber: 1 large cucumber, sliced into rounds or half-moons. Adds a cool, refreshing crunch.
- Carrot Sticks: 1 cup. These are great for filling the base and adding more orange tones.
- Ranch Dip or Hummus: 1 cup. This is your “stem.” I love using a thick, creamy ranch dip (I prefer the Hidden Valley mix with sour cream) or a roasted red pepper hummus for extra flavor. You can also use roasted red pepper hummus with za’atar spice for a more sophisticated twist.
- Fresh Rosemary or Parsley: A few sprigs. This will be the actual “stem” of the pumpkin. Rosemary looks the most realistic, but flat-leaf parsley works too.
Substitution Guidance: If you’re not a fan of broccoli, use green beans or snap peas. No orange bell peppers? Use carrots cut into wide ribbons. The key is to keep the color palette autumnal—orange, green, yellow, and white. You can also swap the ranch for a Greek yogurt-based dip or a vegan spinach artichoke dip. The options are endless.
Equipment Needed
You don’t need a fancy kitchen to pull this off. Here’s what you’ll need:
- Large Serving Platter or Cutting Board: A round or oval platter works best to mimic the shape of a pumpkin. A wooden board adds a rustic feel. I use a 16-inch round wooden board I got from a thrift store.
- Sharp Chef’s Knife: For slicing peppers and chopping broccoli. A dull knife will just frustrate you and smash the veggies.
- Cutting Board: A standard plastic or wood board for prep work.
- Small Bowl or Ramekin: For the ranch dip. A small, round bowl that fits in the center of the tray is perfect.
- Paper Towels: To dry the veggies thoroughly. Wet veggies slide around and won’t stay in place.
- Paring Knife (optional): For carving the rosemary stem into a more realistic shape.
I’ve made this on a pizza pan before, and it worked fine. Don’t overthink the equipment. As long as you have a flat surface and a knife, you’re good to go.
Preparation Method
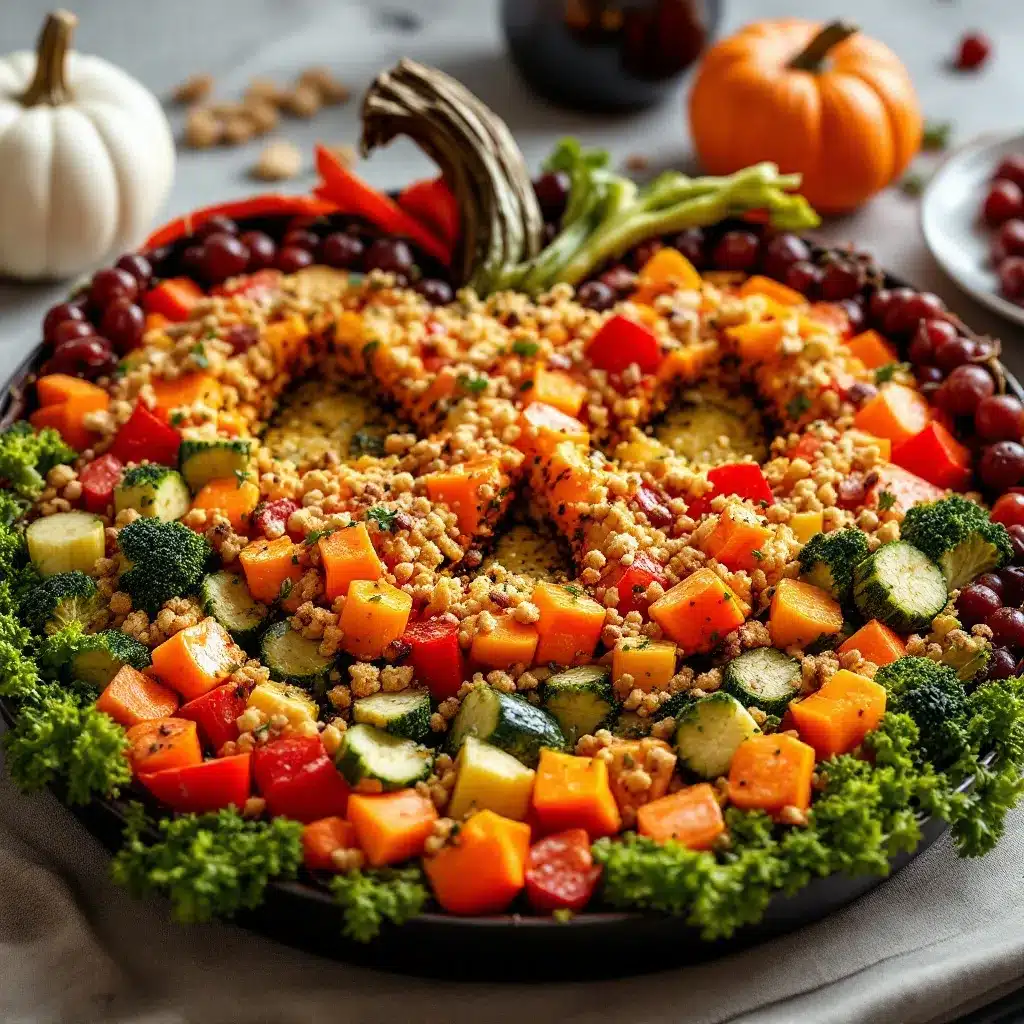
Alright, let’s build a pumpkin. This is easier than it sounds, I promise. Follow these steps, and you’ll have a show-stopping veggie tray in no time.
- Prep Your Veggies: Wash and thoroughly dry all your vegetables. Wet vegetables are slippery and won’t stay in place. Cut the broccoli into small, uniform florets. Slice the orange bell peppers into 2-inch long strips, about half an inch wide. Slice the yellow pepper into thin strips. Cut the cucumber into rounds. Halve the cherry tomatoes if they’re large. Set everything aside in bowls.
- Place the Dip Bowl: Position your small bowl of ranch dip slightly off-center on the platter. This will be the “top” of the pumpkin where the stem goes. Don’t put it dead center—pumpkins aren’t perfectly symmetrical.
- Create the Pumpkin Base: Starting from the dip bowl, begin arranging the broccoli florets in a large, rough circle around it. Think of this as the outline of your pumpkin. Don’t worry about perfection; you can fill in gaps later. The broccoli creates the dark green background that makes the orange pop.
- Add the Orange “Lines”: Take your orange bell pepper strips and arrange them in gentle, curved lines radiating outward from the dip bowl. These are the vertical ridges of the pumpkin. Space them about an inch apart. They don’t have to be perfectly straight—a little curve looks more natural.
- Fill in the Gaps: Now, start filling the spaces between the orange pepper lines with the rest of your veggies. Use cauliflower florets for white contrast, cucumber rounds for green, and cherry tomatoes for little pops of red. Press them gently into the broccoli base so they stay put. The goal is to create a dense, colorful surface that looks like a patchwork pumpkin.
- Build the Outer Edge: Once the center is filled, start layering the outer edge. Use carrot sticks and more broccoli to create a solid border. This defines the pumpkin’s shape. Tuck the carrot sticks under the broccoli to create a rounded edge.
- Add the Stem: Take a sprig of fresh rosemary and insert it into the center of the ranch dip bowl. If the rosemary is too tall, trim the bottom. The dip acts as the “soil” and the rosemary looks like a real pumpkin stem. You can also use a small piece of yellow bell pepper cut into a stem shape if you prefer.
- Final Touches: Step back and look at your tray. Are there any bare spots? Fill them with a few extra cherry tomatoes or cucumber slices. Fluff the broccoli around the edges. You want it to look abundant and lush. Add a few yellow pepper strips on top for a final pop of color.
- Chill Until Serving: Cover the tray loosely with plastic wrap and refrigerate for up to 2 hours before serving. This keeps the veggies crisp. Don’t leave it out too long before people arrive.
Troubleshooting Tip: If the veggies keep sliding around, your platter might be too smooth. Try placing a damp paper towel under the dip bowl to anchor it. Also, make sure your veggies are dry—moisture is the enemy of a stable arrangement.
Cooking Tips & Techniques
I’ve made this tray about a dozen times now, and I’ve learned a few things the hard way. Here are my best tips to make your pumpkin look perfect.
- Dry Your Veggies: I cannot stress this enough. Wet veggies slide around like they’re on a slip ‘n slide. After washing, lay them out on a clean kitchen towel and pat them dry. Let them air dry for 10 minutes if you have time.
- Use a Template: If you’re nervous about the shape, lightly trace a pumpkin outline on a piece of parchment paper, place it under your platter, and use it as a guide. You can remove the paper before serving.
- Don’t Overcrowd: It’s tempting to pile on the veggies, but a little negative space is okay. It makes the pumpkin shape more readable. Leave a small border around the edge of the platter.
- Cut Uniform Pieces: The more uniform your pepper strips and florets are, the more professional the tray looks. Take an extra 2 minutes to make sure everything is roughly the same size.
- Make Ahead Strategy: You can chop all the veggies up to 24 hours in advance and store them in separate bags in the fridge. Assemble the tray no more than 2 hours before serving to keep everything crisp.
- Common Mistake: Don’t use pre-cut broccoli florets from a bag. They are often too large and uneven. Buy a whole head of broccoli and cut it yourself. Trust me on this one.
- My First Failure: The first time I made this, I used baby carrots instead of carrot sticks. They were too small and kept rolling off the platter. Use full-sized carrots cut into sticks—they anchor better.
Variations & Adaptations
This recipe is super flexible. Here are a few ways to change it up based on your needs or what you have in the fridge.
- Low-Carb / Keto Version: Skip the carrots and cherry tomatoes (they’re higher in sugar). Load up on broccoli, cauliflower, bell peppers, and cucumber. Use a high-fat dip like blue cheese or bacon ranch.
- Vegan Friendly: The recipe is already vegan if you use a plant-based dip. Try a cashew-based ranch or a spicy hummus. The crispy buffalo cauliflower bites would be a great spicy companion to this tray.
- Fall Harvest Twist: Add some roasted butternut squash cubes (cooled) or raw apple slices. The sweetness pairs beautifully with the savory ranch. Just toss the apple slices in lemon juice to prevent browning.
- Spicy Version: Add a few sliced jalapeños or a small bowl of spicy salsa in the center instead of ranch. You could even make a batch of crispy bacon-wrapped jalapeño popper football bites to serve alongside.
- Kid-Friendly Version: Use only “safe” veggies like cucumber, bell peppers, and cherry tomatoes. Let the kids help arrange the veggies—they love seeing their creation come to life.
- Personal Variation: I once made this with a guacamole “stem” instead of ranch. I carved a small hole in a bell pepper top and filled it with guac. It was messy but delicious. The avocado turned brown after an hour, so only do this if you’re serving immediately.
Serving & Storage Suggestions
This tray is best served fresh, but here’s how to handle leftovers and prep ahead.
- Serving Temperature: Serve the veggies cold and the dip chilled. The contrast of cold, crunchy veggies with a creamy dip is part of the magic. Take the tray out of the fridge about 10 minutes before serving to take the chill off.
- Presentation: Place the tray on a table where it can be the centerpiece. Surround it with a few Halloween-themed napkins or small bowls of candy corn for contrast. It looks amazing next to a bowl of crispy loaded nachos.
- Complementary Dishes: This tray pairs well with hearty dips, spiced nuts, and savory pastries. It’s a great light counterpoint to heavier appetizers like crispy bacon-wrapped mozzarella sticks.
- Storage: Leftover veggies can be stored in an airtight container in the fridge for up to 3 days. The dip can be stored separately. Do not store the assembled tray—the veggies will get soggy from the dip and moisture.
- Reheating: There’s no reheating here, but if you want to repurpose leftover veggies, chop them up and toss them into a salad or stir-fry the next day. The broccoli and peppers are great in a quick weeknight scramble.
- Flavor Development: The veggies stay crisp for about 2 hours after assembly. After that, the cut edges start to dry out. If you’re making this for a long party, keep a backup bowl of fresh veggies to refresh the tray halfway through.
Nutritional Information & Benefits
This is a healthy appetizer that actually makes you feel good. Here’s a rough breakdown per serving (based on 8 servings, with 2 tablespoons of ranch dip).
- Calories: ~120 per serving
- Fat: 7g (mostly from the dip)
- Carbohydrates: 12g
- Fiber: 4g
- Protein: 3g
- Vitamin C: 150% of your daily value (thanks to the bell peppers and broccoli!)
- Vitamin A: 80% of your daily value (carrots and orange peppers)
Health Benefits: This tray is packed with antioxidants from the colorful veggies. Broccoli is a great source of fiber and vitamin K. Bell peppers have more vitamin C than an orange. The ranch dip adds a bit of calcium and protein, but you can easily swap it for a lighter option. It’s naturally gluten-free and can be made dairy-free with a vegan dip. The only potential allergen is dairy in the ranch, so check your labels if serving a crowd with sensitivities.
Personal Wellness Note: I love having this on the table because it gives me something to snack on that isn’t a cupcake. It keeps my energy up during the chaos of a party, and I don’t feel sluggish afterward. It’s a win-win.
Conclusion
This Fun Halloween Pumpkin Veggie Tray is more than just a snack—it’s a statement. It says, “I care about the party, but I also care about my guests.” It’s healthy, festive, and ridiculously easy to make. You don’t need any special skills, just a little bit of patience and a love for crunchy things.
I love this recipe because it’s the one thing that always gets eaten first at my parties. Even the kids who swear they hate vegetables end up grabbing a pepper strip because, well, it’s shaped like a pumpkin. It’s a small victory, but it’s a sweet one.
Now, I want to see your pumpkins! Tag me in your photos, leave a comment below with your favorite veggie combo, or tell me what dip you used. Did you add a spicy twist? Did your kids help arrange the veggies? Share your stories—I read every single one. Let’s make this Halloween a little bit healthier, one veggie tray at a time.
Frequently Asked Questions
Can I make this veggie tray the night before?
You can prep all the veggies the night before and store them in sealed bags in the fridge. But I recommend assembling the tray no more than 2 hours before serving. The cut edges of the veggies can dry out, and the dip can make the surrounding veggies soggy if left too long.
What dip works best for the stem?
A thick, creamy dip is best. Ranch or blue cheese dip holds its shape well. Hummus also works, especially if it’s a thicker variety. Avoid thin dressings—they’ll just pool around the bowl and make a mess.
Can I use frozen vegetables?
I don’t recommend it. Frozen veggies release a lot of water when they thaw, which will make your tray wet and soggy. Fresh, raw vegetables are the way to go for the best crunch and presentation.
How do I keep the veggies from sliding around?
Make sure your veggies are completely dry. You can also place a slightly damp paper towel under the dip bowl to anchor it. If your platter is very smooth, try a wooden or textured board—it gives the veggies more grip.
Can I add fruit to this tray?
Absolutely! Apple slices (tossed in lemon juice to prevent browning), orange segments, or even blackberries would look great and add a sweet contrast. Just keep the fruit separate from the veggies to avoid flavor mixing.
Pin This Recipe!
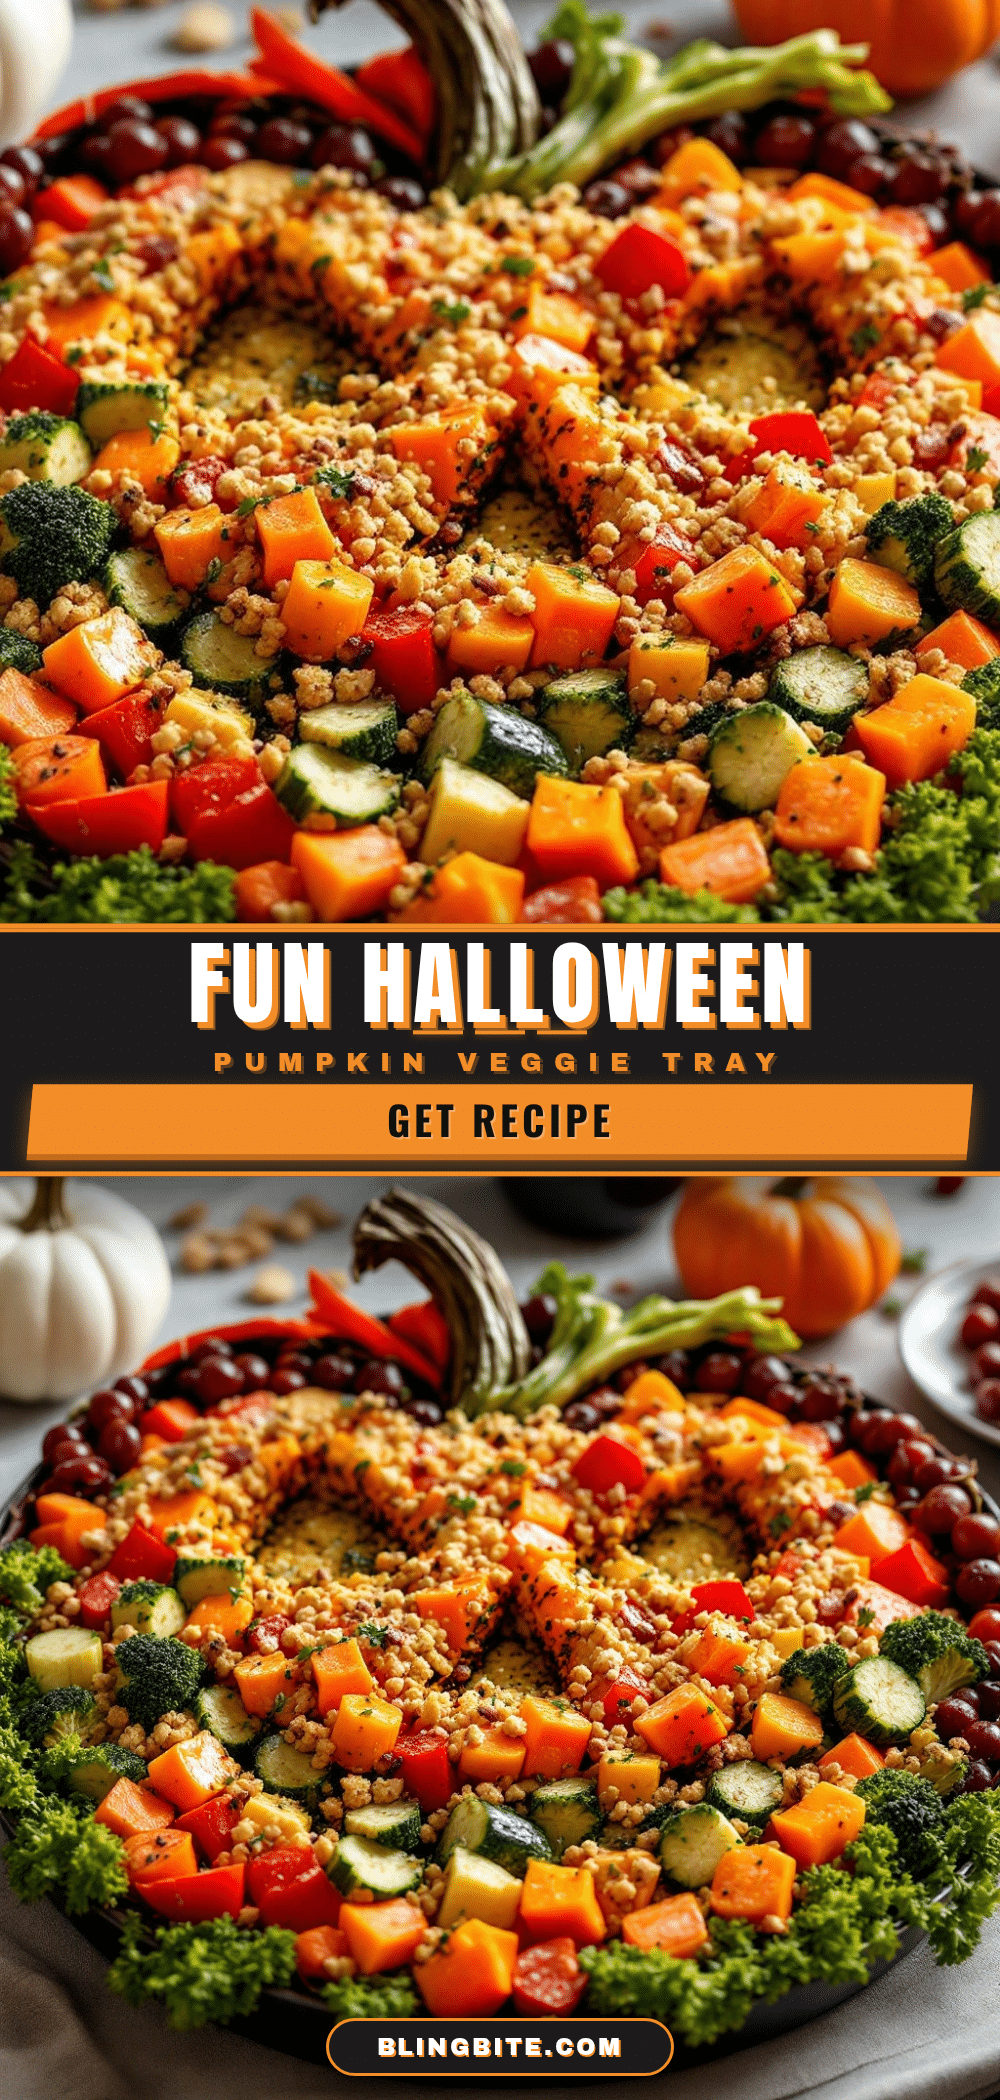
Easy Halloween Pumpkin Veggie Tray: Best Fun Party Appetizer
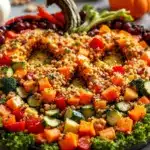
A festive and healthy Halloween appetizer that looks like a pumpkin, made entirely from fresh vegetables and served with a creamy dip. Perfect for parties, it’s easy to assemble and encourages even picky eaters to enjoy their veggies.
- Prep Time: 20 minutes
- Cook Time: 0 minutes
- Total Time: 20 minutes
- Yield: 8 servings 1x
- Category: Appetizer
- Cuisine: American
Ingredients
- 3 cups broccoli florets
- 2–3 large orange bell peppers, sliced into 2-inch strips
- 1 medium yellow bell pepper, sliced into thin strips
- 1 cup cauliflower florets
- 1 cup cherry tomatoes, halved if large
- 1 large cucumber, sliced into rounds or half-moons
- 1 cup carrot sticks
- 1 cup ranch dip or hummus (for the stem)
- Fresh rosemary or parsley sprigs (for the stem)
Instructions
- Wash and thoroughly dry all vegetables. Cut broccoli into small, uniform florets. Slice orange bell peppers into 2-inch long, half-inch wide strips. Slice yellow pepper into thin strips. Cut cucumber into rounds. Halve cherry tomatoes if large. Set aside.
- Place a small bowl of ranch dip slightly off-center on a large serving platter. This will be the top of the pumpkin.
- Arrange broccoli florets in a large, rough circle around the dip bowl to form the pumpkin base.
- Arrange orange bell pepper strips in gentle, curved lines radiating outward from the dip bowl to create the pumpkin’s vertical ridges, spacing them about an inch apart.
- Fill the spaces between the orange pepper lines with cauliflower florets, cucumber rounds, and cherry tomatoes, pressing them gently into the broccoli base.
- Layer carrot sticks and more broccoli around the outer edge to create a solid border and define the pumpkin shape.
- Insert a sprig of fresh rosemary into the center of the ranch dip bowl to create the stem.
- Fill any bare spots with extra cherry tomatoes or cucumber slices. Fluff the broccoli around the edges. Add a few yellow pepper strips on top for color.
- Cover loosely with plastic wrap and refrigerate for up to 2 hours before serving.
Notes
Ensure all vegetables are thoroughly dried after washing to prevent sliding. For a more stable arrangement, place a damp paper towel under the dip bowl. Vegetables can be chopped up to 24 hours in advance and stored in separate bags in the fridge; assemble no more than 2 hours before serving. Use a thick, creamy dip like ranch or hummus for the stem to hold its shape.
Nutrition
- Serving Size: 1 serving (about 1 c
- Calories: 120
- Sugar: 5
- Sodium: 200
- Fat: 7
- Saturated Fat: 1
- Carbohydrates: 12
- Fiber: 4
- Protein: 3
Keywords: Halloween, veggie tray, pumpkin, party appetizer, healthy snack, vegetable platter, fall, festive