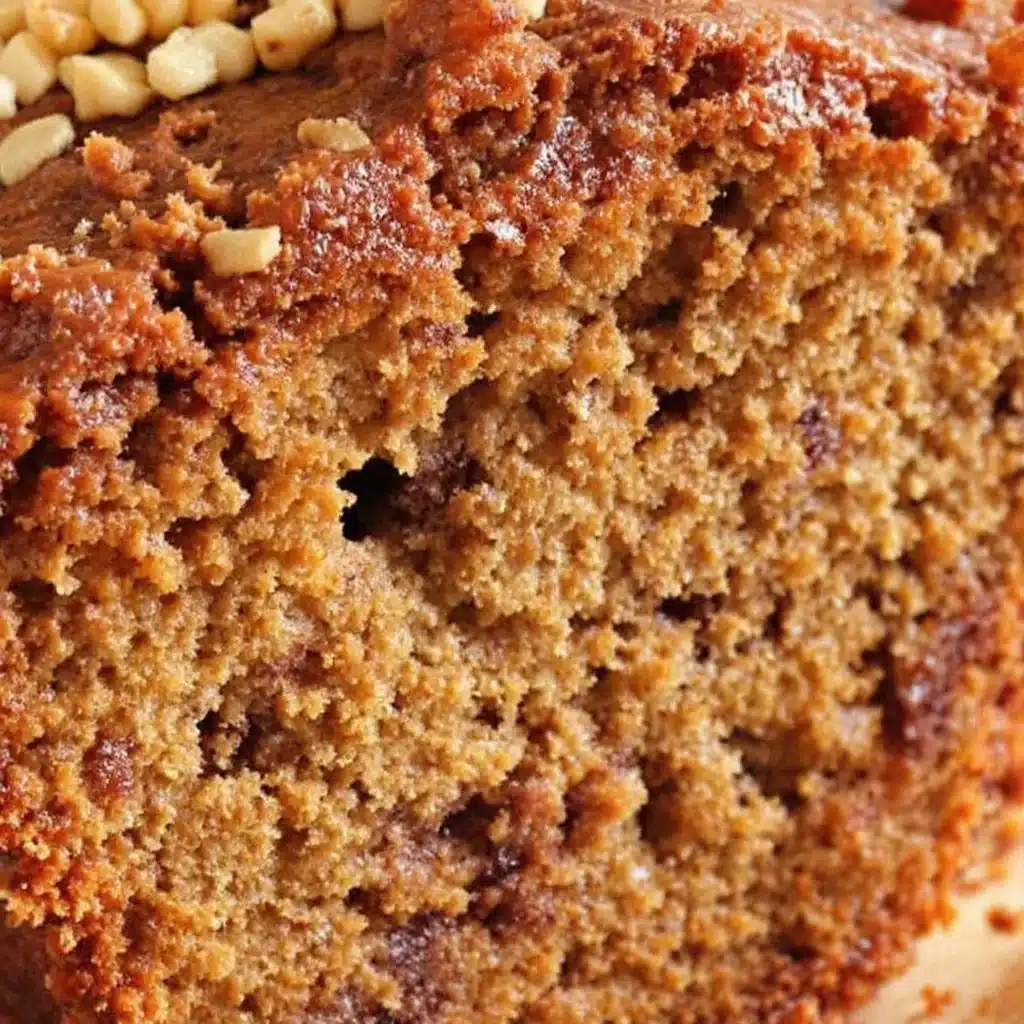
The way the batter slides off the spatula—thick, glossy, and slow like warm caramel—that’s the moment I know it’s going to be good. And that’s the whole point of this easy one-bowl banana bread. I didn’t set out to make the world’s most complicated loaf. I set out to make banana bread on a Tuesday afternoon when the kitchen was already a disaster and the baby was napping for exactly forty-five minutes.
Honestly, I was skeptical at first. Could a recipe this simple—no mixer, no weird ingredients, just a bowl and a fork—really deliver that perfect, tender crumb? But necessity is a great motivator, and I was out of clean spatulas and patience. So I mashed, stirred, poured, and crossed my fingers. Forty-five minutes later, I pulled a loaf out of the oven that was so moist it practically bent, with a crackly top that shattered into buttery, sugar-crusted shards.
That first bite was a quiet, personal victory. It tasted like the banana bread from my childhood, the one my grandmother made without ever looking at a recipe. This version just happens to be faster, easier, and leaves you with exactly one bowl to wash. It’s the kind of recipe that sticks because it works, every single time, without any fuss.
Why You’ll Love This Recipe
This truly is the best no-mixer banana bread you’ll ever make. I’ve tested it with overripe bananas, underripe bananas (don’t do it), and everything in between. Here’s why this version wins, hands down.
- One Bowl, No Mixer: You don’t need a stand mixer, a hand mixer, or even a whisk if you’re feeling lazy. A fork and a single bowl are all you need. Less cleanup means more time to actually enjoy the bread.
- Perfectly Moist Every Time: The secret is in the ratio of fat to banana. This recipe uses melted butter and a touch of oil, which keeps the crumb tender for days. It’s not greasy, just perfectly, almost unfairly, moist.
- Pantry-Friendly Ingredients: You likely have everything on hand right now. No buttermilk, no sour cream, no trip to the store for a random ingredient you’ll never use again. This is simple, honest baking.
- Foolproof for Beginners: If you’ve ever ended up with a dry, crumbly brick of banana bread, this recipe is for you. The method is forgiving, and the visual cues are easy to spot. It’s nearly impossible to mess up.
- Endlessly Customizable: This is your blank canvas. Throw in chocolate chips, nuts, dried fruit, or a swirl of peanut butter. The base is so good it welcomes just about any addition.
This isn’t just another banana bread recipe. It’s the one you will come back to again and again because it delivers that nostalgic, comforting feeling without the stress. It’s the kind of baking that feels like a hug, not a chore.
What Ingredients You Will Need
This easy banana bread recipe relies on a handful of simple, high-quality ingredients. Each one plays a specific role in creating that perfect texture and flavor. Let’s break down what you need and why it matters.
- 3 large ripe bananas, mashed (about 1 ½ cups): The riper, the better. Look for bananas with plenty of brown spots—they are sweeter and easier to mash. Overly green bananas will result in a less flavorful, denser loaf. If your bananas aren’t ripe enough, you can roast them in their skins at 300°F for 15-20 minutes to soften and sweeten them.
- ⅓ cup (75g) unsalted butter, melted: Butter provides that classic, rich flavor. Make sure it’s melted but not hot, or it might cook the eggs when you mix them in. I prefer unsalted so I can control the salt level, but salted butter works too—just reduce the added salt by ¼ teaspoon.
- ¼ cup (50ml) vegetable oil (or any neutral oil): This is my secret to an extra-moist crumb that stays soft for days. You can use canola, avocado, or even melted coconut oil. The oil adds tenderness that butter alone can’t quite achieve.
- ¾ cup (150g) granulated sugar: White sugar adds sweetness and helps create that beautiful, crackly top. You can reduce this to ½ cup if your bananas are very sweet, but don’t go lower or the texture will suffer.
- 1 large egg, at room temperature: The egg binds everything together and adds structure. A room-temperature egg blends more smoothly into the batter, creating a more even crumb. Take it out of the fridge 30 minutes before you start.
- 1 teaspoon vanilla extract: Pure vanilla extract adds depth and rounds out the flavor. Imitation vanilla works in a pinch, but pure is always better.
- 1 ½ cups (190g) all-purpose flour: Standard all-purpose flour gives the bread a tender, soft structure. Spoon the flour into your measuring cup and level it off with a knife for accuracy. Scooping directly from the bag can pack in too much flour and make the bread dry.
- 1 teaspoon baking soda: This is the only leavening agent you need. Baking soda reacts with the acid in the bananas and brown sugar to help the bread rise. Make sure it’s fresh—test it by dropping a pinch into vinegar; it should fizz vigorously.
- ½ teaspoon salt: Salt balances the sweetness and enhances all the flavors. Don’t skip it, even if you’re using salted butter.
That’s it. No weird additives, no specialty flours. Just the good stuff that makes banana bread taste like home.
Equipment Needed
The beauty of this recipe is that it requires almost no special gear. Here’s what you’ll need.
- A large mixing bowl: Any bowl will do, but a wide, shallow one makes mashing the bananas easier.
- A fork or potato masher: A fork works perfectly for mashing bananas, but a potato masher speeds things up. I’ve used a pastry cutter in a pinch too.
- A wooden spoon or rubber spatula: For folding the dry ingredients into the wet. A spatula is my preferred tool because it scrapes the sides of the bowl clean.
- A 9×5-inch loaf pan: This is the standard size. If you use an 8×4-inch pan, you will need to increase the baking time by 5-10 minutes. Glass pans bake faster than metal ones, so keep an eye on it.
- Parchment paper (optional but helpful): Lining the pan with parchment paper makes lifting the loaf out a breeze. You can also just grease the pan well with butter or non-stick spray.
- Cooling rack: Essential for letting the bread cool evenly so the bottom doesn’t get soggy.
If you don’t have a loaf pan, you can bake this batter in a 9-inch square pan for about 25-30 minutes, or even as muffins (bake for 18-22 minutes). I’ve done all three, and they all work beautifully.
Preparation Method
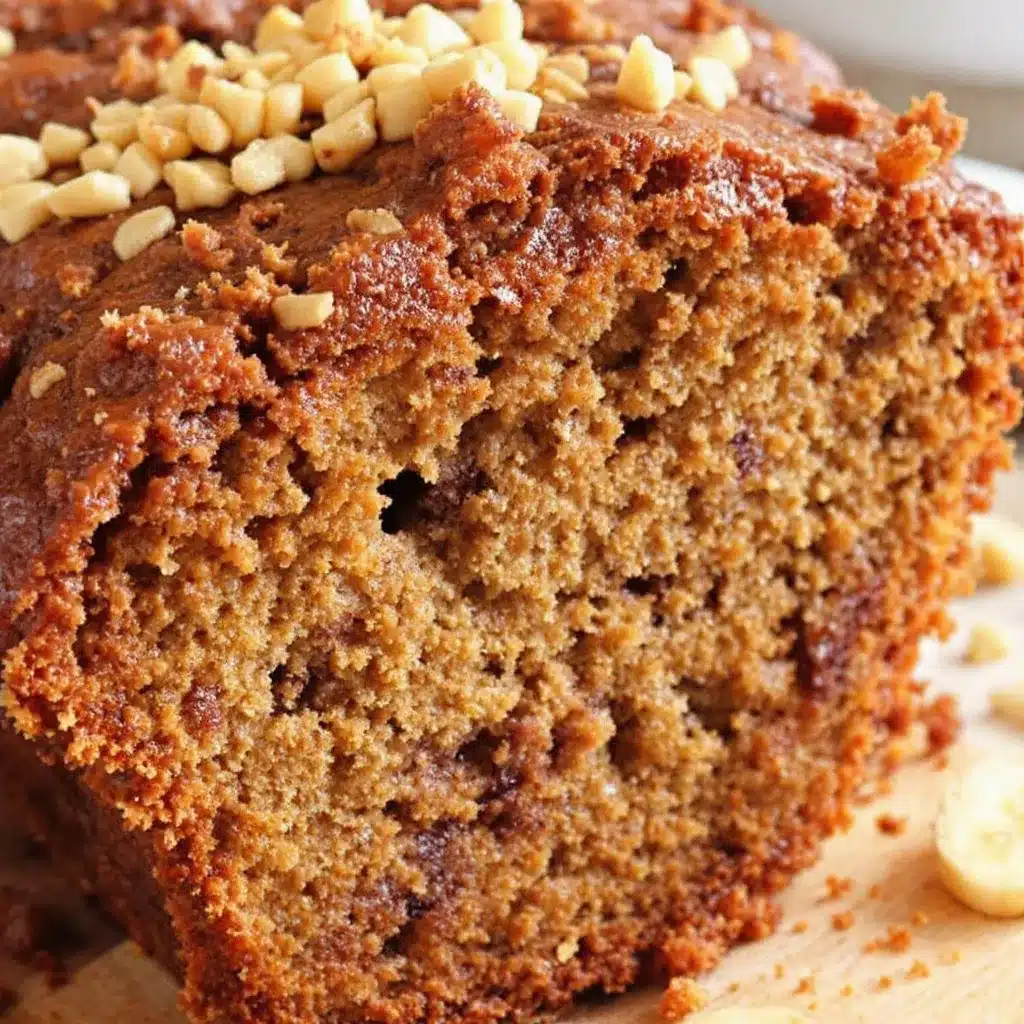
Let’s get to the fun part. Follow these steps, and you will have the best no-mixer banana bread of your life.
- Preheat and prepare. Preheat your oven to 350°F (175°C). Grease your 9×5-inch loaf pan thoroughly with butter or non-stick spray. If using parchment paper, leave a 2-inch overhang on the long sides for easy lifting.
- Mash the bananas. In your large mixing bowl, add the three ripe bananas. Mash them with a fork until they are mostly smooth with a few small lumps remaining. You want some texture, not baby food. A few chunky bits are fine—they’ll melt into the bread as it bakes.
- Add the wet ingredients. To the mashed bananas, add the melted butter, vegetable oil, granulated sugar, egg, and vanilla extract. Stir everything together with your wooden spoon or spatula until it is well combined. The mixture will look slightly lumpy and thin—that’s normal. Don’t overmix; just stir until you don’t see any streaks of egg or butter.
- Add the dry ingredients. Sprinkle the flour, baking soda, and salt over the wet mixture. Use a spatula to fold the dry ingredients into the wet. Stir gently, just until you no longer see any white flour streaks. A few small lumps are perfectly fine. Overmixing at this stage will develop the gluten and make your banana bread tough and dense. Stop as soon as it comes together.
- Pour and spread. Scrape the batter into your prepared loaf pan. Use the spatula to spread it evenly into the corners. Give the pan a gentle tap on the counter to release any air bubbles.
- Bake. Place the pan on the middle rack of your preheated oven. Bake for 50-60 minutes. The bread is done when a toothpick inserted into the center comes out with just a few moist crumbs attached (not wet batter). The top should be a deep golden brown and cracked beautifully. If the top is browning too quickly after 40 minutes, tent the pan loosely with aluminum foil.
- Cool. Let the banana bread cool in the pan for 10 minutes. Then, using the parchment paper overhang, lift it out of the pan and transfer it to a wire rack to cool completely. Cooling on the rack prevents the bottom from steaming and becoming soggy. Resist the urge to slice it while it’s hot—it needs time to set, or it will fall apart.
That’s the whole process. From start to finish, you’re looking at about 15 minutes of active work and an hour of baking. The hardest part is waiting for it to cool.
Cooking Tips & Techniques
I’ve made this easy banana bread more times than I can count, and I’ve learned a few things along the way. Here are my best tips for perfect results every time.
Don’t overmix the batter. This is the single most important tip. Once you add the flour, stir only until it disappears. Overmixing develops gluten, which makes the bread tough and rubbery instead of tender and soft. A few lumps are your friends here.
Check for doneness with a thermometer. If you have an instant-read thermometer, the internal temperature of a fully baked banana bread should be around 205-210°F (96-99°C). This is more reliable than the toothpick test, especially if you’ve added chocolate chips or nuts that can create false positives.
Let it cool completely. I know, I know. The smell is intoxicating. But slicing into warm banana bread is a recipe for a crumbly mess. The starches need time to set. Wait at least an hour, or even two, for the cleanest slices. If you can’t wait, warm slices in the microwave for 10 seconds after they’ve cooled.
Use a kitchen scale for accuracy. Measuring flour by weight (190g) is far more accurate than using measuring cups. If you don’t have a scale, use the spoon-and-level method: fluff the flour with a spoon, spoon it into your measuring cup, and level it off with a knife. Never scoop directly from the bag.
Room temperature ingredients matter. A cold egg can seize the melted butter, creating a lumpy batter. Let your egg sit on the counter for 30 minutes, or place it in a bowl of warm water for 5 minutes. It makes a noticeable difference in the final texture.
I once forgot the baking soda entirely. The loaf came out flat, dense, and sad. It was a humbling reminder that even simple recipes need their science. Don’t skip the leavener!
Variations & Adaptations
This one-bowl banana bread is a fantastic base for endless creativity. Here are some of my favorite ways to change it up.
- Chocolate Chip Banana Bread: Fold in ¾ cup of semi-sweet or dark chocolate chips after mixing the batter. The warm, melted pockets of chocolate are divine. I like to toss the chips in a tablespoon of flour before adding them to prevent them from sinking to the bottom.
- Nutty Banana Bread: Add ½ cup of chopped walnuts or pecans, toasted for extra flavor. Toasting the nuts in a dry skillet for 3-4 minutes brings out their oils and makes them crunchier. Fold them in gently at the end.
- Gluten-Free Version: Substitute the all-purpose flour with a good 1:1 gluten-free baking blend that contains xanthan gum. I’ve had great success with Cup4Cup and Bob’s Red Mill 1-to-1. The texture will be slightly more delicate, but still delicious.
- Vegan Banana Bread: Replace the egg with a flax egg (1 tablespoon ground flaxseed mixed with 3 tablespoons water, let sit for 5 minutes) and use melted coconut oil or vegan butter instead of dairy butter. The bread will be a touch denser but still wonderfully moist.
- Spiced Banana Bread: Add 1 teaspoon of ground cinnamon, ½ teaspoon of ground nutmeg, and ¼ teaspoon of ground ginger to the flour mixture. This is my go-to for fall baking. It pairs beautifully with a cup of hot apple cider.
I once made a batch with a swirl of creamy peanut butter and a handful of mini chocolate chips. It was gone in under an hour. Don’t be afraid to experiment—this recipe is very forgiving.
Serving & Storage Suggestions
This banana bread is wonderful on its own, but a few thoughtful touches can make it even better.
Serving: Serve slices at room temperature or lightly warmed. A quick 10-second blast in the microwave makes it taste freshly baked. For a decadent treat, spread a slice with salted butter, a drizzle of honey, or a smear of cream cheese. It’s also fantastic toasted in a skillet with a little butter until the edges are crisp. Pair it with a hot cup of coffee, a cold glass of milk, or a warm mug of creamy roasted butternut squash soup for a cozy fall afternoon snack.
Storage: Store leftover banana bread tightly wrapped in plastic wrap or in an airtight container at room temperature for up to 4 days. The moisture from the bananas keeps it soft. Do not refrigerate it, as the cold air will dry it out and make it stale faster.
Freezing: This bread freezes beautifully. Wrap the completely cooled loaf (or individual slices) tightly in plastic wrap, then in a layer of aluminum foil. Freeze for up to 3 months. To thaw, leave it on the counter for a few hours or microwave a slice for 30-40 seconds. I always keep a loaf in the freezer for unexpected guests or late-night cravings.
The flavor actually improves after a day or two as the banana flavor deepens and melds with the other ingredients. It’s one of those rare baked goods that gets better with a little patience.
Nutritional Information & Benefits
While this is a treat, it does have some redeeming qualities thanks to the star ingredient.
Estimated nutrition per slice (based on 10 slices):
- Calories: 285
- Fat: 13g
- Carbohydrates: 39g
- Fiber: 2g
- Sugar: 20g
- Protein: 4g
Health highlights: Bananas are a great source of potassium, which is essential for heart health and muscle function. They also provide vitamin B6 and a decent amount of fiber, which aids digestion. Using a combination of butter and oil reduces the saturated fat content compared to an all-butter recipe.
Dietary considerations: This recipe is vegetarian. For a vegan option, see the variations section above. It contains gluten, dairy, and eggs, so it is not suitable for those with allergies to those ingredients. For a lower-sugar version, you can reduce the sugar to ½ cup, but the texture will be slightly less tender.
I don’t pretend this is health food. It’s a comforting, soul-warming slice of home. But knowing that it comes with a little potassium and fiber makes that second slice feel a tiny bit more justified.
Conclusion
This easy one-bowl banana bread is proof that you don’t need fancy equipment, complicated techniques, or a dozen dirty dishes to bake something truly wonderful. It’s the recipe I turn to when I need a win in the kitchen, when the bananas on the counter are begging to be used, or when I just want the house to smell like comfort.
I hope you give this recipe a try and make it your own. Add your favorite mix-ins, adjust the sweetness to your liking, or bake it in muffin tins for a portable breakfast. The beauty of this bread is that it adapts to you.
When you make it, I’d love to hear how it turned out. Did you add chocolate chips? Did you sneak in some walnuts? Drop a comment below and let me know your favorite variation. And if you’re looking for another comforting, no-fuss dessert, you might also enjoy these decadent chocolate ganache brownies. Happy baking, friends!
Frequently Asked Questions
Can I use frozen bananas for this banana bread?
Absolutely. Frozen bananas are actually ideal because they break down and become very soft when thawed. Thaw them completely, then drain off any excess liquid before mashing. The extra liquid can throw off the moisture balance, so draining is key.
Why did my banana bread sink in the middle?
This usually happens for one of three reasons: the batter was overmixed, the bread was underbaked, or the oven temperature was too low. Make sure your oven is properly preheated to 350°F and that you bake it until a toothpick comes out clean. Overmixing incorporates too much air, which collapses during baking.
Can I make this recipe into muffins?
Yes! This batter makes about 12 standard muffins. Divide the batter evenly into a greased or lined muffin tin and bake at 350°F for 18-22 minutes, or until a toothpick inserted into the center comes out clean. The baking time will be shorter than a full loaf, so start checking at the 18-minute mark.
How do I make my banana bread extra moist?
Using very ripe, spotty bananas is the first step. The combination of melted butter and oil in this recipe also adds extra moisture. Avoid overbaking, as that is the most common cause of dry banana bread. If your loaf is browning too fast on top, tent it with foil to allow the inside to finish baking without drying out the exterior.
Can I substitute the all-purpose flour with whole wheat flour?
You can substitute up to half of the all-purpose flour with whole wheat flour. Using 100% whole wheat will result in a denser, heavier loaf. I recommend using white whole wheat flour for a lighter texture if you want to go all the way. The flavor will be slightly nuttier and more wholesome.
Pin This Recipe!
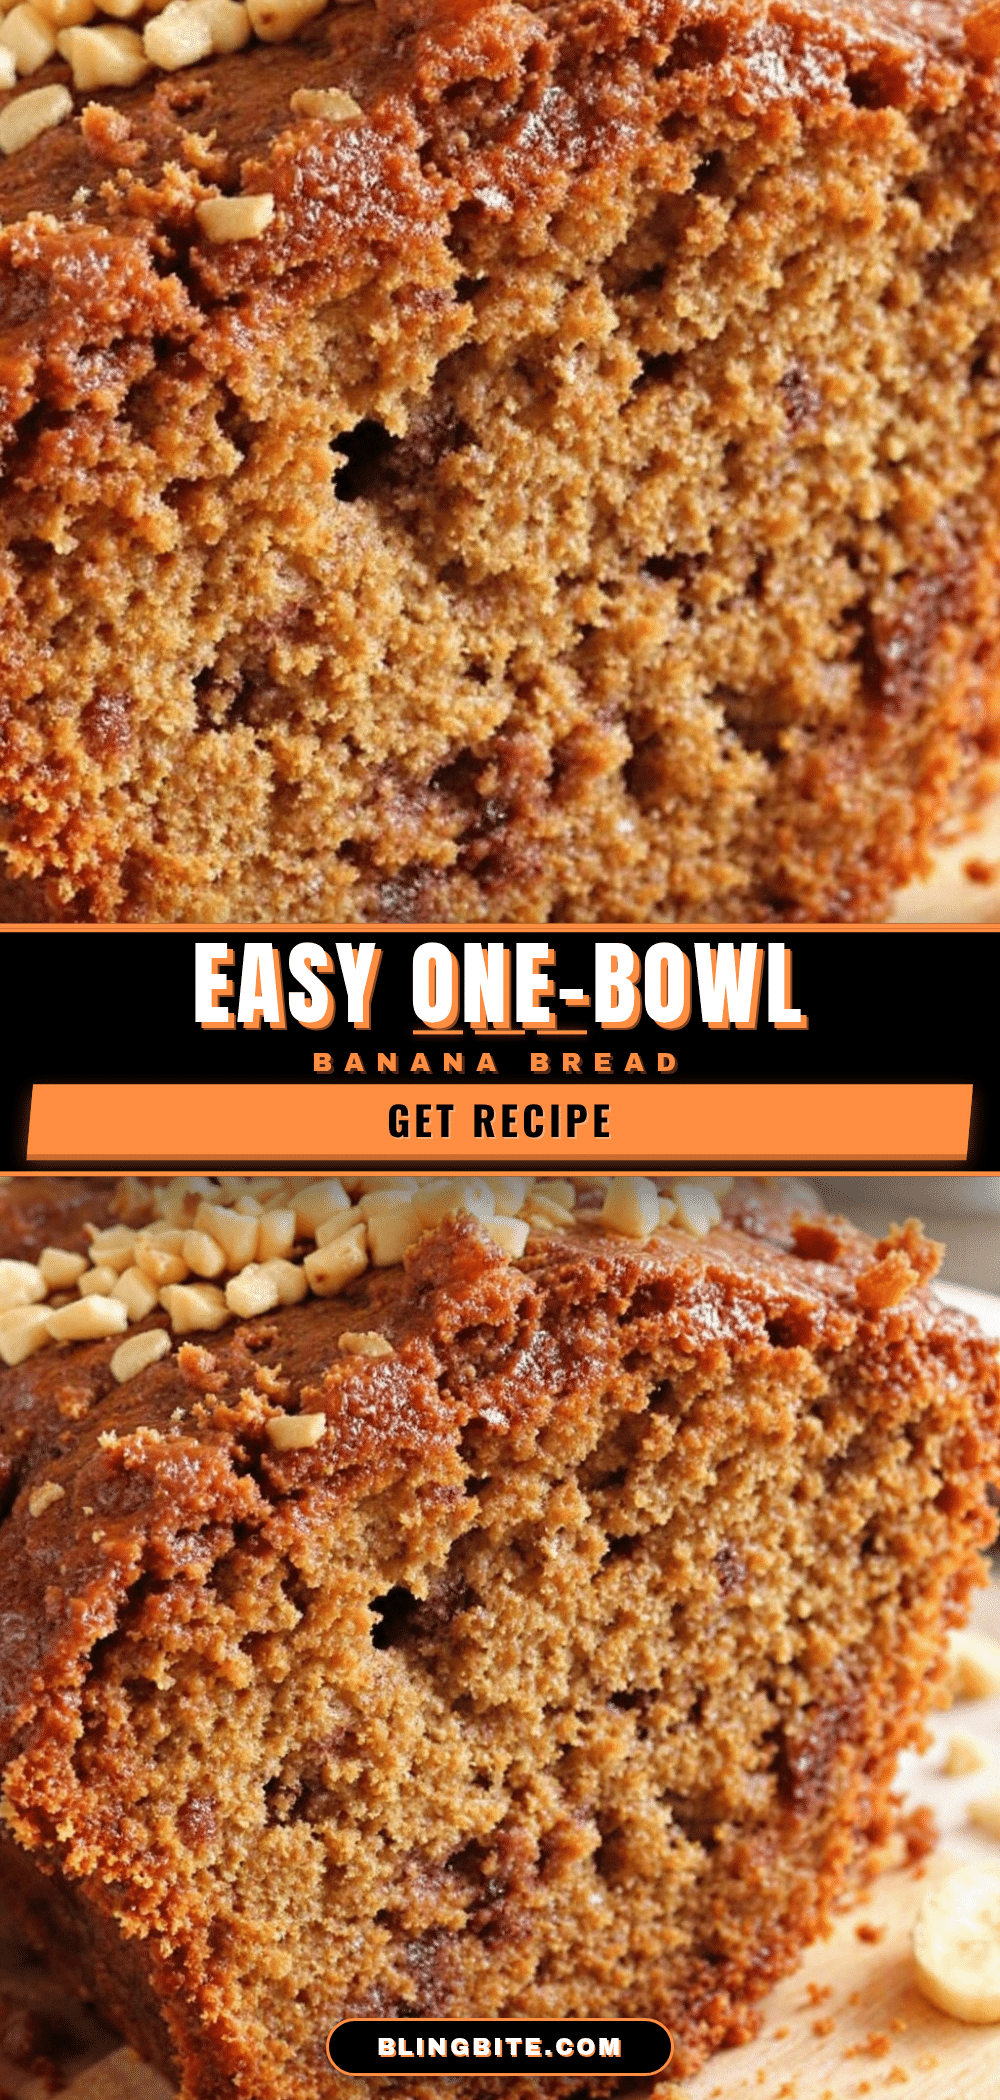
Easy One-Bowl Banana Bread: Best No-Mixer Recipe
This easy one-bowl banana bread requires no mixer and delivers a perfectly moist, tender crumb with a crackly top. It’s a foolproof, pantry-friendly recipe that comes together in minutes and tastes like home.
- Prep Time: 15 minutes
- Cook Time: 55 minutes
- Total Time: 1 hour 10 minutes
- Yield: 10 servings 1x
- Category: Dessert
- Cuisine: American
Ingredients
- 3 large ripe bananas, mashed (about 1 ½ cups)
- ⅓ cup (75g) unsalted butter, melted
- ¼ cup (50ml) vegetable oil (or any neutral oil)
- ¾ cup (150g) granulated sugar
- 1 large egg, at room temperature
- 1 teaspoon vanilla extract
- 1 ½ cups (190g) all-purpose flour
- 1 teaspoon baking soda
- ½ teaspoon salt
Instructions
- Preheat your oven to 350°F (175°C). Grease a 9×5-inch loaf pan thoroughly with butter or non-stick spray. If using parchment paper, leave a 2-inch overhang on the long sides for easy lifting.
- In a large mixing bowl, mash the three ripe bananas with a fork until mostly smooth with a few small lumps remaining.
- Add the melted butter, vegetable oil, granulated sugar, egg, and vanilla extract to the mashed bananas. Stir until well combined. The mixture will look slightly lumpy and thin.
- Sprinkle the flour, baking soda, and salt over the wet mixture. Fold gently with a spatula just until no white flour streaks remain. Do not overmix; a few small lumps are fine.
- Scrape the batter into the prepared loaf pan and spread evenly. Tap the pan gently on the counter to release air bubbles.
- Bake on the middle rack for 50-60 minutes, until a toothpick inserted into the center comes out with just a few moist crumbs. If the top browns too quickly after 40 minutes, tent loosely with aluminum foil.
- Let the bread cool in the pan for 10 minutes, then lift it out using the parchment overhang and transfer to a wire rack to cool completely before slicing.
Notes
For best results, use very ripe bananas with brown spots. Do not overmix the batter once flour is added. Let the bread cool completely before slicing for clean pieces. The flavor improves after a day. For muffins, bake at 350°F for 18-22 minutes.
Nutrition
- Serving Size: 1 slice
- Calories: 285
- Sugar: 20
- Sodium: 280
- Fat: 13
- Saturated Fat: 5
- Carbohydrates: 39
- Fiber: 2
- Protein: 4
Keywords: banana bread, easy banana bread, one bowl banana bread, no mixer banana bread, moist banana bread, simple banana bread, homemade banana bread


