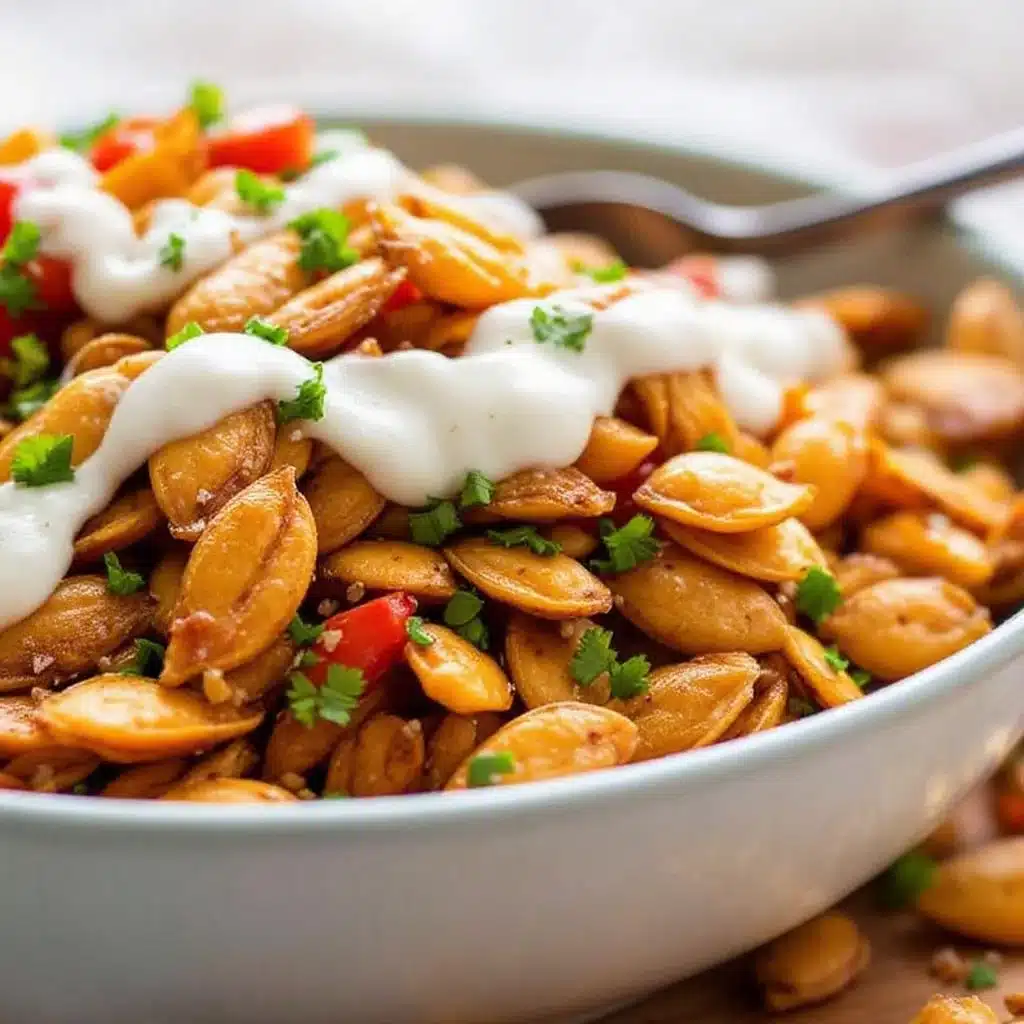
The power went out on a Tuesday night, right in the middle of a thunderstorm, and I was left staring into the dark abyss of my refrigerator. My husband had promised to pick up takeout, but the cell service was dead, and the only thing glowing in the semi-darkness was the leftover pie pumpkin from last weekend’s dinner. It was sitting there, looking judgmental, with a bag of seeds that I had scooped out and forgotten about in a bowl on the counter.
I honestly didn’t have the energy to cook a full meal. The storm was howling outside, and my stomach was growling louder than the wind. But then I smelled it. That faint, earthy scent of raw pumpkin seeds clinging to the damp pulp. I remembered a recipe I’d seen years ago, something simple and sweet, and I thought, why not? I had sugar. I had cinnamon. I had a toaster oven that still had power from the backup battery I’d plugged into the wall outlet before the main grid failed.
It felt like a desperate move at first. Roasting seeds in a toaster oven while a storm rages outside? That’s not exactly fine dining. But as the kitchen filled with the warm, spicy aroma of cinnamon and caramelizing sugar, the anxiety of the blackout faded. I was sitting on the floor, eating these crunchy, sweet treats straight from the baking sheet, feeling surprisingly proud of myself. It wasn’t a fancy dinner party dish. It was just me, a stubborn snack, and the realization that sometimes the best recipes are born from having nothing but a little creativity and a sweet tooth.
Those crispy cinnamon sugar baked pumpkin seeds became my go-to comfort food that night. They stuck with me long after the power came back on, becoming a staple whenever I needed a quick, healthy-ish treat that didn’t require a grocery run. Let’s face it, we all have those moments where we need something crunchy and sweet, and these seeds deliver exactly that.
Why You’ll Love This Recipe
Let’s be real for a second. Most people throw away pumpkin seeds. They see that slimy stringy stuff and think, “Ew, trash.” But I’ve spent years testing different ways to prepare them, and I can tell you with absolute certainty that these crispy cinnamon sugar baked pumpkin seeds are the undisputed champions of snack time. This isn’t just about saving scraps; it’s about transforming something free into something addictive.
- Quick & Easy: You can have these ready in under 45 minutes, including prep and cooling time. That’s faster than ordering delivery, and way cheaper.
- Simple Ingredients: You likely already have everything you need in your pantry. Pumpkin seeds, butter, sugar, and cinnamon. That’s it. No fancy grocery trips needed.
- Perfect for Movie Night: These are the ultimate hand-held snack. They don’t make your fingers greasy like potato chips, and they don’t leave dust everywhere like popcorn.
- Crowd-Pleaser: I’ve served these at Halloween parties, Thanksgiving gatherings, and casual hangouts. Kids love the sweetness, and adults appreciate the savory crunch. They always get rave reviews.
- Unbelievably Delicious: The texture is next-level. They are crunchy on the outside and slightly chewy on the inside, with a warm spice kick that hits you every time you take a bite.
What makes this recipe different from the rest is the balance. A lot of recipes go too heavy on the sugar, making them cloying and sticky. Others don’t roast them long enough, leaving them soft and bland. My method ensures a perfect Maillard reaction, giving you that deep golden color and a snap that satisfies the crunch craving. It’s comfort food reimagined—healthier, faster, but with the same soul-soothing satisfaction. Whether you are looking for a snack to pair with a glass of wine or a treat to pack for a lunchbox, these seeds fit the bill perfectly.
What Ingredients You Will Need
This recipe relies on simple, wholesome ingredients to deliver bold flavor and satisfying texture without the fuss. The magic really happens in how you treat the seeds before they hit the oven, but the ingredients themselves are straightforward. I recommend using fresh seeds from a pie pumpkin if you can find one, as they tend to be larger and meatier than the seeds from a carving pumpkin, which can be smaller and more bitter.
- Pumpkin Seeds (Pepitas): You will need about 1 cup of raw seeds. If you are scooping them from a fresh pumpkin, rinse them thoroughly. For a quicker option, you can buy raw, shelled pumpkin seeds from the bulk bin, but fresh ones have a better flavor profile.
- Unsalted Butter: 2 tablespoons of melted butter. Using real butter adds a rich, creamy flavor that oil just can’t match. I recommend using a high-quality European-style butter if you have it, as it has a higher fat content and a richer taste. You can substitute with coconut oil for a dairy-free option, though the flavor will be slightly different.
- Granulated Sugar: 2 tablespoons. This helps create that caramelized crust. If you prefer a less sweet snack, you can reduce this to 1 tablespoon, but I find that the sugar helps crisp them up.
- Ground Cinnamon: 1 teaspoon. Use a good quality cinnamon, like Ceylon cinnamon, which has a sweeter, more delicate flavor. The strong, spicy flavor of Cassia cinnamon works too, but it can be overpowering if you use too much.
- Kosher Salt: 1/2 teaspoon. Salt is crucial for balancing the sweetness. If you are using salted butter, reduce the added salt to a pinch.
- Optional Add-ins: A pinch of cayenne pepper if you want a little heat, or a teaspoon of pumpkin pie spice for extra warmth.
One thing to note is the quality of your seeds. Look for firm, plump seeds. If your seeds are shriveled or discolored, they might be old and won’t roast up nicely. Freshness makes a huge difference in the final crunch. Also, if you are using seeds from a store-bought pumpkin, check for any remaining pulp. The more you can remove the slimy strings, the better your seeds will crisp up. Don’t worry if you miss a few; they’ll just burn slightly, which adds a nice smoky note, but try to get as much off as possible.
Equipment Needed
You don’t need a lot of fancy gear for this recipe, which is part of its appeal. Here is what you will need to get started.
- Baking Sheet: A standard half-sheet pan works best. I prefer one with a rim to catch any potential drips, though with this recipe, there shouldn’t be much spillage. If you don’t have a baking sheet, a large oven-safe skillet works too.
- Paper Towels: You will need a few layers of paper towels for drying the seeds. This is the most critical step for achieving crispiness. Wet seeds steam instead of roast.
- Mixing Bowl: A medium-sized bowl for tossing the seeds with butter and spices. Any bowl will do, as long as it’s big enough to hold the seeds without spilling when you mix.
- Whisk or Fork: To melt and mix the butter with the sugar and cinnamon. You don’t need an electric mixer for this; a simple fork works perfectly fine.
- Spatula: A silicone spatula is great for scraping the butter mixture into the bowl and for stirring the seeds in the oven to ensure even coating.
If you don’t have a baking sheet with a rim, just line a regular sheet with parchment paper to make cleanup easier. I also recommend having a cooling rack ready, although many people skip this and let the seeds cool directly on the pan. Letting them cool on a rack helps air circulate, preventing any residual moisture from making them soggy, but it’s not strictly necessary. For a budget-friendly option, any basic metal baking sheet from a thrift store will work just fine. Just make sure it’s not rusty or warped, as that can affect heat distribution.
Preparation Method
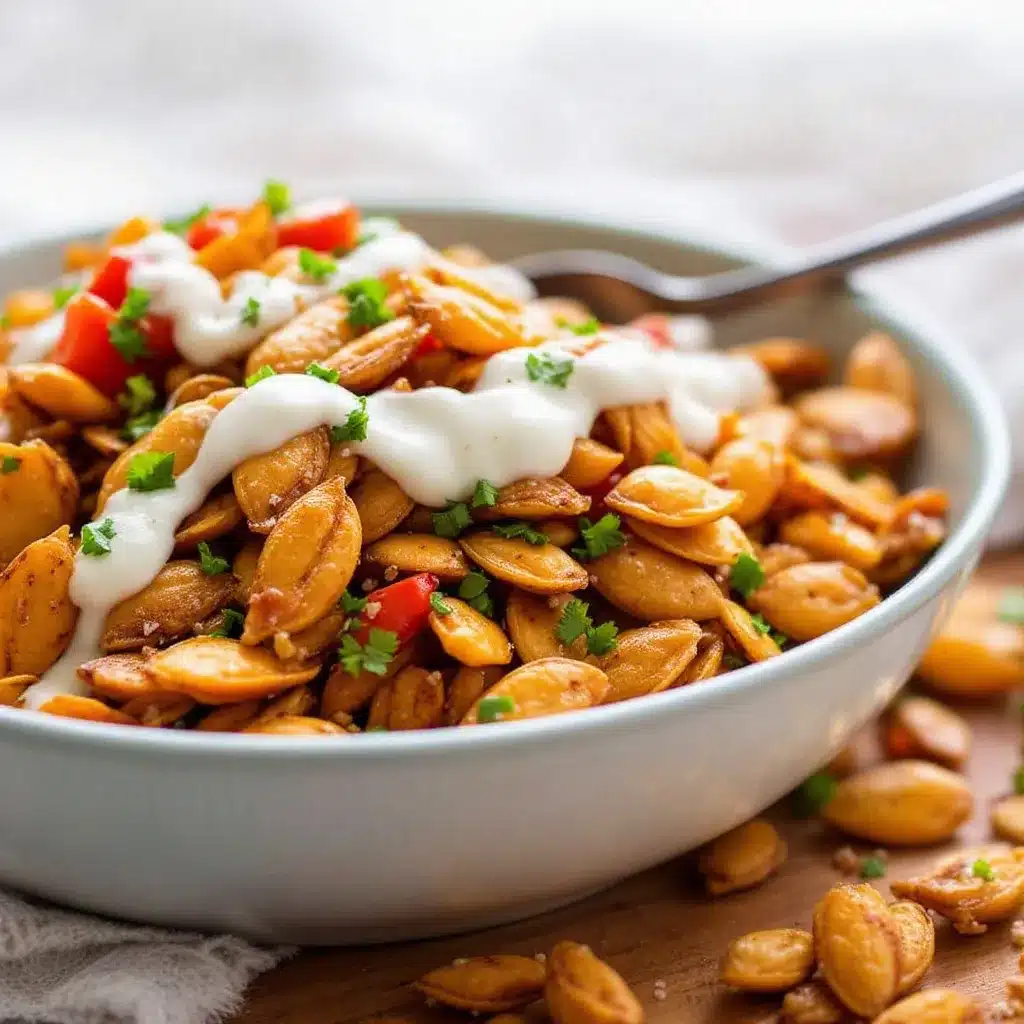
Getting these crispy cinnamon sugar baked pumpkin seeds ready is a straightforward process, but attention to detail is key. Follow these steps closely for the best results.
- Roast the Seeds (Pre-Roast): Preheat your oven to 325°F (165°C). If you are using raw, shelled pumpkin seeds, spread them out on a dry baking sheet and roast them for 10-12 minutes. This step dries them out and removes any raw flavor. If you are using fresh seeds, skip this step and go straight to rinsing. Time: 10-12 minutes.
- Rinse and Clean: If using fresh seeds, scoop them out of the pumpkin and place them in a large bowl of cold water. Swirl them around with your hands to loosen the pulp. The good seeds will sink, and the pulp and bad seeds will float. Skim off the floating debris. Repeat this rinsing process 2-3 times until the water runs clear. Time: 5 minutes.
- Dry Thoroughly: Spread the cleaned seeds out on a clean kitchen towel or several layers of paper towels. Pat them dry gently but firmly. You want to remove as much surface moisture as possible. This is the most important step for crispiness. If they are wet, they will steam. Time: 5-10 minutes.
- Season the Butter: In a small microwave-safe bowl, melt the butter (or coconut oil) in the microwave for 30 seconds. Stir in the sugar, cinnamon, and salt until combined. It should look like wet sand. Time: 1 minute.
- Coat the Seeds: Add the dried seeds to the butter mixture. Toss them thoroughly with a spatula or your hands until every seed is evenly coated. You want a thin, even layer of the cinnamon-sugar mixture on each seed. Time: 2 minutes.
- Spread on Baking Sheet: Line a baking sheet with parchment paper or a silicone mat. Spread the coated seeds in a single layer. Do not overcrowd the pan. If they are piled on top of each other, they won’t crisp up evenly. You may need to use two pans. Time: 2 minutes.
- Bake: Place the baking sheet in the preheated oven. Bake for 15-20 minutes, stirring the seeds every 5 minutes to ensure they don’t burn and to promote even browning. The seeds are done when they are golden brown and smell fragrant. Time: 15-20 minutes.
- Cool: Remove the pan from the oven. The seeds will continue to crisp up as they cool. Let them sit on the pan for at least 10 minutes before eating. Time: 10 minutes.
A common mistake is taking them out too early. They will feel soft when they come out of the oven, but they will harden significantly as they cool. Trust the process. If you taste them hot, they might seem underdone, but patience is key here. Another tip is to keep an eye on the edges of the pan, as they tend to cook faster than the center. Stirring regularly helps mitigate this.
Cooking Tips & Techniques
Having roasted hundreds of batches of pumpkin seeds over the years, I’ve learned a few tricks that make a huge difference in the final product. The biggest lesson I learned was about moisture. I used to rush the drying step, and my seeds would end up chewy and sad. Now, I always take the time to dry them thoroughly, and sometimes I even let them air dry for an hour before roasting if I’m not in a hurry.
Another technique is to use a low and slow approach. While 325°F is the standard, I find that roasting at 300°F for 25 minutes gives me a more even color without the risk of burning the sugar. Sugar burns easily, and burnt cinnamon tastes bitter. If you see the seeds starting to darken too quickly, lower the temperature or cover them loosely with foil.
Multitasking is also key. While the seeds are roasting, you can prep other snacks or drinks. These seeds are pretty forgiving, but you do need to stir them. Set a timer for every 5 minutes so you don’t forget. I often use this time to clean up the kitchen, so everything is ready when the seeds are done.
For consistency, always measure your spices by volume rather than by eye. Too much cinnamon can overwhelm the nutty flavor of the seeds, while too little sugar won’t create that nice crust. I use a standard teaspoon measure for accuracy. Also, if you are making a large batch, stick to one pan at a time if possible. Overcrowding the oven reduces air circulation and can lead to uneven cooking.
Variations & Adaptations
One of the best things about this recipe is how adaptable it is. Once you master the basic method, you can experiment with different flavors to suit your mood or dietary needs.
- Spicy Kick: Add 1/4 teaspoon of cayenne pepper or a pinch of chili powder to the cinnamon-sugar mixture. This creates a sweet and heat combination that is addictive. It pairs wonderfully with a cold beer or a spicy margarita.
- Maple Glaze: Substitute the granulated sugar with maple sugar or drizzle real maple syrup over the seeds after they come out of the oven. The maple flavor is rich and autumnal, perfect for fall gatherings.
- Herb and Vinegar: For a savory twist, skip the sugar and cinnamon. Toss the seeds with olive oil, dried rosemary, thyme, and a splash of apple cider vinegar after roasting. This is a great option for those avoiding sugar.
- Chocolate Covered: Once the seeds are completely cool, melt some dark chocolate and dip half of each seed. Sprinkle with sea salt immediately. These are a decadent treat that rivals store-bought chocolates.
- Gluten-Free & Vegan: This recipe is naturally gluten-free. To make it vegan, simply swap the butter for coconut oil or a plant-based butter alternative. The texture and flavor remain almost identical.
I once tried making these with honey instead of sugar, and while they were delicious, they were much stickier and harder to store. I stick to granulated sugar for the best texture, but the maple variation is a close second for flavor complexity. Don’t be afraid to mix and match spices. Cardamom and orange zest work surprisingly well together.
Serving & Storage Suggestions
These crispy cinnamon sugar baked pumpkin seeds are best served at room temperature. They are perfect for snacking straight from the jar, but they also make a great topping for salads, oatmeal, or yogurt. I love sprinkling them over a creamy butternut squash soup for added crunch and flavor contrast.
For storage, let the seeds cool completely to room temperature before transferring them to an airtight container. They will keep at room temperature for up to 2 weeks. If you live in a humid climate, store them in the refrigerator to maintain crispiness. They can also be frozen for up to 3 months, though I rarely make enough to last that long!
To reheat, simply spread them on a baking sheet and warm them in the oven at 300°F for 5 minutes. This will restore their crunch if they have softened slightly. Avoid microwaving, as this can make them chewy. The flavors actually develop and meld together over the first few days, so they often taste better on day two than they do fresh out of the oven.
Nutritional Information & Benefits
While these are a sweet treat, they are also a nutritious snack. Pumpkin seeds are packed with protein, fiber, magnesium, and zinc. They are a great source of healthy fats and can help support heart health and immune function. Compared to chips or candy, these seeds offer a more balanced nutritional profile.
Each serving (about 1/4 cup) contains approximately 150 calories, with 8g of protein, 10g of fat, and 12g of carbohydrates. The sugar content is moderate, making them a better option than many processed snacks. They are naturally gluten-free and can be made vegan, making them suitable for a wide range of dietary needs. However, they are high in calories, so portion control is key if you are watching your intake.
From a wellness perspective, I love that these seeds provide a satisfying crunch and sweetness without the crash of refined sugar. They are a great way to incorporate more plant-based foods into your diet. Plus, using the seeds from your own pumpkin reduces food waste, which is a small but meaningful step toward sustainability.
Conclusion
There is something deeply satisfying about turning a simple pumpkin into a gourmet snack. These crispy cinnamon sugar baked pumpkin seeds are proof that you don’t need fancy ingredients or complicated techniques to make something delicious. They are easy, affordable, and incredibly versatile. Whether you are making them for a holiday party, a movie night, or just because you want a healthy treat, they are sure to be a hit.
I encourage you to experiment with different spices and flavors. Add some chili powder for a kick, or try a savory herb blend. The possibilities are endless. I love making these because they connect me to the season, reminding me of fall harvests and cozy evenings. They are a small indulgence that feels good in your body and your soul.
Give this recipe a try and let me know how it turns out. I’d love to hear about your variations and how you enjoy them. Don’t forget to share your creations on social media or leave a comment below with your favorite spice combo. Happy snacking!
FAQs
Can I use store-bought pumpkin seeds for this recipe?
Yes, you can use raw, shelled pumpkin seeds from the store. However, fresh seeds from a pumpkin often have a richer flavor and a better texture. If using store-bought seeds, skip the rinsing step and go straight to drying them thoroughly before roasting.
Why are my pumpkin seeds soft instead of crispy?
The most common reason is insufficient drying. Make sure you pat the seeds completely dry before coating them with butter and sugar. Also, ensure they are in a single layer on the baking sheet and not overcrowded. If they are piled up, they will steam instead of roast.
How do I store leftover pumpkin seeds?
Store them in an airtight container at room temperature for up to 2 weeks. If you live in a humid area, store them in the refrigerator to prevent them from becoming soggy. They can also be frozen for longer storage.
Can I make these ahead of time?
Yes, these seeds can be made up to 2 weeks in advance. They actually taste better after a day or two as the flavors meld together. Just make sure they are completely cool before storing to prevent moisture buildup.
Are these pumpkin seeds healthy?
Pumpkin seeds are nutritious, containing protein, fiber, and healthy fats. The addition of sugar and butter adds calories, so they should be enjoyed in moderation. However, they are a much healthier alternative to chips or candy, offering more nutrients and less processed ingredients.
Pin This Recipe!
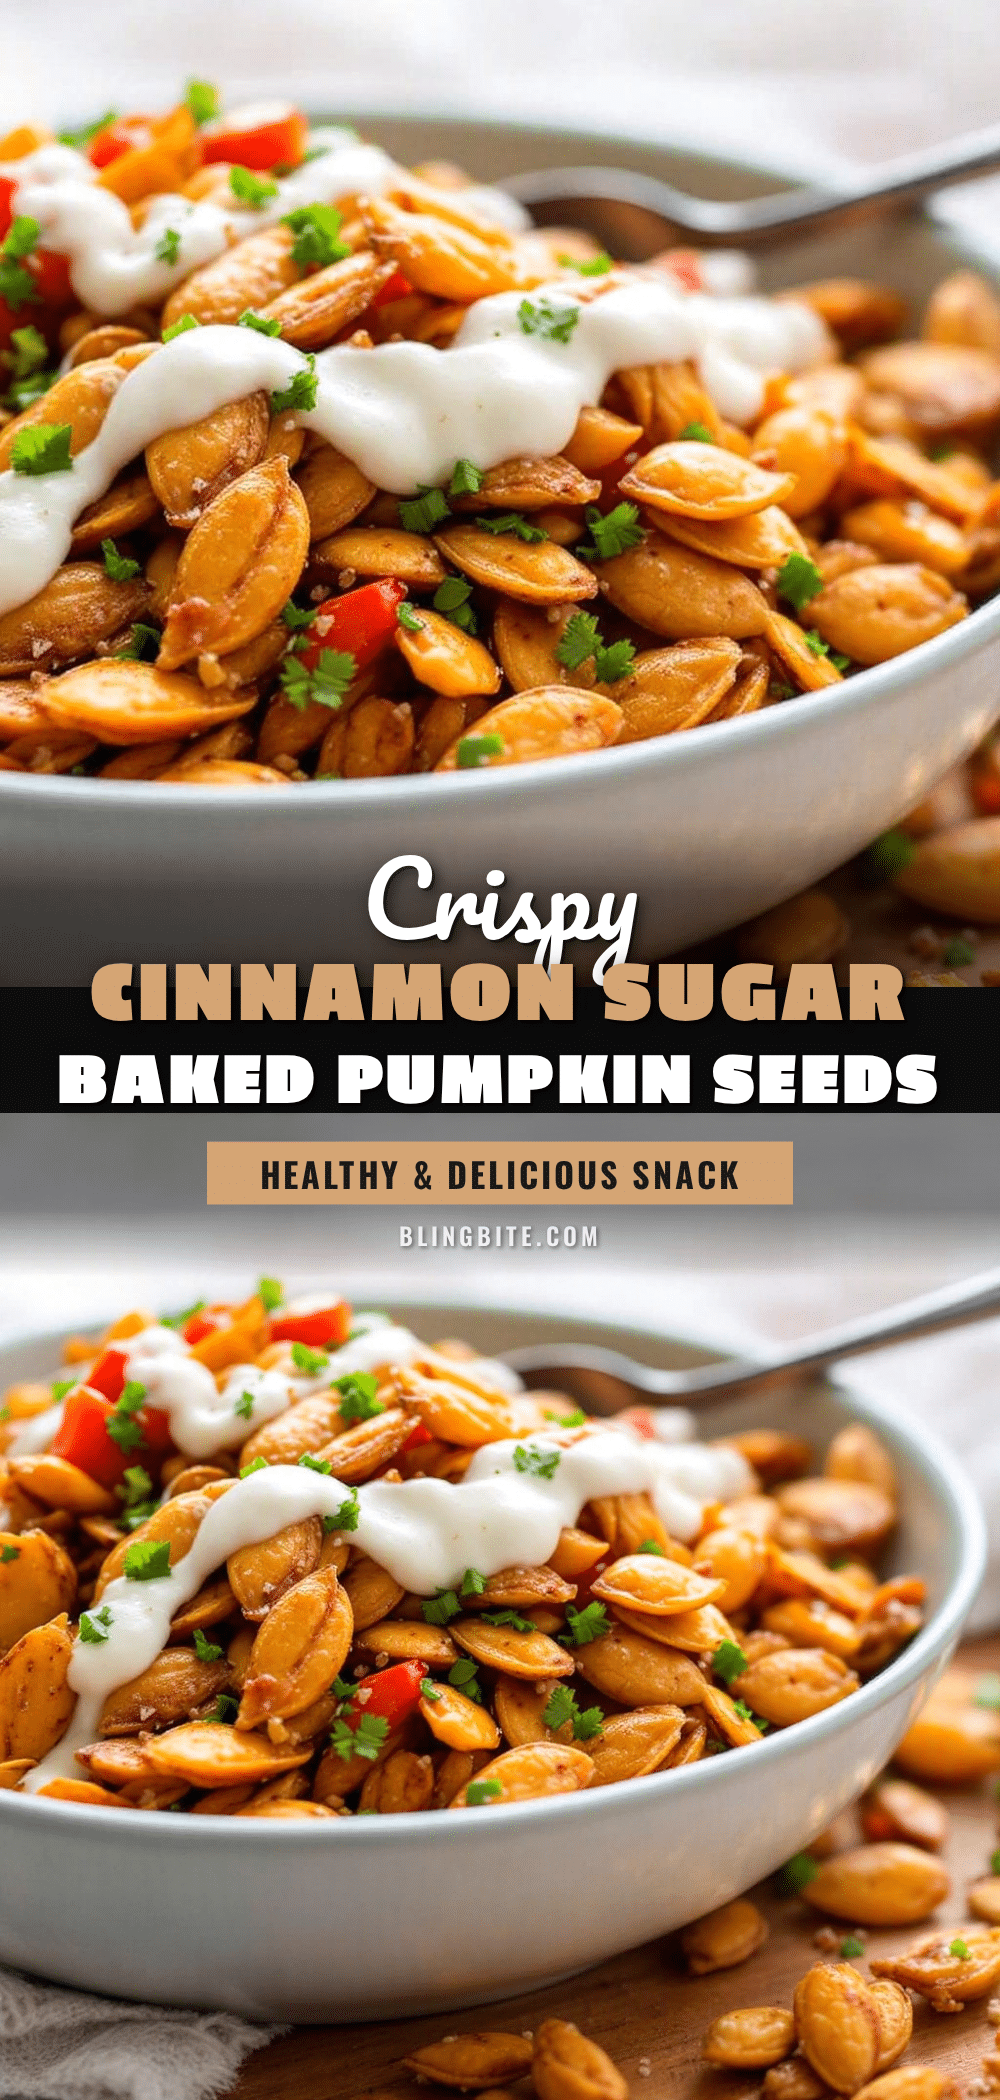
Crispy Cinnamon Sugar Baked Pumpkin Seeds: 5-Step Snack

Transform leftover pumpkin seeds into a crunchy, sweet, and savory snack with this simple baked recipe. Perfect for movie nights or healthy snacking, these seeds are coated in butter, cinnamon, and sugar for a caramelized crust.
- Prep Time: 15 minutes
- Cook Time: 30 minutes
- Total Time: 45 minutes
- Yield: 4 servings 1x
- Category: Snack
- Cuisine: American
Ingredients
- 1 cup raw pumpkin seeds (pepitas)
- 2 tablespoons unsalted butter, melted
- 2 tablespoons granulated sugar
- 1 teaspoon ground cinnamon
- 1/2 teaspoon kosher salt
- Optional: Pinch of cayenne pepper or pumpkin pie spice
Instructions
- Preheat oven to 325°F (165°C). If using raw shelled seeds, spread them on a dry baking sheet and pre-roast for 10-12 minutes to dry them out. If using fresh seeds, skip this step.
- If using fresh seeds, scoop them from the pumpkin and rinse thoroughly in cold water to remove pulp. Let good seeds sink and skim off floating debris. Repeat until water runs clear.
- Spread cleaned seeds on paper towels or a clean kitchen towel and pat dry thoroughly to remove all surface moisture. This step is crucial for crispiness.
- In a small microwave-safe bowl, melt the butter. Stir in the sugar, cinnamon, and salt until the mixture resembles wet sand.
- Add the dried seeds to the butter mixture and toss thoroughly with a spatula or hands until every seed is evenly coated.
- Line a baking sheet with parchment paper or a silicone mat. Spread the coated seeds in a single layer, ensuring they are not overcrowded.
- Bake for 15-20 minutes, stirring the seeds every 5 minutes to ensure even browning and prevent burning. They are done when golden brown and fragrant.
- Remove from the oven and let cool on the pan for at least 10 minutes. The seeds will continue to crisp up as they cool.
Notes
Ensure seeds are completely dry before roasting to prevent steaming. Stir frequently during baking to avoid burning the sugar. Seeds will harden as they cool, so do not remove them from the oven too early. Store in an airtight container at room temperature for up to 2 weeks.
Nutrition
- Serving Size: 1/4 cup
- Calories: 150
- Sugar: 8
- Sodium: 150
- Fat: 10
- Saturated Fat: 3.5
- Carbohydrates: 12
- Fiber: 2
- Protein: 8
Keywords: pumpkin seeds, pepitas, cinnamon sugar, baked snacks, healthy snacks, fall recipes, gluten-free snacks, vegan snacks, movie night snacks


