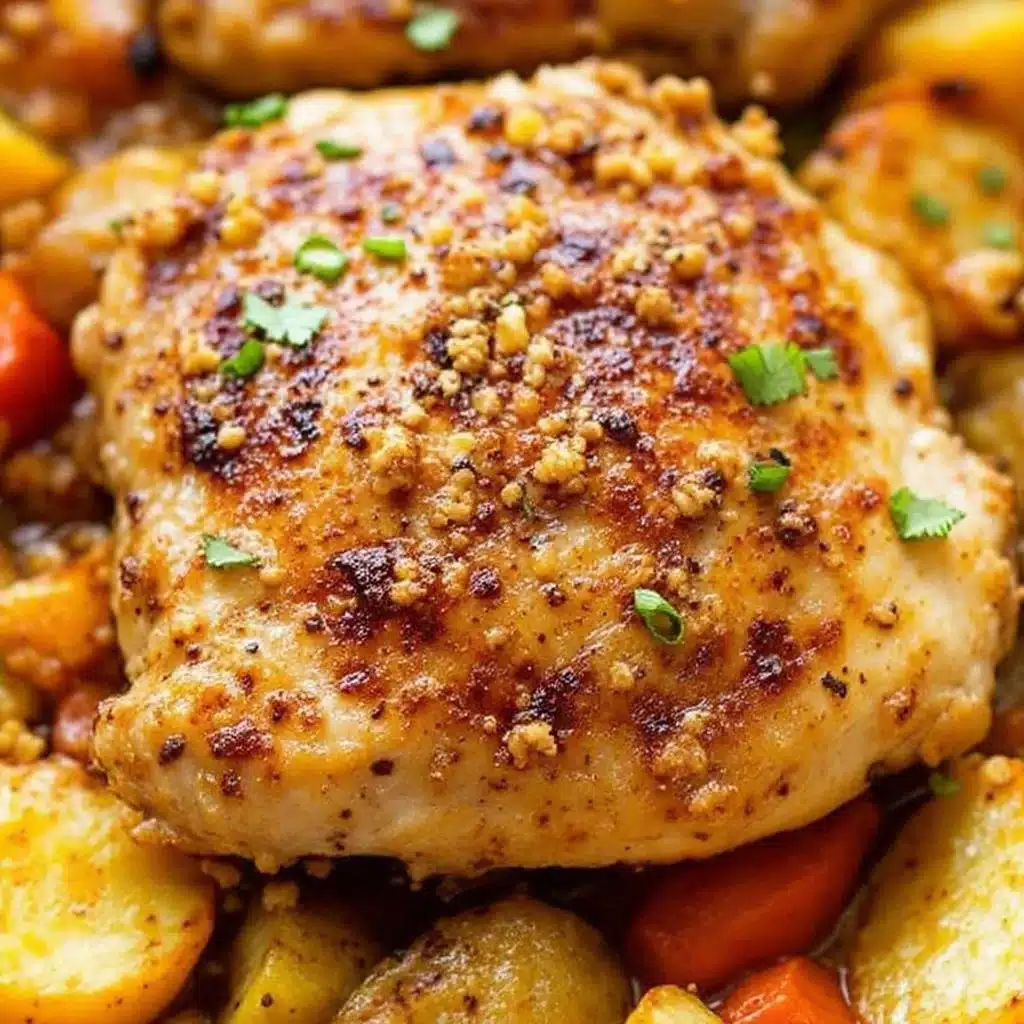
Sarah had been looking for a weeknight dinner that actually tasted like effort without requiring a second shift of dishwashing. For a while, she just accepted that chicken thighs were going to taste like dry cardboard unless you spent an hour basting them like a Thanksgiving turkey. That was the gap. The craving was for something rich, something that coated the tongue in savory goodness, but the reality was always a compromise. You either had the flavor or you had the free time. Rarely both.
It wasn’t that she didn’t love cooking. Honestly, she did. But the mental load of chopping vegetables for a side dish, then monitoring a sauce, then scrubbing three separate pots felt like a punishment rather than a hobby. She wanted a meal that felt like a hug but cooked itself mostly. She wanted the garlic to smell like it was sautéing in gold and butter, not just sitting there raw.
Then came the night she stopped trying to be fancy. She stopped worrying about presentation and just threw everything into one skillet. The result wasn’t just good; it was quietly satisfying in a way that changed her Thursday nights. It wasn’t triumphant. It was just… done. And delicious. Now, whenever the sun goes down and the stress of the day hits, she reaches for this one-pan garlic butter chicken thighs recipe. It’s the anchor. It’s the thing that says, “We’ll eat well, and we’ll sleep easy.”
Why You’ll Love This Recipe
There’s a specific kind of magic that happens when you stop fighting your ingredients and start letting them work together. This recipe isn’t just another chicken dish; it’s the result of years of trial and error in my own kitchen, where I’ve learned that less really is more when it comes to flavor intensity. I’ve tested this method with boneless breasts, with skin-on thighs, with frozen cuts, and with fresh ones. The skin-on thighs are the winner, hands down. They render down their own fat, creating a natural pan sauce that no amount of store-bought seasoning can replicate.
Here is why this dish stays in the rotation:
* **Quick & Easy**: From preheat to plate is about 30 minutes. It’s perfect for those chaotic weeknights when you’re hungry but don’t have the energy to assemble a complex meal.
* **Simple Ingredients**: You likely have the core components in your kitchen right now. Chicken, butter, garlic, and a few herbs. No obscure grocery trips needed.
* **Perfect for Weeknights**: It’s low-stress cooking. You sear, you pour, you wait. There’s no constant stirring or delicate timing that leads to burnt dinners.
* **Crowd-Pleaser**: Kids usually love the tender texture of the thighs, and adults appreciate the sophisticated garlic flavor. It’s a safe bet for picky eaters and foodies alike.
* **Unbelievably Delicious**: The texture is next-level comfort food. The skin crisps up while the meat stays juicy, and the garlic butter sauce ties it all together in a way that feels indulgent but simple.
What makes this different from the rest? It’s the balance. Many recipes drown the chicken in too much sauce or under-season the meat before cooking. This method relies on proper searing to build fond—the browned bits at the bottom of the pan—which becomes the base for the sauce. It’s a technique that elevates the dish from “boiled chicken” to restaurant-quality comfort. It’s the kind of meal that makes you close your eyes after the first bite. It’s soul-soothing. If you’re looking for other easy dinners, you might also enjoy checking out the tender slow cooker chicken fajitas for a different flavor profile, or perhaps the crockpot chicken and dumplings if you want something even more hands-off.
What Ingredients You Will Need
This recipe uses simple, wholesome ingredients to deliver bold flavor and satisfying texture without the fuss. The key here is quality over quantity. Since there are so few components, each one needs to shine. I recommend using unsalted butter so you can control the saltiness, and fresh garlic because pre-minced jarred garlic can sometimes taste metallic or bitter when cooked at high heat.
Here is what you’ll need to gather:
**For the Chicken:**
* **Chicken thighs**: 1.5 to 2 pounds, bone-in, skin-on. Boneless thighs work too, but bone-in stays juicier. Look for fresh, not frozen, if possible.
* **Olive oil**: 2 tablespoons. Helps with the initial sear and prevents the butter from burning.
* **Kosher salt**: 1 teaspoon. Use coarse salt for better control.
* **Black pepper**: ½ teaspoon. Freshly cracked is best.
* **Paprika**: 1 teaspoon. Adds color and a subtle smokiness.
* **Dried thyme**: 1 teaspoon. Or use fresh if you have it growing on your windowsill.
**For the Garlic Butter Sauce:**
* **Unsalted butter**: 4 tablespoons. Don’t skimp here. This is the vehicle for the flavor.
* **Garlic**: 6-8 cloves, minced. Yes, a lot of garlic. It mellows out as it cooks.
* **Chicken broth**: ½ cup. Use low-sodium so you can adjust the seasoning at the end.
* **Lemon juice**: 1 tablespoon. Adds brightness to cut through the richness of the butter.
* **Fresh parsley**: 2 tablespoons, chopped. For color and a fresh finish.
**Substitutions & Tips:**
If you’re dairy-free, you can swap the butter for olive oil or a high-quality plant-based butter, though the flavor profile will change slightly. For a gluten-free option, ensure your chicken broth is certified gluten-free. I personally prefer using a cast-iron skillet for this because it holds heat evenly, but any heavy-bottomed pan will do. If you can’t find fresh thyme, a pinch of dried oregano works in a pinch.
Equipment Needed
You don’t need a fancy kitchen to make this work. The most critical piece of equipment is a large skillet. A 12-inch cast-iron skillet is ideal because it distributes heat evenly and can go from stovetop to oven if you choose to finish it that way. Stainless steel is also a great option if you prefer easier cleanup, though you’ll need to be careful not to let the butter burn.
Other essentials include a sharp knife for mincing the garlic and a pair of tongs for turning the chicken. Tongs are much safer than a fork, which can pierce the skin and release juices, leading to steaming instead of searing. A wooden spoon or silicone spatula is helpful for scraping up the fond (the browned bits) from the bottom of the pan. This is crucial for building the sauce’s flavor.
If you’re using a non-stick pan, be gentle. You won’t get as nice of a crust, but it will still taste good. Budget-friendly options include a standard 10-inch skillet, though you may need to cook the chicken in two batches. Having a measuring cup for the broth and a small bowl for mixing your spices beforehand will keep your cooking process smooth and stress-free.
Preparation Method
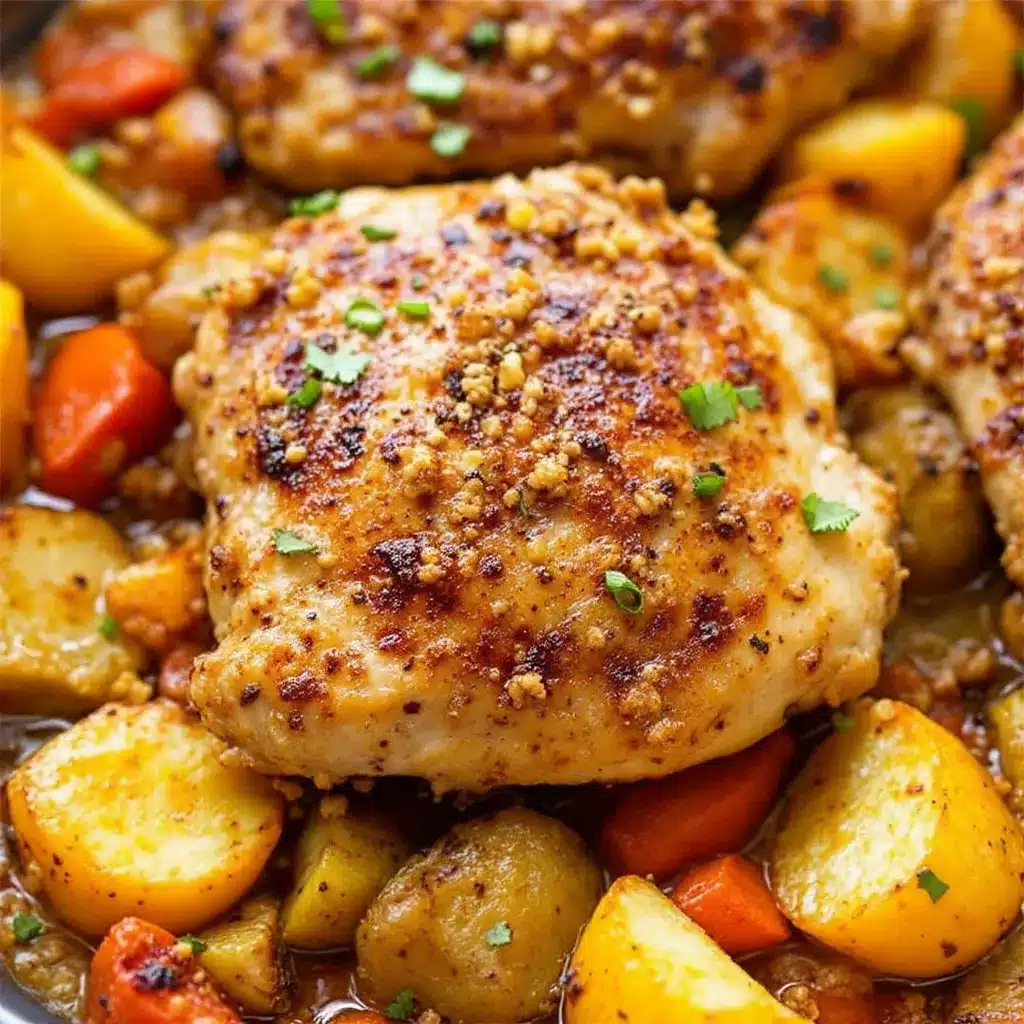
Let’s get into the nitty-gritty of how to make this come together. The process is straightforward, but attention to detail makes the difference between good and great.
1. **Prep the Chicken (5 minutes)**: Pat the chicken thighs completely dry with paper towels. This is the most important step for getting crispy skin. Moisture is the enemy of the sear. Season both sides generously with salt, pepper, paprika, and thyme. Don’t be shy with the seasoning.
2. **Heat the Pan (3 minutes)**: Place your large skillet over medium-high heat. Add the olive oil and let it heat up until it shimmers. You want it hot enough to sizzle when the chicken hits it, but not smoking.
3. **Sear the Chicken (10-12 minutes)**: Place the chicken thighs in the pan, skin-side down. Press them down gently with a spatula to ensure full contact with the pan. Let them cook undisturbed for 6-7 minutes. You want a deep golden-brown crust. Flip them and cook for another 4-5 minutes on the other side. Remove the chicken to a plate. It doesn’t need to be fully cooked through yet; it will finish in the sauce.
4. **Make the Sauce (5 minutes)**: Reduce the heat to medium. Add the butter to the same pan. Once melted, add the minced garlic. Stir constantly for about 1 minute. Watch it closely! Garlic burns quickly. You want it fragrant, not brown.
5. **Deglaze and Simmer (5 minutes)**: Pour in the chicken broth and lemon juice. Use your wooden spoon to scrape up all the browned bits from the bottom of the pan. These bits are pure flavor. Let the sauce simmer for 2-3 minutes until it reduces slightly and thickens.
6. **Finish the Chicken (5 minutes)**: Return the chicken thighs to the pan, nestling them into the sauce. Spoon some of the garlic butter sauce over the top of the chicken. Cover the pan with a lid and let it simmer on low heat for 5-7 minutes, or until the chicken reaches an internal temperature of 165°F (74°C).
7. **Garnish and Serve**: Remove from heat. Sprinkle with fresh parsley. Let it rest for 2 minutes before serving to allow the juices to redistribute.
Cooking Tips & Techniques
I’ve made this recipe enough times to know where things can go wrong. The biggest mistake people make is rushing the sear. If you move the chicken around too much in the beginning, it won’t develop that crust. Patience pays off. Let the Maillard reaction happen.
Another common issue is burning the garlic. Because garlic is so small, it cooks much faster than the chicken. That’s why we add it after removing the chicken and lowering the heat. If you add it at the start, it will turn bitter before the chicken is done.
For consistent results, make sure your chicken thighs are roughly the same size. If you have some huge ones and some tiny ones, the small ones will overcook before the big ones are done. Trim any excess skin or fat if you prefer, but leave enough to render down for flavor.
Multitasking is key here. While the chicken sears, you can prep your garlic and measure your spices. This way, when the chicken comes out, you’re ready to go. This recipe is forgiving, but it does require your attention during the searing and sauce-making phases. Once it’s simmering, you can clean up a bit or set the table.
Variations & Adaptations
One of the best things about this recipe is how easily it adapts to your tastes or what’s in your fridge. Here are a few ways to shake it up:
* **Lemon Herb**: Add the zest of one lemon to the sauce along with the juice. Swap thyme for rosemary for a more piney, robust flavor.
* **Spicy Kick**: Add a pinch of red pepper flakes or a dash of cayenne pepper to the butter sauce. This pairs beautifully with the garlic.
* **Creamy Garlic**: Stir in ½ cup of heavy cream or half-and-half at the end of the sauce making. This creates a richer, more indulgent sauce that’s perfect for pouring over mashed potatoes.
* **Vegetable Add-In**: Toss in some cherry tomatoes or asparagus spears during the last 5 minutes of simmering. They’ll cook in the sauce and add a nice freshness.
* **Dairy-Free**: Swap butter for olive oil or avocado oil. The sauce will be lighter, but still flavorful.
I personally love adding a handful of spinach at the very end. It wilts down into the sauce, adding color and nutrients without changing the flavor profile much. It’s a great way to sneak in more veggies for picky eaters.
Serving & Storage Suggestions
This dish is best served hot, right out of the pan. It pairs wonderfully with crusty bread to soak up every last drop of garlic butter sauce. Mashed potatoes, rice, or roasted vegetables like broccoli or green beans are also excellent sides. A simple green salad with a vinaigrette cuts through the richness of the dish nicely.
For storage, let the chicken cool completely before transferring it to an airtight container. It will keep in the refrigerator for up to 3 days. To reheat, gently warm it in a skillet over low heat with a splash of broth or water to prevent drying out. You can also microwave it, but the skin won’t stay crispy.
Freezing is possible, but the texture of the skin may change slightly upon thawing. If you plan to freeze it, consider removing the skin before freezing and adding it back when reheating. The sauce freezes well, so you can freeze just the sauce and serve it over fresh chicken later.
Nutritional Information & Benefits
This recipe is naturally low-carb and gluten-free, making it suitable for many dietary preferences. Chicken thighs are a good source of protein and B vitamins. The garlic offers anti-inflammatory properties, and the olive butter provides healthy fats.
Per serving (approximate):
* Calories: 450
* Protein: 35g
* Fat: 32g
* Carbohydrates: 3g
* Fiber: 0.5g
Always check your specific ingredient labels for accurate nutritional data, as brands and portion sizes can vary. This dish is rich, so a little goes a long way. Pair it with a side of vegetables to balance out the meal.
Conclusion
This easy one-pan garlic butter chicken thighs recipe is worth trying because it delivers maximum flavor with minimum effort. It’s reliable, delicious, and perfect for busy weeknights. I encourage you to customize it with your favorite herbs or spices to make it your own. I love this recipe because it brings a sense of calm to my kitchen. It’s simple, honest food.
Please try it out and let me know how it turns out! I’d love to hear your variations in the comments. Share your photos on social media if you do—I love seeing how you make this dish your own. Happy cooking!
Frequently Asked Questions
Can I use boneless chicken breasts instead of thighs?
Yes, you can use boneless chicken breasts, but they cook faster and can dry out more easily. Reduce the cooking time by about 2-3 minutes and keep a close eye on the internal temperature to ensure it doesn’t exceed 165°F.
How do I get the skin extra crispy?
Pat the chicken thoroughly dry before seasoning. Make sure the pan is hot before adding the chicken, and don’t move it around while it’s searing. Let it develop a deep golden crust before flipping.
Can I make this in the oven?
Absolutely. Sear the chicken in an oven-safe skillet first, then add the sauce ingredients. Transfer the whole skillet to a preheated 400°F oven for 15-20 minutes until the chicken is cooked through.
What can I serve with this recipe?
This pairs well with mashed potatoes, rice, quinoa, roasted vegetables, or a simple green salad. Crusty bread is also great for soaking up the sauce.
How do I store leftovers?
Store leftovers in an airtight container in the refrigerator for up to 3 days. Reheat gently in a skillet or microwave. The sauce may thicken when cold; add a splash of broth or water when reheating to loosen it up.
Pin This Recipe!
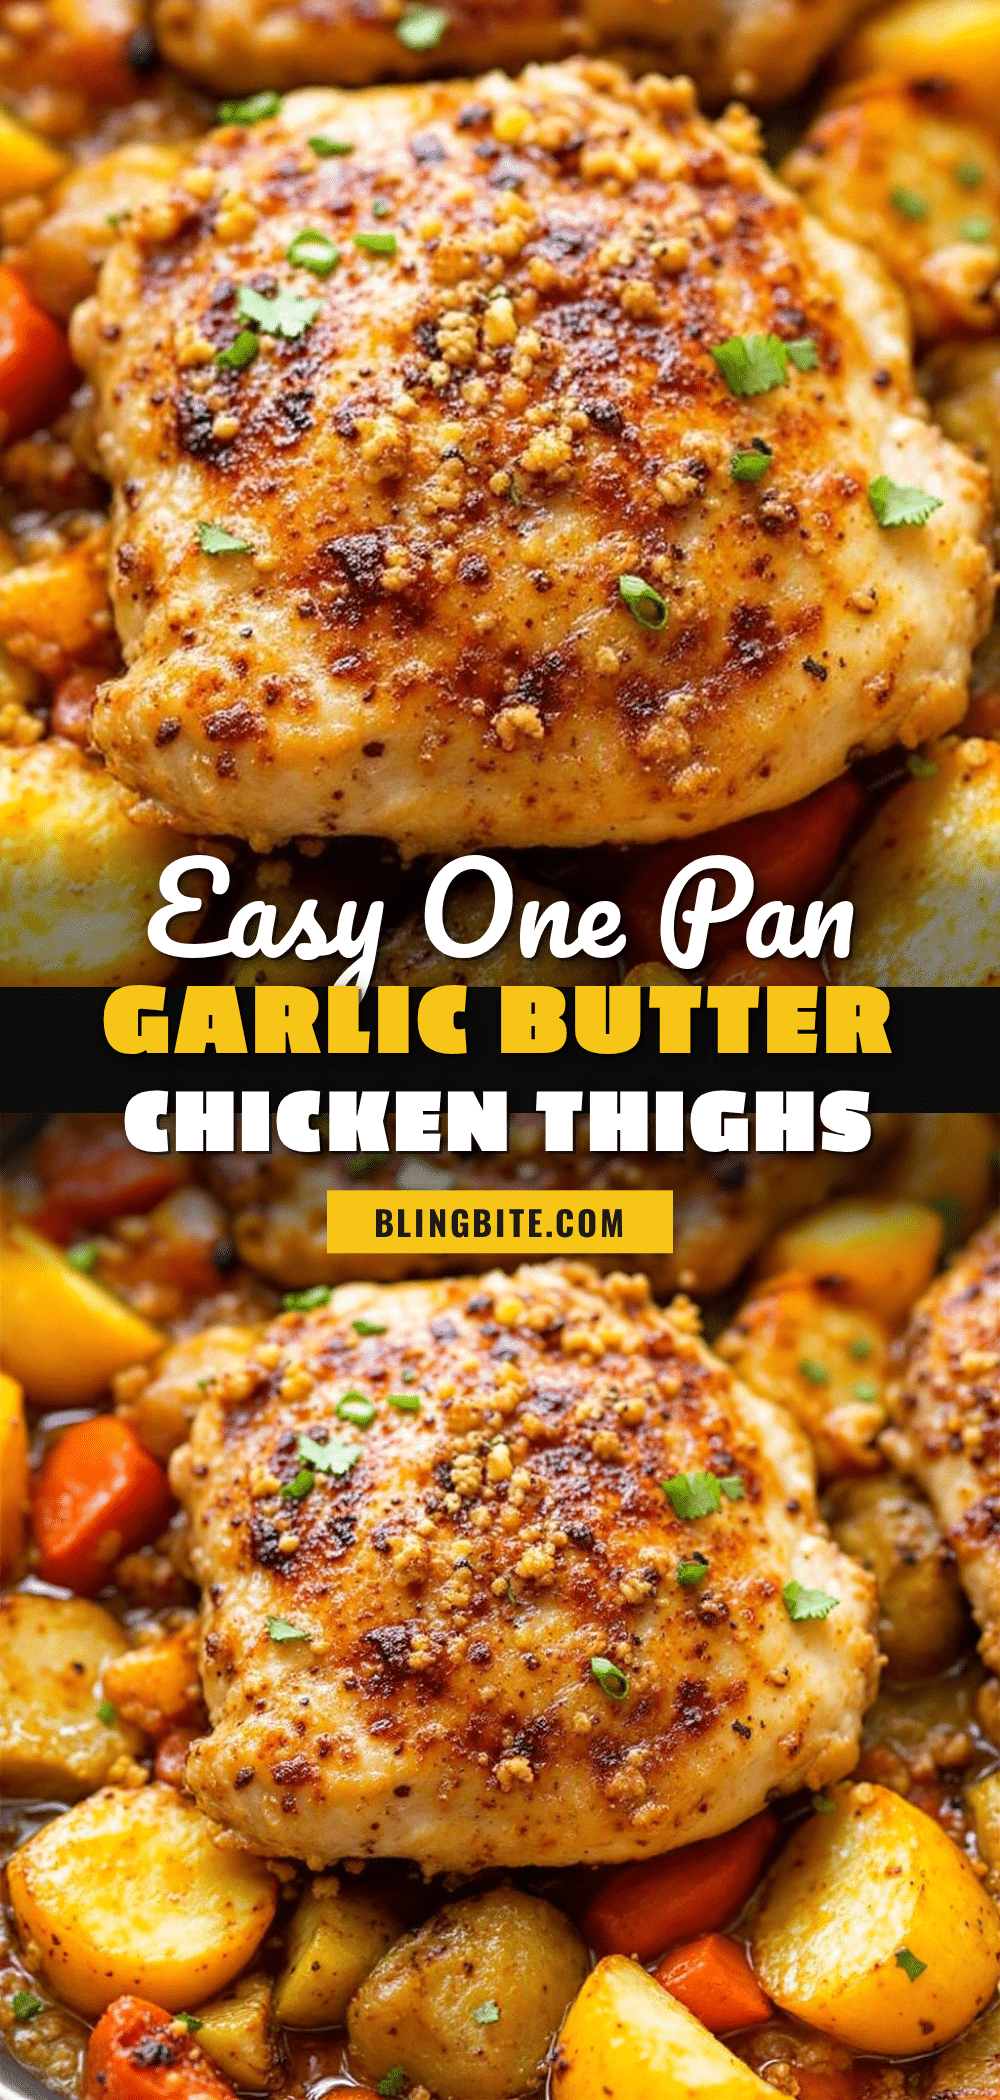
Easy One-Pan Garlic Butter Chicken Thighs Recipe
A quick and easy weeknight dinner featuring juicy, skin-on chicken thighs seared in a skillet and finished in a rich garlic butter sauce. This one-pan meal is low-stress, flavorful, and perfect for busy evenings.
- Prep Time: 5 minutes
- Cook Time: 25 minutes
- Total Time: 30 minutes
- Yield: 4 servings 1x
- Category: Main Course
- Cuisine: American
Ingredients
- 1.5 to 2 pounds bone-in, skin-on chicken thighs
- 2 tablespoons olive oil
- 1 teaspoon kosher salt
- 1/2 teaspoon black pepper
- 1 teaspoon paprika
- 1 teaspoon dried thyme
- 4 tablespoons unsalted butter
- 6–8 cloves garlic, minced
- 1/2 cup low-sodium chicken broth
- 1 tablespoon lemon juice
- 2 tablespoons fresh parsley, chopped
Instructions
- Pat chicken thighs completely dry with paper towels and season both sides generously with salt, pepper, paprika, and thyme.
- Heat a large skillet (preferably cast-iron) over medium-high heat and add olive oil until it shimmers.
- Place chicken thighs skin-side down in the pan. Press gently to ensure contact and cook undisturbed for 6-7 minutes until golden brown. Flip and cook for another 4-5 minutes. Remove chicken to a plate.
- Reduce heat to medium. Add butter to the same pan. Once melted, add minced garlic and stir constantly for about 1 minute until fragrant.
- Pour in chicken broth and lemon juice. Use a wooden spoon to scrape up browned bits (fond) from the bottom of the pan. Simmer for 2-3 minutes until sauce reduces slightly.
- Return chicken thighs to the pan, nestling them into the sauce. Spoon sauce over the top. Cover and simmer on low heat for 5-7 minutes until internal temperature reaches 165°F.
- Remove from heat, sprinkle with fresh parsley, and let rest for 2 minutes before serving.
Notes
For extra crispy skin, ensure the chicken is completely dry before seasoning and do not move it while searing. If using boneless breasts, reduce cooking time by 2-3 minutes. For a creamy variation, stir in heavy cream at the end. To deglaze effectively, scrape up all browned bits from the pan bottom.
Nutrition
- Serving Size: 1 chicken thigh with
- Calories: 450
- Sugar: 1
- Sodium: 600
- Fat: 32
- Saturated Fat: 12
- Carbohydrates: 3
- Fiber: 0.5
- Protein: 35
Keywords: chicken thighs, garlic butter, one-pan dinner, weeknight meals, easy chicken recipe, keto friendly, gluten-free dinner


