I assumed making pan de muerto from scratch would require a degree in pastry arts and a tolerance for disappointment. It took about an hour of kneading dough that felt like it was actively resisting my hands for that assumption to fall apart completely. Honestly, I was ready to just buy the plastic-wrapped loaves from the supermarket again. They are fine, sure, but they lack that soulful, yeasty warmth that only comes from working with your own two hands.
The tension between my fear of ruining a traditional recipe and my desire to make something beautiful is real. I kept worrying the orange blossom water would overpower the subtle anise flavor, or that the bread would turn out dense as a brick. But then I smelled the dough rising in the oven with the light on. That specific scent—citrusy, sweet, and deeply comforting—changed everything. It wasn’t just baking; it was preparing for a memory.
This Best Pan de Muerto with Orange Blossom Glaze isn’t just about feeding people. It is about honoring the days of the dead with a gesture that feels personal and intentional. The ritual of shaping the bones and the little skull on top forces you to slow down. You have to pay attention to the texture, the rise, and the timing.
I remember the first time I made this, I burned my fingers on the hot pan and spilled flour everywhere. My kitchen looked like a snowstorm had hit it. But when I pulled that golden, glossy loaf out of the oven, the mess didn’t matter. The bread smelled like home, like my abuela’s kitchen, even though I was thousands of miles away. That realization stuck with me. It’s not about perfection; it’s about presence.
If you are hesitant to try yeast breads, trust me on this one. The process is forgiving. The result is worth every sticky finger and every moment of waiting. This bread bridges the gap between the living and the remembered, served warm with a cup of hot chocolate or coffee. It is a quiet promise that love endures, even in the simplest of baked goods.
Why You’ll Love This Recipe
There is a reason this Best Pan de Muerto with Orange Blossom Glaze has become a staple in my kitchen, and it isn’t just because it looks pretty on the altar. It is because it strikes that perfect balance between tradition and approachability. I have tested countless versions over the years, tweaking the ratios of butter to flour and adjusting the sweetness until I found the sweet spot. This version is chef-tested for texture and family-approved for taste, meaning it will never let you down when you need it most.
Here is why this recipe stands out from the rest:
- Quick & Easy for Yeast Bread: While yeast doughs can be intimidating, this recipe comes together in under two hours of active work. It is perfect for busy weeknights or last-minute cravings before the weekend celebrations.
- Simple Ingredients: You likely already have everything in your kitchen. Flour, butter, sugar, eggs, and milk are pantry staples. The only special item is the orange blossom water, which adds that authentic aroma without needing a fancy grocery trip.
- Perfect for Day of the Dead: This is the centerpiece for your ofrenda or your Sunday gathering. It brings a sense of ceremony to the table that store-bought bread simply cannot match.
- Crowd-Pleaser: It always gets rave reviews from kids and adults alike. The subtle hint of anise and the sweet glaze make it a treat that feels indulgent but comforting.
- Unbelievably Delicious: The texture is next-level comfort food. It is soft, airy, and slightly sweet, with a crust that gives way to a tender crumb.
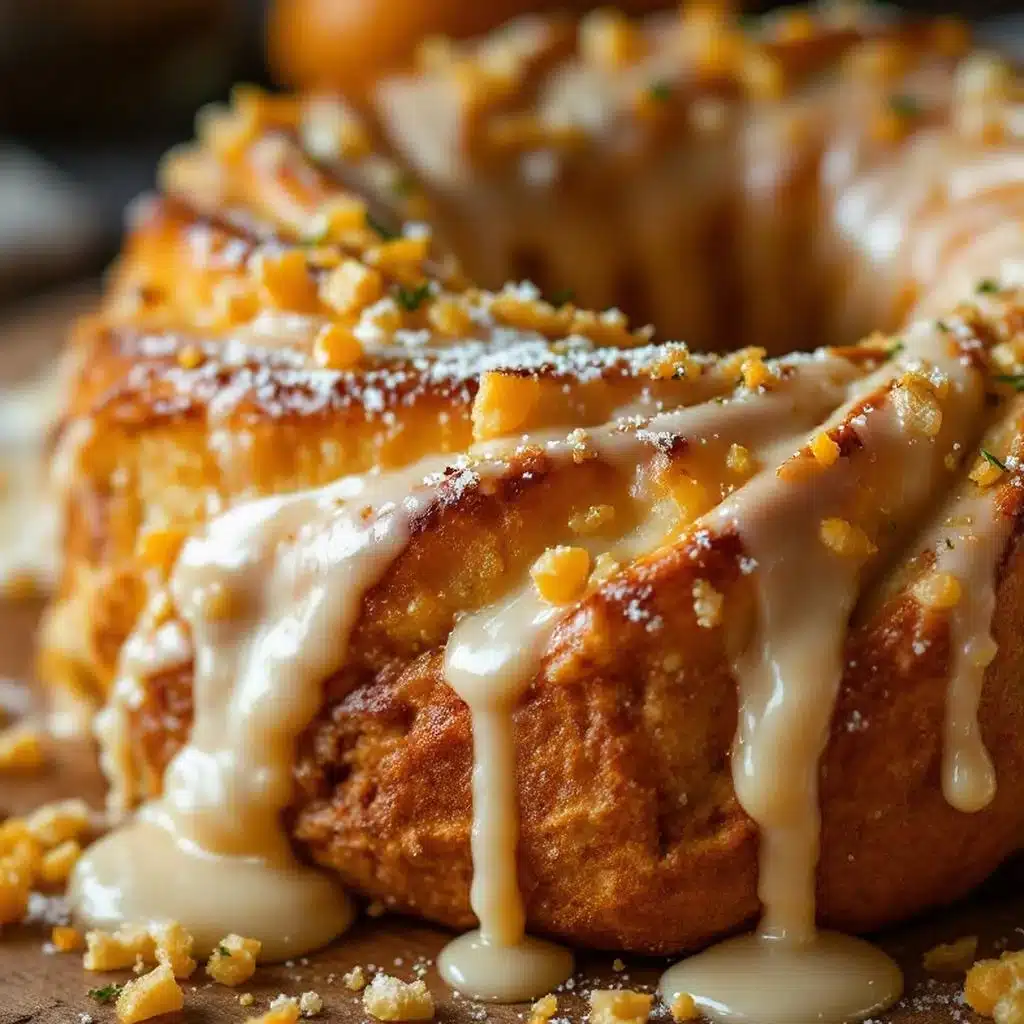
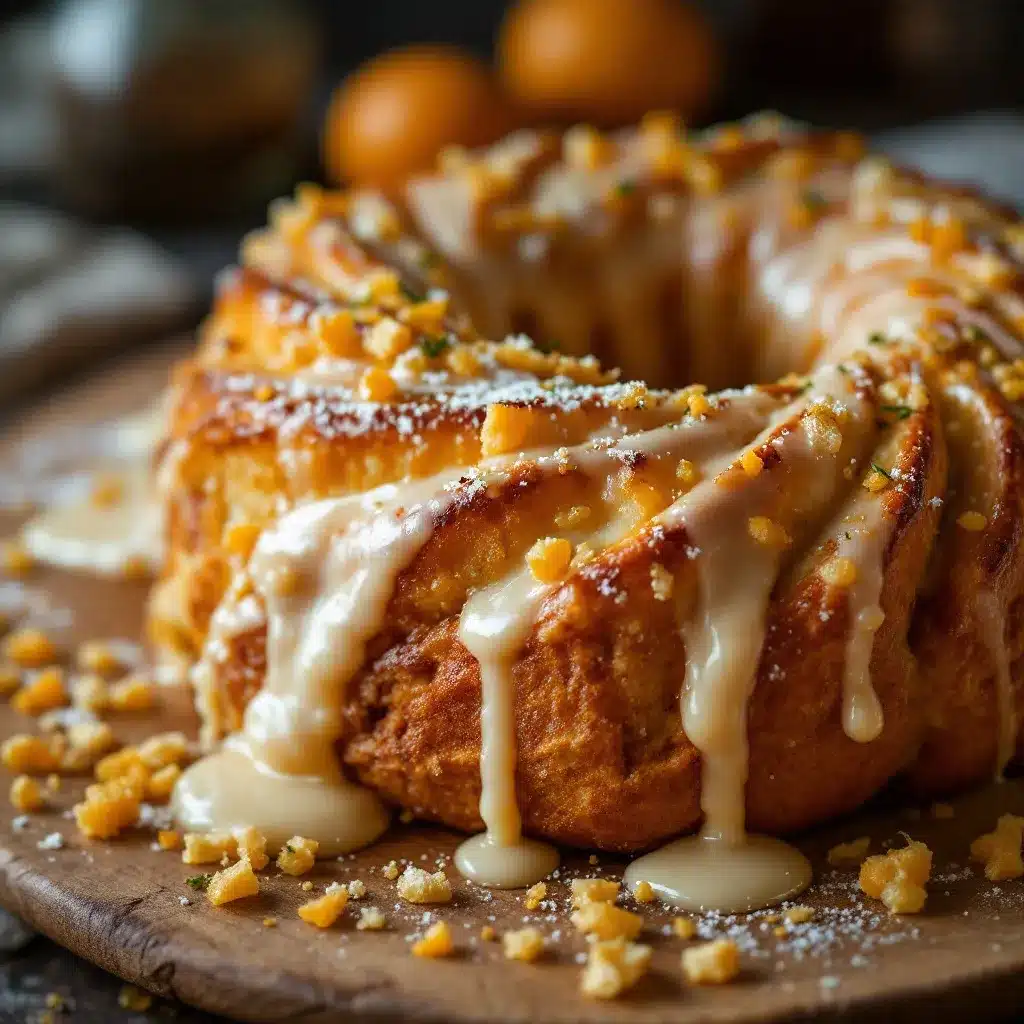
What makes this recipe different is the inclusion of the orange blossom glaze. Many traditional recipes skip the glaze, but I found that a light brush of sweetened citrus water adds a layer of sophistication and keeps the bread moist for days. It is not just another version of pan de muerto—it is your best version.
This recipe isn’t just good; it is the kind that makes you close your eyes after the first bite. It is comfort food reimagined—healthier in the sense that you control the sugar, faster than you think possible, but with the same soul-soothing satisfaction. It is perfect for impressing guests without stress, or turning a simple meal into something memorable. I also recommend pairing it with our Meyer Lemon Olive Oil Pound Cake if you want another citrus-forward treat that feels elegant yet simple.
What Ingredients You Will Need
This recipe uses simple, wholesome ingredients to deliver bold flavor and satisfying texture without the fuss. The magic lies in the quality of the butter and the freshness of the yeast. You do not need expensive, hard-to-find items, but you do need to choose wisely. For example, I recommend using European-style butter for the best flaky, tender crumb. Look for firm, active dry yeast or instant yeast that hasn’t been sitting in your cabinet for months.
Here is what you need to gather before you start mixing:
For the Dough
- Warm Milk: 1 cup (240 ml). It should be around 110°F (43°C)—warm to the touch but not hot, or you will kill the yeast.
- Active Dry Yeast: 2 ¼ teaspoons (one standard packet). This is the engine of the bread.
- Granulated Sugar: ½ cup (100 g). This feeds the yeast and adds sweetness.
- Unsalted Butter: ½ cup (113 g), softened. Room temperature butter incorporates better than cold butter.
- Eggs: 2 large eggs, room temperature. One egg is for the dough, and one is reserved for the egg wash.
- Orange Zest: From one medium orange. Use organic if possible to avoid pesticides. This adds a bright, floral note.
- Anise Seeds: 1 teaspoon, lightly crushed. This gives the bread its traditional licorice-like aroma.
- All-Purpose Flour: 3 ½ to 4 cups (420-480 g). You may not need all of it, so add gradually.
- Salt: 1 teaspoon. Essential for balancing the sweetness.
For the Orange Blossom Glaze
- Confectioners’ Sugar: 1 cup (120 g). Sifted to remove lumps.
- Orange Blossom Water: 1-2 teaspoons. This is the key flavor. Do not substitute with orange extract, as it is too strong.
- Milk: 1-2 tablespoons. Adjust for desired consistency.
For the Decorations
- Dough Strips: Reserved pieces of the main dough for shaping bones and skulls.
- White Pearl Sugar: For sprinkling on top. This gives the classic sparkle.
If you are looking for a substitution, you can use almond flour for a gluten-free option, though the texture will be denser. For the anise, fennel seeds can work in a pinch, but anise is traditional. In summer, you might swap the warm milk for slightly chilled milk to keep the dough from overheating in a hot kitchen.
Equipment Needed
You do not need a fancy stand mixer to make this bread, but having the right tools makes the process much smoother. A large mixing bowl is essential for giving the dough room to expand. If you use a stand mixer with a dough hook, it will save you some elbow grease, but a wooden spoon or your hands work just fine.
A kitchen thermometer is highly recommended for checking the milk temperature. Guessing can lead to flat bread if the yeast dies or a gummy texture if the dough is too warm. A baking sheet lined with parchment paper is necessary to prevent sticking and ensure even browning.
I personally prefer using a silicone baking mat over parchment because it provides a non-slip surface for shaping the dough. However, parchment paper is great for easy cleanup. If you do not have a pastry brush, you can use a clean, soft makeup brush for the glaze, though a silicone brush is easier to sanitize.
For the decorative elements, a small knife or bench scraper helps in cutting the dough strips evenly. There is no need to buy specialized pan de muerto molds; shaping by hand is part of the fun and ensures each loaf is unique. Keep a light towel handy to cover the dough while it rises, as drafts can slow down the yeast activity.
Preparation Method
Step 1: Activate the Yeast
In a small bowl, combine the warm milk, sugar, and yeast. Stir gently and let it sit for 5-10 minutes until it becomes foamy. If it does not foam, your yeast is dead, and you need to start over. This step takes about 10 minutes.
Step 2: Mix the Wet Ingredients
In a large bowl, whisk together the softened butter, one egg, orange zest, and crushed anise seeds. Pour in the activated yeast mixture. Whisk until everything is well combined. The mixture should look smooth and slightly bubbly. This takes about 2 minutes.
Step 3: Incorporate the Flour
Add the salt and 3 ½ cups of flour to the wet mixture. If using a stand mixer, use the dough hook on low speed. If mixing by hand, use a wooden spoon first, then switch to your hands. Add flour gradually, one half-cup at a time, until the dough starts to pull away from the sides of the bowl. Do not add all the flour at once; the humidity in your kitchen affects absorption. This step takes about 5 minutes.
Step 4: Knead the Dough
Turn the dough onto a lightly floured surface. Knead for 8-10 minutes until the dough is smooth, elastic, and passes the “windowpane test.” To test this, stretch a small piece of dough; it should be thin enough to see light through it without tearing. If it tears, keep kneading. This is crucial for a soft texture. This step takes about 10 minutes.
Step 5: First Rise
Place the dough in a greased bowl, turning once to coat. Cover with a damp towel or plastic wrap. Let it rise in a warm, draft-free spot for 1-1.5 hours, or until doubled in size. Press a finger into the dough; if the indentation remains, it is ready. This step takes about 90 minutes.
Step 6: Shape the Loaf
Gently punch down the dough to release air. Divide it into three parts: one large piece for the main round loaf, and two smaller pieces for the decorations (bones and skull). Roll the main piece into a smooth ball and place it on the baking sheet. Roll out the smaller pieces into long strips for bones and a small ball for the skull. Arrange them on top of the round loaf. This step takes about 15 minutes.
Step 7: Second Rise
Cover the shaped loaf again and let it rise for 30-45 minutes until puffy. Preheat your oven to 350°F (175°C) during the last 15 minutes of rising. This step takes about 40 minutes.
Step 8: Bake
Brush the loaf with the reserved egg wash and sprinkle generously with white pearl sugar. Bake for 25-30 minutes until golden brown. If the top browns too quickly, cover loosely with foil. The bread is done when it sounds hollow when tapped on the bottom. This step takes about 30 minutes.
Step 9: Glaze
While the bread bakes, whisk together the confectioners’ sugar, orange blossom water, and milk. Once the bread is out of the oven and still warm, brush the glaze over the top. The warmth helps the glaze absorb slightly rather than just sitting on top. Let it cool for 10 minutes before slicing. This takes about 10 minutes.
Cooking Tips & Techniques
Getting the dough consistency right is the most common stumbling block for home bakers. It is easy to add too much flour, which leads to dense bread. Remember that flour measurements vary by brand and humidity. Always err on the side of a slightly sticky dough; it will be easier to handle after the first rise. If the dough sticks to your hands, wet them slightly instead of adding more flour.
Another tip is to be gentle when shaping the loaf. You want to keep as much air in the dough as possible to ensure a light, airy crumb. Pressing too hard will deflate the structure. Also, ensure your oven is fully preheated before putting the bread in. Yeast breads need consistent heat to rise properly in the oven, a process called “oven spring.”
I once rushed the second rise, and the result was a hard, dense loaf that cracked unevenly. Patience is key here. If the kitchen is cold, you can rise the bread in an turned-off oven with the light on. The residual heat from the bulb creates a perfect proofing environment.
When brushing with egg wash, do not soak the dough. A thin, even layer is all you need for that golden color. If you add too much, the sugar might burn or the glaze might run off in uneven streaks. Also, let the bread cool slightly before glazing. If it is too hot, the glaze will melt into the pores rather than coating the surface. If it is too cold, the glaze will harden too quickly and crack.
Variations & Adaptations
While the classic version is beloved, there are many ways to adapt this Best Pan de Muerto with Orange Blossom Glaze to suit different tastes or dietary needs. One popular variation is to add a bit of cinnamon to the dough for a warmer, spicier profile. This pairs beautifully with the orange blossom notes.
For a richer flavor, you can substitute half of the milk with heavy cream. This makes the bread even more tender and slightly sweeter, almost like a brioche. I tried this variation for a holiday gathering, and it was a huge hit with those who prefer a more decadent pastry.
If you want to avoid alcohol, which is sometimes used in traditional recipes, the orange blossom water provides plenty of flavor without it. However, some people like to add a splash of rum or anise liqueur to the glaze for an adult twist. Just be sure to reduce the milk slightly to account for the liquid.
For a gluten-free adaptation, you can use a 1:1 gluten-free flour blend that includes xanthan gum. The texture will be slightly different, more cake-like than chewy, but it still works well. You may need to add a little more liquid, as gluten-free flours absorb moisture differently.
You can also experiment with the toppings. Instead of pearl sugar, try coarse turbinado sugar for a crunchy, caramel-like crust. Or skip the sugar entirely and add a dusting of powdered sugar after the glaze sets for a more rustic look. These small changes allow you to make the recipe your own.
Serving & Storage Suggestions
Pan de muerto is best served warm, fresh from the oven. The aroma is at its peak, and the glaze is slightly soft. Serve it alongside a hot cup of Mexican hot chocolate or café de olla for a traditional experience. It also pairs wonderfully with a light afternoon tea or coffee.
For presentation, arrange the loaves on a wooden board or a decorative plate. The visual of the bones and skull is striking and adds a beautiful, symbolic touch to your table. If you are serving this for a gathering, slice it into thick wedges to share.
To store leftovers, place the bread in an airtight container at room temperature for up to three days. The glaze will soften, but the bread will remain moist. Do not refrigerate the bread, as the cold will dry it out quickly. If you need to store it longer, wrap individual slices tightly in plastic wrap and freeze them for up to one month.
To reheat, thaw the slices at room temperature and warm them in the oven at 300°F (150°C) for 5-10 minutes. This restores the soft texture. The flavors of the orange and anise actually deepen over the first day, making the bread even more aromatic on the second day.
Nutritional Information & Benefits
This Best Pan de Muerto with Orange Blossom Glaze is a source of carbohydrates and energy, making it a satisfying treat for special occasions. Each slice contains approximately 250-300 calories, depending on the size and glaze amount. The butter and eggs provide healthy fats and protein, while the flour offers essential carbohydrates.
The orange zest and orange blossom water add a touch of vitamin C and antioxidants, though in small amounts. The anise seeds contain compounds that may aid digestion, making this bread a gentle choice for after a heavy meal. However, due to the sugar and butter content, it should be enjoyed in moderation.
For those with dietary restrictions, this recipe contains gluten, dairy, and eggs. It is not suitable for vegans or those with celiac disease unless significant substitutions are made. Always check your ingredient labels, especially for the yeast and sugar, to ensure they meet your specific dietary needs.
Conclusion
Making this Best Pan de Muerto with Orange Blossom Glaze is more than just baking; it is an act of love and remembrance. The process is meditative, and the result is deeply comforting. I hope you find joy in shaping the dough and sharing this bread with your loved ones.
Feel free to customize the recipe to fit your family’s traditions. Whether you add more anise or less sugar, make it your own. I would love to hear how your bread turns out, so please leave a comment below with your results or any questions you have. Sharing your photos helps build a community of bakers who support each other.
Thank you for joining me in the kitchen. Happy baking, and remember, the best recipes are the ones made with heart. If you enjoyed this citrusy treat, you might also appreciate my Pink Velvet Waffles for a similar floral and sweet experience.
Frequently Asked Questions
Can I use instant yeast instead of active dry yeast?
Yes, you can use instant yeast. You can mix it directly with the dry ingredients without activating it in milk first. Just reduce the liquid slightly if needed, as instant yeast absorbs moisture differently.
Why is my pan de muerto dense?
Dense bread is usually caused by adding too much flour or not letting the dough rise long enough. Make sure to knead the dough until it is elastic and allow it to double in size before shaping.
Can I make the dough ahead of time?
Yes, you can let the dough rise in the refrigerator overnight. This slow rise develops more flavor. Just take it out a few hours before you plan to shape and bake it.
What if I can’t find orange blossom water?
You can substitute with orange extract, but use only half the amount as it is more concentrated. Alternatively, you can use fresh orange juice, but the flavor will be less floral and more tart.
How do I store the leftovers?
Store in an airtight container at room temperature for up to three days. For longer storage, freeze the slices wrapped tightly in plastic wrap. Avoid refrigerating as it dries out the bread.
Pin This Recipe!
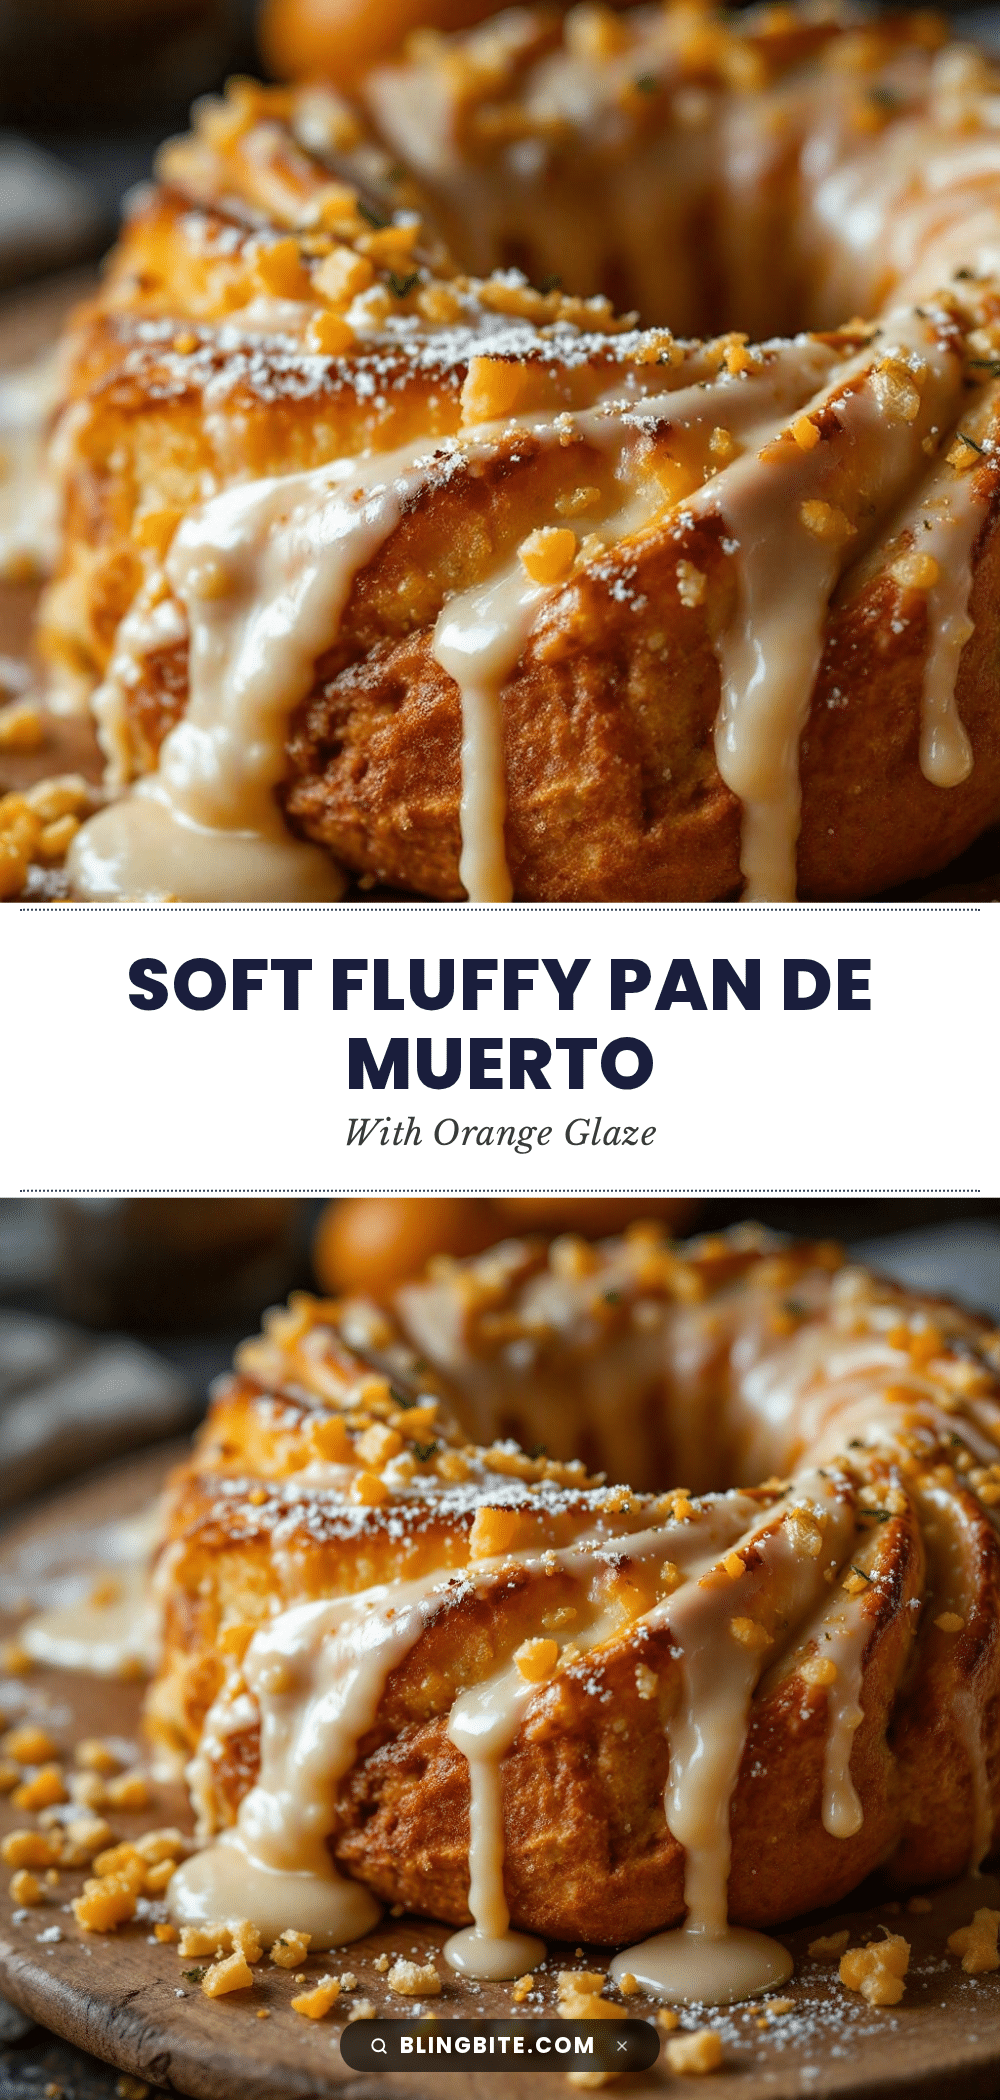
Best Pan de Muerto with Orange Blossom Glaze
A traditional Mexican Day of the Dead bread featuring a soft, yeasty dough infused with orange zest and anise, topped with a delicate orange blossom glaze and decorative bone-shaped dough strips.
- Prep Time: 45 minutes
- Cook Time: 30 minutes
- Total Time: 2 hours 15 minutes
- Yield: 1 loaf (8 servings) 1x
- Category: Dessert
- Cuisine: Mexican
Ingredients
- 1 cup (240 ml) warm milk (110°F/43°C)
- 2 ¼ teaspoons active dry yeast
- ½ cup (100 g) granulated sugar
- ½ cup (113 g) unsalted butter, softened
- 2 large eggs (one for dough, one for wash)
- Zest of 1 medium orange
- 1 teaspoon anise seeds, lightly crushed
- 3 ½ to 4 cups (420–480 g) all-purpose flour
- 1 teaspoon salt
- 1 cup (120 g) confectioners’ sugar, sifted
- 1–2 teaspoons orange blossom water
- 1–2 tablespoons milk (for glaze)
- White pearl sugar for sprinkling
Instructions
- In a small bowl, combine warm milk, sugar, and yeast. Let sit for 5-10 minutes until foamy.
- In a large bowl, whisk softened butter, one egg, orange zest, and crushed anise seeds. Add the activated yeast mixture and whisk until combined.
- Add salt and 3 ½ cups of flour. Mix until dough pulls away from the sides, adding more flour gradually if needed.
- Knead the dough on a floured surface for 8-10 minutes until smooth and elastic (passes the windowpane test).
- Place dough in a greased bowl, cover, and let rise in a warm spot for 1-1.5 hours until doubled in size.
- Punch down dough and divide into three parts: one large round for the loaf, and two smaller pieces for decorations.
- Shape the large piece into a ball on a baking sheet. Roll smaller pieces into strips for bones and a small ball for a skull. Arrange decorations on top.
- Cover and let rise again for 30-45 minutes until puffy. Preheat oven to 350°F (175°C) during the last 15 minutes.
- Brush loaf with reserved egg wash and sprinkle with white pearl sugar. Bake for 25-30 minutes until golden brown.
- Whisk confectioners’ sugar, orange blossom water, and milk to make the glaze. Brush over warm bread and let cool for 10 minutes before slicing.
Notes
Ensure milk is warm but not hot to avoid killing the yeast. Do not add all flour at once as humidity affects absorption. For a gluten-free version, use a 1:1 gluten-free flour blend with xanthan gum. Store at room temperature for up to 3 days or freeze for up to 1 month.
Nutrition
- Serving Size: 1 slice
- Calories: 275
- Sugar: 18
- Sodium: 350
- Fat: 10
- Saturated Fat: 6
- Carbohydrates: 40
- Fiber: 1
- Protein: 5
Keywords: pan de muerto, day of the dead, mexican bread, orange blossom glaze, yeast bread, holiday baking, traditional recipe