Introduction
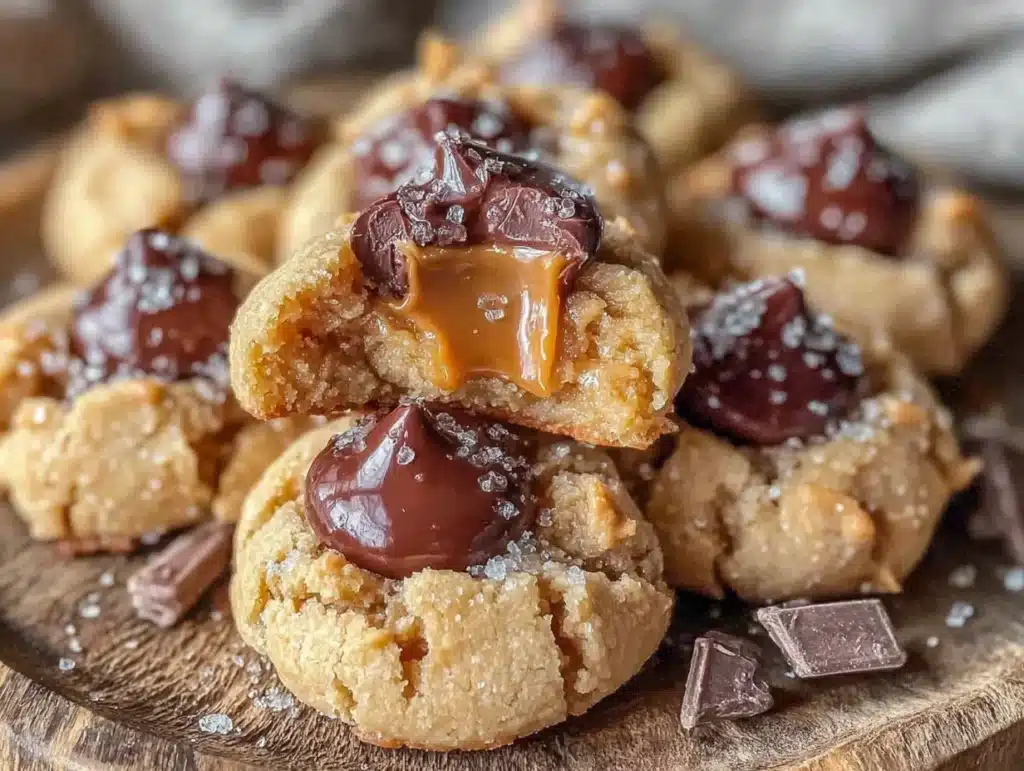
Last October, when the leaves were turning that fiery orange I love, there used to be this tiny bakery tucked away on a quiet street in Portland’s Alberta Arts District. They made these brown butter peanut butter blossom cookies that honestly felt like a warm hug on a chilly day. When that bakery closed suddenly, I was crushed. I mean, who just closes and takes away that kind of comfort? After a few messy kitchen experiments and one spectacularly burnt batch (don’t ask), I finally got it right. The rich nuttiness of browned butter combined with the soft peanut butter dough and that classic chocolate kiss on top — it’s like autumn in cookie form. Maybe you’ve been there, chasing a taste memory that won’t quit. Well, this recipe is exactly that, and let me tell you, it’s stayed with me through every pumpkin-spiced season since.
Why You’ll Love This Recipe
Honestly, this recipe is a keeper. I’ve spent enough time tweaking it to make sure it’s as cozy and comforting as that first bite from the original bakery.
- Quick & Easy: Comes together in under 30 minutes—perfect for those crisp autumn afternoons when you want to bake without fuss.
- Simple Ingredients: No exotic stuff here—just pantry staples and a handful of seasonal touches.
- Perfect for Autumn: These cookies pair wonderfully with a cup of hot cider or a cozy fireside chat.
- Crowd-Pleaser: Kids, friends, neighbors—they’ll all ask for seconds.
- Unbelievably Delicious: That browned butter adds a deep, nutty flavor that makes these cookies stand apart.
What sets this recipe apart? It’s the browned butter that makes all the difference—bringing out a caramel-like warmth that lifts the peanut butter to a whole new level. Plus, the soft, tender crumb with that melty chocolate kiss on top? Total autumn magic. This isn’t just another peanut butter cookie; it’s the one you’ll want to make every fall, again and again.
What Ingredients You Will Need
This recipe uses simple, wholesome ingredients to deliver bold flavor and satisfying texture without the fuss. Most are pantry staples, but the browned butter truly makes it seasonal and special.
- For the Brown Butter Peanut Butter Cookie Dough:
- Unsalted butter, 1 cup (227 g), browned and slightly cooled (adds rich, nutty flavor)
- Light brown sugar, 1 cup (200 g), packed
- Granulated sugar, ½ cup (100 g)
- Large egg, 1, room temperature
- Vanilla extract, 1 teaspoon
- Peanut butter, creamy, 1 cup (250 g) (smooth texture works best here)
- All-purpose flour, 1 ½ cups (190 g)
- Baking soda, 1 teaspoon
- Salt, ½ teaspoon (balance the sweetness)
- For the Topping:
- Chocolate kisses, about 24 (classic milk chocolate for that perfect melt)
- Granulated sugar, for rolling the dough balls (adds a subtle crunch and sparkle)
If you’re looking to swap, almond butter works if you want a twist, but it will change the flavor profile. For gluten-free options, try a 1-to-1 gluten-free baking flour. I recommend King Arthur for best results in texture. Also, in cooler autumn months, slightly warmed peanut butter helps with mixing.
Equipment Needed
- Medium saucepan for browning butter (a light-colored pan helps you watch the butter color)
- Mixing bowls
- Electric mixer or sturdy whisk (a handheld mixer speeds things up but not mandatory)
- Baking sheets lined with parchment paper or silicone mats
- Cooling rack
- Measuring cups and spoons (accuracy counts here!)
- Spoon or cookie scoop for uniform dough balls (helps cookies bake evenly)
I started using a silicone spatula during mixing, which really helped scrape down the bowl and keep all that brown butter goodness in the dough. For browning butter, keep a close eye—if you don’t have a light pan, a wooden spoon helps you tell when it’s ready. If you’re on a budget, parchment paper works just as well as silicone mats and cleans up nicely.
Preparation Method
- Brown the Butter: In a medium saucepan over medium heat, melt 1 cup (227 g) unsalted butter. Stir constantly as it foams and then turns a golden brown with a nutty aroma (about 5-7 minutes). Pour into a heatproof bowl and let cool for 10 minutes.
- Mix Sugars and Browned Butter: Once the butter is warm but not hot, whisk in 1 cup (200 g) light brown sugar and ½ cup (100 g) granulated sugar until smooth.
- Add Wet Ingredients: Beat in 1 large egg (room temperature) and 1 teaspoon vanilla extract until combined. Then add 1 cup (250 g) creamy peanut butter and blend well. The dough will be thick and rich.
- Combine Dry Ingredients: In a separate bowl, whisk together 1 ½ cups (190 g) all-purpose flour, 1 teaspoon baking soda, and ½ teaspoon salt.
- Add Dry to Wet: Gradually mix the dry ingredients into the peanut butter mixture until just combined. Don’t overmix; the dough should be soft but hold together.
- Chill the Dough: Cover and refrigerate for at least 30 minutes. This step makes the dough easier to handle and helps cookies keep their shape.
- Preheat Oven and Prepare Baking Sheet: Preheat your oven to 350°F (175°C). Line baking sheets with parchment paper or silicone mats.
- Form and Roll Dough Balls: Using a cookie scoop or tablespoon, scoop dough and roll into balls. Roll each ball lightly in granulated sugar for a sparkly crust.
- Bake: Place dough balls about 2 inches apart on the baking sheet. Bake for 10-12 minutes until edges are set but centers are still soft.
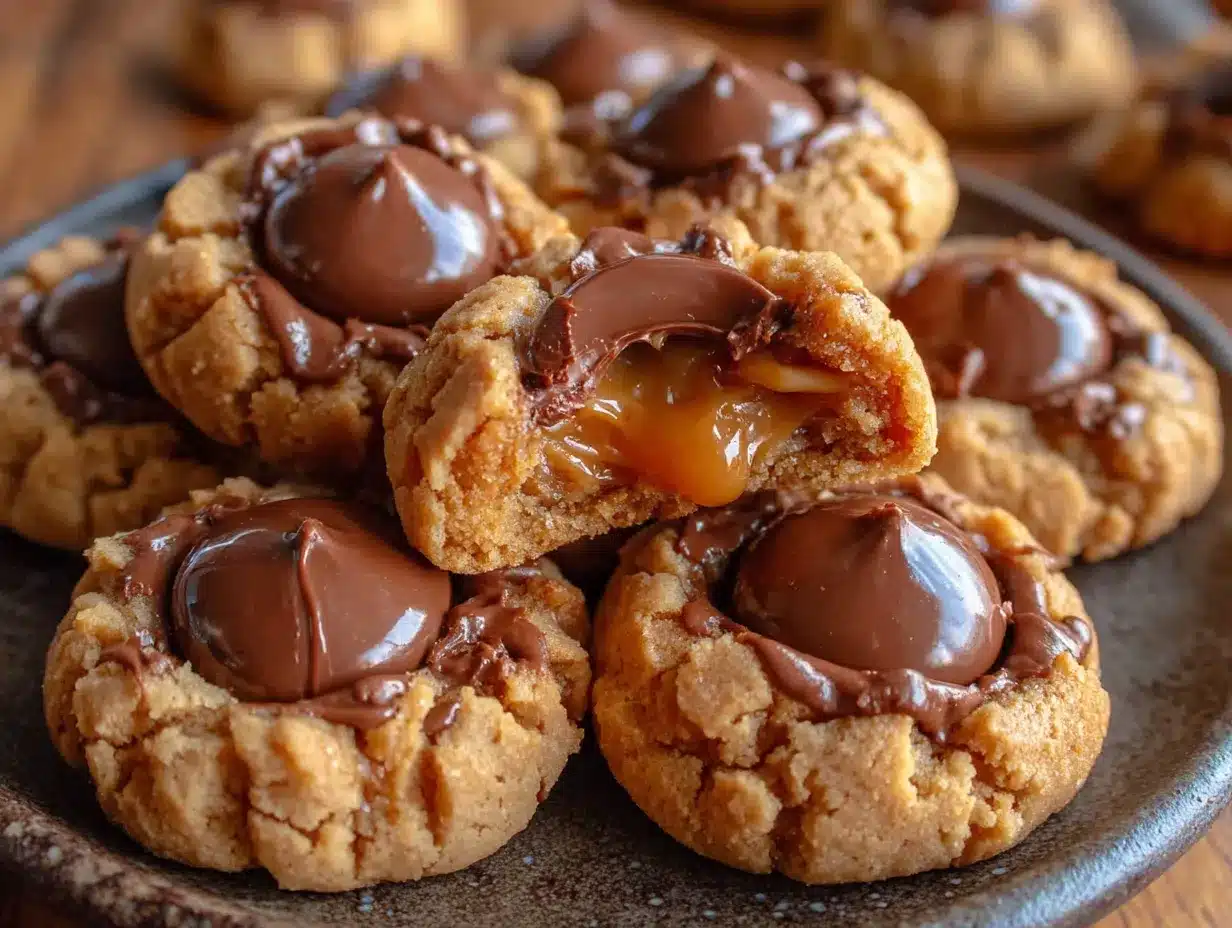
- Add Chocolate Kisses: Immediately press a chocolate kiss into the center of each cookie as soon as they come out of the oven. The heat will soften the chocolate without melting it completely.
- Cool: Let cookies cool on the baking sheet for 5 minutes before transferring to a wire rack to cool completely.
Pro tip: If your kitchen gets busy, don’t skip chilling the dough. I once rushed this step, and the cookies spread too thin, losing that perfect chewy center. Also, watch the browned butter closely—too dark and it tastes burnt, too light and you miss that cozy flavor punch.
Cooking Tips & Techniques
Working with browned butter can be a little intimidating, but it’s worth the attention. Use a light-colored pan to watch the color shift from pale yellow to amber. Stir constantly to avoid burning. The smell is your best guide—it should smell nutty and toasty, not burnt.
When mixing the dough, fold in dry ingredients gently to avoid tough cookies. Overmixing develops gluten and makes the texture less tender.
Rolling dough balls in granulated sugar isn’t just pretty—it adds a mild crunch that contrasts nicely with the soft interior. It’s a little trick I picked up from a local baker in Vermont years ago.
Timing is everything on the bake. Cookies continue to cook on the sheet after you pull them from the oven, so take them out when edges look set but centers still look a little underdone. This keeps them soft and chewy, just like that bakery favorite.
Lastly, pressing the chocolate kiss on warm cookies melts it just right. If cookies cool too much, the kiss won’t stick as well, so have them ready as soon as the timer dings.
Variations & Adaptations
- Seasonal Flavor Boost: Add a teaspoon of pumpkin pie spice or cinnamon for extra autumn vibes. This pairs beautifully with the brown butter and peanut butter base.
- Nut-Free Alternative: Swap peanut butter for sunflower seed butter if allergies are a concern. The browned butter still brings richness to balance the flavor.
- Chocolate Twist: Use dark chocolate kisses or mini peanut butter cups instead of traditional milk chocolate for a richer, more decadent cookie.
- Gluten-Free Option: Substitute the all-purpose flour with a gluten-free blend like Bob’s Red Mill 1-to-1 baking flour. The texture remains soft and delicious.
- Vegan Variation: Use vegan butter to brown and replace the egg with a flax egg (1 tbsp flaxseed meal + 3 tbsp water, chilled). The cookies come out slightly different but still tasty and cozy.
I once tried folding in chopped roasted pecans for added crunch—total winner for an afternoon snack. Feel free to experiment with texture, but keep the core browned butter and peanut butter combo intact; that’s the soul of these cookies.
Serving & Storage Suggestions
Serve these brown butter peanut butter blossom cookies warm or at room temperature with a mug of hot apple cider or chai tea. They’re perfect for a cozy autumn afternoon or an after-dinner treat when the skies start to darken earlier.
Store cookies in an airtight container at room temperature for up to 5 days. If you want them softer, place a slice of bread in the container — it helps keep moisture in. For longer storage, freeze baked cookies in a sealed bag for up to 3 months. Thaw at room temperature before serving.
Reheat cookies gently in a microwave for about 10 seconds to soften the chocolate kiss and warm the dough without drying it out. The flavors actually deepen after a day, so making them a day ahead is a handy trick for gatherings.
Nutritional Information & Benefits
Each cookie contains approximately 150-180 calories, depending on size. They provide a good source of protein thanks to the peanut butter and contain moderate amounts of fat from the butter and nuts, making them satisfying and filling.
Peanut butter contributes heart-healthy monounsaturated fats and some fiber, while the brown butter adds a unique flavor without extra sugar. These are not everyday snacks but perfect for seasonal indulgence when the craving for cozy treats hits.
If you have allergies or dietary restrictions, the variations above help make this recipe accessible. Just be mindful of nut content, and the recipe can easily fit gluten-free or vegan lifestyles with simple swaps.
Conclusion
This recipe for brown butter peanut butter blossom cookies is the kind that sticks with you long after the last crumb disappears. It’s warm, nostalgic, and perfect for the autumn season when you want something comforting but a little special. I love how it brings back that distant bakery memory while feeling homegrown and mine every time I bake it.
Don’t hesitate to tweak it to your taste or try out the variations—this cookie is forgiving and fun. If you try making these, I’d love to hear how they turned out or what twists you added. Baking is always better when shared, right? So go on, get your oven mitts on and make your kitchen smell like fall in the best way.
FAQs About Brown Butter Peanut Butter Blossom Cookies
How do I brown butter without burning it?
Use a light-colored saucepan and stir constantly over medium heat. Watch for the butter to foam and then turn golden brown with a nutty aroma. Remove from heat immediately once browned to avoid burning.
Can I make the dough ahead of time?
Yes! The dough can be refrigerated for up to 24 hours before baking. This actually improves flavor and texture by allowing the ingredients to meld.
What if I don’t have chocolate kisses?
You can substitute with chocolate chips, mini peanut butter cups, or even small squares of your favorite chocolate bar pressed into the warm cookies.
How do I keep the cookies soft?
Don’t overbake—take them out when edges are set but centers still look slightly underdone. Also, store in an airtight container with a slice of bread to retain moisture.
Are these cookies gluten-free?
The base recipe uses all-purpose flour, but you can swap in a gluten-free baking blend on a 1-to-1 basis to make them gluten-free without sacrificing texture.
Pin This Recipe!
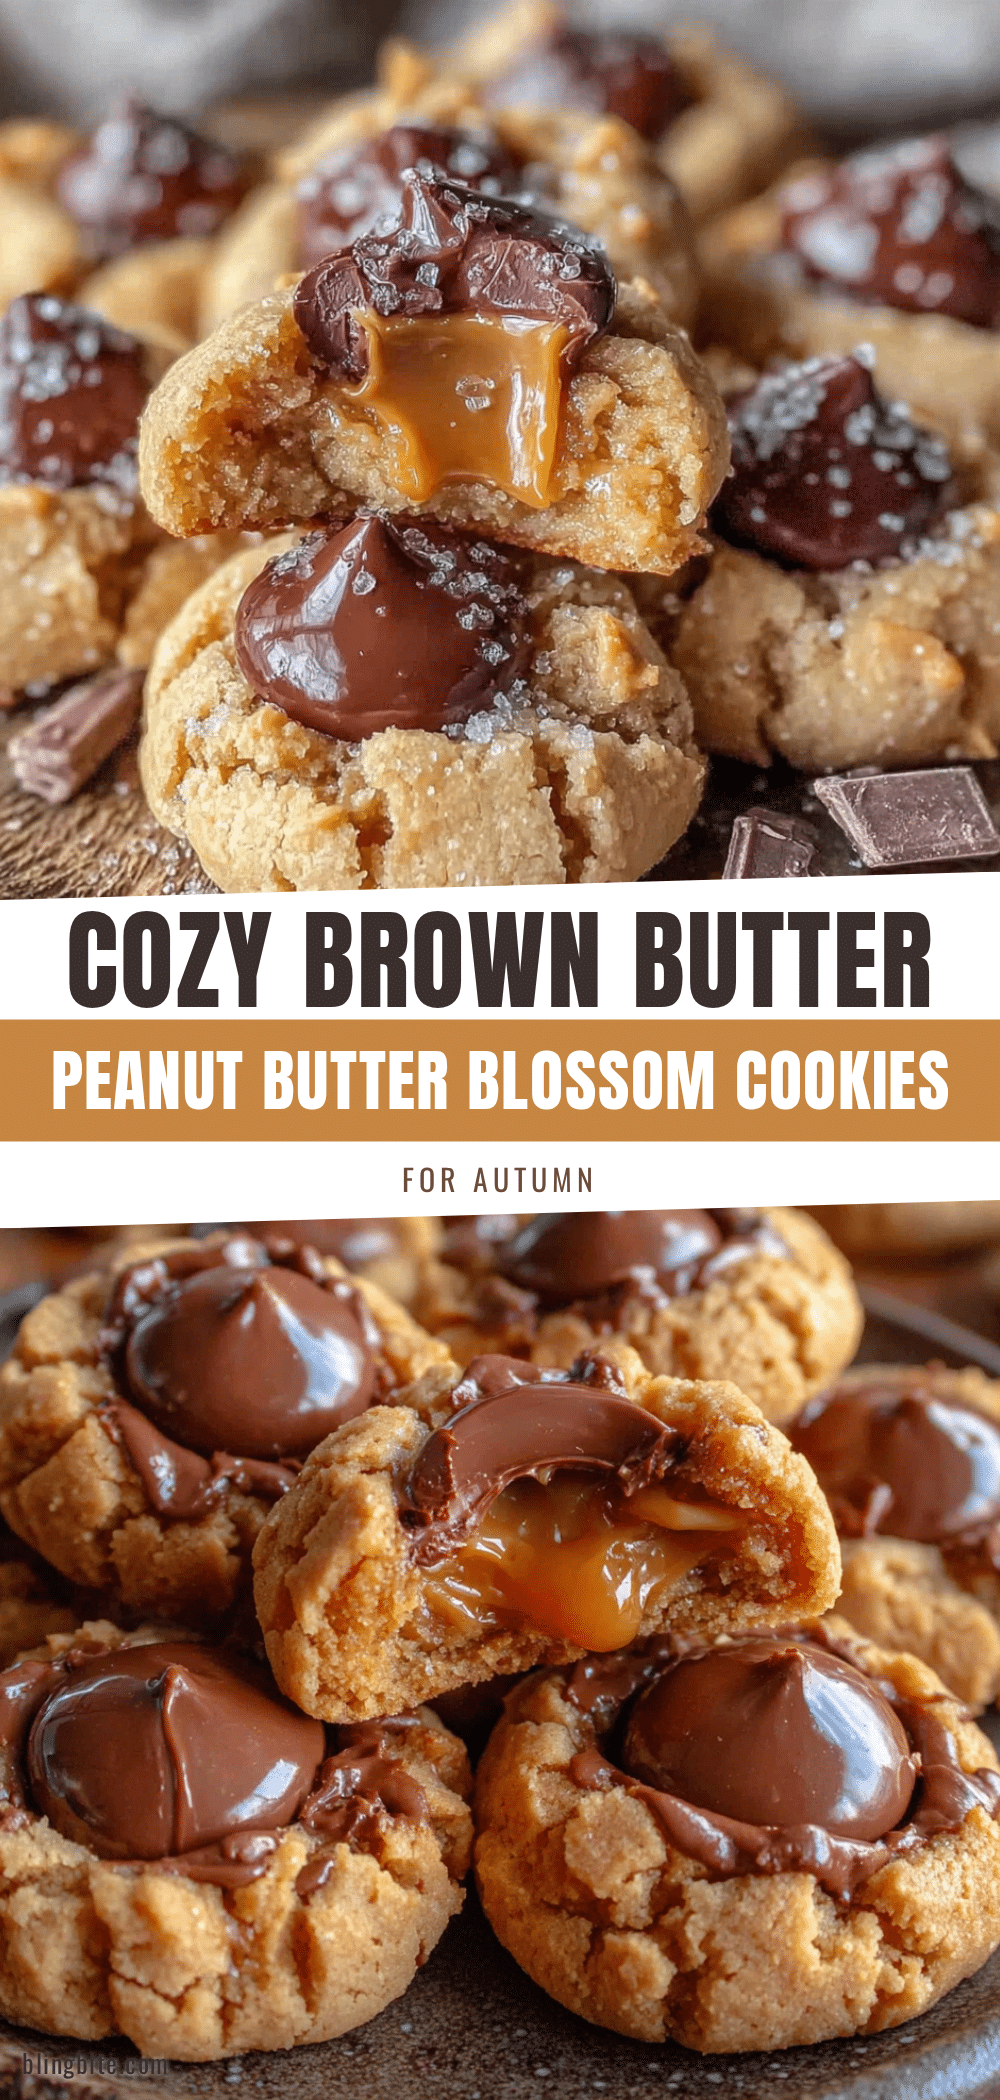
Brown Butter Peanut Butter Blossom Cookies

These cookies combine the rich nuttiness of browned butter with soft peanut butter dough and a classic chocolate kiss on top, perfect for cozy autumn days.
- Prep Time: 15 minutes
- Cook Time: 12 minutes
- Total Time: 42 minutes
- Yield: 24 cookies 1x
- Category: Dessert
- Cuisine: American
Ingredients
- 1 cup (227 g) unsalted butter, browned and slightly cooled
- 1 cup (200 g) light brown sugar, packed
- ½ cup (100 g) granulated sugar
- 1 large egg, room temperature
- 1 teaspoon vanilla extract
- 1 cup (250 g) creamy peanut butter
- 1 ½ cups (190 g) all-purpose flour
- 1 teaspoon baking soda
- ½ teaspoon salt
- About 24 chocolate kisses
- Granulated sugar, for rolling dough balls
Instructions
- Brown the butter: In a medium saucepan over medium heat, melt 1 cup (227 g) unsalted butter. Stir constantly as it foams and then turns a golden brown with a nutty aroma (about 5-7 minutes). Pour into a heatproof bowl and let cool for 10 minutes.
- Mix sugars and browned butter: Once the butter is warm but not hot, whisk in 1 cup (200 g) light brown sugar and ½ cup (100 g) granulated sugar until smooth.
- Add wet ingredients: Beat in 1 large egg (room temperature) and 1 teaspoon vanilla extract until combined. Then add 1 cup (250 g) creamy peanut butter and blend well. The dough will be thick and rich.
- Combine dry ingredients: In a separate bowl, whisk together 1 ½ cups (190 g) all-purpose flour, 1 teaspoon baking soda, and ½ teaspoon salt.
- Add dry to wet: Gradually mix the dry ingredients into the peanut butter mixture until just combined. Don’t overmix; the dough should be soft but hold together.
- Chill the dough: Cover and refrigerate for at least 30 minutes to make the dough easier to handle and help cookies keep their shape.
- Preheat oven and prepare baking sheet: Preheat oven to 350°F (175°C). Line baking sheets with parchment paper or silicone mats.
- Form and roll dough balls: Using a cookie scoop or tablespoon, scoop dough and roll into balls. Roll each ball lightly in granulated sugar for a sparkly crust.
- Bake: Place dough balls about 2 inches apart on the baking sheet. Bake for 10-12 minutes until edges are set but centers are still soft.
- Add chocolate kisses: Immediately press a chocolate kiss into the center of each cookie as soon as they come out of the oven. The heat will soften the chocolate without melting it completely.
- Cool: Let cookies cool on the baking sheet for 5 minutes before transferring to a wire rack to cool completely.
Notes
Use a light-colored pan to brown butter to watch color changes and avoid burning. Chill dough for at least 30 minutes to prevent spreading. Roll dough balls in granulated sugar for a mild crunch and sparkle. Remove cookies from oven when edges are set but centers still look slightly underdone for a soft, chewy texture. Press chocolate kisses onto warm cookies immediately for best results.
Nutrition
- Serving Size: 1 cookie
- Calories: 165
- Sugar: 12
- Sodium: 120
- Fat: 10
- Saturated Fat: 3
- Carbohydrates: 18
- Fiber: 1
- Protein: 4
Keywords: brown butter, peanut butter, cookies, autumn recipe, chocolate kiss, easy cookies, cozy dessert