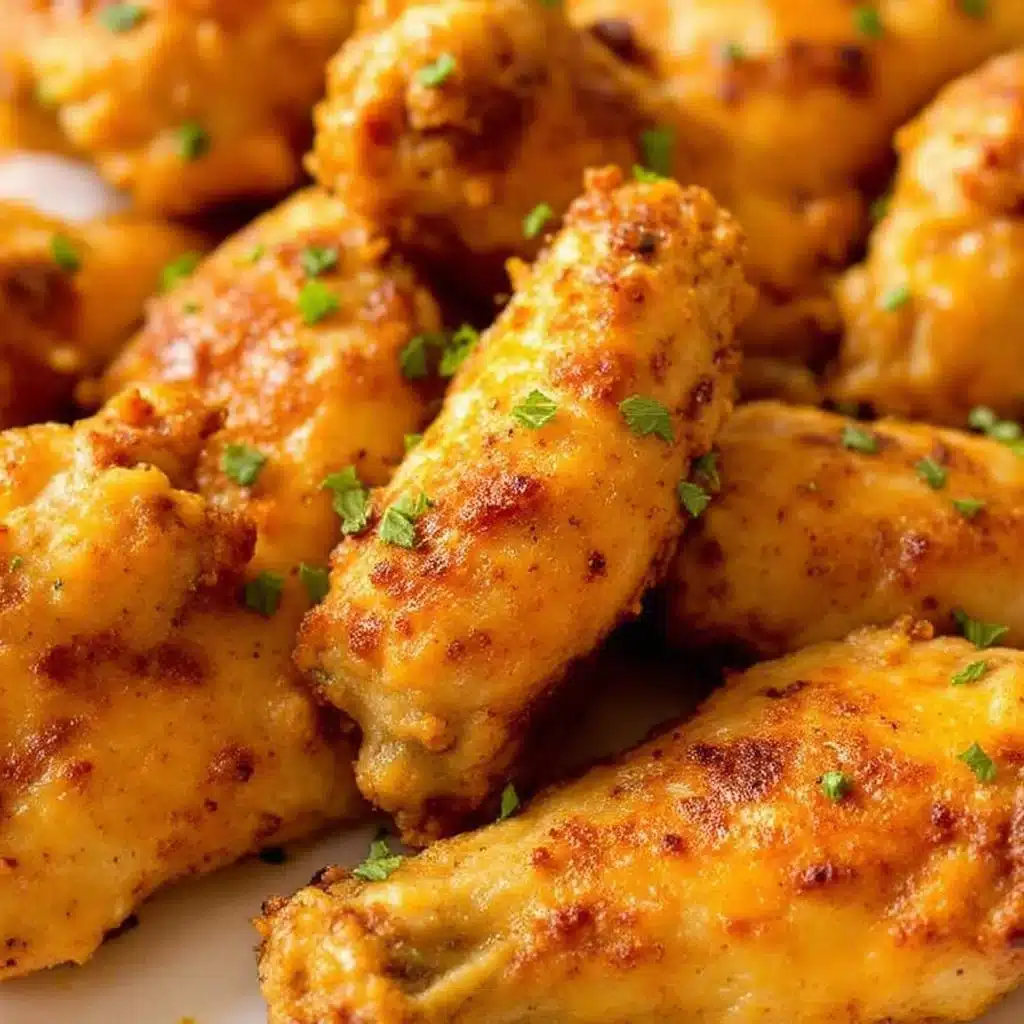
“Wait—you can make chicken wings in an air fryer?” My brother-in-law, Dan, was standing in my kitchen doorway, holding a paper towel like he was about to dry his hands but forgot why. He had just walked in from helping me move a bookshelf, and the smell coming from my counter stopped him mid-sentence. I had a tray of golden, crispy chicken wings sitting there, dusted with Parmesan and garlic, fresh out of the air fryer. I didn’t even answer him at first—I just handed him one. He took a bite, looked at the wing, then looked at me like I had performed some kind of culinary magic trick. And honestly? It kind of felt that way.
I didn’t grow up making wings at home. Wings were something you ordered at a bar during game night, or picked up from the takeout spot down the street. They were greasy, messy, and—let’s face it—kind of a hassle to make yourself. Deep frying at home always felt like a production. The oil splatters, the smell that lingers for days, the sheer amount of cleanup. It never seemed worth it for a snack. But then I got an air fryer as a gift a few years ago, and everything changed. I started experimenting, and these crispy air fryer Parmesan garlic chicken wings became the recipe that made me a believer. They are everything you want from a wing—crispy skin, tender meat, bold flavor—without the mess or the guilt.
What I love most about this recipe is how it sneaks up on you. The first time I made them, I was just trying to use up some chicken wings I had in the freezer. I tossed them with a simple mix of garlic powder, Parmesan, and a few pantry staples, threw them in the air fryer, and waited. When that timer went off, I pulled out wings that looked like they came from a restaurant kitchen. The skin was perfectly rendered, the cheese had melted into little crispy bits, and the garlic aroma was unreal. I stood there eating one after another, not believing how easy it was. These wings are proof that you don’t need a deep fryer to get that perfect crunch. You just need a little patience, the right technique, and this recipe in your back pocket.
Why You’ll Love This Recipe
These crispy air fryer Parmesan garlic chicken wings are the kind of recipe that makes you wonder why you ever bothered with takeout. I’ve tested this method more times than I can count, tweaking temperatures and seasoning ratios until everything clicked. Here is why this version wins every time:
- Quick & Easy: From fridge to plate in under 40 minutes. No deep frying, no complicated steps, and minimal cleanup.
- Simple Ingredients: You probably already have garlic powder, Parmesan, and olive oil in your kitchen. No weird specialty items needed.
- Perfect for Game Day: These wings hold up beautifully on a buffet table. They stay crispy longer than traditional fried wings, which makes them ideal for parties.
- Crowd-Pleaser: I have served these to everyone from my spice-averse mom to my heat-loving brother-in-law. Everyone goes back for seconds. They are universally loved.
- Unbelievably Crispy: The air fryer creates that shatteringly crisp skin without all the oil. It’s almost unfair how good the texture turns out.
What sets this recipe apart is the technique. Most air fryer wing recipes skip a crucial step—drying the wings properly. I learned the hard way that moisture is the enemy of crispiness. By patting the wings dry and letting them sit with a light coating of baking powder, you get skin that crackles when you bite into it. The Parmesan and garlic cling to every nook and cranny, creating a savory crust that is pure comfort. This isn’t just another wing recipe. It’s the one you will make for every party, every game day, and every random Tuesday when you need something crispy and satisfying. Trust me on this one.
What Ingredients You Will Need
This recipe uses simple, everyday ingredients to create wings that taste anything but ordinary. The magic happens when these pantry staples come together with the right technique. Here is everything you need:
- Chicken wings (2 pounds / about 900g): I use whole wings and separate them myself at the joints. You can also buy pre-separated drumettes and flats. Pat them very dry with paper towels—this is non-negotiable for crispy skin.
- Grated Parmesan cheese (½ cup / 50g): Use the real stuff from a block, not the green can. I prefer Parmigiano-Reggiano for its nutty flavor and meltability. It creates those irresistible crispy bits on the skin.
- Garlic powder (2 teaspoons): Not garlic salt. Garlic powder distributes evenly and doesn’t add extra moisture. I have tried fresh minced garlic, and it burns in the air fryer. Stick with powder here.
- Baking powder (1 teaspoon): This is the secret to extra crispy skin. It raises the pH of the skin, helping it brown and crisp faster. Make sure it’s aluminum-free to avoid a metallic taste.
- Olive oil (2 tablespoons): Helps the seasoning stick and encourages browning. Avocado oil works great too if you have it on hand.
- Salt (1 teaspoon): I use fine sea salt. It dissolves easily and seasons the wings evenly.
- Black pepper (½ teaspoon): Freshly ground adds a subtle warmth that balances the garlic and cheese.
- Optional for garnish: Chopped fresh parsley and extra grated Parmesan for that restaurant-style finish.
I want to talk about the Parmesan for a second because it really matters here. I have made these wings with pre-shredded Parmesan from a bag, and the texture was not the same. The anti-caking agents in pre-shredded cheese prevent it from melting properly. You want finely grated Parmesan that clings to the wings and melts into those golden, crispy edges. It makes a noticeable difference. Also, if you are dairy-sensitive, you can swap the Parmesan for nutritional yeast. It won’t be exactly the same, but it adds a similar umami punch without the dairy.
Equipment Needed
You do not need a lot of fancy equipment for this recipe, which is part of why I love it. Here is what you will need:
- Air fryer: Any basket-style air fryer works. I use a 5.8-quart model, but smaller ones work too—just cook in batches to avoid overcrowding. Overcrowding is the number one mistake people make with air fryers.
- Large mixing bowl: For tossing the wings with the seasoning. A glass or stainless steel bowl works best.
- Paper towels: You will use a lot of these for drying the wings. Do not skip this step.
- Tongs: For flipping the wings halfway through cooking. Silicone-tipped tongs won’t scratch your air fryer basket.
- Cutting board and sharp knife: If you are separating whole wings yourself. A sharp chef’s knife makes quick work of it.
- Instant-read thermometer (optional but recommended): Chicken wings are safe to eat at 165°F, but I find they are best at 175-180°F, where the connective tissue breaks down and the meat is extra tender.
If you don’t own an air fryer yet, I get it. I was skeptical too. But honestly, it has become one of my most-used kitchen tools. If you are not ready to invest, you can bake these wings in a conventional oven at 425°F on a wire rack set over a baking sheet. The texture will be slightly different—not as crispy on the bottom—but still delicious. Just flip them halfway through and give them a few extra minutes of cooking time.
Preparation Method
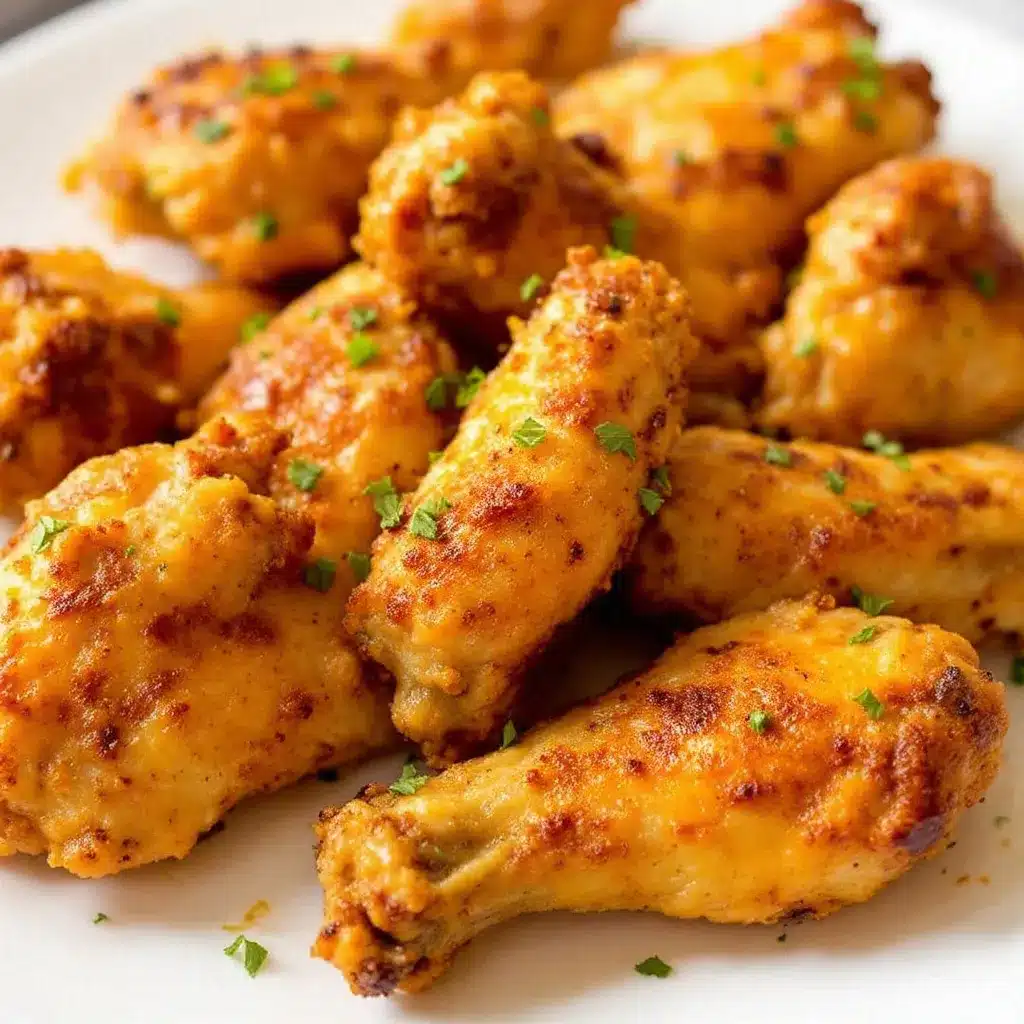
Let me walk you through this step by step. I have made these wings dozens of times, and this method produces consistently perfect results. Take your time with the drying step—it is the most important part.
- Prep the wings: If using whole wings, cut them at the joints to separate the drumettes from the flats. Discard the wing tips or save them for making stock. Pat every single piece dry with paper towels. I mean really dry—you want the skin to feel tacky, not damp. This step removes excess moisture that would otherwise steam the skin instead of crisping it.
- Season the wings: In a large bowl, combine the Parmesan, garlic powder, baking powder, salt, and pepper. Add the dried wings and drizzle with olive oil. Toss everything together with your hands until each wing is evenly coated. The mixture will look a little clumpy—that is the Parmesan sticking to the skin, which is exactly what you want.
- Preheat the air fryer: Set your air fryer to 380°F (193°C) and let it preheat for 3-5 minutes. Preheating ensures the wings start cooking immediately, which helps the skin crisp up faster.
- Arrange the wings: Place the wings in a single layer in the air fryer basket. Do not overcrowd them. Leave a little space between each piece so the hot air can circulate. If you need to cook in batches, that is totally fine. I usually do two batches for 2 pounds of wings.
- Cook the wings: Air fry at 380°F for 12 minutes. Flip each wing using tongs, then cook for another 10-12 minutes. The wings should be golden brown and the skin should look crispy and slightly blistered. The internal temperature should reach at least 175°F for the most tender meat.
- Rest and garnish: Let the wings rest in the basket for 2 minutes after cooking. This allows the skin to set and stay crispy. Transfer to a serving platter, sprinkle with fresh parsley and extra Parmesan, and serve immediately.
A few things I have learned from making these over and over: If your wings are not as crispy as you want after the recommended time, give them another 2-3 minutes. Every air fryer runs a little differently. Also, do not skip the rest time. I know it is tempting to dig in right away, but those two minutes make a real difference in texture. The wings will stay hot, I promise.
Cooking Tips & Techniques
I have made every mistake you can imagine with air fryer wings. I have made soggy wings, burnt wings, and wings that were somehow both undercooked and dry at the same time. Here is what I learned so you do not have to repeat my failures:
Dry the wings like your life depends on it. This is the single most important tip. Moisture is the enemy of crispy skin. I pat each wing dry with paper towels, then let them sit on a paper towel-lined plate for 5 minutes before seasoning. If you have time, you can even leave them uncovered in the fridge for an hour to dry out the skin further. That extra step yields next-level crispiness.
Do not skip the baking powder. I know it sounds weird, but baking powder is the secret to that golden, crispy crust. It helps the skin brown faster and creates tiny bubbles that crisp up during cooking. Just make sure it is aluminum-free, or you will taste a metallic bitterness. I learned this the hard way with a batch that tasted like a chemistry experiment.
Flip halfway through. I know it is tempting to just set the timer and walk away, but flipping the wings ensures even cooking and crispiness on all sides. Set a timer on your phone so you do not forget. I have definitely forgotten, and the bottom of those wings were sad and flabby.
Work in batches. If you crowd the basket, the wings will steam instead of crisp. It is better to cook two perfect batches than one mediocre batch. The extra 10 minutes is worth it. While one batch cooks, I keep the finished wings on a wire rack in a warm oven (200°F) so they stay crispy.
Use an instant-read thermometer. Chicken wings are forgiving, but cooking them to the right temperature ensures the best texture. I aim for 175-180°F. At this temperature, the collagen breaks down and the meat becomes incredibly tender without drying out.
Variations & Adaptations
One of the best things about this recipe is how easy it is to customize. Here are a few variations I have tried and loved:
- Buffalo Parmesan Wings: After cooking, toss the wings in your favorite buffalo sauce (I use a mix of melted butter and Frank’s RedHot). Then sprinkle with extra Parmesan. These are dangerously good and perfect for anyone who loves heat. If you are a fan of classic buffalo wings, you should also try my crispy chicken wings 3 ways for even more saucy options.
- Lemon Herb Wings: Add 1 teaspoon of dried oregano and the zest of one lemon to the seasoning mix. The lemon brightens up the richness of the Parmesan and garlic. I make these in the spring when I want something lighter.
- Spicy Garlic Wings: Add ½ teaspoon of cayenne pepper or red pepper flakes to the seasoning mix. The heat builds slowly and pairs beautifully with the garlic. My spice-loving friends always request this version.
- Gluten-Free Option: This recipe is naturally gluten-free as written. Just double-check that your baking powder is gluten-free (most brands are, but it is worth verifying).
- Dairy-Free Option: Swap the Parmesan for 3 tablespoons of nutritional yeast. It won’t be exactly the same, but it adds a cheesy, umami flavor that works surprisingly well. I have made this version for a dairy-free friend, and she raved about it.
I have also experimented with different cooking methods. If you want to make these on a grill, cook them over indirect heat at 375°F for about 25-30 minutes, flipping halfway through. The smoky flavor is incredible, though the skin won’t be quite as crispy as the air fryer version. For a party, I sometimes make a double batch and keep them warm in a low oven. They stay crispy for up to an hour if you leave them on a wire rack.
Serving & Storage Suggestions
These wings are best served immediately, while the skin is still shatteringly crisp. I like to arrange them on a large platter with a sprinkle of fresh parsley and a little extra grated Parmesan on top. It makes them look restaurant-worthy with almost no effort.
For dipping, you cannot go wrong with classic ranch or blue cheese dressing. I also love serving them with celery and carrot sticks for a fresh crunch. If you are hosting a game day party, these wings pair beautifully with other finger foods like crispy loaded nachos or bacon-wrapped jalapeno popper football bites for a full spread that will impress everyone.
If you have leftovers (which rarely happens in my house), store them in an airtight container in the refrigerator for up to 3 days. The skin will soften in the fridge, so do not expect them to be as crispy when reheated. To reheat, place them back in the air fryer at 350°F for 4-5 minutes. This restores most of the crispiness. Avoid the microwave at all costs—it turns the skin into a rubbery mess. I learned this the hard way after a late-night snack session.
You can also freeze cooked wings. Lay them in a single layer on a baking sheet and freeze until solid, then transfer to a freezer bag. They will keep for up to 3 months. Reheat directly from frozen in the air fryer at 350°F for 8-10 minutes. This is a great meal prep option for busy weeks or unexpected guests.
Nutritional Information & Benefits
Here is the approximate nutritional breakdown for a serving of 4-5 wings (about ¼ of the recipe):
| Nutrient | Amount |
|---|---|
| Calories | 380 |
| Protein | 32g |
| Fat | 26g |
| Saturated Fat | 8g |
| Carbohydrates | 2g |
| Fiber | 0g |
| Sugar | 0g |
| Sodium | 780mg |
Chicken wings are a good source of protein, selenium, and B vitamins. The air fryer method significantly reduces the fat content compared to deep frying, since you are using only a small amount of oil. Parmesan adds calcium and protein, while garlic offers immune-supporting compounds. This recipe is naturally low-carb and keto-friendly, making it a great option for anyone watching their carb intake. If you are following a gluten-free diet, this recipe is safe as long as your baking powder is certified gluten-free.
One thing I appreciate about this recipe is that it lets me enjoy wings without the heavy, greasy feeling that comes from deep-fried versions. The air fryer gives you that satisfying crunch with a fraction of the oil. It is comfort food that doesn’t weigh you down, which is exactly what I want on a game day or a cozy night in.
Conclusion
These crispy air fryer Parmesan garlic chicken wings are the recipe that converted me into an air fryer believer. They are quick, easy, and produce wings that rival anything you would order at a restaurant. The combination of nutty Parmesan, aromatic garlic, and perfectly crispy skin is hard to beat. I have made these for game days, casual dinners, and even holiday parties, and they always disappear faster than anything else on the table.
I hope you give this recipe a try and make it your own. Maybe you will add extra garlic, or toss them in buffalo sauce, or serve them with a side of creamy ranch. However you customize them, I think you will love how simple and satisfying these wings are. They have become a staple in my kitchen, and I have a feeling they will become one in yours too.
If you make these wings, I would love to hear about it. Drop a comment below and let me know how they turned out. Did you try a variation? What did you serve them with? Your feedback helps me create better recipes for you, and I genuinely love hearing about your kitchen adventures. Until next time, happy cooking!
Frequently Asked Questions
Can I use frozen chicken wings in the air fryer?
Yes, you can cook frozen wings, but you will need to adjust the cooking time and technique. Add 5-7 minutes to the total cooking time, and make sure to pat them dry as best you can after they thaw slightly. The texture will not be quite as crispy as fresh wings, but they still turn out delicious in a pinch.
Why are my air fryer wings not crispy?
The most common reason is moisture. Make sure you pat the wings very dry before seasoning. Another culprit is overcrowding the basket. If the wings are touching or stacked, they will steam instead of crisp. Finally, check that your air fryer is preheated and that you are flipping the wings halfway through cooking.
Can I make these wings ahead of time for a party?
Absolutely. Cook the wings as directed, then let them cool completely on a wire rack. Store them in an airtight container in the refrigerator for up to 24 hours. To reheat, place them back in the air fryer at 350°F for 4-5 minutes. They will crisp right back up and taste freshly made.
What is the best way to reheat leftover wings?
The air fryer is your best friend here. Reheat at 350°F for 4-5 minutes. The oven works too—place them on a wire rack over a baking sheet at 375°F for 8-10 minutes. Avoid the microwave, as it will make the skin rubbery and sad.
Can I use this recipe with chicken thighs or drumsticks?
Yes, but you will need to adjust the cooking time. Boneless chicken thighs will cook faster, about 12-15 minutes total. Bone-in drumsticks will need about 20-25 minutes. Always check the internal temperature to ensure they reach 165°F at the bone. The seasoning mix works beautifully on any cut of chicken.
Pin This Recipe!
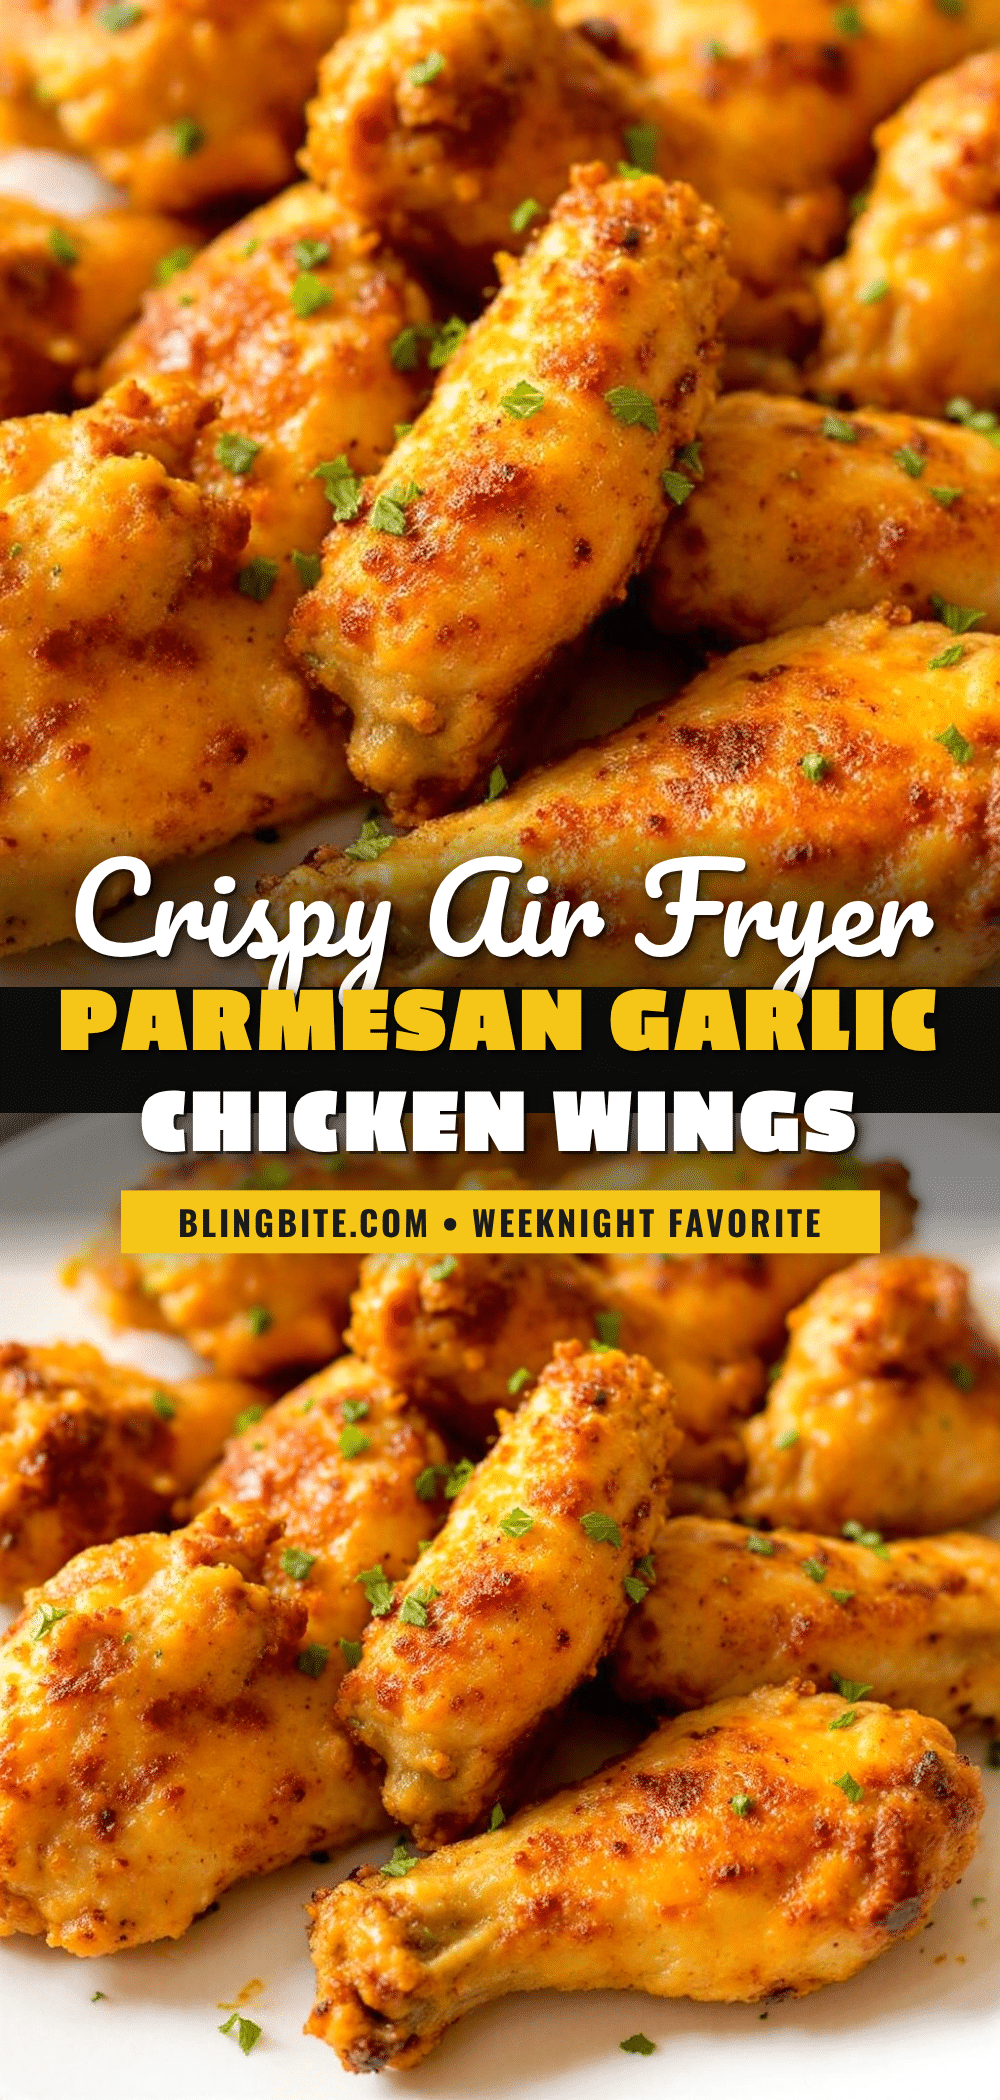
Crispy Air Fryer Parmesan Garlic Chicken Wings (Easy!)
These crispy air fryer Parmesan garlic chicken wings are quick, easy, and produce wings that rival anything you would order at a restaurant. The combination of nutty Parmesan, aromatic garlic, and perfectly crispy skin is hard to beat.
- Prep Time: 15 minutes
- Cook Time: 24 minutes
- Total Time: 39 minutes
- Yield: 4 servings 1x
- Category: Appetizer
- Cuisine: American
Ingredients
- 2 pounds (about 900g) chicken wings
- ½ cup (50g) grated Parmesan cheese
- 2 teaspoons garlic powder
- 1 teaspoon baking powder (aluminum-free)
- 2 tablespoons olive oil
- 1 teaspoon fine sea salt
- ½ teaspoon freshly ground black pepper
- Optional for garnish: chopped fresh parsley and extra grated Parmesan
Instructions
- Prep the wings: If using whole wings, cut them at the joints to separate the drumettes from the flats. Discard the wing tips or save them for making stock. Pat every single piece dry with paper towels until the skin feels tacky, not damp.
- Season the wings: In a large bowl, combine the Parmesan, garlic powder, baking powder, salt, and pepper. Add the dried wings and drizzle with olive oil. Toss everything together with your hands until each wing is evenly coated.
- Preheat the air fryer: Set your air fryer to 380°F (193°C) and let it preheat for 3-5 minutes.
- Arrange the wings: Place the wings in a single layer in the air fryer basket. Do not overcrowd them. Leave a little space between each piece so the hot air can circulate. Cook in batches if needed.
- Cook the wings: Air fry at 380°F for 12 minutes. Flip each wing using tongs, then cook for another 10-12 minutes. The wings should be golden brown and the skin should look crispy and slightly blistered. The internal temperature should reach at least 175°F for the most tender meat.
- Rest and garnish: Let the wings rest in the basket for 2 minutes after cooking. Transfer to a serving platter, sprinkle with fresh parsley and extra Parmesan, and serve immediately.
Notes
Pat the wings very dry for maximum crispiness. Do not skip the baking powder—it helps the skin brown and crisp. Flip halfway through cooking. Work in batches to avoid overcrowding. For best texture, cook to an internal temperature of 175-180°F. Let wings rest for 2 minutes after cooking to set the skin.
Nutrition
- Serving Size: 4-5 wings
- Calories: 380
- Sodium: 780
- Fat: 26
- Saturated Fat: 8
- Carbohydrates: 2
- Protein: 32
Keywords: air fryer chicken wings, parmesan garlic wings, crispy chicken wings, easy chicken wings, game day wings


