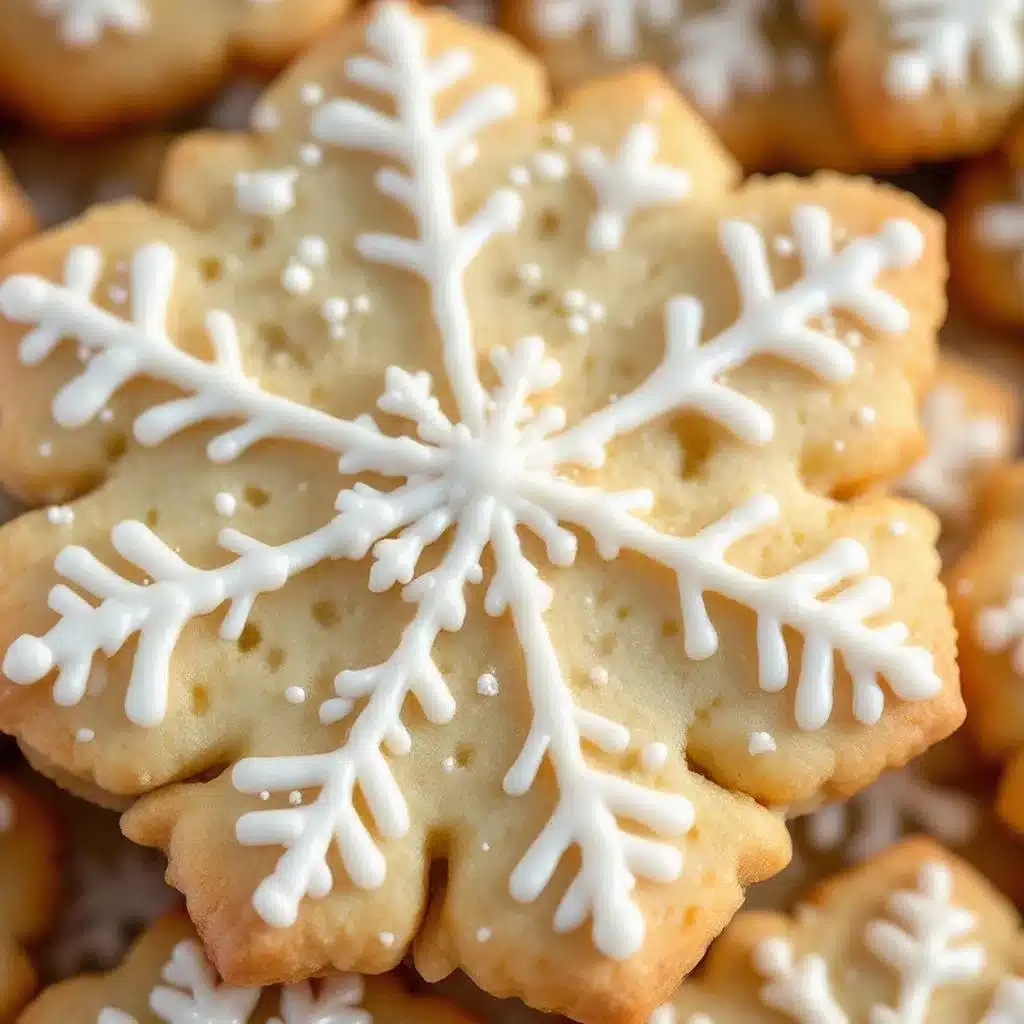
I need those snowflakes to hold their edges. Right now, the dough is chilling in the fridge and I’m staring at the rolling pin like it owes me money. You know that feeling when you’ve got the perfect batch of cookies ready to go, but you’re terrified they’ll spread into flat, sad circles instead of crisp, decorative stars? It’s a specific kind of holiday anxiety. Honestly, it’s worse than burning the roast.
I want these crispy Christmas sugar cookies with snowflakes to look like they fell from a magazine, not a kitchen disaster zone. The secret isn’t just in the icing; it’s in the dough structure. If you skip the cornstarch or rush the chilling step, you lose that delicate snap. I learned this the hard way in 2018, when my first attempt looked more like abstract art than winter wonderland.
The kitchen smells like vanilla and browned butter, which is the best smell in the world. My daughter is already asking if they’re done, even though the dough is still cold. I tell her patience is part of the recipe. It always is. This batch needs to rest for at least two hours, maybe three, to let the gluten relax and the flour hydrate fully.
There is something deeply satisfying about rolling out dough and cutting shapes that feel timeless. It’s a tradition I’m trying to keep alive, amidst the chaos of modern life. These cookies bridge the gap between homemade warmth and professional polish. You get the comfort of sugar cookies with the visual punch of intricate detailing.
I’ve tested this recipe dozens of times. Some versions were too soft, others too hard. This one hits the sweet spot—literally and figuratively. It’s crisp enough to stand up to detailed royal icing work, but tender enough to melt in your mouth. That’s the goal. That’s the dream.
By the end of this post, you’ll know exactly how to prevent spreading. You’ll learn the trick to keeping those snowflake points sharp. It’s not magic. It’s just a little bit of science and a lot of care. Let’s get baking before the kids wake up.
Why You’ll Love This Recipe
Let’s be real for a second. Not all sugar cookies are created equal. Some are cakey and soft, which is fine if that’s your thing, but they don’t hold up to intricate decoration. These crispy Christmas sugar cookies with snowflakes are different. They are engineered to stay crisp, hold their shape, and provide a sturdy canvas for your artistic expression. I’ve spent years tweaking ratios to get this texture right, and I’m confident this is the only recipe you’ll ever need for holiday baking.
Here is why this recipe stands out from the crowd:
- Perfect Structural Integrity: Unlike traditional soft sugar cookies, this dough includes a specific ratio of cornstarch and a higher proportion of granulated sugar. This combination creates a snap when you bite into it, ensuring your delicate snowflake designs don’t collapse under the weight of icing.
- Simple, Pantry-Friendly Ingredients: You likely have everything you need right now. Flour, sugar, butter, eggs, vanilla, and a touch of cornstarch. No exotic flours or hard-to-find spices. It’s accessible, which means you can bake it on a whim.
- Ideal for Holiday Gatherings: These cookies travel well. Because they are crisp, they don’t get squished in a cookie jar or a gift box. They are perfect for office parties, neighbor gifts, or that holiday appetizer spread where you want something sweet to balance out the savory cheeses.
- Crowd-Pleasing Texture: Kids love the crunch. Adults appreciate the refined flavor profile that isn’t overly sweet. It’s a balanced treat that doesn’t leave you feeling weighed down, which is crucial when you’re eating them alongside dinner.
- Professional-Grade Results: The key here is the chilling process. By chilling the dough twice, we ensure the butter is cold when it hits the oven. This prevents spreading and keeps those intricate snowflake edges sharp. It’s a technique that separates the amateurs from the pros.
This recipe isn’t just about feeding people; it’s about creating a moment. There is a specific joy in watching the snowflakes dry on the counter, glittering under the kitchen lights. It transforms baking from a chore into a celebration. Plus, the flavor is classic vanilla bean, which pairs beautifully with any icing color you choose. Whether you go for traditional red and green or modern blue and silver, these cookies will look stunning.
What Ingredients You Will Need
The beauty of this recipe lies in its simplicity. You don’t need fancy equipment or rare ingredients to achieve professional results. The magic happens in the balance of fats, sugars, and leavening agents. Here is what you’ll need to gather, along with some tips on selection.
- Unsalted Butter (1 cup / 2 sticks / 226g): Use high-quality butter. I prefer European-style butter for its higher fat content, which contributes to a richer flavor and better texture. Make sure it is softened to room temperature. If it’s too cold, it won’t cream properly; if it’s melted, your cookies will spread too much.
- Granulated White Sugar (1 cup / 200g): This is the primary sweetener. The size of the crystals helps create the crisp texture. Do not substitute with brown sugar if you want this specific crunch, as the molasses content will make them chewy.
- Light Brown Sugar (½ cup / 100g): While granulated sugar provides crunch, a small amount of brown sugar adds depth of flavor and moisture. It prevents the cookies from becoming too dry. Pack it lightly when measuring.
- Large Egg (1 large): Room temperature is key here. Cold eggs can cause the butter mixture to curdle. Crack it into a small bowl first to check for freshness.
- Vanilla Extract (2 teaspoons): Use pure vanilla extract, not imitation. The flavor of your cookies will suffer otherwise. If you have vanilla bean paste, that’s even better for those speckled, gourmet-looking results.
- All-Purpose Flour (3 cups / 375g): Spoon and level your flour. Scooping directly from the bag compacts it, leading to dry, tough cookies. I recommend using a kitchen scale for precision, but the spoon-and-level method works if you’re careful.
- Cornstarch (2 tablespoons): This is the secret weapon. Cornstarch inhibits gluten formation, resulting in a tender yet crisp cookie. It helps the cookies hold their shape during baking.
- Baking Powder (1 teaspoon): Just a little bit goes a long way. It provides a slight lift without making the cookies cakey. Ensure it’s fresh for best results.
- Salt (½ teaspoon): Salt is essential for balancing the sweetness. Don’t skip it. It enhances the vanilla flavor and rounds out the taste profile.
- Food Coloring & Icing Supplies: Gel food coloring is best for vibrant colors without adding extra liquid. You’ll also need royal icing for decorating the snowflakes.
Equipment Needed
You don’t need a lot of fancy gadgets to make these cookies, but having the right tools makes the process smoother.
- Stand Mixer or Hand Mixer: Creaming the butter and sugar is easier with a mixer. It incorporates air, which helps with texture. A stand mixer with a paddle attachment is ideal.
- Rolling Pin: A standard rolling pin works fine. Some bakers prefer a French-style rolling pin for better control, but either is fine.
- Snowflake Cookie Cutters: Get a variety of sizes. Smaller cutters are great for detailed work, while larger ones are better for beginners.
- Parchment Paper or Silicone Baking Mats: Always line your baking sheets. This prevents sticking and ensures even baking. I prefer silicone mats for their durability and consistency.
- Ruler or Rolling Pin Guides: These help you roll the dough to an even thickness (about 1/8 inch). Consistent thickness means even baking.
- Airtight Container: For storing the finished cookies, an airtight container is essential to maintain crispness.
Preparation Method
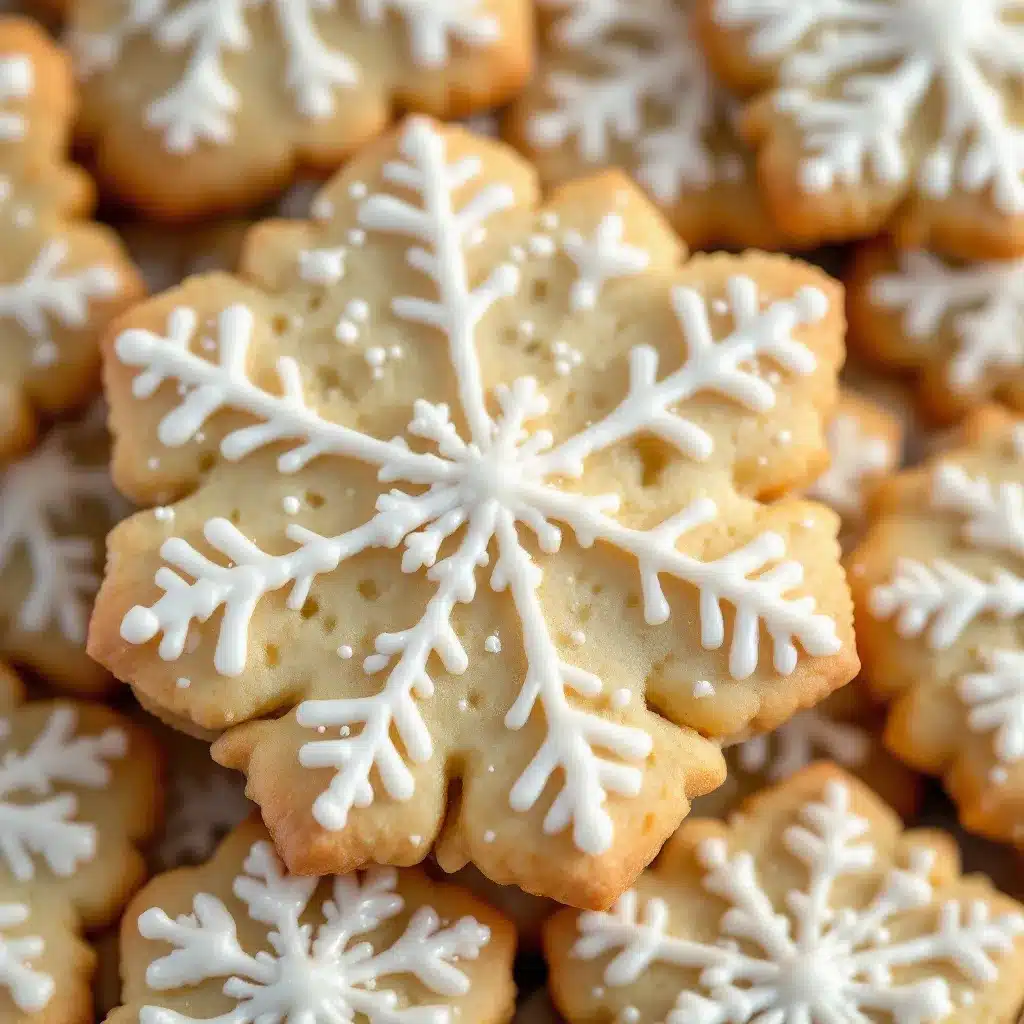
Making these crispy Christmas sugar cookies with snowflakes requires patience and precision. Follow these steps closely for the best results.
- Cream the Butter and Sugars: In the bowl of a stand mixer fitted with the paddle attachment, beat the softened butter, granulated sugar, and brown sugar on medium-high speed for about 3-4 minutes. The mixture should be pale, fluffy, and increased in volume. This step is crucial for incorporating air. (Time: 4 minutes)
- Add the Egg and Vanilla: With the mixer on low, add the egg and vanilla extract. Mix until just combined. Scrape down the sides of the bowl to ensure everything is incorporated. Do not overmix at this stage. (Time: 1 minute)
- Combine Dry Ingredients: In a separate medium bowl, whisk together the flour, cornstarch, baking powder, and salt. This ensures even distribution of the leavening agents. (Time: 2 minutes)
- Make the Dough: Gradually add the dry ingredients to the wet mixture on low speed. Mix until the dough just comes together. It should look crumbly at first, then form a ball. Be careful not to overmix, or the cookies will become tough. (Time: 2 minutes)
- Chill the Dough: Divide the dough in half. Flatten each half into a disc shape. Wrap tightly in plastic wrap. Refrigerate for at least 2 hours, or up to 2 days. Chilling is non-negotiable for crisp cookies. (Time: 2+ hours)
- Preheat and Prep: Preheat your oven to 350°F (175°C). Line two large baking sheets with parchment paper or silicone mats. (Time: 5 minutes)
- Roll Out the Dough: Take one disc of dough out of the fridge. Let it sit for 5 minutes to soften slightly. On a lightly floured surface, roll the dough out to about 1/8 inch thickness. Use a ruler to check thickness if you’re unsure. (Time: 5 minutes)
- Cut the Shapes: Use your snowflake cutters to cut out shapes. Place them on the prepared baking sheets, leaving about 1 inch of space between cookies. Re-roll scraps and cut again. (Time: 10 minutes)
- Bake: Bake for 8-10 minutes. The edges should be lightly golden, but the centers should remain pale. Overbaking will make them too dark and hard. (Time: 10 minutes)
- Cool: Let the cookies cool on the baking sheet for 5 minutes, then transfer to a wire rack to cool completely. They will crisp up as they cool. (Time: 15 minutes)
Cooking Tips & Techniques
Baking cookies might seem simple, but there are nuances that separate good cookies from great ones. Here are some tips I’ve learned over the years to ensure your crispy Christmas sugar cookies with snowflakes turn out perfectly every time.
- Don’t Skip the Chill: I know it’s tempting to bake the dough immediately, but warm dough spreads too much in the oven. This means your intricate snowflake details will blur and lose their shape. Chilling firms up the butter, ensuring the cookies hold their structure.
- Watch the Oven Temperature: Oven temperatures can vary. Use an oven thermometer to verify your oven is actually at 350°F. If your oven runs hot, your cookies will burn before they crisp. If it runs cool, they might spread.
- Rotate the Pans: Most ovens have hot spots. Rotate your baking sheets halfway through the baking time for even browning. This is especially important if you’re baking multiple batches.
- Test for Doneness: The edges should be just starting to turn golden. The centers should still look slightly soft. They will continue to cook on the hot baking sheet after you remove them from the oven. If they look fully set in the oven, they will be too hard when cooled.
- Handle with Care: These cookies are delicate when hot. Let them cool completely before handling or decorating. Rushing this step can lead to broken cookies and messy icing.
- Storage is Key: Store cookies in an airtight container with a piece of bread. The bread will keep them crisp by absorbing excess moisture. Replace the bread every few days.
Variations & Adaptations
While the classic snowflake design is timeless, there are many ways to adapt this recipe to suit your tastes or dietary needs.
- Flavor Variations: Add 1 teaspoon of almond extract to the dough for a marzipan-like flavor. Or, add 1 tablespoon of orange zest for a citrusy twist that pairs well with white icing.
- Dietary Adjustments: For a gluten-free version, substitute the all-purpose flour with a 1:1 gluten-free flour blend. Note that the texture might be slightly more crumbly. For a dairy-free option, use a high-quality plant-based butter.
- Colorful Snowflakes: Instead of white icing, try tinting your royal icing with gel colors. Pastel blues, pinks, and greens look beautiful for spring holidays, while gold and silver are perfect for New Year’s Eve.
- Glazed Cookies: If you don’t want to bother with detailed icing, try a simple glaze. Mix powdered sugar with milk and vanilla, then dip the cooled cookies halfway into the glaze. Let it set for a shiny, professional finish.
- Chocolate Dipped: Melt dark or white chocolate and dip the bottom half of each cookie. Sprinkle with holiday sprinkles or crushed peppermint candy for a festive touch.
Serving & Storage Suggestions
These cookies are versatile and can be served in many ways. They are perfect for gift-giving, party platters, or just enjoying with a glass of milk.
- Serving Temperature: Serve at room temperature. Chilled cookies can lose their crispness, and warm cookies might be too soft.
- Pairings: Pair these cookies with hot cocoa, coffee, or tea. The crisp texture contrasts nicely with warm beverages. They also go well with savory appetizers to balance the meal.
- Storage: Store in an airtight container at room temperature for up to one week. If you live in a humid climate, add a silica gel packet to the container to absorb moisture.
- Freezing: You can freeze the unbaked dough discs for up to 3 months. Thaw in the fridge overnight before rolling and baking. You can also freeze the baked, undecorated cookies for up to 2 months.
- Decorating Ahead: If you’re decorating with royal icing, make sure the icing is completely dry before stacking or storing. This prevents sticking and smudging.
Nutritional Information & Benefits
While these cookies are a treat, it’s good to know what you’re eating. Here is an approximate nutritional breakdown per cookie (assuming 24 cookies):
- Calories: 120 kcal
- Carbohydrates: 18g
- Sugar: 10g
- Fat: 5g
- Protein: 1g
The primary benefit of this recipe is the use of cornstarch, which creates a lighter texture compared to dense, chewy cookies. The moderate sugar content allows you to enjoy a few cookies without feeling overly guilty. However, as with all desserts, moderation is key. These cookies are best enjoyed as a special treat during the holiday season.
Conclusion
Making crispy Christmas sugar cookies with snowflakes is more than just baking; it’s a creative outlet. It’s a way to slow down and enjoy the process of making something beautiful. I hope this recipe helps you create lasting memories with your family and friends. The crisp texture and elegant design make these cookies a standout addition to any holiday table.
Feel free to experiment with different icing colors and designs. Make them your own. And don’t forget to share your creations on social media. I’d love to see your snowflake designs. If you try this recipe, please leave a comment below. Your feedback helps me improve and inspires other bakers. Happy baking!
FAQs
Why are my sugar cookies spreading too much?
This usually happens if the butter was too warm when you started, or if you didn’t chill the dough long enough. Make sure your butter is softened, not melted, and chill the dough for at least 2 hours before baking.
Can I use brown sugar instead of granulated sugar?
For crispy cookies, granulated sugar is best. Brown sugar contains molasses, which adds moisture and chewiness. If you use only brown sugar, your cookies will be softer and chewier, not crisp.
How do I keep my snowflake details sharp?
The key is chilling the dough and using sharp cookie cutters. Make sure the dough is cold when you cut the shapes. Also, avoid overworking the dough after cutting, as this can distort the edges.
Can I freeze the baked cookies?
Yes, you can freeze baked, undecorated cookies for up to 2 months. Store them in an airtight container with parchment paper between layers. Thaw at room temperature before decorating.
What type of icing is best for detailed work?
Royal icing is the best choice for detailed snowflake designs. It dries hard and smooth, allowing you to pipe intricate lines without them spreading. You can tint it with gel food coloring for vibrant results.
Pin This Recipe!
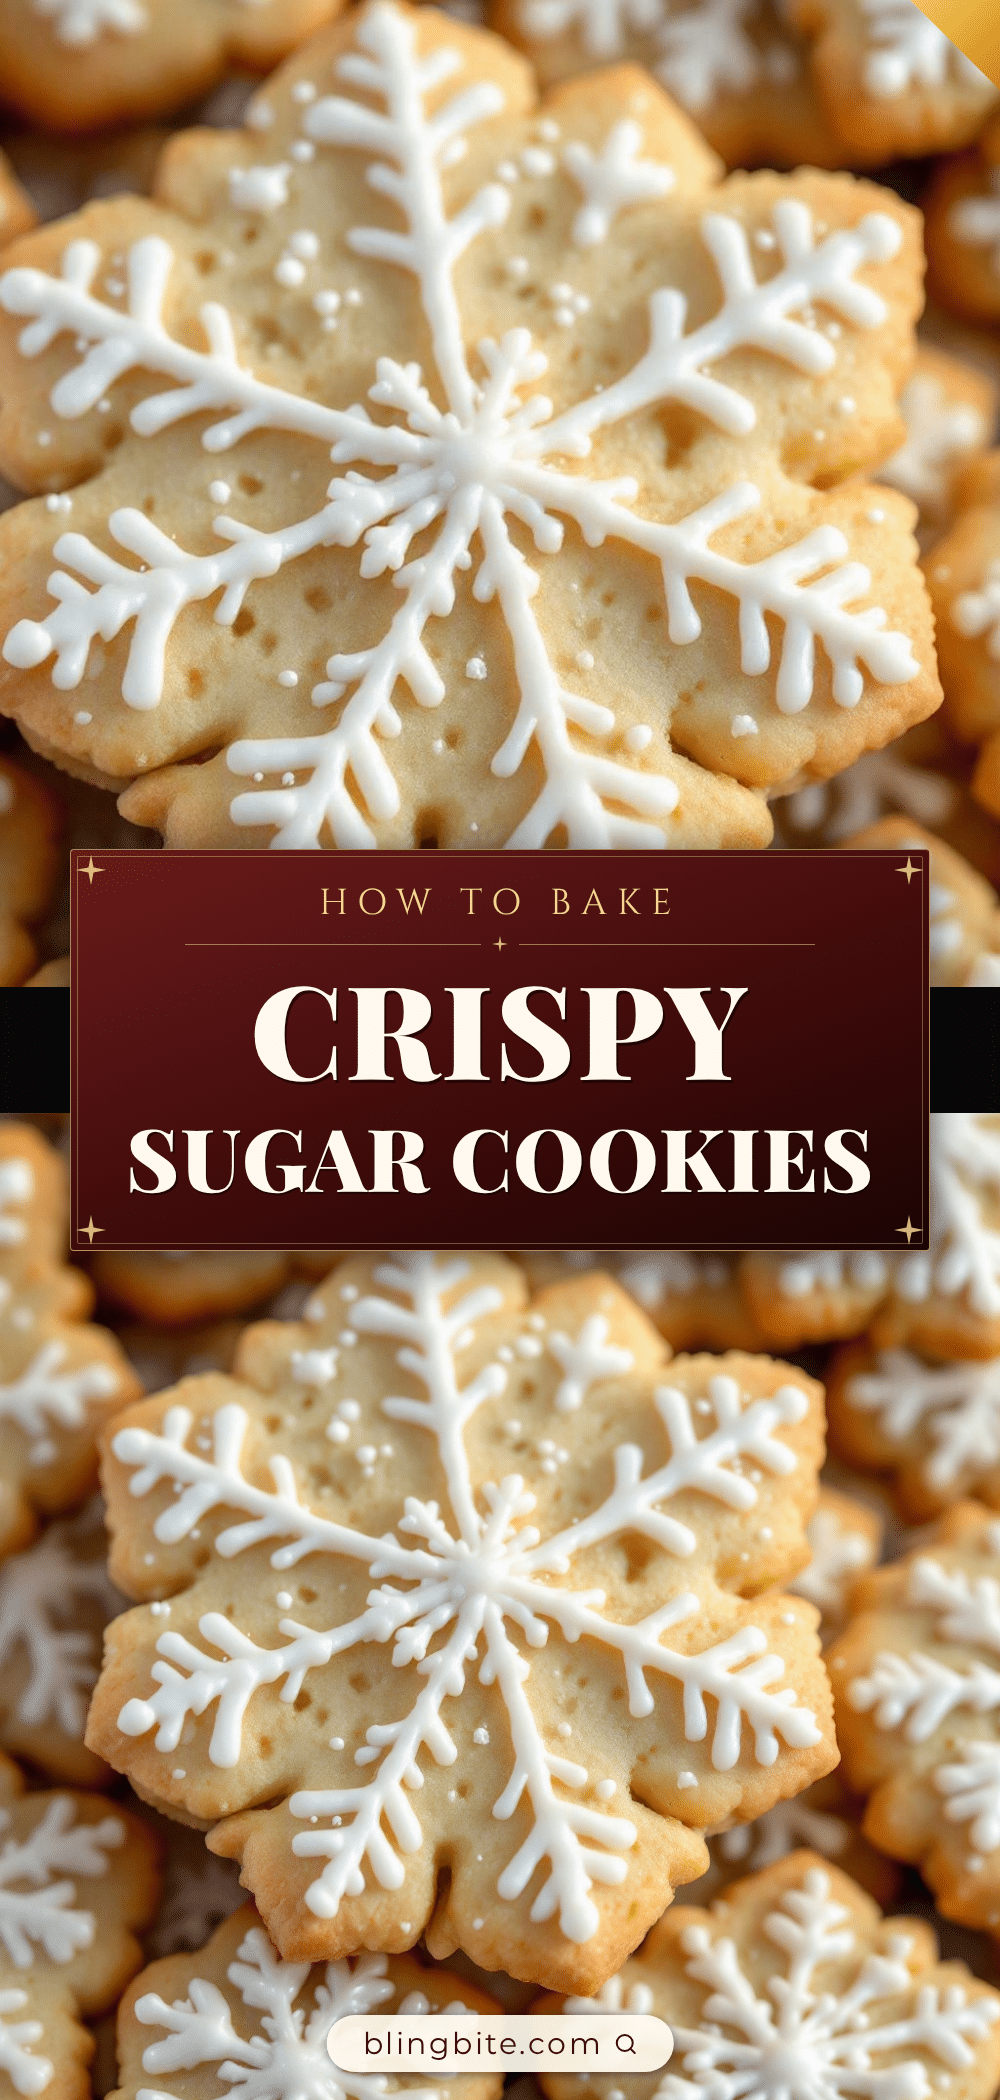
Crispy Christmas Sugar Cookies with Snowflakes
These crispy Christmas sugar cookies are engineered to hold their shape and intricate snowflake details. With a perfect balance of crunch and tenderness, they are ideal for holiday decorating and gifting.
- Prep Time: 30 minutes
- Cook Time: 10 minutes
- Total Time: 2 hours 40 minutes
- Yield: 24 cookies 1x
- Category: Dessert
- Cuisine: American
Ingredients
- 1 cup (2 sticks / 226g) unsalted butter, softened to room temperature
- 1 cup (200g) granulated white sugar
- 1/2 cup (100g) light brown sugar, packed lightly
- 1 large egg, room temperature
- 2 teaspoons pure vanilla extract
- 3 cups (375g) all-purpose flour, spooned and leveled
- 2 tablespoons cornstarch
- 1 teaspoon baking powder
- 1/2 teaspoon salt
- Gel food coloring and royal icing for decorating
Instructions
- In a stand mixer fitted with the paddle attachment, beat the softened butter, granulated sugar, and brown sugar on medium-high speed for 3-4 minutes until pale, fluffy, and increased in volume.
- With the mixer on low, add the egg and vanilla extract. Mix until just combined, scraping down the sides of the bowl.
- In a separate medium bowl, whisk together the flour, cornstarch, baking powder, and salt.
- Gradually add the dry ingredients to the wet mixture on low speed. Mix until the dough just comes together and forms a ball. Do not overmix.
- Divide the dough in half. Flatten each half into a disc, wrap tightly in plastic wrap, and refrigerate for at least 2 hours (or up to 2 days).
- Preheat your oven to 350°F (175°C). Line two large baking sheets with parchment paper or silicone mats.
- Take one disc of dough out of the fridge and let it sit for 5 minutes. On a lightly floured surface, roll the dough to about 1/8 inch thickness.
- Use snowflake cookie cutters to cut out shapes. Place them on prepared baking sheets, leaving 1 inch of space between cookies. Re-roll scraps to cut more shapes.
- Bake for 8-10 minutes. The edges should be lightly golden, but the centers should remain pale. Rotate pans halfway through for even baking.
- Let the cookies cool on the baking sheet for 5 minutes, then transfer to a wire rack to cool completely before decorating.
Notes
Chilling the dough is non-negotiable to prevent spreading and ensure crispness. Use an oven thermometer to verify temperature. Store cookies in an airtight container with a piece of bread to maintain crispness. For gluten-free, use a 1:1 gluten-free flour blend. For dairy-free, use plant-based butter.
Nutrition
- Serving Size: 1 cookie
- Calories: 120
- Sugar: 10
- Sodium: 100
- Fat: 5
- Saturated Fat: 3
- Carbohydrates: 18
- Protein: 1
Keywords: crispy sugar cookies, christmas cookies, snowflake cookies, holiday baking, royal icing cookies, easy sugar cookie recipe


