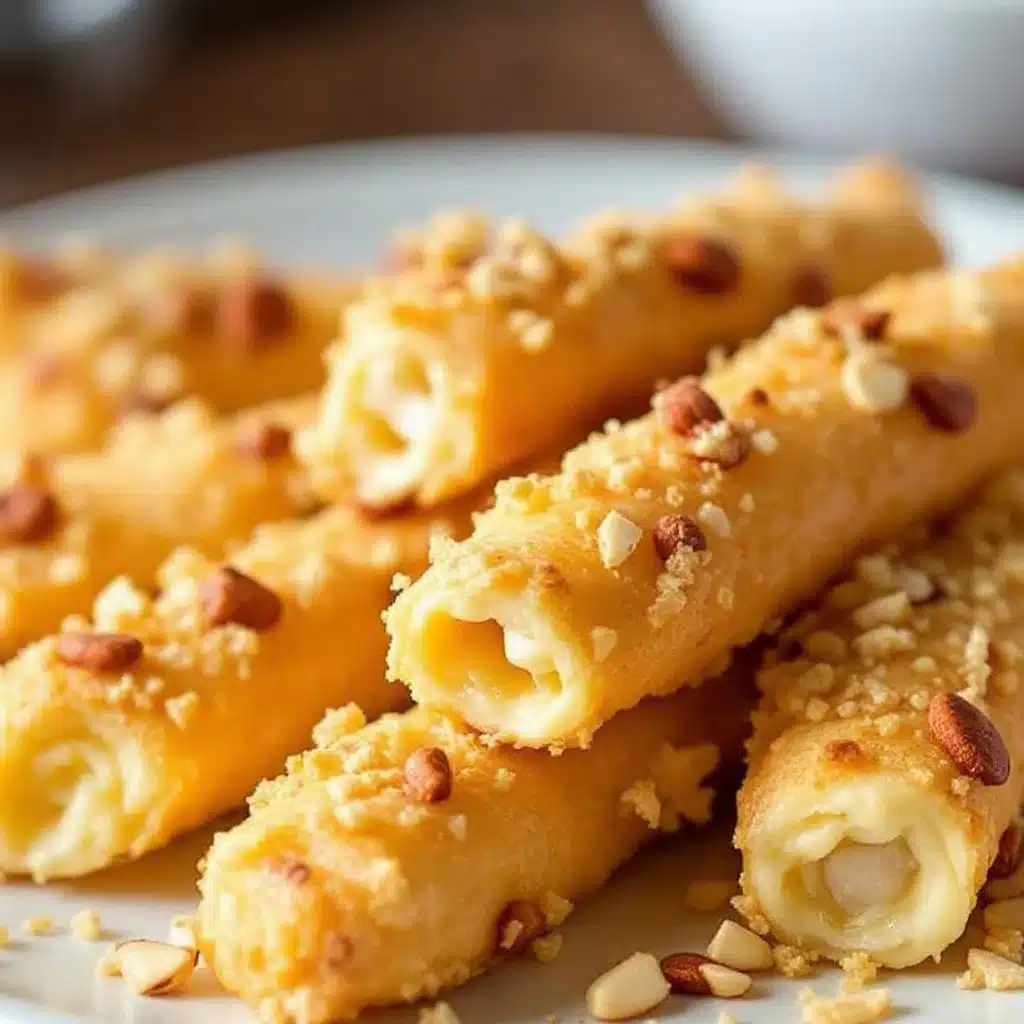
My nephew stared at the baking sheet, his eyes wide behind his glasses. It was 7:00 PM on a Tuesday, but the calendar said October 31st, so we were technically in Halloween mode. I had just pulled these out of the oven, and they were golden, twisted, and topped with a tiny dot of paprika that looked suspiciously like a fingernail. He wasn’t wrong. They looked like fingers. Specifically, a witch’s fingers that had been baked to perfection.
I laughed and handed him one. “They’re cheese straws, buddy. But yes, they are definitely witch fingers.”
He took a bite, crunching loudly. “These are scary good,” he said, which is high praise from a kid who usually only eats chicken nuggets. That moment stuck with me. Halloween snacks usually feel like a compromise—either too sweet for the adults or too complicated for the kids to eat without making a mess. But these crispy witch finger cheese straws changed the game. They are savory, salty, and surprisingly easy to make. You know how some recipes take hours? This one takes about 20 minutes if you cheat a little with store-bought dough.
I’ve made these for years, usually when I’m hosting a last-minute party or just need to keep the kids occupied while I pretend to read a book. The smell of baking cheese and butter fills the house, and suddenly, the spooky season feels a lot more cozy. Honestly, there is something satisfying about twisting dough into finger shapes. It’s tactile, fun, and ends up with a snack that disappears faster than you can bake it.
The best part? No one suspects they are this simple until they ask for the recipe. You can serve them warm with a dip, or let them cool for a crunchier texture. Either way, they are a hit. I remember one year, I accidentally left the tray out too long, and my husband ate half before dinner. He didn’t even care that they were cold. That’s when I knew I had found a winner. It’s not just a Halloween treat; it’s a staple for any time you need a quick, impressive snack.
Why You’ll Love This Recipe
Let’s be real for a second. Most Halloween recipes are all about the sugar rush. You’ve got the candy corn, the chocolate pumpkins, and the cookies shaped like ghosts. But sometimes, you need something savory. Something that balances out the sweetness. These crispy witch finger cheese straws hit that sweet spot perfectly. They are the kind of snack that makes you close your eyes after the first bite because the flavor is just that good.
Here is why this recipe has earned a permanent spot in my rotation:
- Quick & Easy: Seriously, this comes together in under 25 minutes. If you use refrigerated crescent roll dough or puff pastry, it’s almost instantaneous. Perfect for busy weeknights or when guests show up unexpectedly.
- Simple Ingredients: You likely already have everything in your kitchen. Cheese, dough, spices—no fancy grocery trips needed. It’s pantry-friendly and stress-free.
- Perfect for Parties: Whether it’s a Halloween potluck, a movie night, or just a cozy dinner, these are great finger food. They are easy to pick up and eat without making a mess.
- Crowd-Pleaser: Kids love the shape, and adults love the taste. They always get rave reviews from both groups. It’s rare to find a snack that satisfies everyone.
- Unbelievably Delicious: The texture is next-level. Crispy on the outside, soft and cheesy on the inside. It’s comfort food reimagined with a spooky twist.
What makes these different from the rest? It’s the balance of flavor. Many cheese straws are just plain cheddar. But adding a touch of garlic powder and paprika gives them depth. The paprika on the “nail” isn’t just for looks; it adds a subtle smokiness that pairs perfectly with the sharp cheddar. It’s not just another version of cheese straws—it’s the best version. It’s healthier than candy, faster than homemade bread, and way more fun than plain crackers.
I’ve tested this recipe with different cheeses, different doughs, and even different spices. The result is always consistent. It’s foolproof. And that’s what I love about it. You can’t mess it up. You just twist, bake, and enjoy. It’s the kind of recipe that builds confidence in the kitchen.
What Ingredients You Will Need
This recipe relies on a few simple, wholesome ingredients to deliver bold flavor and satisfying texture without the fuss. The beauty of these witch fingers is that you don’t need a complicated pantry. Most of these items are staples you probably already have on hand. The key is quality. Since there are so few ingredients, each one matters.
Here is what you will need to get started:
- Refrigerated Crescent Roll Dough or Puff Pastry: This is the base. I prefer crescent rolls for the classic flaky layers, but puff pastry gives a more elegant, crispier result. Look for high-quality brands like Pepperidge Farm for puff pastry, as the butter content makes a huge difference in texture. If you are using crescent rolls, make sure they are fresh and not past their prime.
- Sharp Cheddar Cheese: Grate your own. Seriously, pre-shredded cheese has anti-caking agents that prevent it from melting smoothly. A sharp cheddar gives you that punchy, savory flavor. I recommend using a block of cheddar and grating it yourself for the best melt. If you want a milder taste, you can mix in some Monterey Jack.
- Unsalted Butter: Melted butter brushed on top helps the spices stick and adds a rich, golden color. Use high-quality butter for better flavor. Salted butter can work, but you may want to reduce any added salt in the spices.
- Garlic Powder: Not fresh garlic. Powder distributes evenly and doesn’t burn in the oven. It adds a savory backbone to the cheese. Make sure your garlic powder is fresh; old powder loses its punch.
- Onion Powder: This adds a subtle sweetness and depth. It complements the garlic without overpowering the cheddar. It’s a classic combination in savory baking.
- Paprika: This is for the “fingernail.” Sweet paprika works best for color, but you can use smoked paprika for a deeper flavor. It’s essential for the spooky look, but it also adds a nice earthy note.
- Optional: Cayenne Pepper: If you like a little heat, add a pinch of cayenne to the butter mixture. It adds a subtle kick that balances the richness of the cheese. Start with a tiny amount and adjust to taste.
Substitution tips: You can use almond flour for a gluten-free option if you make your own dough, but using store-bought gluten-free crescent rolls is easier. For a dairy-free version, use vegan butter and dairy-free cheese shreds, though the melt may not be as gooey. In summer, you can swap cheddar for pepper jack for a spicy twist. The flexibility here is part of the fun.
Equipment Needed
You don’t need much to make these, which is part of the appeal. Just a few basic tools will get you through this recipe without cluttering your counter.
- Baking Sheets: You will need two large baking sheets. Line them with parchment paper for easy cleanup. Parchment paper prevents sticking and ensures even baking. Silicone mats are a great reusable alternative.
- Pastry Brush: A silicone pastry brush is ideal for brushing the melted butter on the dough. It’s flexible and easy to clean. If you don’t have one, you can use a spoon, but a brush gives more control.
- Small Bowl: For mixing the melted butter and spices. A small ramekin or measuring cup works well.
- Grater: If you are grating your own cheese, a box grater is standard. A microplane grater works too for finer shreds, but a box grater is faster.
- Piping Bag or Ziploc Bag: For adding the paprika “nail.” A small Ziploc bag with a corner cut off works just as well as a piping bag. It’s a budget-friendly option that gets the job done.
I usually keep these items on hand because I make similar snacks often. If you don’t have a pastry brush, don’t worry. A fork dipped in butter works too. The equipment list is short, so it’s not a barrier to entry. Just make sure your baking sheets are clean and dry for the best results.
Preparation Method
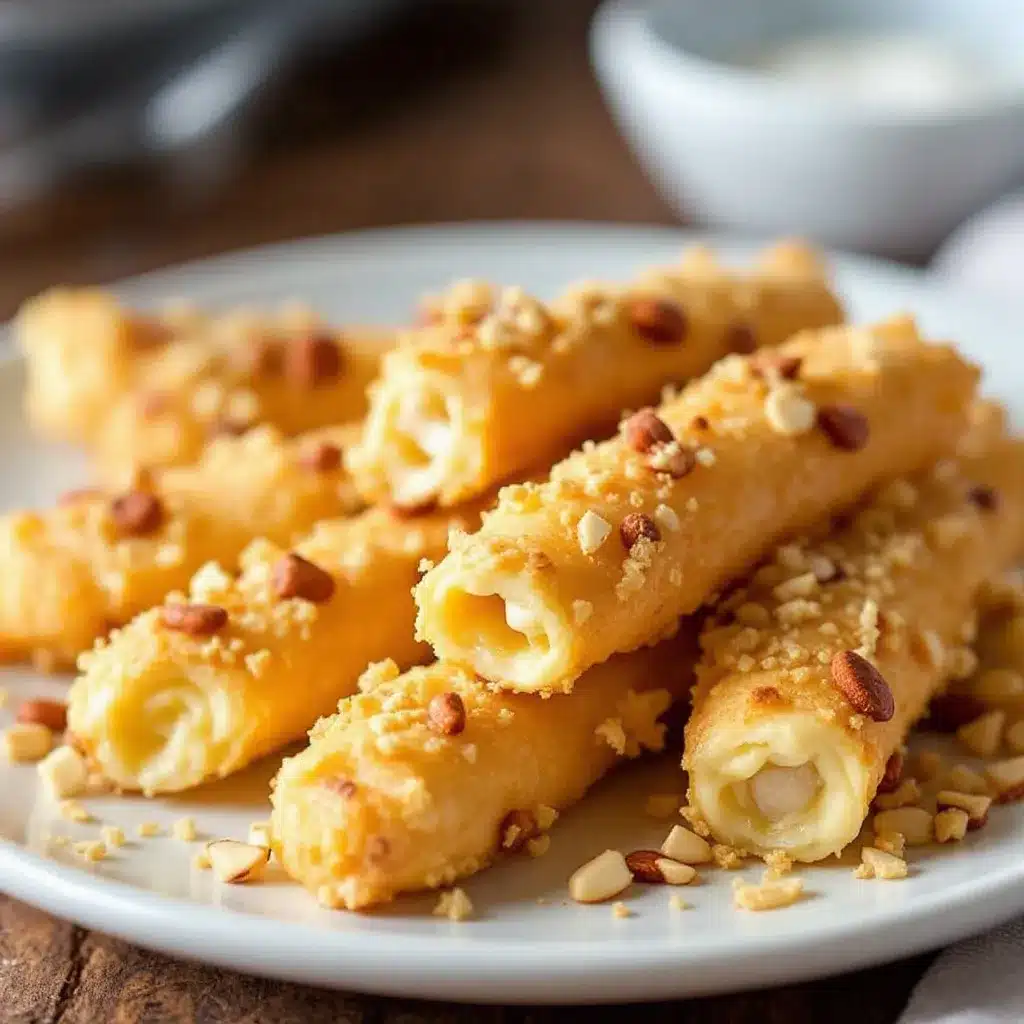
Making these crispy witch finger cheese straws is straightforward. Here is how to do it step by step.
- Preheat the Oven: Preheat your oven to 375°F (190°C). Line two large baking sheets with parchment paper. This ensures the straws don’t stick and bake evenly. (Time: 5 minutes)
- Prepare the Dough: Unroll the crescent roll dough or puff pastry onto a clean surface. If using crescent rolls, press the seams together to form a single sheet. For puff pastry, roll it out slightly to ensure even thickness. (Time: 2 minutes)
- Melt the Butter: In a small bowl, melt 4 tablespoons of unsalted butter. Stir in 1 teaspoon of garlic powder, 1 teaspoon of onion powder, and a pinch of cayenne if using. Mix well. (Time: 1 minute)
- Shape the Fingers: Cut the dough into strips about 1 inch wide and 4 inches long. Take one strip and gently stretch it to about 6 inches long. This stretching creates the “finger” shape. Twist the dough slightly to give it a natural, organic look. Place on the prepared baking sheets. (Time: 5 minutes)
- Add the Cheese: Sprinkle a generous amount of shredded cheddar cheese over each “finger.” Press it in slightly so it adheres. Don’t be shy with the cheese; it’s the star of the show. (Time: 2 minutes)
- Brush with Butter: Using a pastry brush, lightly brush the top of each finger with the spiced butter mixture. This adds flavor and helps the cheese brown. (Time: 2 minutes)
- Add the Nails: Fill a small Ziploc bag with paprika. Cut a tiny corner off the bag. Pipe a small dot of paprika onto the end of each finger to resemble a fingernail. If you don’t have a bag, you can use your finger to dab a tiny amount of paprika mixed with a drop of water. (Time: 2 minutes)
- Bake: Bake for 12-15 minutes, or until the dough is golden brown and the cheese is bubbly. Keep an eye on them, as oven temperatures can vary. They should be crisp around the edges. (Time: 15 minutes)
- Cool: Let them cool on the baking sheet for 5 minutes. This allows them to firm up slightly. Transfer to a wire rack to cool completely if you want them extra crispy. (Time: 5 minutes)
Troubleshooting: If the dough tears while stretching, just patch it. It won’t matter once baked. If the cheese burns, lower the oven temperature by 25°F next time. The key is to watch the color, not just the clock.
Cooking Tips & Techniques
To get the best results, there are a few tricks I’ve learned over the years. First, don’t skip the stretching step. It’s what gives the straws their unique shape. If you just cut strips, they will look like breadsticks. Stretching them makes them look like fingers.
Another tip is to use cold dough. If your dough gets too warm while you are working, it can become sticky and hard to handle. Pop it in the fridge for 10 minutes if it starts to soften. This makes shaping easier.
I also recommend grating your own cheese. Pre-shredded cheese often contains potato starch or cellulose, which can prevent it from melting smoothly. Freshly grated cheese melts into a gooey, delicious layer that binds the straws together.
When brushing with butter, don’t soak the dough. Just a light coat is enough. Too much butter can make the bottom soggy. You want crisp, not greasy.
Finally, let them cool. I know it’s tempting to eat them hot, but cooling them for just a few minutes helps them set. This makes them less likely to fall apart when you pick them up. It’s a small step that makes a big difference in presentation.
Variations & Adaptations
You can customize these witch fingers to suit your taste or dietary needs. Here are a few ideas:
- Spicy Version: Add red pepper flakes to the cheese mixture or use pepper jack cheese. This adds a kick that pairs well with the savory dough.
- Herb Twist: Mix dried herbs like parsley, thyme, or oregano into the butter mixture. This adds a fresh, aromatic flavor that complements the cheese.
- Gluten-Free: Use gluten-free crescent roll dough or puff pastry. Many brands now offer these, and they work just as well. Just follow the package instructions for baking time.
- Dairy-Free: Use vegan butter and dairy-free cheese shreds. Note that vegan cheese may not melt as well, so you might need to bake them slightly longer. The flavor will still be great.
- Sweet Variation: For a dessert version, use cinnamon sugar instead of garlic powder and paprika. Add a chocolate “nail” using melted chocolate. This turns them into a sweet treat for Halloween.
I’ve tried all of these, and they all work. The base recipe is flexible enough to adapt to almost any flavor profile. It’s a great canvas for creativity.
Serving & Storage Suggestions
Serve these warm for the best texture. They pair well with a variety of dips, such as marinara sauce, ranch dressing, or a spicy mustard. They are also great on their own as a snack.
For storage, keep them in an airtight container at room temperature for up to 2 days. To reheat, place them in the oven at 350°F for 5 minutes to crisp them up. Avoid the microwave, as it can make them soggy.
They also freeze well. Bake them, let them cool, and store them in a freezer-safe container. Reheat in the oven when needed. This is great for meal prepping or having a quick snack on hand.
The flavors develop over time, but they are best fresh. The cheese stays soft, and the dough stays crisp. If you make them ahead, just reheat them before serving.
Nutritional Information & Benefits
These witch fingers are a savory snack, so they are higher in fat and sodium due to the cheese and butter. However, they are a better alternative to sugary Halloween treats. A typical serving (3-4 straws) contains about 150-200 calories, depending on the size and cheese used.
The cheddar cheese provides calcium and protein, which are good for bone health. The butter adds healthy fats, though in moderation. If you are watching your sodium, use low-sodium cheese and reduce the added salt in the spices.
They are not gluten-free unless you use gluten-free dough. They are also not vegan unless you use dairy-free alternatives. But for a balanced snack, they fit well into a Halloween menu.
Conclusion
These crispy witch finger cheese straws are a fun, easy, and delicious way to celebrate Halloween. They are simple to make, impressive to serve, and always a hit. I love them because they bring a bit of joy to the holiday, even if it’s just a small kitchen moment with my nephew.
I encourage you to try them and customize them to your liking. Add your favorite spices, try different cheeses, or make them sweet for dessert. The possibilities are endless.
If you make this recipe, please leave a comment below. I’d love to hear how they turned out. Did you add any twists? Share your adaptations with the community. And if you enjoyed this, share it with a friend. Halloween is better with friends.
Happy baking, and may your fingers be crispy and your cheese be melty.
FAQs
Can I use puff pastry instead of crescent rolls?
Yes, puff pastry works great. It will be crispier and flakier. Just follow the same shaping steps, but note that puff pastry may rise more, so keep an eye on the baking time.
How do I store leftover witch fingers?
Store them in an airtight container at room temperature for up to 2 days. To reheat, use the oven at 350°F for 5 minutes. Avoid the microwave.
Can I make these ahead of time?
Yes, you can shape them and refrigerate them for up to 24 hours before baking. Just add the butter and spices before baking. You can also freeze them unbaked for up to 3 months.
What dip goes best with these?
Marinara sauce, ranch dressing, and spicy mustard are all great options. You can also serve them with a creamy garlic dip for extra flavor.
Are these gluten-free?
Standard crescent rolls and puff pastry contain gluten. To make them gluten-free, use gluten-free dough options. Check the label to ensure they are certified gluten-free.
Pin This Recipe!
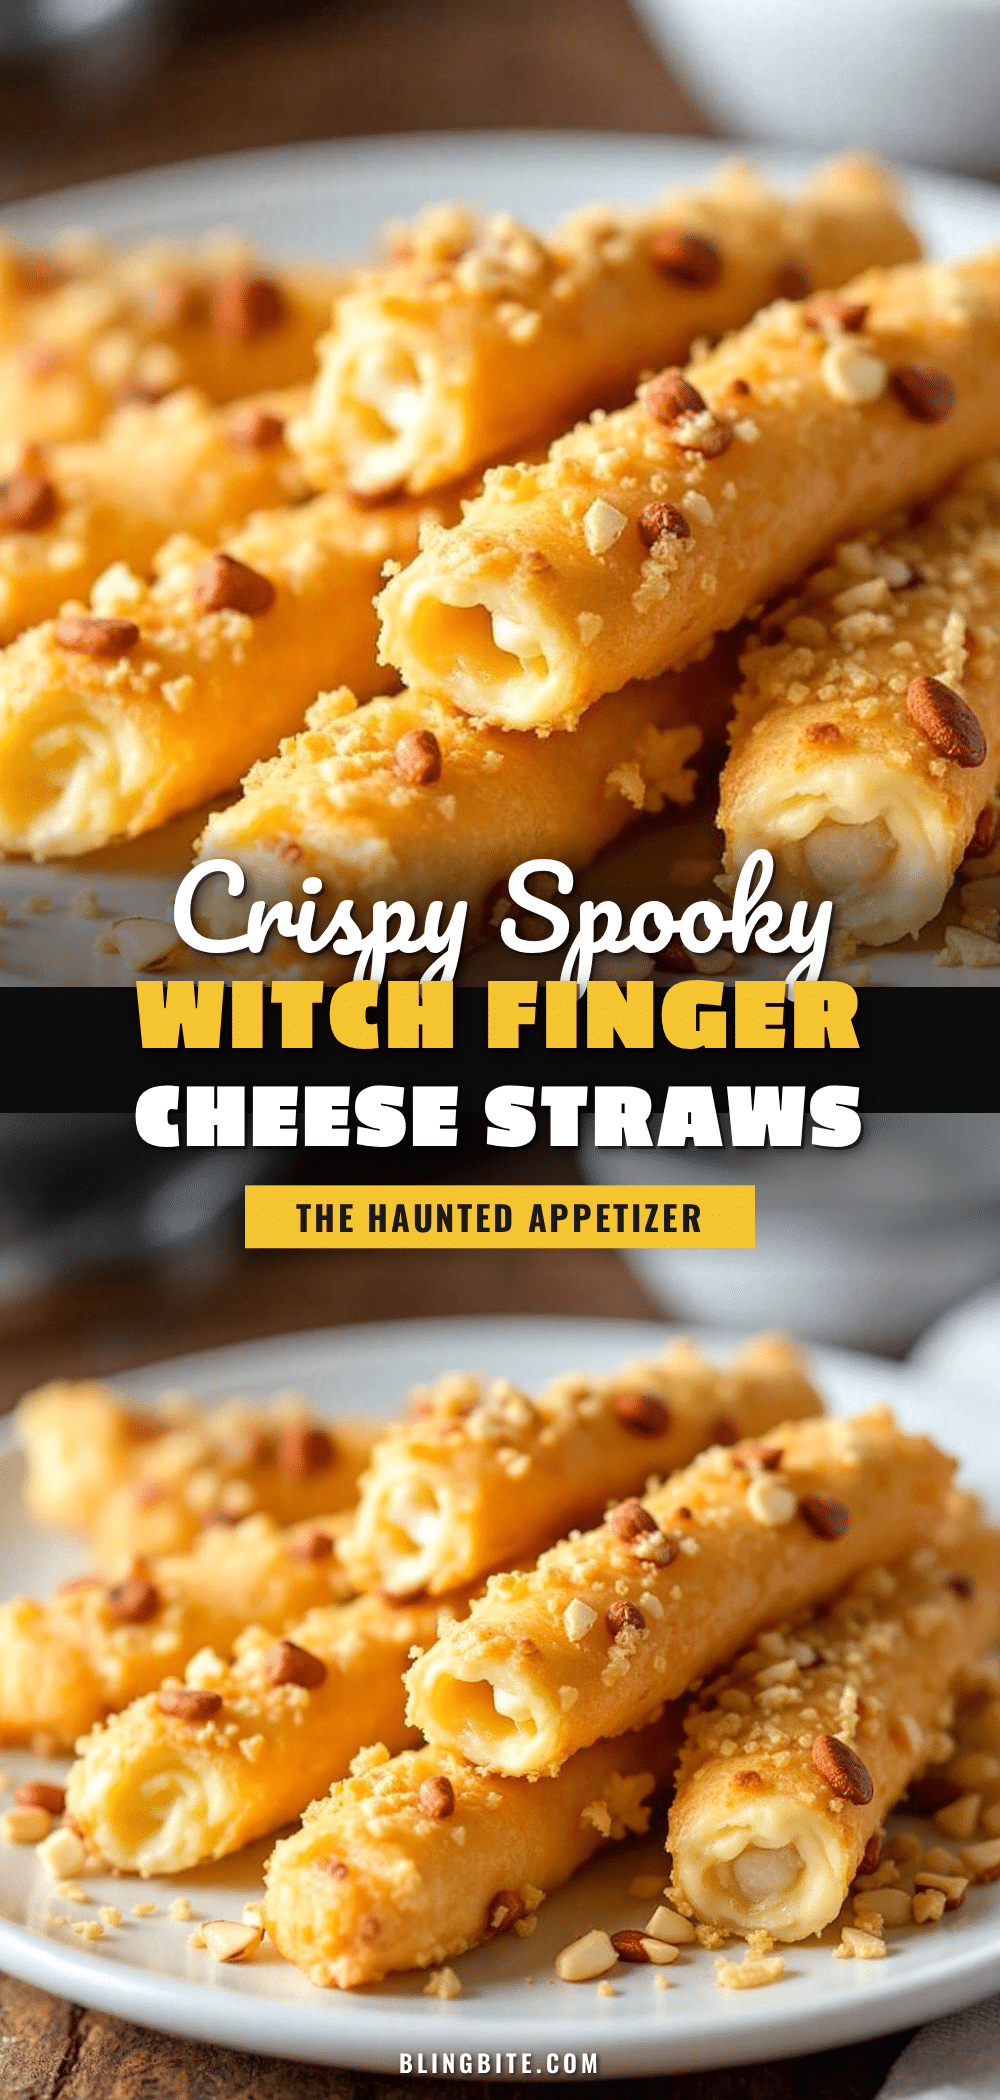
Crispy Witch Finger Cheese Straws: 3-Ingredient Halloween Snack
A spooky yet savory Halloween snack made with crescent roll dough, sharp cheddar cheese, and spices. These crispy, finger-shaped straws are quick to make, easy to customize, and perfect for parties or last-minute treats.
- Prep Time: 15 minutes
- Cook Time: 15 minutes
- Total Time: 30 minutes
- Yield: 24 servings 1x
- Category: Appetizer
- Cuisine: American
Ingredients
- 1 can (15 oz) refrigerated crescent roll dough or puff pastry
- 1 cup sharp cheddar cheese, freshly grated
- 4 tablespoons unsalted butter, melted
- 1 teaspoon garlic powder
- 1 teaspoon onion powder
- 1 teaspoon paprika (for the ‘nails’)
- Pinch of cayenne pepper (optional, for heat)
Instructions
- Preheat oven to 375°F (190°C). Line two large baking sheets with parchment paper.
- Unroll the crescent roll dough or puff pastry onto a clean surface. If using crescent rolls, press seams together to form a single sheet.
- In a small bowl, melt the butter and stir in garlic powder, onion powder, and cayenne pepper if using.
- Cut the dough into strips about 1 inch wide and 4 inches long. Gently stretch each strip to about 6 inches long and twist slightly to create a finger shape. Place on prepared baking sheets.
- Sprinkle a generous amount of shredded cheddar cheese over each ‘finger’ and press slightly to adhere.
- Lightly brush the top of each finger with the spiced butter mixture.
- Fill a small Ziploc bag with paprika, cut a tiny corner off, and pipe a small dot onto the end of each finger to resemble a fingernail.
- Bake for 12-15 minutes, or until the dough is golden brown and the cheese is bubbly.
- Let cool on the baking sheet for 5 minutes to firm up before transferring to a wire rack.
Notes
For best results, use freshly grated cheese as pre-shredded cheese contains anti-caking agents that prevent smooth melting. Ensure dough is cold while shaping to prevent sticking. If using puff pastry, it may rise more, so monitor baking time closely. These can be frozen unbaked for up to 3 months or baked and stored at room temperature for up to 2 days.
Nutrition
- Serving Size: 3-4 straws
- Calories: 175
- Sugar: 1
- Sodium: 280
- Fat: 12
- Saturated Fat: 6
- Carbohydrates: 12
- Protein: 5
Keywords: Halloween snack, cheese straws, witch fingers, crescent roll recipes, easy appetizer, savory Halloween treat, party food, kid-friendly snacks


