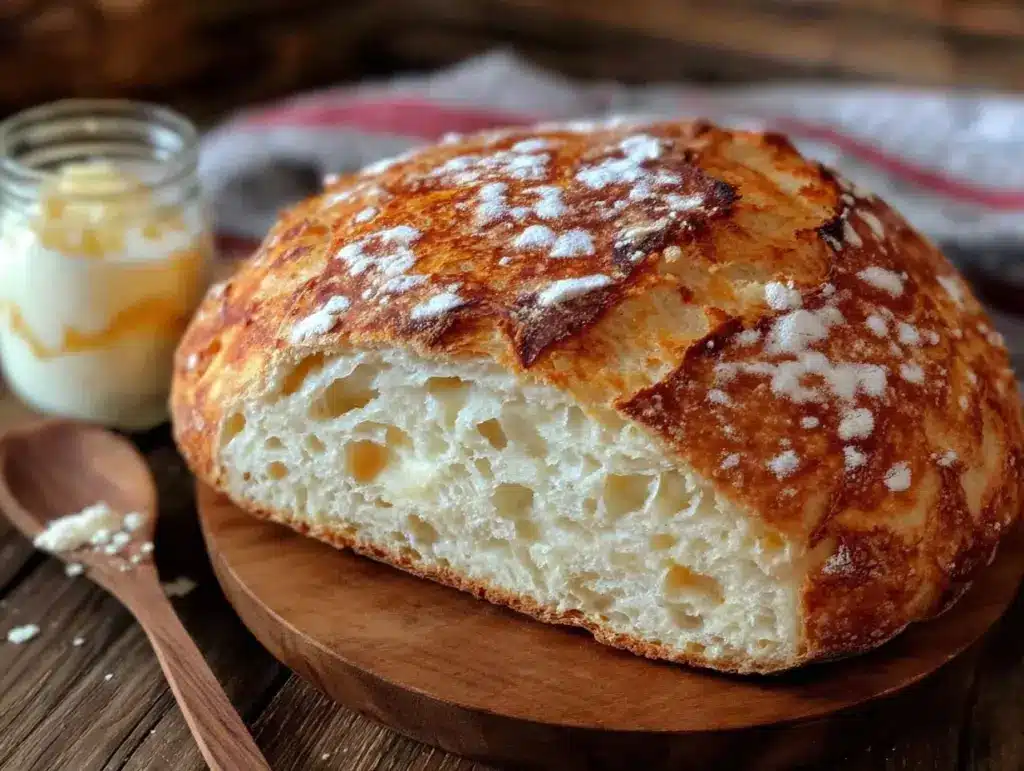
I thought making a sourdough starter would be this delicate, mysterious ritual that only seasoned bakers could pull off. It took about a week of bubbling jars and a few “what did I just create?” moments for that to fall apart completely. Honestly, I expected it to be complicated — all those wild yeast theories swirling around, the weird smells, the “feed me” schedules. But in reality, the starter just needs a little patience and some regular care, nothing more. The flour and water mix, left alone, starts to bubble with life, and that’s when the magic begins.
There was this one morning — after I almost gave up — when I peeked inside the jar and saw the starter rising and falling like clockwork. That bubbly, sour smell hit me, and I realized this was no kitchen science experiment gone wrong. It was the heart of homemade bread, alive and kicking. Turns out, nurturing a sourdough starter is less about following strict rules and more about learning to listen to your jar’s little quirks.
This easy beginner sourdough starter guide is exactly what I wish I had when I started: straightforward, forgiving, and focused on practical steps that anyone can follow (even if you’re like me and learn by doing). If you’ve ever hesitated to try sourdough because it seemed too tricky or time-consuming, this guide is for you. It’s about discovering that homemade bread doesn’t have to be intimidating, and your kitchen can be a cozy, bubbling little bakery without all the fuss.
So, let’s get that starter going — your future fresh, crusty loaves will thank you for it.
Why You’ll Love This Recipe
From years of fumbling through sourdough attempts (and learning from each one), I can say this guide gets you to a bubbly, active starter without the headaches. Here’s why it’s a keeper:
- Quick & Easy: It takes just 5 minutes a day for about a week — perfect if you’ve got a busy schedule but still crave homemade bread.
- Simple Ingredients: Just flour and water, no weird additives or expensive starters. Most of us have these pantry staples on hand already.
- Perfect for Beginners: I break down the process with clear steps and helpful tips to avoid common pitfalls — no baking degree required.
- Reliable Results: This method has been tested until I got that consistent rise and tang every time — no guesswork needed.
- Emotionally Rewarding: Watching your starter grow is oddly satisfying and connects you to an age-old baking tradition.
This isn’t your average starter recipe. What makes it stand out is the focus on understanding your starter’s personality — like when to feed it based on its bubble activity, how to interpret its scent, and how to keep it happy even if your kitchen is on the cooler side. Plus, it’s the kind of recipe that turns your homemade bread into a real showstopper without the fuss.
Honestly, this guide helped me turn sourdough bread from a hopeful concept into a weekend ritual I actually look forward to — no intimidating jargon, just good bread and the joy of making something from scratch.
What Ingredients You Will Need
This recipe uses simple, wholesome ingredients to deliver a lively sourdough starter that’s ready to bake with in about a week. They’re pantry staples, easy to find, and flexible for substitutions if needed.
- Unbleached all-purpose flour (about 100 grams or ¾ cup) – This is my go-to for a reliable, strong starter. You can also use whole wheat flour to add more wild yeast and flavor, especially handy if you want a boost in activity early on.
- Filtered water, room temperature (about 100 grams or ⅓ cup + 1 tablespoon) – Chlorine in tap water can slow down fermentation, so filtered or bottled water works best. If you only have tap water, let it sit out for a few hours to let the chlorine evaporate.
- Optional: Rye flour (for feeding or starting) – Rye is fantastic for jumpstarting your starter because it’s packed with wild yeast and nutrients. If you want a faster rise, swap out a quarter of your flour for rye.
That’s really all you need. No fancy yeast, no sugar, no additives. Just flour and water creating a living culture.
Tip: I like using Bob’s Red Mill unbleached flour because of its consistent quality, but any reliable brand will do. If you’re gluten-free, you might want to try a gluten-free flour blend — though results can vary and might take longer.
For keeping your starter going long term, you’ll also want to have some extra flour and water handy for daily feedings.
Equipment Needed
One of the best things about starting your own sourdough starter is that the equipment is minimal and budget-friendly.
- Glass jar or container (1-quart or 1-liter size) – I prefer glass because it’s easy to see the bubbles and it’s non-reactive. Avoid metal containers as they can interfere with the starter’s acidity.
- Kitchen scale – This is a game-changer for accuracy. Measuring by weight (grams) instead of volume helps keep your starter consistent. If you don’t have one, measuring cups will work, but expect slight variations.
- Wooden spoon or spatula – For mixing your flour and water gently.
- Loose-fitting lid or cloth cover – Your starter needs to breathe but stay clean. A coffee filter or a piece of cheesecloth secured with a rubber band works great.
- Optional: Thermometer – If you want to be precise about your kitchen temperature (ideal is around 70°F/21°C), this can help, but it’s not necessary.
I started with an old mason jar and a tea towel as a lid — simple and no extra expenses. The key is to avoid airtight containers since your starter needs oxygen to develop.
Preparation Method
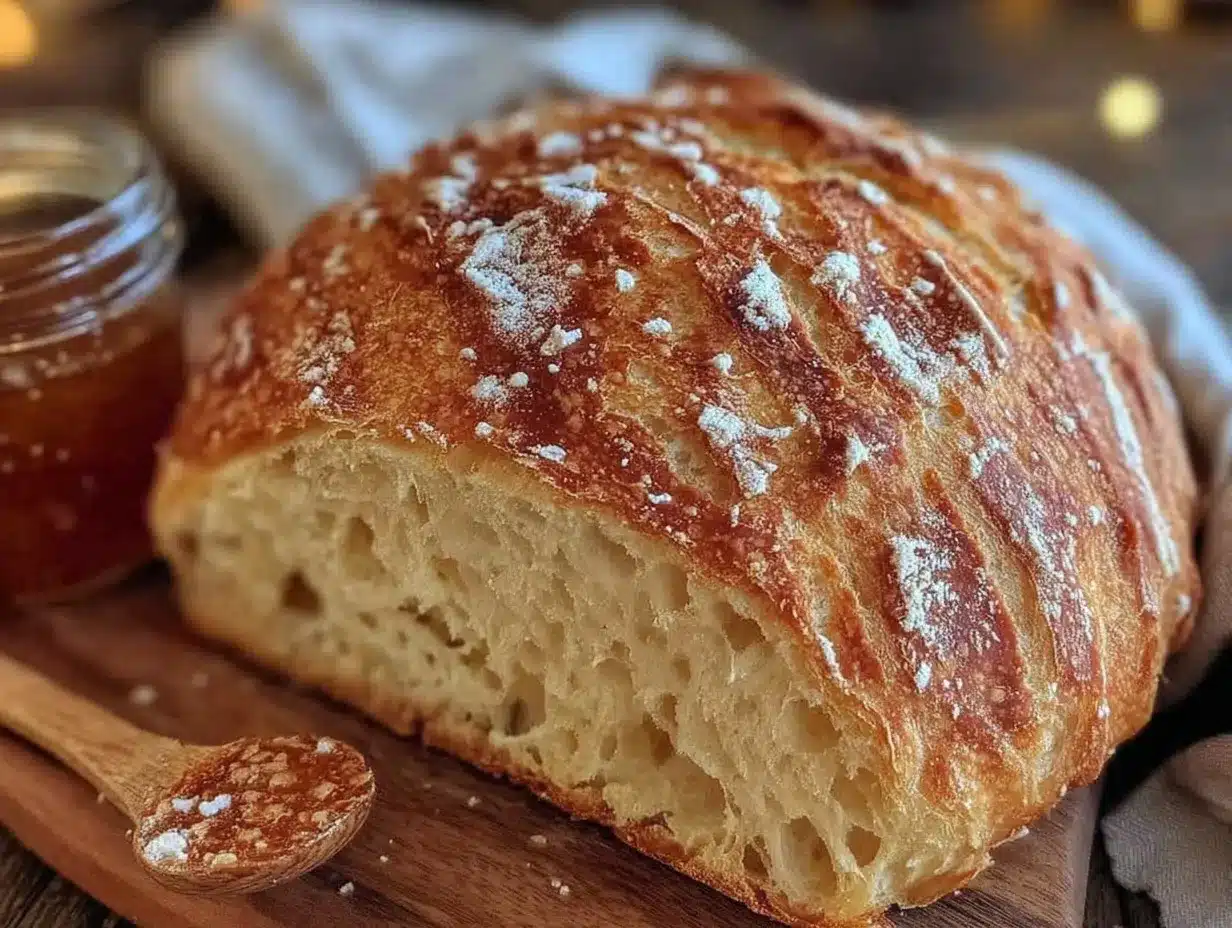
- Day 1: Mix starter – Combine 50 grams (⅓ cup + 1 tablespoon) of unbleached all-purpose flour with 50 grams (3 tablespoons + 1 teaspoon) of filtered water in your jar. Stir until smooth, scraping down the sides. The mixture should look like thick pancake batter. Cover loosely and leave it at room temperature (around 70°F/21°C) for 24 hours.
- Day 2: Check and feed – You might see a few bubbles or none at all — that’s normal. Discard half the starter (about 50 grams), then add 50 grams flour and 50 grams water. Stir gently, cover, and rest again.
- Day 3: Bubbling starts – By now, you should notice more bubbles and a mild sour smell. Repeat the discard and feed process as in Day 2. Keep the starter loosely covered.
- Day 4: Growth signs – The starter should be rising and falling, getting more active. If it smells pleasantly sour and shows bubbles, continue feeding as before. If not, don’t panic — some starters take longer.
- Day 5-7: Ready to bake – When your starter doubles in size 6-8 hours after feeding and has lots of bubbles, it’s ready. It should smell tangy but not unpleasant. To test, drop a spoonful in water — if it floats, you’re good to go!
Troubleshooting tip: If your starter develops a layer of hooch (a grayish liquid), it means it’s hungry. Just stir it back in and feed as usual. A strong off smell means you might need to start over, but that’s rare.
Keep your starter in a warm spot, away from drafts. I usually leave mine on top of the fridge or inside the oven (turned off) with the light on.
Once you’re confident your starter is bubbly and doubling reliably, you can use it in recipes like your first loaf of sourdough bread. If you want to pause, store it in the fridge and feed it weekly.
Cooking Tips & Techniques
Getting a sourdough starter going requires attention but not perfection. Here’s what I’ve learned the hard way:
- Don’t stress the temperature: Starters thrive best around 70-75°F (21-24°C), but if your kitchen is cooler, it’ll just take a bit longer.
- Use consistent flour: Switching flours mid-way can confuse your starter and slow it down.
- Be patient with feedings: Discarding some starter before feeding might seem wasteful, but it keeps the yeast balanced and prevents your jar from overflowing.
- Watch the smell: A pleasant sour aroma means healthy fermentation. If it smells rotten or like nail polish remover, start fresh.
- Keep it clean: Use clean utensils and jars to avoid contamination.
- Multitasking tip: Feed your starter in the morning and evening if you want to speed up the process, but once a day works fine for beginners.
Speaking from experience, the biggest mistake I made was rushing the process or trying to “fix” the starter with additives. Trust the bubbles and the smell — nature knows what it’s doing.
Variations & Adaptations
Once your starter is thriving, you can tweak it to your taste and schedule:
- Whole wheat or rye starter: Replace all or part of the all-purpose flour with whole wheat or rye to get a more robust, tangy flavor.
- Gluten-free starter: Use gluten-free flour blends like brown rice or sorghum flour, but be prepared for a slower fermentation.
- Hydration adjustments: Some bakers prefer a thicker starter (less water) or a runnier one; the 1:1 flour to water ratio is easiest for beginners.
- Refrigerator maintenance: You can feed your starter once a week and store it in the fridge if you don’t bake often.
- Feeding schedule tweaks: If your kitchen is cold, feed your starter twice a day; if warm, once daily is enough.
I once experimented with using a splash of pineapple juice instead of water for the first feeding to keep the pH low and prevent bad bacteria. It worked surprisingly well for kickstarting the process, but it’s not necessary for most home bakers.
Serving & Storage Suggestions
Once your starter is ready, you’re on your way to making delicious homemade bread. The starter itself isn’t served, but it’s the base for your dough.
- Use fresh starter: Feed it 4-6 hours before baking for best rise and flavor.
- Store starter: Keep it in the fridge if you bake weekly or less. Feed it once a week, and let it come to room temperature before using.
- Freeze for long-term: You can freeze starter in small portions, but it may take a few feedings to reactivate fully.
- Reheating dough: Let sourdough bread cool completely before slicing to keep its crust crisp and crumb tender.
- Flavor development: The longer you ferment your starter and dough, the more complex and tangy the flavor becomes.
For a fun way to use your starter discard, try making pancakes or crackers — it’s a no-waste way to enjoy that sourdough tang. If you want to try a savory snack, the crispy buffalo cauliflower bites are a great match for sourdough bread sides.
Nutritional Information & Benefits
Sourdough starter itself is mostly flour and water, but it brings nutritional perks to your bread:
- Improved digestibility: The natural fermentation helps break down gluten and phytic acid, making bread easier on your stomach.
- Better nutrient absorption: Fermentation unlocks minerals like magnesium, zinc, and iron.
- Lower glycemic index: Sourdough bread often causes a slower blood sugar rise compared to conventional bread.
- Natural preservatives: The acids produced help keep bread fresh longer without additives.
Keep in mind, sourdough bread still contains gluten, so it’s not suitable for those with celiac disease. But for many, it’s a tastier, more wholesome bread option.
Conclusion
There’s something quietly satisfying about nurturing a sourdough starter — it’s like keeping a little kitchen pet that rewards you with incredible bread. This easy beginner sourdough starter guide strips away the mystery and helps you build confidence from day one.
Feel free to adapt the feeding schedule or flour types to fit your routine and tastes. I still remember the first time my starter doubled and floated; it felt like winning a small victory in the kitchen. That feeling is what keeps me coming back to sourdough, and I hope it will for you too.
Give it a try, and if you want to pair that fresh bread with something delicious, you might enjoy this creamy herb and garlic cheese ball bites for a cozy snack. If you have questions or want to share your sourdough story, I’d love to hear from you in the comments below. Happy baking!
FAQs
How long does it take to make a sourdough starter?
Usually about 5 to 7 days of daily feedings until the starter is bubbly, doubles in size, and has a pleasant sour aroma.
Can I use any flour to make a starter?
Most unbleached all-purpose or bread flours work well. Whole wheat and rye flours can speed up fermentation. Avoid bleached or enriched flours.
What if my starter smells bad or develops mold?
A healthy starter should smell tangy or mildly sour. If you notice mold or a rotten smell, it’s best to discard and start fresh.
How do I know when my starter is ready to bake with?
When it doubles in size 6-8 hours after feeding and passes the float test (a spoonful floats in water), it’s ready to use.
Can I keep my starter in the fridge?
Yes! Storing in the fridge slows fermentation. Feed it once a week and bring it to room temperature before baking.
Pin This Recipe!

Easy Beginner Sourdough Starter Guide for Perfect Homemade Bread
A straightforward and forgiving guide to creating a bubbly, active sourdough starter using just flour and water, perfect for beginners wanting to bake homemade bread.
- Prep Time: 5 minutes per day
- Cook Time: 0 minutes
- Total Time: 5 to 7 days
- Yield: 1 active sourdough starter (enough for multiple loaves) 1x
- Category: Bread Starter
- Cuisine: American
Ingredients
- 100 grams (¾ cup) unbleached all-purpose flour
- 100 grams (⅓ cup + 1 tablespoon) filtered water, room temperature
- Optional: rye flour for feeding or starting (can replace up to ¼ of the flour)
Instructions
- Day 1: Mix 50 grams (⅓ cup + 1 tablespoon) unbleached all-purpose flour with 50 grams (3 tablespoons + 1 teaspoon) filtered water in a jar. Stir until smooth, cover loosely, and leave at room temperature (around 70°F/21°C) for 24 hours.
- Day 2: Discard half the starter (about 50 grams). Add 50 grams flour and 50 grams water. Stir gently, cover, and rest again.
- Day 3: Repeat discard and feed process. Expect more bubbles and a mild sour smell.
- Day 4: Continue feeding daily. Starter should rise and fall and smell pleasantly sour.
- Days 5-7: When starter doubles in size 6-8 hours after feeding and floats in water, it is ready to bake with.
Notes
Use filtered water to avoid chlorine which can slow fermentation. Keep starter at around 70-75°F (21-24°C) for best results. Discarding some starter before feeding prevents overflow and balances yeast. If hooch forms, stir it back in and feed. If starter smells rotten or moldy, discard and restart.
Nutrition
- Serving Size: Starter amount used
- Calories: 200
- Carbohydrates: 44
- Fiber: 2
- Protein: 6
Keywords: sourdough starter, homemade bread, beginner sourdough, bread starter guide, easy sourdough, fermentation, wild yeast


