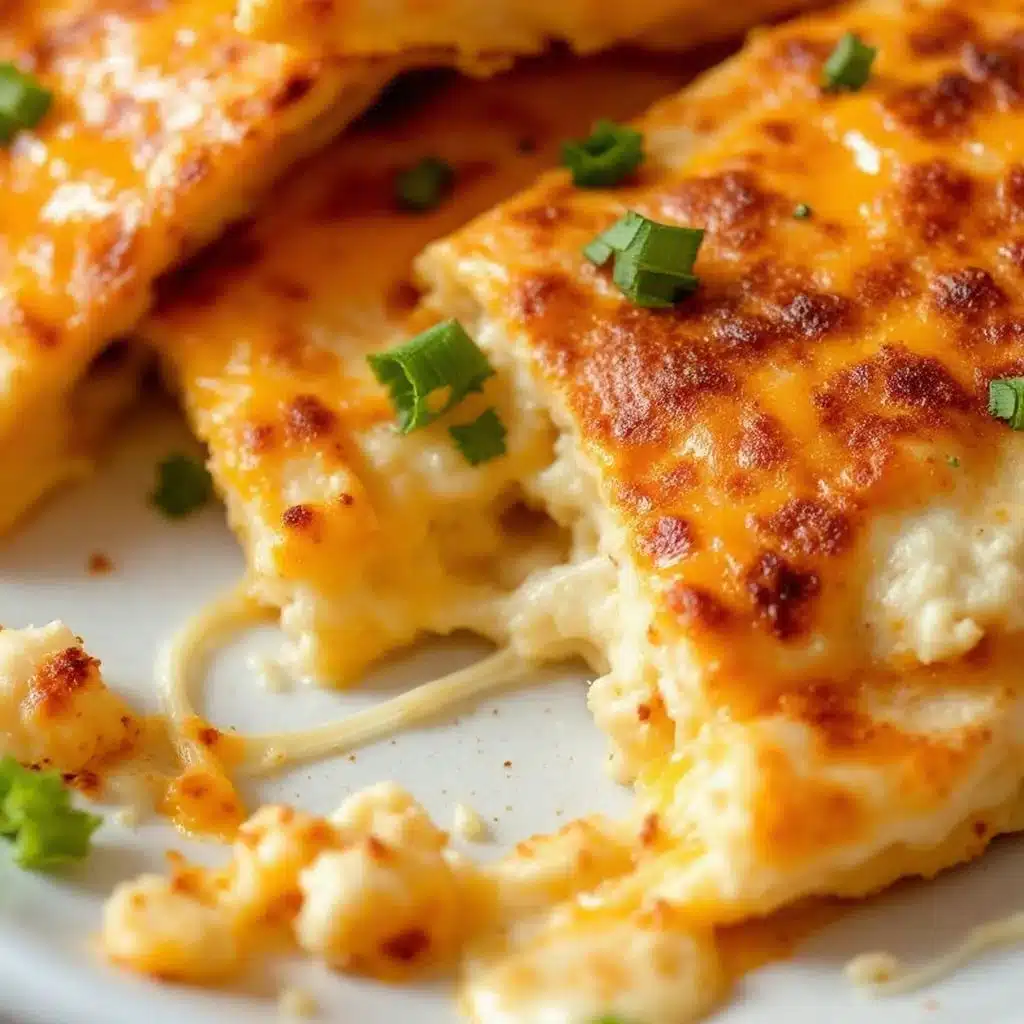
Third time this week I found myself standing over a hot skillet, watching the cheese bubble and stretch between two tortillas, and I finally admitted this wasn’t just about feeding my kid. It was about proving something to myself — that I could pack a lunchbox that actually comes back empty. Not half-eaten. Not traded. Empty.
These easy cheese quesadilla dippers for kids’ lunchboxes started as a desperate Tuesday morning experiment. I had leftover tortillas, a block of cheddar, and exactly seven minutes before the bus arrived. I cut them into strips because my daughter thinks rectangles are more fun than triangles (don’t ask me why, I’ve stopped trying to understand the logic of a six-year-old). She ate every single one cold, dipped in ranch, and asked for more the next day.
Honestly, I thought I’d make them once and move on. But here we are, three weeks later, and I’ve made these little cheesy strips more times than I care to count. They’re not fancy. They’re not complicated. They’re just easy cheese quesadilla dippers for kids’ lunchboxes that actually work — and that’s exactly why I can’t stop making them.
What keeps me coming back isn’t the recipe itself. It’s watching my kid actually finish her lunch. It’s the quiet victory of opening that lunchbox at the end of the day and finding it clean. These dippers stay soft, they don’t get soggy, and they taste just as good cold as they do warm. That’s the kind of magic every parent needs.
Why You’ll Love This Recipe
I’ve tested a lot of lunchbox recipes over the years — some that looked beautiful in photos and ended up in the trash, others that sounded great on paper but fell apart by noon. These easy cheese quesadilla dippers for kids’ lunchboxes are the real deal. Here’s why they’ve become my go-to:
- Quick & Easy : From fridge to lunchbox in under 10 minutes. Seriously. You can make these while your coffee brews.
- Simple Ingredients : You need tortillas, cheese, and maybe a little butter or oil. That’s it. No special grocery runs.
- Perfect for Lunchboxes : They hold up beautifully at room temperature. No reheating required, no sogginess, no mess.
- Crowd-Pleaser : Picky eaters love them. Adults sneak them too. I’ve caught my husband stealing them straight from the container.
- Unbelievably Versatile : Change the cheese, add fillings, switch up the dipping sauce — they adapt to whatever you have on hand.
What makes these different from every other quesadilla recipe out there? It’s the technique. I cook them just until the cheese melts but not so long that the tortilla gets crispy. That way, they stay soft and pliable even after they cool down. No rubbery edges. No hard corners. Just tender, cheesy strips that bend instead of break — exactly what a little hand needs to dip into a container of salsa or ranch.
This isn’t just a recipe. It’s the answer to that mid-week panic when you realize you have nothing exciting for lunch. It’s the thing that makes your kid feel like you packed something special, even when you’re running on three hours of sleep. And honestly? That feeling is worth more than any complicated meal I’ve ever made.
What Ingredients You Will Need
This recipe uses simple, everyday ingredients to deliver maximum flavor with minimum effort. No fancy shopping list, no obscure items — just the basics that make these easy cheese quesadilla dippers for kids’ lunchboxes come together in minutes.
- Flour tortillas (8-inch) — Look for soft, pliable tortillas that won’t crack when you fold them. I prefer the brand Guerrero for their flexibility, but any standard flour tortilla works. Corn tortillas are a great gluten-free alternative, though they’re smaller and more fragile.
- Shredded cheddar cheese (1 cup) — Sharp cheddar gives the best flavor, but mild cheddar works too if your kids prefer it. Pre-shredded cheese is fine in a pinch, but freshly shredded melts more smoothly and doesn’t have the anti-caking coating that can affect texture.
- Butter or olive oil (1 tablespoon) — A light spread on the outside of the tortilla gives it that golden color and helps it cook evenly. Butter adds richness; olive oil keeps things dairy-free. Both work beautifully.
- Optional fillings (as desired) — Cooked and crumbled ground beef, shredded chicken, black beans, corn, or finely diced bell peppers. Keep fillings small and cooked through so they integrate well with the cheese.
For the dipping sauces, you can keep it simple or get creative. My daughter loves ranch dressing, but I’ve also packed small containers of salsa, sour cream, guacamole, or even warm queso. If you’re feeling extra, try pairing these dippers with a side of roasted red pepper hummus with za’atar spice for a flavor boost that adults and kids both enjoy.
One thing I’ve learned the hard way — avoid watery fillings like fresh tomatoes or wet salsa inside the quesadilla itself. They make the tortilla soggy by lunchtime. Keep those on the side for dipping instead.
Equipment Needed
You don’t need much to make these easy cheese quesadilla dippers for kids’ lunchboxes. Here’s what I use and what I’ve learned along the way:
- Non-stick skillet or griddle — An 8-inch or 10-inch skillet works perfectly. If you have an electric griddle, you can make multiple quesadillas at once, which is a game-changer for meal prep.
- Sharp knife or pizza cutter — A pizza cutter makes cutting the quesadillas into strips effortless. A sharp chef’s knife works too, just be careful not to squish the filling.
- Spatula — A thin, flexible spatula helps you flip the quesadilla without tearing it. Silicone spatulas are gentle on non-stick surfaces.
- Cutting board — Let the quesadilla rest for 30 seconds before cutting to keep the cheese from oozing everywhere.
- Lunchbox containers — Small compartment containers work best to keep the dippers separate from the dipping sauce. I use bento-style boxes for easy packing.
If you don’t have a non-stick skillet, a well-seasoned cast iron pan works beautifully too. Just add a little extra butter to prevent sticking. And if you’re making a big batch for the week, a tortilla press is totally unnecessary — just stick with store-bought tortillas and save yourself the trouble.
Preparation Method
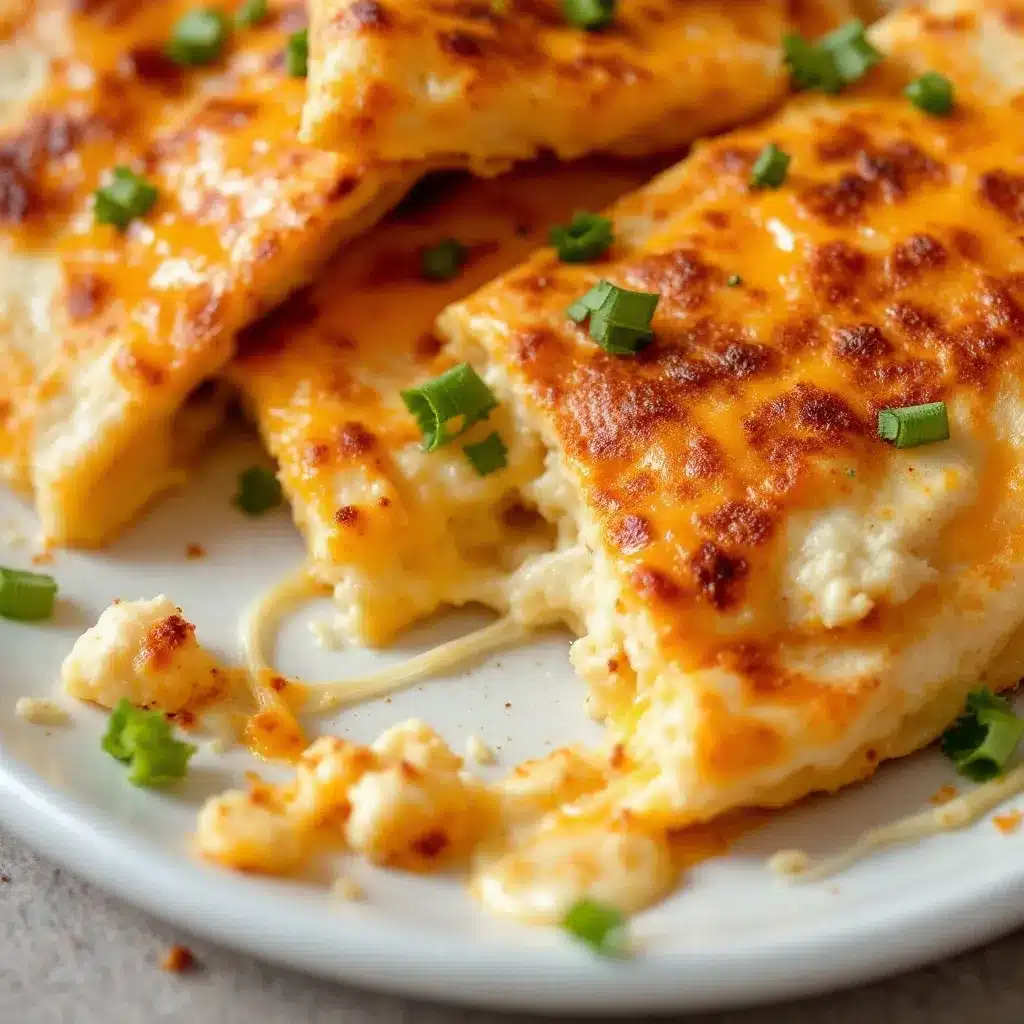
Making these easy cheese quesadilla dippers for kids’ lunchboxes is almost embarrassingly simple. But there are a few tricks I’ve picked up that make the difference between a good quesadilla and a great one.
- Prep your ingredients. Shred your cheese if you’re using a block — about 1/4 cup per quesadilla. Lay out your tortillas on a clean work surface. If you’re adding any fillings, have them ready and at room temperature.
- Heat your skillet. Place your non-stick skillet over medium heat. Let it warm up for about 2 minutes. You want it hot but not smoking — if a drop of water sizzles and evaporates immediately, you’re ready.
- Butter one side of each tortilla. Spread a thin, even layer of butter or brush olive oil on one side of each tortilla. This is the side that will hit the pan first. Don’t skip this step — it’s what gives the quesadilla that beautiful golden color and prevents sticking.
- Assemble the quesadilla. Place one tortilla butter-side down in the skillet. Sprinkle about 1/4 cup of shredded cheese evenly over the entire surface, leaving a 1/2-inch border around the edge. If you’re adding fillings, scatter them over the cheese now. Top with the second tortilla, butter-side up.
- Cook until golden. Let the quesadilla cook undisturbed for 2-3 minutes. You’ll know it’s ready to flip when the bottom is golden brown and the cheese starts to melt around the edges. Use your spatula to carefully flip the whole thing over.
- Cook the second side. Cook for another 2-3 minutes until the second side is golden brown and the cheese is fully melted. If the cheese isn’t melting fast enough, reduce the heat slightly and cover the pan with a lid for 30 seconds. The steam helps melt everything evenly.
- Rest and cut. Transfer the quesadilla to a cutting board and let it rest for 30-60 seconds. This allows the cheese to set slightly so it doesn’t all ooze out when you cut. Use a pizza cutter or sharp knife to slice the quesadilla into 1-inch wide strips — about 6-8 strips per quesadilla.
- Cool completely before packing. Spread the strips out on a plate or wire rack and let them cool to room temperature. This is crucial — packing them while they’re still warm creates condensation that makes them soggy. Give them at least 15 minutes to cool down.
One batch makes about 4 quesadillas, which gives you roughly 24-32 dippers. That’s enough for 4 lunchboxes or 2 hungry kids for a week.
Cooking Tips & Techniques
I’ve burned more quesadillas than I’d like to admit, and each mistake taught me something valuable. Here’s what I wish someone had told me from the start:
Medium heat is your friend. I know it’s tempting to crank up the heat to speed things up, but high heat burns the tortilla before the cheese has a chance to melt. Medium heat gives you that perfect golden color and gooey interior every time. If you notice the tortilla browning too fast, pull the pan off the heat for 30 seconds to let it cool down.
Don’t overstuff. It’s easy to get carried away with fillings, but too much cheese or extra ingredients makes the quesadilla difficult to flip and causes everything to spill out. Stick to about 1/4 cup of cheese per quesadilla and no more than 2 tablespoons of additional fillings. Trust me on this one — less is more.
Let them rest. I learned this the hard way after cutting into a quesadilla too quickly and watching all the melted cheese ooze out onto the cutting board. That 30-second rest period allows the cheese to firm up just enough that it stays inside the strips when you cut them. Your lunchbox will thank you.
Make them in batches. If you’re meal prepping for the week, make all your quesadillas at once and let them cool completely before storing. They reheat beautifully in a dry skillet for 30 seconds per side, or you can pack them cold straight from the fridge. My kids actually prefer them cold — go figure.
Use the right cheese. Pre-shredded cheese is convenient, but it contains anti-caking agents that prevent it from melting as smoothly as freshly shredded cheese. If you have the time, shred your own. The difference is subtle but noticeable, especially if you’re serving these to adults.
Variations & Adaptations
These easy cheese quesadilla dippers for kids’ lunchboxes are incredibly adaptable. Here are some variations I’ve tried and loved:
- Cheese variations: Swap cheddar for Monterey Jack, mozzarella, pepper jack, or a Mexican blend. Each cheese brings its own personality — mozzarella gives that stretchy pull, pepper jack adds a little heat, and Monterey Jack melts like a dream.
- Protein-packed version: Add shredded rotisserie chicken, cooked ground beef, or black beans for extra staying power. If you’re looking for more lunchbox inspiration, these dippers pair beautifully with the flavors in beef and bean taco soup — just pack a small thermos of soup alongside the dippers for dipping.
- Veggie-loaded version: Finely dice bell peppers, mushrooms, or zucchini and sauté them briefly before adding them to the quesadilla. Spinach works too — just wilt it in the pan first to remove excess moisture.
- Gluten-free option: Use corn tortillas instead of flour. They’re smaller and more fragile, so handle them gently. Cook them a little longer on lower heat to ensure they don’t crack.
- Dairy-free version: Use dairy-free cheese shreds and olive oil instead of butter. The texture will be slightly different, but they still taste great. I’ve tested this with Violife and Follow Your Heart brands with good results.
- Breakfast version: Add scrambled eggs and crumbled bacon or sausage for a breakfast-for-lunch twist. My kids love these with a side of maple syrup for dipping — don’t knock it till you try it.
My personal favorite variation is the pepper jack and black bean combo. The creaminess of the melted cheese with the earthy black beans and a hint of spice is just perfect. I usually make a double batch of those for myself and pretend they’re for the kids.
Serving & Storage Suggestions
These easy cheese quesadilla dippers for kids’ lunchboxes are designed to be served at room temperature, which makes them perfect for packed lunches. Here’s how to serve and store them for the best results:
Serving temperature: They’re delicious warm, at room temperature, or even cold straight from the fridge. For lunchboxes, I pack them completely cooled so they don’t create condensation. If you’re serving them at home, let them rest for 5 minutes after cooking for the perfect warm-but-not-hot texture.
Dipping sauce ideas: Ranch dressing, salsa, sour cream, guacamole, warm queso, or even honey mustard. For a fun twist, try pairing them with creamy queso blanco for dipping — it’s a flavor combination that never disappoints.
Storage instructions: Store cooled quesadilla strips in an airtight container in the refrigerator for up to 5 days. Layer them between sheets of parchment paper to prevent sticking. They also freeze beautifully — place them in a single layer on a baking sheet, freeze for 2 hours, then transfer to a freezer bag. They’ll keep for up to 3 months.
Reheating methods: For best results, reheat in a dry skillet over medium heat for 30-60 seconds per side. The microwave works in a pinch (about 20 seconds), but the tortilla will be softer and less crisp. If reheating from frozen, thaw in the refrigerator overnight or reheat directly from frozen in a skillet for 2-3 minutes per side.
How flavors develop: Honestly, these taste better the next day. The cheese has time to settle into the tortilla, and the flavors meld together beautifully. I often make them a day ahead specifically for this reason.
Nutritional Information & Benefits
These easy cheese quesadilla dippers for kids’ lunchboxes are a balanced option that provides protein, carbohydrates, and calcium in a kid-friendly format. Here’s a rough estimate per serving (about 6 strips, or 1 quesadilla):
- Calories: Approximately 280-320
- Protein: 12-15 grams
- Carbohydrates: 28-32 grams
- Fat: 14-18 grams
- Calcium: 20-25% of daily value
- Iron: 8-10% of daily value
The cheese provides a good source of calcium and protein, both essential for growing kids. Flour tortillas offer energy in the form of complex carbohydrates, while the optional fillings can add fiber, vitamins, and additional protein. If you’re concerned about sodium, look for low-sodium tortillas and use reduced-fat cheese.
These dippers are naturally vegetarian if you skip the meat fillings, and they can easily be made gluten-free or dairy-free with simple substitutions. They’re also nut-free, which makes them a safe option for school lunchboxes with allergy restrictions.
From a wellness perspective, I love that these dippers give me a way to sneak in extra protein and calcium without a fight. My kids think they’re getting a treat, and I know they’re getting something nourishing. That’s a win-win in my book.
Conclusion
These easy cheese quesadilla dippers for kids’ lunchboxes have genuinely changed my morning routine. What started as a desperate experiment has become my most reliable lunchbox staple — the one thing I know will come back empty every single time.
What I love most about this recipe is how forgiving it is. You can use whatever cheese you have, whatever tortillas are on sale, whatever dipping sauce your kids are currently obsessed with. It adapts to your kitchen, your schedule, and your family’s tastes without any fuss. That’s the kind of recipe we all need more of.
I’d love to hear how these turn out for you. Did your kids love them? Did you try a variation I haven’t thought of? Drop a comment below and let me know — I’m always looking for new ideas to test out in my own kitchen. And if you pack these in a lunchbox today, take a picture and tag me. There’s nothing that makes me happier than seeing these little cheesy strips bringing smiles to lunch tables everywhere.
Happy cooking, friends. Your lunchboxes are about to get a whole lot more exciting.
Frequently Asked Questions
Can I make these quesadilla dippers ahead of time?
Absolutely. In fact, I prefer making them a day ahead. The flavors meld together overnight, and they’re just as delicious cold as they are warm. Store them in an airtight container in the refrigerator for up to 5 days.
How do I keep quesadilla dippers from getting soggy in a lunchbox?
The key is letting them cool completely before packing. Warm quesadillas create condensation inside the container, which leads to sogginess. Spread the strips out on a wire rack and give them at least 15 minutes to cool down before packing.
Can I freeze these quesadilla dippers?
Yes! Freeze them in a single layer on a baking sheet for 2 hours, then transfer to a freezer bag. They’ll keep for up to 3 months. Thaw in the refrigerator overnight or reheat directly from frozen in a skillet.
What dipping sauces work best for kids?
Ranch dressing is the most popular choice in my house, but salsa, sour cream, guacamole, and warm queso are all great options. For picky eaters, keep it simple — even just a side of ketchup can work in a pinch.
Can I use corn tortillas instead of flour?
Yes, but they’re smaller and more fragile. Handle them gently and cook them on lower heat for a little longer to prevent cracking. They also don’t bend as easily as flour tortillas, so they’re better suited for older kids who can handle a slightly firmer texture.
Pin This Recipe!
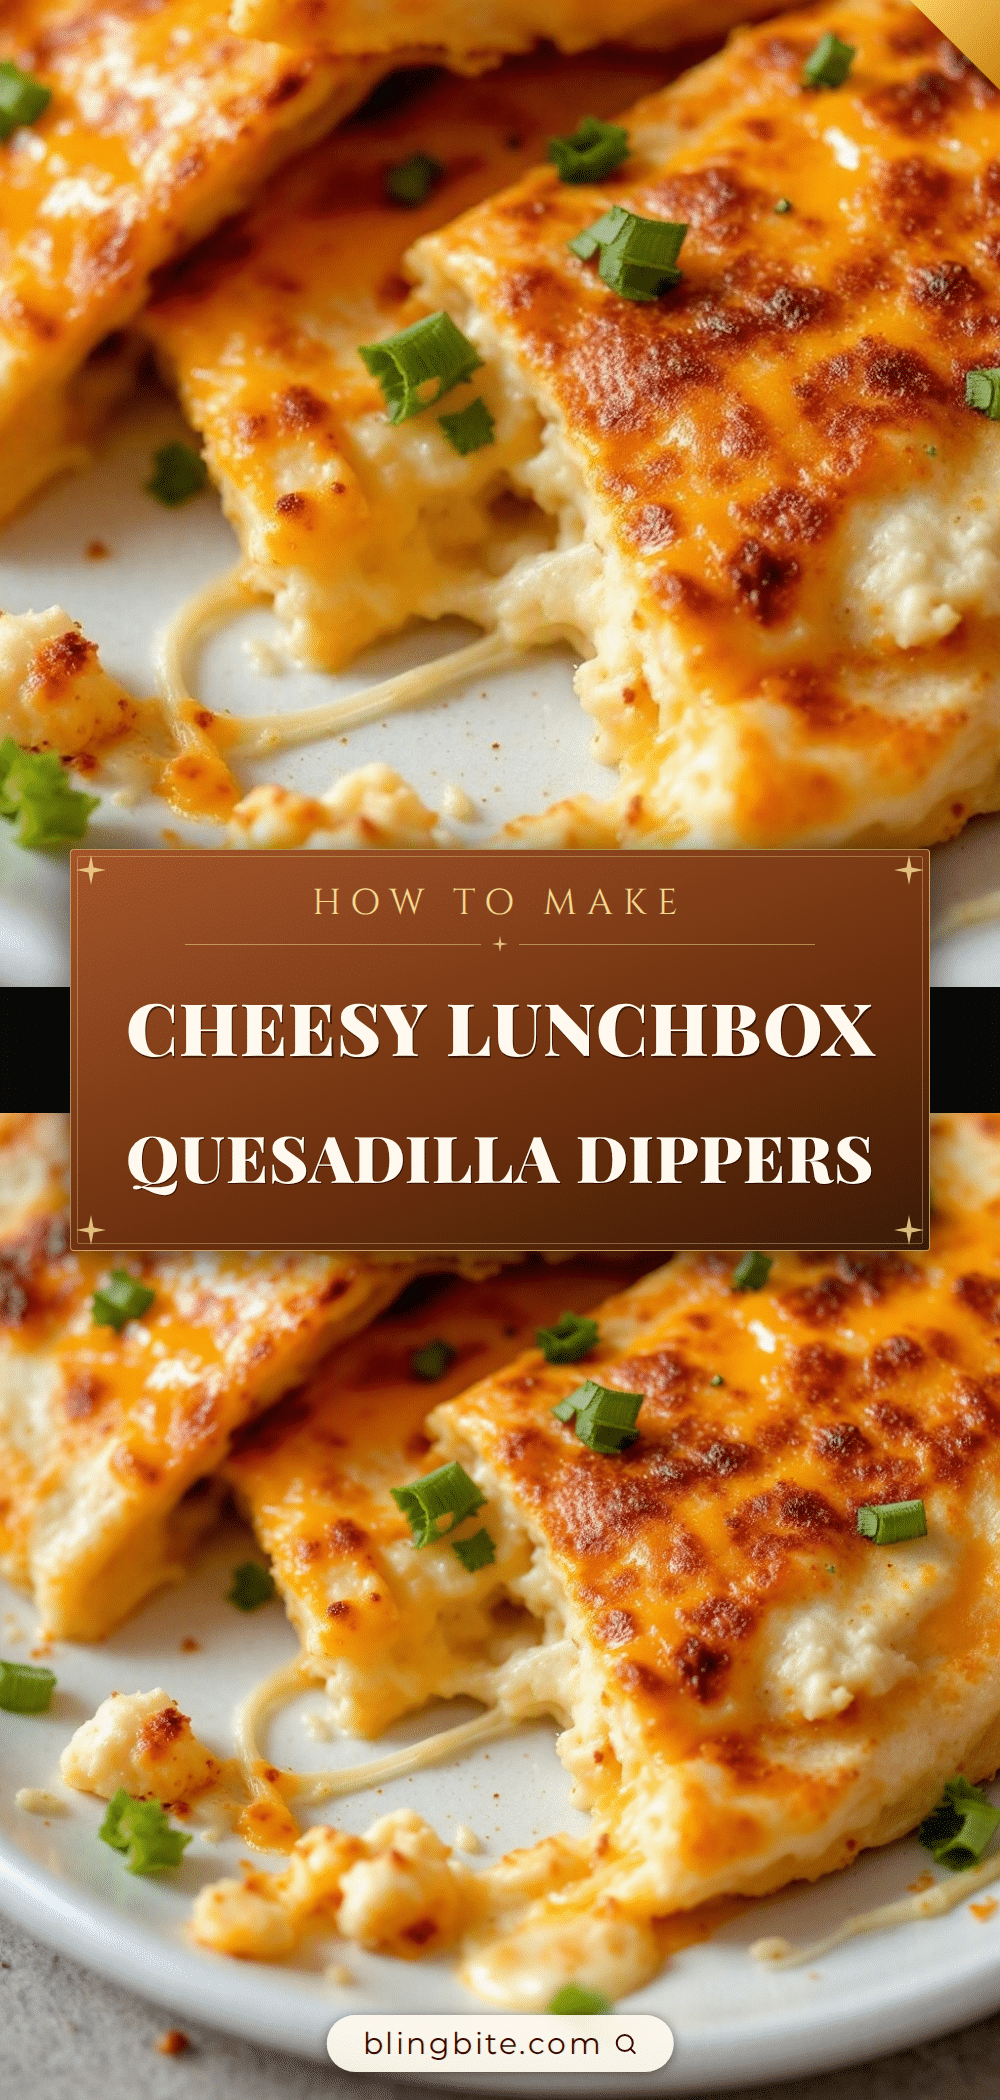
Easy Cheese Quesadilla Dippers Kids Lunchbox

These easy cheese quesadilla dippers for kids’ lunchboxes are quick, simple, and perfect for packing. Made with just tortillas and cheese, they stay soft and delicious at room temperature, making them a lunchbox favorite that actually comes back empty.
- Prep Time: 5 minutes
- Cook Time: 6 minutes
- Total Time: 11 minutes
- Yield: 4 servings 1x
- Category: Lunch
- Cuisine: Mexican-American
Ingredients
- 4 (8-inch) flour tortillas
- 1 cup shredded cheddar cheese
- 1 tablespoon butter or olive oil
- Optional fillings: cooked ground beef, shredded chicken, black beans, corn, finely diced bell peppers
Instructions
- Prep your ingredients: Shred cheese if using a block (about 1/4 cup per quesadilla). Lay out tortillas on a clean work surface. Have any optional fillings ready at room temperature.
- Heat a non-stick skillet over medium heat for about 2 minutes until hot but not smoking.
- Spread a thin, even layer of butter or brush olive oil on one side of each tortilla.
- Place one tortilla butter-side down in the skillet. Sprinkle about 1/4 cup of shredded cheese evenly over the entire surface, leaving a 1/2-inch border. Add optional fillings if desired. Top with the second tortilla, butter-side up.
- Cook undisturbed for 2-3 minutes until the bottom is golden brown and cheese starts to melt around the edges. Carefully flip with a spatula.
- Cook the second side for 2-3 minutes until golden brown and cheese is fully melted. If needed, reduce heat and cover pan with a lid for 30 seconds to help melt cheese.
- Transfer quesadilla to a cutting board and let rest for 30-60 seconds. Use a pizza cutter or sharp knife to slice into 1-inch wide strips (about 6-8 strips per quesadilla).
- Spread strips on a plate or wire rack and cool completely to room temperature (at least 15 minutes) before packing.
Notes
Let quesadillas cool completely before packing to prevent sogginess. Avoid watery fillings like fresh tomatoes inside the quesadilla; keep them on the side for dipping. These taste even better the next day as flavors meld.
Nutrition
- Serving Size: 6 strips (1 quesadil
- Calories: 300
- Sugar: 2
- Sodium: 480
- Fat: 16
- Saturated Fat: 8
- Carbohydrates: 30
- Fiber: 2
- Protein: 13
Keywords: quesadilla dippers, kids lunchbox, easy cheese quesadilla, lunchbox recipe, kid-friendly lunch


