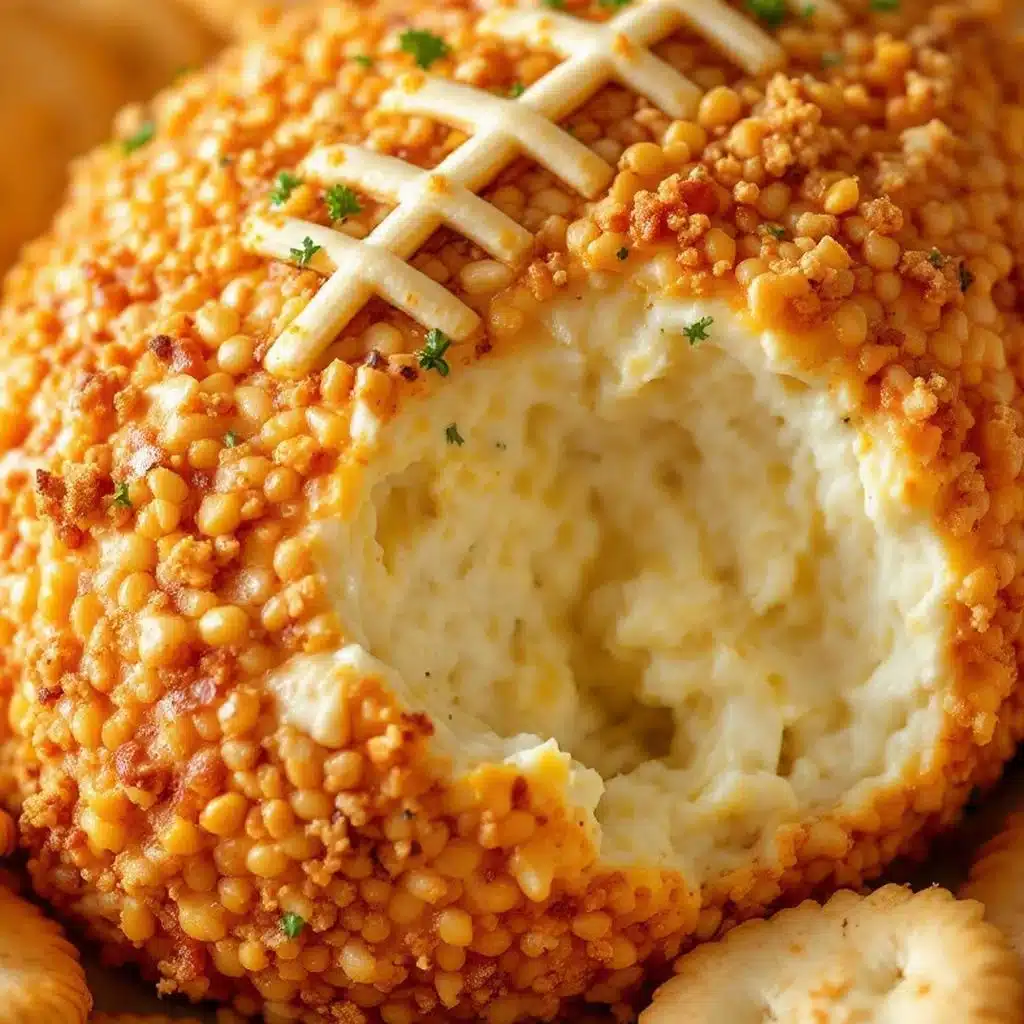
My husband walked into the kitchen, stopped mid-stride, and just stared at the cutting board. “Wait,” he said, pointing. “Is that… a football made of cheese?” He circled it like it might suddenly do something. And honestly, I was a little proud of myself. I had been testing appetizers for our annual game-day get-together, trying to find something that felt festive without requiring me to stand over a hot stove while everyone else was yelling at the TV. This easy football-shaped cheese ball with crackers was the result of that experiment, and let me tell you, it disappeared before the first quarter ended. There is something about food shaped like the theme of the party that makes people unreasonably happy. I didn’t grow up making cheese balls—my mom was more of a veggie-tray-with-ranch person—but once I figured out how simple this was, I couldn’t stop making it. It’s the kind of recipe that looks like you tried way harder than you actually did. And I am totally okay with that.
Why You Will Love This Easy Football Cheese Ball with Crackers
Let me be real with you for a second. I have tested a lot of game-day snacks over the years, and this one wins for sheer return on effort. You mix a few things, shape them into an oval, roll them in something crunchy, and suddenly you have a centerpiece that people actually talk about. Not in a “oh, that’s cute” way, but in a “where did you get this recipe” way. It has that effect.
Here is why this recipe works so well:
- Quick & Easy: You need about 15 minutes of active time, then just a couple hours to chill. That is it. No complicated steps or fancy equipment required.
- Simple Ingredients: Cream cheese, shredded cheddar, a few seasonings, and some bacon. You probably have most of this in your fridge right now.
- Perfect for Game Day: Whether it is the Super Bowl, a college rivalry game, or just a Sunday afternoon with friends, this cheese ball fits right in. It is also great for tailgates, potlucks, or any party where you want to bring something that looks impressive.
- Crowd-Pleaser: I have brought this to three different gatherings now, and every single time, someone asks for the recipe. Kids love it, adults love it, even my friend who “doesn’t really like cheese balls” ate half of it.
- Unbelievably Delicious: The combination of creamy, tangy cheese with smoky bacon and a crunchy pecan coating is next-level. It is rich without being heavy, and the texture contrast keeps you coming back for more.
What makes this version different from the standard cheese ball recipes you see everywhere? Two things. First, I add a pinch of cayenne pepper. Not enough to make it spicy, but just enough to wake up your taste buds. Second, I use a mix of shredded cheddar and cream cheese that has been softened properly, so the texture is silky smooth, not lumpy. I learned that the hard way after making a cheese ball that looked like it had cottage cheese chunks in it. Not cute. Trust me on this one.
This is the kind of recipe that makes you look like a hero without breaking a sweat. Perfect for those moments when you want to impress but also want to actually enjoy the party.
What Ingredients You Will Need
This easy football cheese ball with crackers uses straightforward ingredients that come together beautifully. No weird specialty items here—just good, honest food. Here is what you need:
For the cheese ball base:
- 16 ounces cream cheese, softened to room temperature (two standard blocks). I prefer Philadelphia brand for its consistent creaminess, but any full-fat cream cheese works well. Do not use reduced-fat here; the texture suffers and the flavor is noticeably less rich.
- 2 cups shredded sharp cheddar cheese (about 8 ounces). Shred it yourself from a block if you can—pre-shredded cheese has anti-caking agents that can make the texture grainy. I have made it both ways, and freshly shredded really does make a difference in how smooth the ball turns out.
- 1/2 cup cooked and crumbled bacon (about 6 slices). Thick-cut bacon adds the best smoky flavor. I usually cook mine in the oven at 400°F for about 15 minutes—less mess and it gets perfectly crispy.
- 2 tablespoons finely chopped green onions (about 3-4 green onions, white and light green parts only). They add a mild oniony freshness that balances the richness.
- 1 teaspoon Worcestershire sauce. This adds that savory umami depth that makes people go “what is that flavor?” in the best way.
- 1/2 teaspoon garlic powder. Not fresh garlic, which can be too sharp and might turn the cheese ball watery over time. Garlic powder distributes evenly and gives a gentle background note.
- 1/4 teaspoon cayenne pepper (optional but highly recommended). This is my secret weapon. It does not make the cheese ball spicy—it just makes it more interesting.
- Salt and black pepper to taste. Go easy on the salt since the bacon and cheese are already salty. A few cracks of black pepper is usually enough.
For the coating:
- 1 cup finely chopped pecans. You can also use walnuts or even crushed bacon bits if you want to go all-in on the savory. Toast the pecans lightly in a dry pan for 2-3 minutes to bring out their nutty flavor—it makes a big difference.
For serving:
- Crackers of your choice. I like using a mix of buttery round crackers, wheat crackers, and pretzel crisps for variety. The salty crunch is perfect against the creamy cheese.
- Optional garnishes: A few extra slices of bacon arranged to look like football laces on top, or a small piece of red bell pepper cut into a tiny football shape. Totally optional but very cute.
Ingredient substitution notes: If you want to make this gluten-free, just use gluten-free crackers for serving—the cheese ball itself is naturally gluten-free. For a different flavor profile, try using pepper jack cheese instead of cheddar for a spicier kick, or add a tablespoon of ranch seasoning mix for a more herby taste. I have done both, and they work great.
Equipment Needed
The beauty of this easy football cheese ball with crackers is that you do not need much in terms of equipment. Here is what you will need:
- A large mixing bowl. Any medium-to-large bowl works. I use a standard ceramic mixing bowl, nothing fancy.
- A hand mixer or stand mixer. You can absolutely mix this by hand with a sturdy spatula if your cream cheese is soft enough, but a hand mixer makes it faster and ensures a silky-smooth texture. I have done it both ways, and honestly, the hand mixer saves about five minutes of arm workout.
- Plastic wrap or parchment paper. Essential for shaping the cheese ball without getting your hands completely covered in cheese. I prefer plastic wrap because it molds more easily around the shape.
- A baking sheet or plate. To hold the cheese ball while it chills in the fridge. Make sure it is flat so the cheese ball does not roll around.
- A sharp knife and cutting board. For chopping the green onions and bacon.
- Measuring cups and spoons. For accuracy, though honestly, this recipe is pretty forgiving.
- A small skillet. If you choose to toast the pecans, a small non-stick skillet works perfectly.
That is it. No food processor, no special molds, no complicated gadgets. I have made this in my tiny apartment kitchen with minimal counter space and it came out perfectly. If you have a bowl and some plastic wrap, you are good to go.
Preparation Method
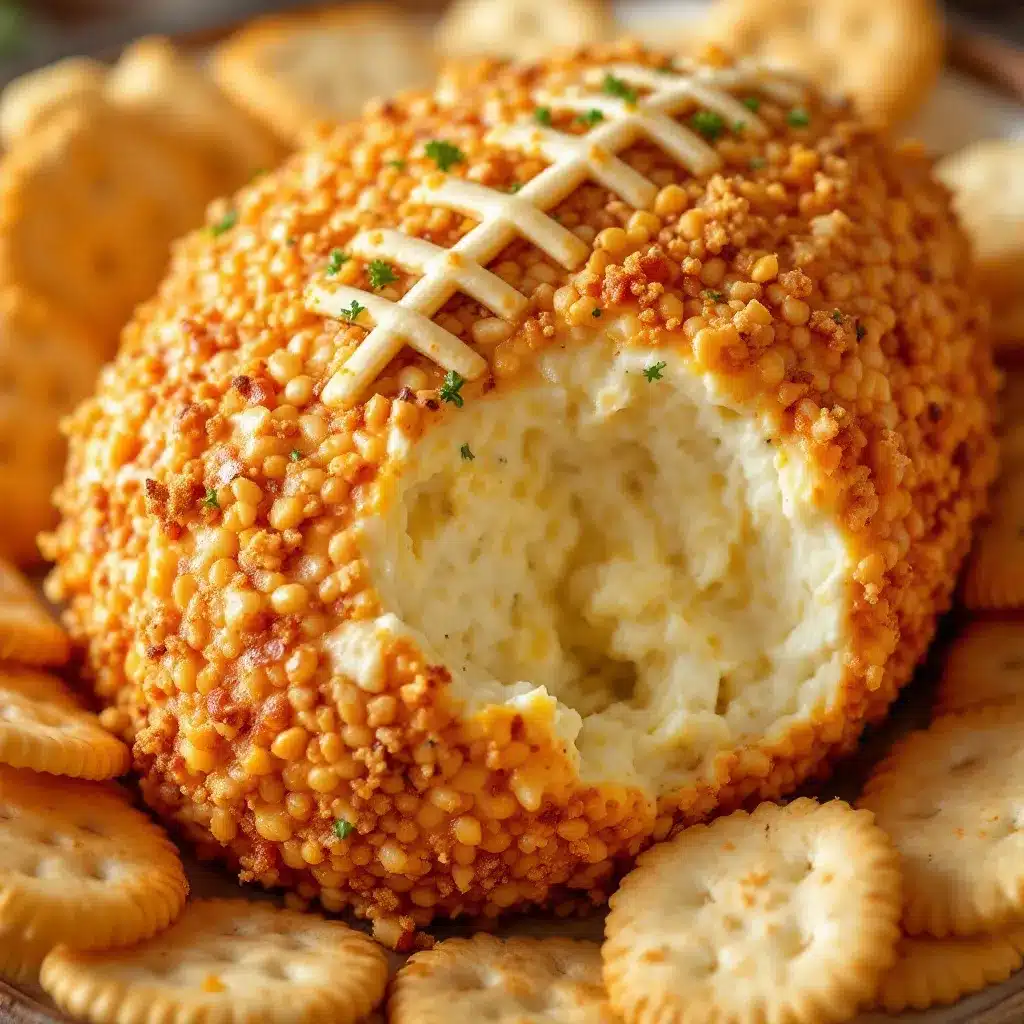
Making this easy football cheese ball with crackers is almost absurdly simple. Here is how you do it, step by step.
- Soften the cream cheese. Take your cream cheese out of the fridge about 30-45 minutes before you start. It should be soft enough that you can easily press your finger into it. If you forget (which I do, constantly), you can microwave it in 10-second bursts, but be careful—you want it soft, not melted. Melted cream cheese will not hold its shape well.
- Mix the base. In your large mixing bowl, combine the softened cream cheese, shredded cheddar, crumbled bacon, chopped green onions, Worcestershire sauce, garlic powder, cayenne pepper (if using), and a pinch of salt and pepper. Beat with your hand mixer on medium speed until everything is well combined and smooth. Scrape down the sides of the bowl halfway through to make sure there are no hidden pockets of unmixed cream cheese. The mixture should look creamy and uniform, with little flecks of green onion and bacon throughout.
- Chill the mixture. This is an important step that I have skipped before and regretted. Cover the bowl with plastic wrap and refrigerate for at least 1 hour, or up to 24 hours. Chilling makes the mixture firm enough to shape. If you try to shape it right away, it will be too soft and sticky, and you will end up with a sad, misshapen blob. Trust me on this—I learned the hard way.
- Shape into a football. Lay a large piece of plastic wrap on your counter. Scrape the chilled cheese mixture onto the center of the plastic wrap. Using the plastic wrap to help you (so your hands stay clean), shape the mixture into an oval shape, about 6-7 inches long and 4-5 inches wide. Think of a football shape—slightly pointed at the ends and rounded in the middle. Wrap the plastic wrap tightly around the shaped cheese ball and twist the ends to secure it. Place it on a baking sheet or plate and refrigerate for another 2-3 hours, or until firm. Overnight works great too.
- Toast the pecans. While the cheese ball is chilling, place your chopped pecans in a dry skillet over medium heat. Stir constantly for 2-3 minutes until they are fragrant and lightly toasted. Watch them carefully—they burn fast. Once toasted, pour them onto a plate and let them cool completely.
- Coat the cheese ball. Once the cheese ball is firm, unwrap it and place it on the plate of toasted pecans. Gently press the pecans into the surface, rolling the cheese ball around until it is fully coated. Use your hands to gently press any bare spots. The coating should cover the entire surface, but it does not need to be perfect—a few gaps look rustic and intentional.
- Add the laces (optional but fun). To make it look even more like a football, you can create laces on top. I use a few slices of crispy bacon cut into thin strips, arranged in a line down the center of the cheese ball, with two or three shorter strips crossing them like laces. You can also use strips of red bell pepper or even thin pieces of string cheese. This step is totally optional, but it always gets a smile.
- Chill again briefly. Pop the coated cheese ball back in the fridge for about 15-20 minutes to let the coating set. This also helps the cheese ball hold its shape when you serve it.
- Serve. Place the cheese ball on a serving platter surrounded by your favorite crackers. Let it sit at room temperature for about 10-15 minutes before serving—this softens it slightly so it is easier to spread. Trust me, a cold cheese ball straight from the fridge is hard to scoop without breaking crackers.
A few sensory cues to watch for: The mixture should feel smooth and creamy when you mix it, not grainy or lumpy. When you shape it, it should hold together without cracking. The pecans should smell nutty and toasty, not burnt. And when you serve it, the cheese ball should be firm enough to hold its shape but soft enough to spread easily on a cracker.
Cooking Tips & Techniques
After making this easy football cheese ball with crackers more times than I care to count, I have picked up a few tricks that make the process smoother and the results better. Here are my best tips:
Temperature is everything. I cannot stress this enough. Cream cheese that is too cold will give you lumpy results. Cream cheese that is too warm (like, melted) will refuse to hold a shape. That sweet spot—room temperature, where it yields to gentle pressure—is where the magic happens. If you are short on time, cut the cream cheese into small cubes and let them sit for 15 minutes. It speeds up the softening process.
Shred your own cheese. I know, I know, it is extra work. But the pre-shredded bags have cellulose (that white powder) that prevents clumping, and it also prevents your cheese ball from becoming as smooth as it could be. I have tested this side by side, and the freshly shredded version is noticeably creamier. Plus, it melts into the cream cheese more evenly.
Do not skip the chill time. The first time I made this, I was impatient and only chilled the mixture for 20 minutes before trying to shape it. It was a sticky, frustrating mess. The cheese ball ended up looking more like a sad potato than a football. Give it the full hour in the fridge before shaping, and then another couple hours after shaping. Patience pays off here.
Use the plastic wrap as a tool. When shaping the cheese ball, the plastic wrap is your best friend. It keeps your hands clean and gives you more control over the shape. I gently squeeze and mold through the plastic wrap, checking the shape periodically by peeking underneath. It is like giving the cheese ball a little massage.
Toast the pecans in advance. Toasted pecans have so much more flavor than raw ones. But let them cool completely before coating the cheese ball, or the heat will start to soften the cheese and make the coating messy. I usually toast them while the cheese ball is doing its first chill, so they are ready to go when I need them.
One mistake I made: I once used pre-crumbled bacon bits from a jar. Do not do this. They are dry, overly salty, and have a weird texture that does not blend well into the cheese. Real bacon, cooked and crumbled yourself, is non-negotiable. It is one of the main flavor components, so make it count.
Variations & Adaptations
This easy football cheese ball with crackers is incredibly versatile. Here are some ways to change it up:
Spicy Jalapeño Version: Add 2 tablespoons of finely chopped pickled jalapeños (drained well) and swap the cheddar for pepper jack cheese. The heat from the jalapeños cuts through the richness beautifully. I made this version for a friends game night and it was gone in 10 minutes flat.
Herb and Garlic Version: Skip the bacon and add 1/4 cup of finely chopped fresh herbs (parsley, chives, dill) and an extra teaspoon of garlic powder. Coat the cheese ball in toasted almonds instead of pecans. This version feels lighter and fresher, perfect for spring gatherings or bridal showers.
Everything Bagel Version: Mix 2 tablespoons of everything bagel seasoning into the cheese mixture and use it as the coating instead of pecans. The sesame seeds, poppy seeds, garlic, and onion flakes give it an incredible crunch and flavor. This is my current favorite variation—it is so good on a plain cracker.
Blue Cheese and Walnut Version: Replace half the cheddar with crumbled blue cheese and use toasted walnuts for the coating. The tangy blue cheese pairs beautifully with the creamy base. This one is a little more sophisticated, great for cocktail parties.
Dairy-Free Adaptation: Use dairy-free cream cheese and shredded vegan cheddar. I have tested this with a couple of brands, and while the texture is slightly different (a little softer), it still shapes well and tastes delicious. Just make sure to chill it thoroughly before shaping.
Different coatings: If you are not a nut fan, try coating the cheese ball in crushed pretzels, toasted sesame seeds, finely chopped fresh chives, or even crushed bacon bits. Each gives a different texture and flavor profile. I have done a crushed pretzel coating for a salty, crunchy twist that my kids absolutely loved.
Serving & Storage Suggestions
This easy football cheese ball with crackers is best served slightly chilled but not ice-cold. Take it out of the fridge about 15-20 minutes before you plan to serve it. This allows the cheese to soften just enough to spread easily on a cracker without losing its shape.
Presentation ideas: Arrange the cheese ball on a wooden board or a slate platter. Surround it with an assortment of crackers—I like to use a mix of textures and flavors. Add some fresh veggie sticks like celery, carrot sticks, and bell pepper strips for color and crunch. A few extra bacon slices arranged nearby never hurt anyone either. If you made the laces on top, position the cheese ball so the laces are facing up and visible.
What to serve with it: Besides crackers, this cheese ball is amazing with pretzel chips, pita chips, apple slices, or even spread on a warm baguette. For a full game-day spread, pair it with some crispy buffalo cauliflower bites or crispy loaded nachos for a complete snack table. The creamy cheese ball balances out the spicy, crunchy snacks perfectly.
Storage: Leftover cheese ball (if there is any) should be wrapped tightly in plastic wrap and stored in the refrigerator. It will keep for up to 5 days. The texture might firm up a bit, but it will soften again after sitting at room temperature for a few minutes. I do not recommend freezing the cheese ball—the texture becomes grainy and watery when thawed.
Make-ahead tips: This recipe is perfect for making ahead. You can prepare the cheese mixture, shape it, and keep it wrapped in the fridge for up to 2 days before coating and serving. Just add the pecan coating right before serving to keep it crunchy. I often make two at a time—one for now and one for later in the week.
One thing I love about this recipe is that the flavors actually get better after a day in the fridge. The garlic, Worcestershire, and cayenne have time to meld together, creating a more complex, cohesive taste. So do not be afraid to make it a day ahead.
Nutritional Information & Benefits
Let me be honest—this is a rich, indulgent appetizer, and it is meant to be enjoyed in moderation on special occasions. But there are a few redeeming qualities worth mentioning.
Estimated nutritional values per serving (based on 12 servings, with crackers not included): Approximately 280 calories, 24g fat, 6g protein, 4g carbohydrates, and 1g fiber. These numbers will vary based on the specific ingredients and brands you use.
Key ingredients and their benefits:
- Pecans are a good source of healthy monounsaturated fats, fiber, and antioxidants. They also contain magnesium and vitamin B6.
- Bacon (in moderation) provides protein and B vitamins. It also adds a ton of flavor, which means you can use less salt overall.
- Cream cheese contains calcium and vitamin A, though it is also high in saturated fat, so portion control is key.
Dietary considerations: This recipe is naturally gluten-free and low-carb/keto-friendly if you skip the crackers or use low-carb alternatives. It is not suitable for vegetarians due to the bacon (though you can omit it for a vegetarian version) and is obviously not vegan or dairy-free unless you use substitutions.
Potential allergens: This recipe contains dairy (cream cheese, cheddar), tree nuts (pecans), and pork (bacon). If you are serving a crowd with allergies, consider making a separate small batch with the substitutions mentioned in the variations section.
I personally love having this as a treat on game days or during the holidays. It is not something I eat every week, but when I do, I make sure to savor every bite. Pair it with fresh veggies to balance out the richness, and you have a satisfying snack that feels celebratory without going overboard.
Conclusion
This easy football cheese ball with crackers has become my go-to for any gathering where I want to show up with something that looks impressive but took almost no real effort. It is creamy, savory, and just a little bit indulgent—exactly what you want when you are settling in to watch the game or catching up with friends.
I love how forgiving this recipe is. You can adjust the seasonings, swap the nuts, add spice or keep it mild, and it always turns out delicious. It is the kind of recipe that makes you look like you spent hours in the kitchen when really, you just mixed a few things and let the fridge do the work.
If you make this cheese ball, I would love to hear about it. Did you add the cayenne? Did you try a different coating? Did anyone at your party ask for the recipe? Drop a comment below and let me know how it went. And if you are looking for more game-day inspiration, check out these crispy bacon-wrapped jalapeno popper football bites or this creamy herb and garlic cheese ball bites for even more snack ideas. Happy game day, and happy snacking!
Frequently Asked Questions
Can I make this cheese ball without nuts?
Absolutely. If you have a nut allergy or just prefer a different texture, you can skip the pecan coating entirely. The cheese ball tastes great on its own. Alternatively, try coating it in crushed pretzels, toasted sesame seeds, finely chopped fresh chives, or even crushed bacon bits. Each option gives a different crunch and flavor.
How far in advance can I make this football cheese ball?
You can make the cheese mixture and shape it up to 2 days ahead of time. Keep it wrapped tightly in plastic wrap in the refrigerator. I recommend adding the pecan coating no more than a few hours before serving to keep the nuts crunchy. If you coat it too early, the moisture from the cheese can make the coating soggy.
Can I use low-fat cream cheese?
I do not recommend it. Low-fat or reduced-fat cream cheese has a higher water content, which makes the mixture softer and harder to shape. It also does not hold its structure as well after chilling. For the best texture and flavor, stick with full-fat cream cheese. If you are watching calories, just enjoy a smaller portion.
What if I do not have a hand mixer?
No problem at all. Make sure your cream cheese is very soft (leave it out for an hour), and use a sturdy spatula or wooden spoon to mix everything together. It will take a little more elbow grease, but the results are the same. Just make sure there are no lumps of unmixed cream cheese. You can also use a food processor if you have one.
How do I get the perfect football shape?
Use the plastic wrap as your shaping tool. Place the cheese mixture in the center of a large piece of plastic wrap, then gather the edges and twist them together. Gently squeeze and mold the mixture through the plastic wrap into an oval shape, slightly pointed at the ends. Think of a football or an American football shape. Chill it for at least 2 hours after shaping, and it will hold its form perfectly.
Pin This Recipe!
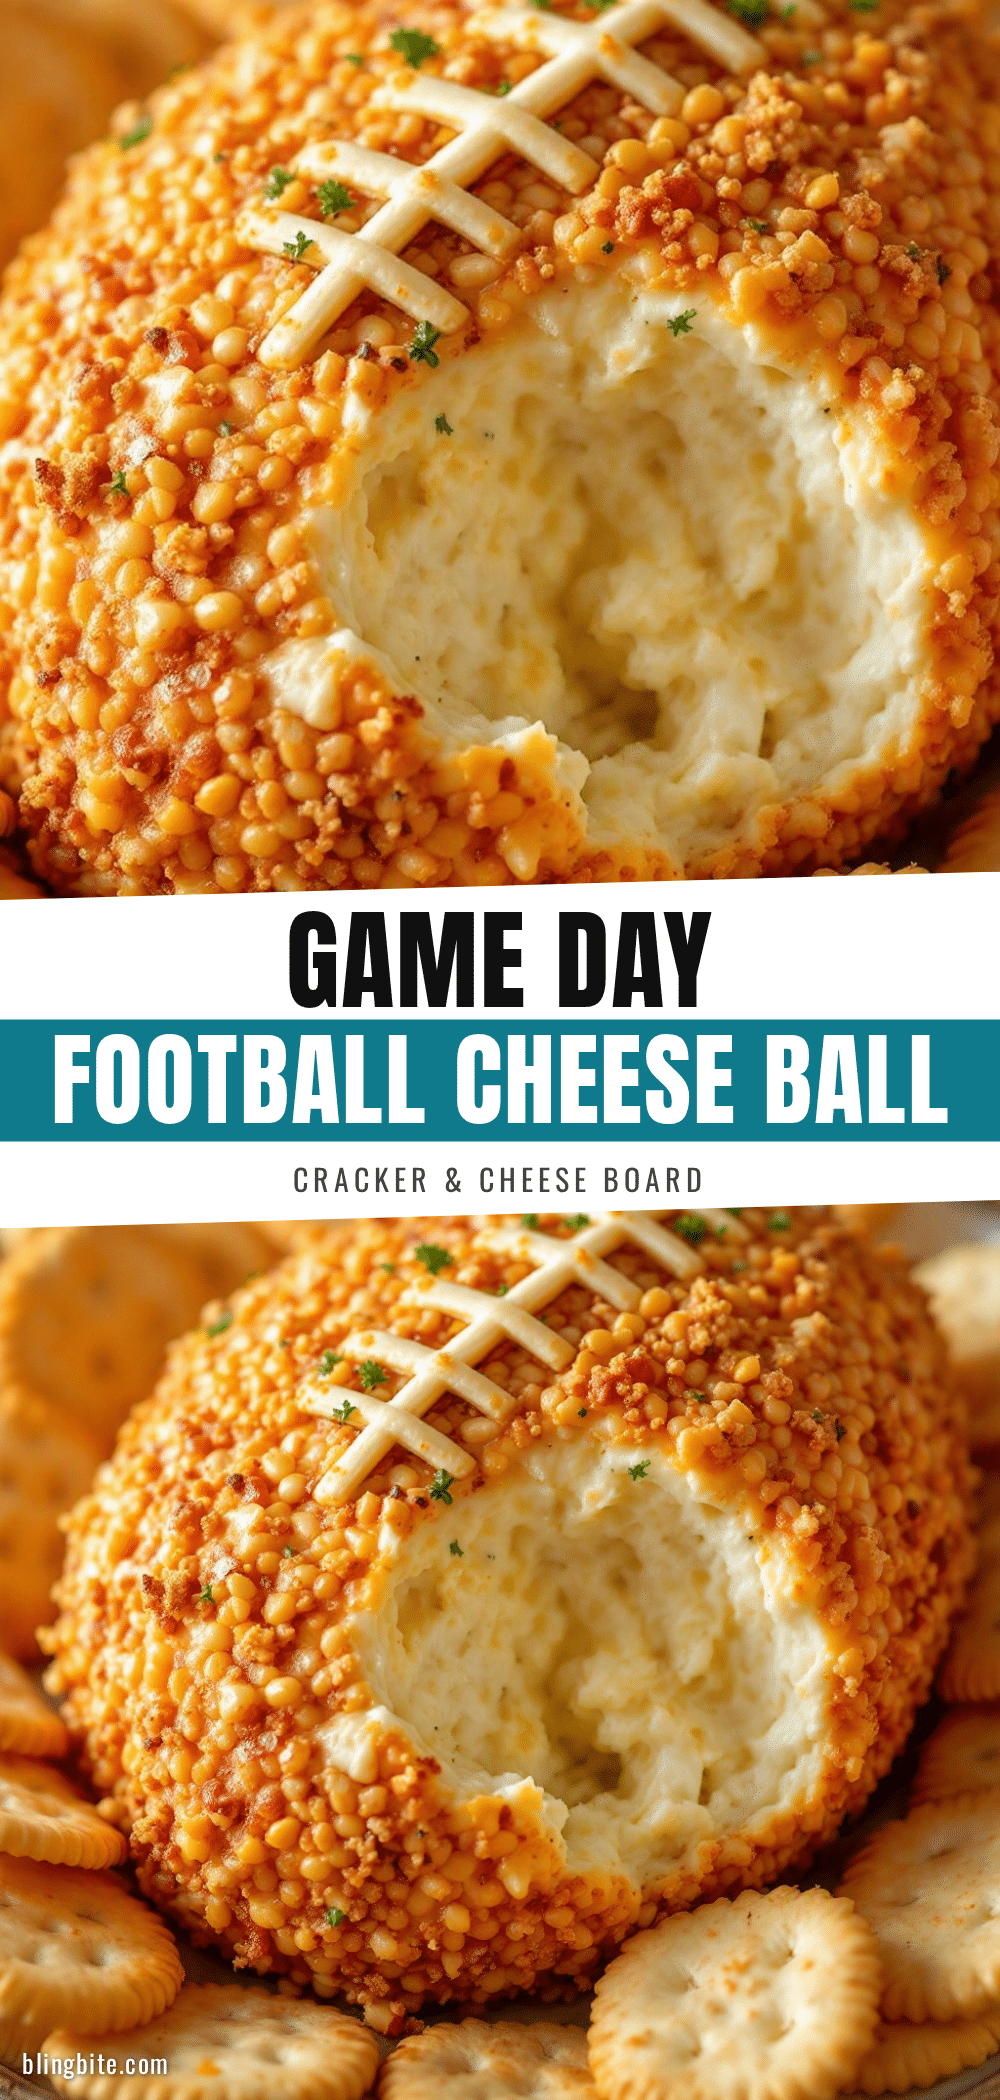
Easy Football Cheese Ball with Crackers
A creamy, savory cheese ball shaped like a football, perfect for game day gatherings. Made with cream cheese, cheddar, bacon, and pecans, it’s a crowd-pleasing appetizer that looks impressive with minimal effort.
- Prep Time: 15 minutes
- Cook Time: 15 minutes
- Total Time: 3 hours 30 minutes (includes chilling time)
- Yield: 12 servings 1x
- Category: Appetizer
- Cuisine: American
Ingredients
- 16 ounces cream cheese, softened to room temperature
- 2 cups shredded sharp cheddar cheese (about 8 ounces)
- 1/2 cup cooked and crumbled bacon (about 6 slices)
- 2 tablespoons finely chopped green onions (about 3–4 green onions, white and light green parts only)
- 1 teaspoon Worcestershire sauce
- 1/2 teaspoon garlic powder
- 1/4 teaspoon cayenne pepper (optional but highly recommended)
- Salt and black pepper to taste
- 1 cup finely chopped pecans
- Crackers of your choice for serving
Instructions
- Soften the cream cheese: Take your cream cheese out of the fridge about 30-45 minutes before you start. It should be soft enough that you can easily press your finger into it. If you forget, you can microwave it in 10-second bursts, but be careful—you want it soft, not melted.
- Mix the base: In your large mixing bowl, combine the softened cream cheese, shredded cheddar, crumbled bacon, chopped green onions, Worcestershire sauce, garlic powder, cayenne pepper (if using), and a pinch of salt and pepper. Beat with your hand mixer on medium speed until everything is well combined and smooth. Scrape down the sides of the bowl halfway through.
- Chill the mixture: Cover the bowl with plastic wrap and refrigerate for at least 1 hour, or up to 24 hours.
- Shape into a football: Lay a large piece of plastic wrap on your counter. Scrape the chilled cheese mixture onto the center of the plastic wrap. Using the plastic wrap to help you, shape the mixture into an oval shape, about 6-7 inches long and 4-5 inches wide. Wrap the plastic wrap tightly around the shaped cheese ball and twist the ends to secure it. Place it on a baking sheet or plate and refrigerate for another 2-3 hours, or until firm.
- Toast the pecans: While the cheese ball is chilling, place your chopped pecans in a dry skillet over medium heat. Stir constantly for 2-3 minutes until they are fragrant and lightly toasted. Pour them onto a plate and let them cool completely.
- Coat the cheese ball: Once the cheese ball is firm, unwrap it and place it on the plate of toasted pecans. Gently press the pecans into the surface, rolling the cheese ball around until it is fully coated. Use your hands to gently press any bare spots.
- Add the laces (optional but fun): To make it look even more like a football, create laces on top using a few slices of crispy bacon cut into thin strips, arranged in a line down the center, with two or three shorter strips crossing them like laces.
- Chill again briefly: Pop the coated cheese ball back in the fridge for about 15-20 minutes to let the coating set.
- Serve: Place the cheese ball on a serving platter surrounded by your favorite crackers. Let it sit at room temperature for about 10-15 minutes before serving.
Notes
For best results, use full-fat cream cheese and freshly shredded cheddar. Do not skip the chilling steps—they are crucial for shaping. The cheese ball can be made up to 2 days ahead (without coating) and stored in the refrigerator. Add the pecan coating just before serving to keep it crunchy. Leftovers can be stored wrapped in plastic wrap in the refrigerator for up to 5 days.
Nutrition
- Serving Size: 1 serving (about 1/1
- Calories: 280
- Sugar: 2
- Sodium: 350
- Fat: 24
- Saturated Fat: 12
- Carbohydrates: 4
- Fiber: 1
- Protein: 6
Keywords: cheese ball, football cheese ball, game day appetizer, easy appetizer, party snack, bacon cheese ball, pecan cheese ball


