
It was 10:47 PM on a rainy Thursday, and I had a serious craving for something warm, salty, and slathered in butter. I didn’t have the fancy ham from the deli counter or the expensive Hawaiian rolls I normally hoard for holidays, but I had a pack of generic dinner rolls, some leftover sliced ham from the kids’ lunchboxes, and a block of Swiss cheese that was staring at me from the fridge. And then it hit me—poppy seeds. That weird little jar in the back of the spice cabinet that I bought for a bagel recipe three years ago. I figured, why not? Honestly, sometimes the best ideas happen when you’re half-tired and not overthinking it. I just started layering, pouring, and baking, and let me tell you—the smell alone woke up the whole house. My husband shuffled out in his pajamas, grabbed one off the tray, and just stood there chewing in silence. That’s how you know it’s good. Maybe you’ve been there—standing in your kitchen at a weird hour, making something out of nothing, and accidentally creating a new family favorite. That’s exactly how these Easy Ham and Swiss Sliders with Buttery Poppy Seed Glaze were born. They’re not fancy, they’re not complicated, and they don’t require a trip to a speciality store. They’re just honest, buttery, melty goodness that works for game day, busy weeknights, or a late-night kitchen experiment that pays off big time.
Why You’ll Love This Recipe
I’ve tested this recipe about seven times now—yes, seven—because I wanted to make sure it works with different brands of rolls, cheaper ham, and even when you forget to soften the butter (which I did twice). Here’s why this version stands out from every other slider recipe you’ve seen:
- Budget-Friendly Ingredients: You don’t need fancy deli ham or artisan rolls. I’ve used store-brand ham and regular dinner rolls, and they turn out just as good. This recipe was designed for families watching their grocery bill.
- Comes Together in Under 30 Minutes: From start to finish, you’re looking at about 25 minutes. That’s faster than ordering takeout and way cheaper.
- Picky Eater Approved: My youngest, who normally picks apart anything with cheese, ate three of these in one sitting. The buttery glaze makes everything feel like a treat.
- Leftovers Reheat Beautifully: I’m serious—these sliders taste almost as good the next day. Just pop them in the oven or air fryer, and the tops get crispy again.
- Perfect for Any Occasion: Game day, potlucks, birthday parties, or a simple Tuesday dinner. They travel well and disappear fast.
What makes this recipe different from the dozens of other slider recipes out there is the poppy seed glaze. Most versions skip it or use a plain butter wash, but that little pop of nuttiness from the poppy seeds and the slight tang from the mustard and Worcestershire sauce take it to another level. It’s not just another ham and cheese sandwich—it’s the kind that makes you close your eyes after the first bite, even if you’re standing over the kitchen counter in your pajamas.
What Ingredients You Will Need
This recipe uses simple, everyday ingredients to create something unexpectedly delicious. Most of these are probably already in your fridge and pantry, which is exactly how I like to cook.
For the Sliders
- 12 slider rolls (Hawaiian rolls, brioche rolls, or plain dinner rolls work great—I prefer King’s Hawaiian for sweetness, but store brands work fine)
- 1/2 pound thinly sliced ham (honey ham, smoked ham, or even leftover holiday ham—just make sure it’s thin so it layers well)
- 6 slices Swiss cheese (I use Sargento deli-style Swiss, but any good melting Swiss works. Pro tip: ask for thicker slices at the deli counter for extra gooeyness)
For the Buttery Poppy Seed Glaze
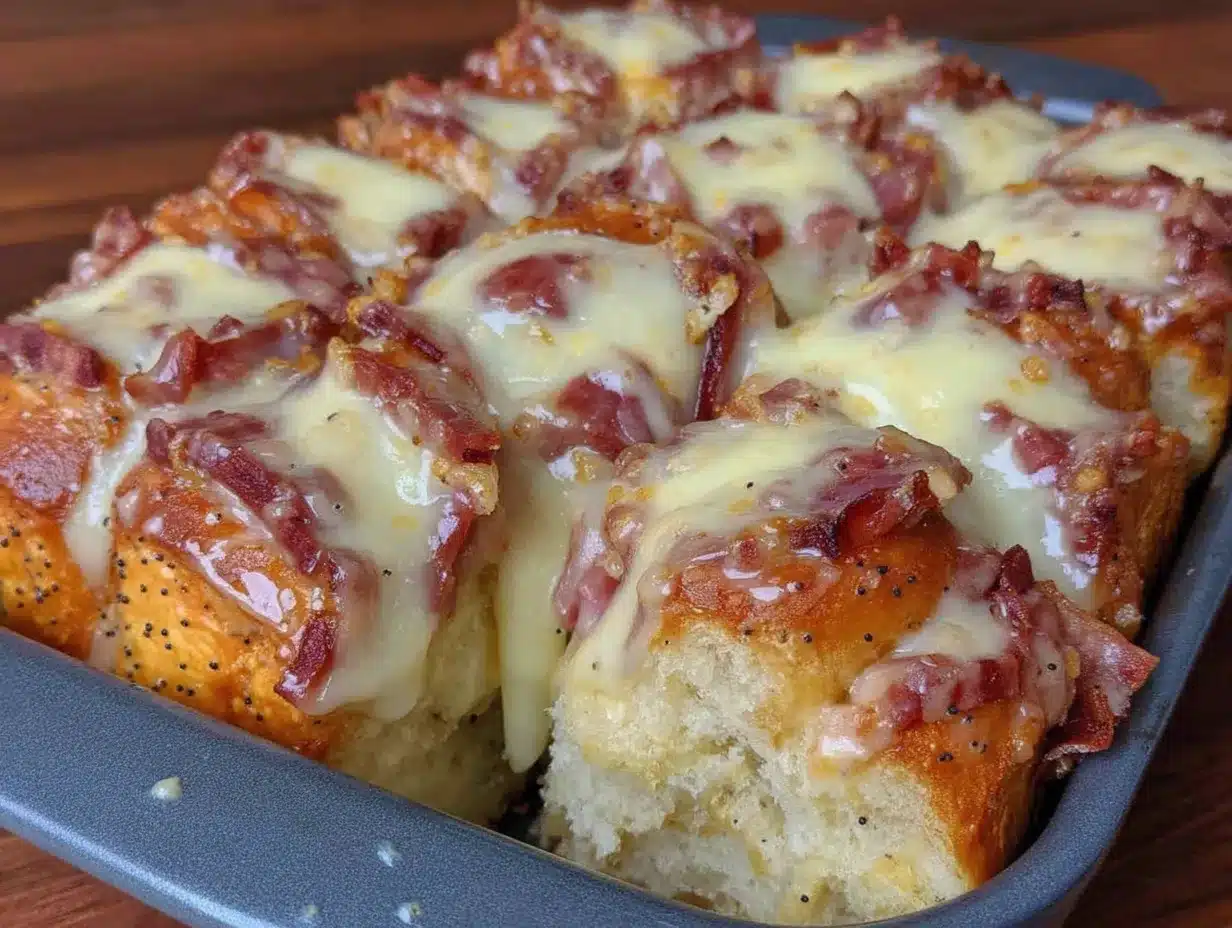
- 1/2 cup unsalted butter (melted—salted butter works too, just reduce the added salt slightly)
- 2 tablespoons Dijon mustard (yellow mustard works in a pinch, but Dijon adds a nicer tang)
- 1 tablespoon Worcestershire sauce (this is the secret ingredient that makes everyone ask what’s in it)
- 1 tablespoon poppy seeds (don’t skip these—they add that signature crunch and nutty flavor)
- 1 teaspoon onion powder (not onion salt—we don’t want it too salty)
- 1/2 teaspoon garlic powder
- 1 tablespoon brown sugar (optional, but it adds a lovely caramelized sweetness to the top)
Optional Add-Ins
- 1 tablespoon mayonnaise (spread on the inside of the rolls for extra moisture—my mom’s trick)
- Fresh parsley or chives (for garnish, if you’re feeling fancy)
I’ve made these sliders with every combination you can imagine. One time I was out of Swiss and used provolone—still delicious. Another time I used leftover roast beef instead of ham, and my husband said they were even better. Don’t be afraid to swap based on what you have. That’s the beauty of this recipe—it’s forgiving.
Equipment Needed
You don’t need a lot of fancy tools for this recipe, which is part of why I love it so much. Here’s what you’ll need:
- 9×13-inch baking dish (a casserole dish or even a rimmed baking sheet works—just make sure it has sides to catch the glaze)
- Sharp knife (for slicing the rolls in half horizontally—a serrated bread knife works best)
- Small bowl (for mixing the glaze)
- Pastry brush (or a regular spoon if you don’t have one—I’ve used a basting brush and even a clean paper towel in a pinch)
- Aluminum foil (for covering the sliders while they bake)
- Cutting board
If you don’t have a pastry brush, don’t sweat it. Just drizzle the glaze evenly with a spoon and spread it around with the back of the spoon. It works perfectly fine. I actually prefer using a spoon sometimes because I feel like I get better coverage on the edges.
Preparation Method
Follow these steps carefully, and you’ll have perfect sliders every single time. I’ve included all the little tricks I learned from my seven test batches.
- Preheat your oven to 350°F (175°C). While it’s heating, spray your 9×13-inch baking dish with non-stick cooking spray or rub it with a little butter. This prevents the bottoms from sticking and makes cleanup easier.
- Slice the entire pack of rolls in half horizontally. This is the trickiest part, so pay attention. Keep the rolls connected in one big slab—don’t separate them yet. Use a long serrated knife and saw gently back and forth. If the rolls start to fall apart, just press them back together. I messed this up my first time and ended up with individual sliders that didn’t hold together as nicely. Trust me on this one—keeping them connected makes a huge difference.
- Place the bottom half of the rolls in the baking dish. If some pieces separated, just fit them back together like a puzzle. It doesn’t have to be perfect—the glaze will hide any gaps.
- Layer the ham evenly over the bottom rolls. Fold the slices slightly so they fit without overlapping too much. You want a nice, even layer—not a giant pile in the middle. I usually use about 6-8 slices depending on the size.
- Place the Swiss cheese slices over the ham. If your cheese slices are square, you may need to cut them in half to fit the rolls better. Don’t worry if the cheese hangs over the edges a little—it will melt and crisp up beautifully.
- Place the top half of the rolls over the cheese. Press down gently so everything stays in place. This is where you can spread a thin layer of mayonnaise on the inside of the top rolls if you’re using it. I do this about half the time, and it adds a nice tangy moisture.
- Make the buttery poppy seed glaze. In a small bowl, whisk together the melted butter, Dijon mustard, Worcestershire sauce, poppy seeds, onion powder, garlic powder, and brown sugar (if using). Whisk until everything is well combined and the sugar is dissolved. Taste it—it should be savory with a slight sweetness and a little tang. Adjust the mustard or brown sugar to your preference.
- Pour or brush the glaze evenly over the top rolls. Use your pastry brush or a spoon to make sure every single roll gets some glaze. Don’t forget the edges—they need love too. Let the glaze soak in for about 2-3 minutes before baking. This helps the flavors penetrate the rolls.
- Cover the dish with aluminum foil. This traps steam and helps the cheese melt without burning the tops. Bake for 15 minutes.
- Remove the foil and bake for another 5-7 minutes. Keep an eye on them—you want the tops to be golden brown and the edges slightly crispy. The cheese should be fully melted and oozing out the sides a little. That’s the sign of a perfect slider.
- Let them rest for 5 minutes before serving. I know it’s hard to wait, but this step is crucial. The sliders are extremely hot right out of the oven, and the cheese needs a minute to set so it doesn’t slide off. Use a spatula to separate the sliders and serve them warm.
One more thing—if you’re making these for a party or potluck, you can assemble them up to 24 hours in advance. Just cover and refrigerate, then add the glaze and bake when you’re ready. They might need an extra 5 minutes in the oven since they start cold.
Cooking Tips & Techniques
I’ve made enough mistakes with these sliders to fill a small notebook. Here’s what I learned so you don’t have to repeat my errors:
- Don’t skip the foil step. I got impatient once and baked them uncovered the whole time. The tops came out dark and hard, and the cheese wasn’t fully melted. Covering them first ensures everything cooks evenly.
- Use room temperature butter for easier mixing. If your butter is cold, the glaze will be clumpy and hard to spread. Microwave it in 10-second bursts until just melted—not boiling.
- Toast the poppy seeds lightly for extra flavor. This is optional, but if you have an extra minute, toss the poppy seeds in a dry pan over medium heat for 30 seconds until they smell nutty. It really brings out their flavor.
- Watch the salt. Ham and cheese are already salty, so don’t add extra salt to the glaze. The Worcestershire sauce has plenty of sodium too. Trust the ingredients.
- Use a serrated knife to separate the sliders after baking. A regular knife will squish them and push the filling out. A gentle sawing motion keeps everything intact.
One time I forgot to add the mustard to the glaze. I realized it after they were already in the oven. I just whisked some mustard with a little melted butter and brushed it on halfway through baking. They still turned out great. So don’t stress if you miss a step—cooking is flexible.
Variations & Adaptations
This recipe is a fantastic base for experimentation. Here are some of my favorite variations:
- Turkey and Swiss: Swap the ham for thinly sliced turkey breast. It’s a little lighter but just as satisfying. I do this when I have leftover Thanksgiving turkey.
- Spicy Jalapeño Popper Sliders: Add pickled jalapeños and a layer of cream cheese spread on the bottom rolls. The creamy, spicy combo is incredible.
- Breakfast Sliders: Use the same glaze but fill the rolls with scrambled eggs, cooked bacon or sausage, and cheddar cheese. Bake for 12-15 minutes. Perfect for brunch.
- Vegetarian Version: Replace the ham with roasted portobello mushrooms or thinly sliced zucchini. The glaze works beautifully with vegetables.
- Gluten-Free Option: Use gluten-free dinner rolls. I’ve tested this with Schär brand rolls, and they hold up well. Just watch the baking time—gluten-free rolls can dry out faster.
My personal favorite variation is adding a thin layer of raspberry jam on the bottom rolls before the ham. The sweet and savory combination is absolutely addictive. I discovered this accidentally when I ran out of mustard and grabbed jam instead. Sometimes the best recipes come from happy accidents.
Serving & Storage Suggestions
These sliders are best served warm, right out of the oven. The cheese is stretchy, the tops are buttery, and the edges have that perfect slight crunch. I like to serve them with a simple side salad or some kettle chips for a complete meal. For game day, they pair perfectly with a bowl of chili or some loaded nachos.
Storage: Leftover sliders can be stored in an airtight container in the refrigerator for up to 3 days. The texture changes slightly—the tops soften—but they’re still delicious.
Reheating: The best way to reheat them is in the oven at 350°F (175°C) for about 8-10 minutes, uncovered. This helps the tops crisp back up. You can also use an air fryer at 350°F for 4-5 minutes. Avoid the microwave if you can—it makes the rolls soggy and the cheese rubbery.
Freezing: You can freeze the assembled, unbaked sliders (without the glaze) for up to 2 months. When you’re ready to bake, thaw them overnight in the refrigerator, add the glaze, and bake as directed. The glaze can also be frozen separately in a small zip-top bag.
One thing I’ve noticed—the flavors actually meld together better the next day. The Worcestershire and mustard soak into the rolls, and the ham and cheese become one cohesive, delicious unit. So don’t be sad if you have leftovers. Reheat them for lunch and thank me later.
Nutritional Information & Benefits
Here’s the approximate nutritional breakdown for one slider (based on 12 sliders using the ingredients listed):
| Nutrient | Amount Per Slider |
|---|---|
| Calories | 245 |
| Total Fat | 14g |
| Saturated Fat | 8g |
| Cholesterol | 45mg |
| Sodium | 620mg |
| Total Carbohydrates | 20g |
| Dietary Fiber | 1g |
| Sugars | 6g |
| Protein | 12g |
These sliders are a good source of protein from the ham and cheese, which helps keep you full. Swiss cheese is also a good source of calcium and vitamin B12. The poppy seeds add a small amount of dietary fiber and healthy fats. That said, this is definitely a treat—not an everyday meal. I balance it out by serving them with a big green salad or some fresh vegetable sticks.
If you’re watching your sodium intake, look for low-sodium ham and reduced-sodium Swiss cheese. You can also skip the added salt in the glaze entirely. The Worcestershire sauce and mustard provide plenty of flavor on their own.
Conclusion
These Easy Ham and Swiss Sliders with Buttery Poppy Seed Glaze have become a staple in my kitchen, and I have a feeling they’ll become one in yours too. They’re proof that you don’t need complicated techniques or expensive ingredients to make something truly memorable. Whether you’re feeding a crowd at a party, putting together a quick dinner on a busy night, or just satisfying a late-night craving like I did, these sliders deliver every single time.
I love how customizable they are—you can swap the meat, change the cheese, add your favorite spreads, and they’ll still turn out amazing. That’s the mark of a great recipe, if you ask me. It’s not about following rules; it’s about making something that works for your family, your budget, and your taste.
So go ahead—give them a try. Maybe you’ll make them exactly as written, or maybe you’ll throw in some jalapeños or a layer of jam like I did. Either way, I’d love to hear how they turn out. Drop a comment below and let me know your favorite variation, or tag me in your photos on social media. Happy cooking, friends!
Frequently Asked Questions
Can I make these sliders ahead of time?
Absolutely! You can assemble the sliders (without the glaze) up to 24 hours in advance. Cover and refrigerate, then add the glaze and bake when you’re ready. You may need to add 5 extra minutes to the baking time since they start cold.
What can I use instead of Swiss cheese?
Provolone, mozzarella, or even cheddar work great. Swiss has a nice nutty flavor that pairs well with ham, but don’t let that stop you from using what you have. I’ve made them with pepper jack for a spicy kick, and they were fantastic.
Can I freeze these sliders?
Yes! Freeze the assembled, unbaked sliders (without the glaze) for up to 2 months. Thaw overnight in the fridge, add the glaze, and bake as directed. The glaze can also be frozen separately in a small bag.
How do I prevent the sliders from getting soggy?
The key is not to over-soak the rolls with glaze. Brush it on evenly rather than pouring it all at once. Also, make sure your ham isn’t too wet—pat it dry with a paper towel if it looks moist. Baking covered first, then uncovered, also helps maintain the right texture.
Can I use a different type of roll?
Definitely! Hawaiian rolls are classic for their sweetness, but brioche, potato rolls, or even plain white dinner rolls work. Just make sure they’re soft and slightly sweet to balance the savory filling. Avoid crusty rolls like ciabatta—they don’t absorb the glaze as well.
Pin This Recipe!
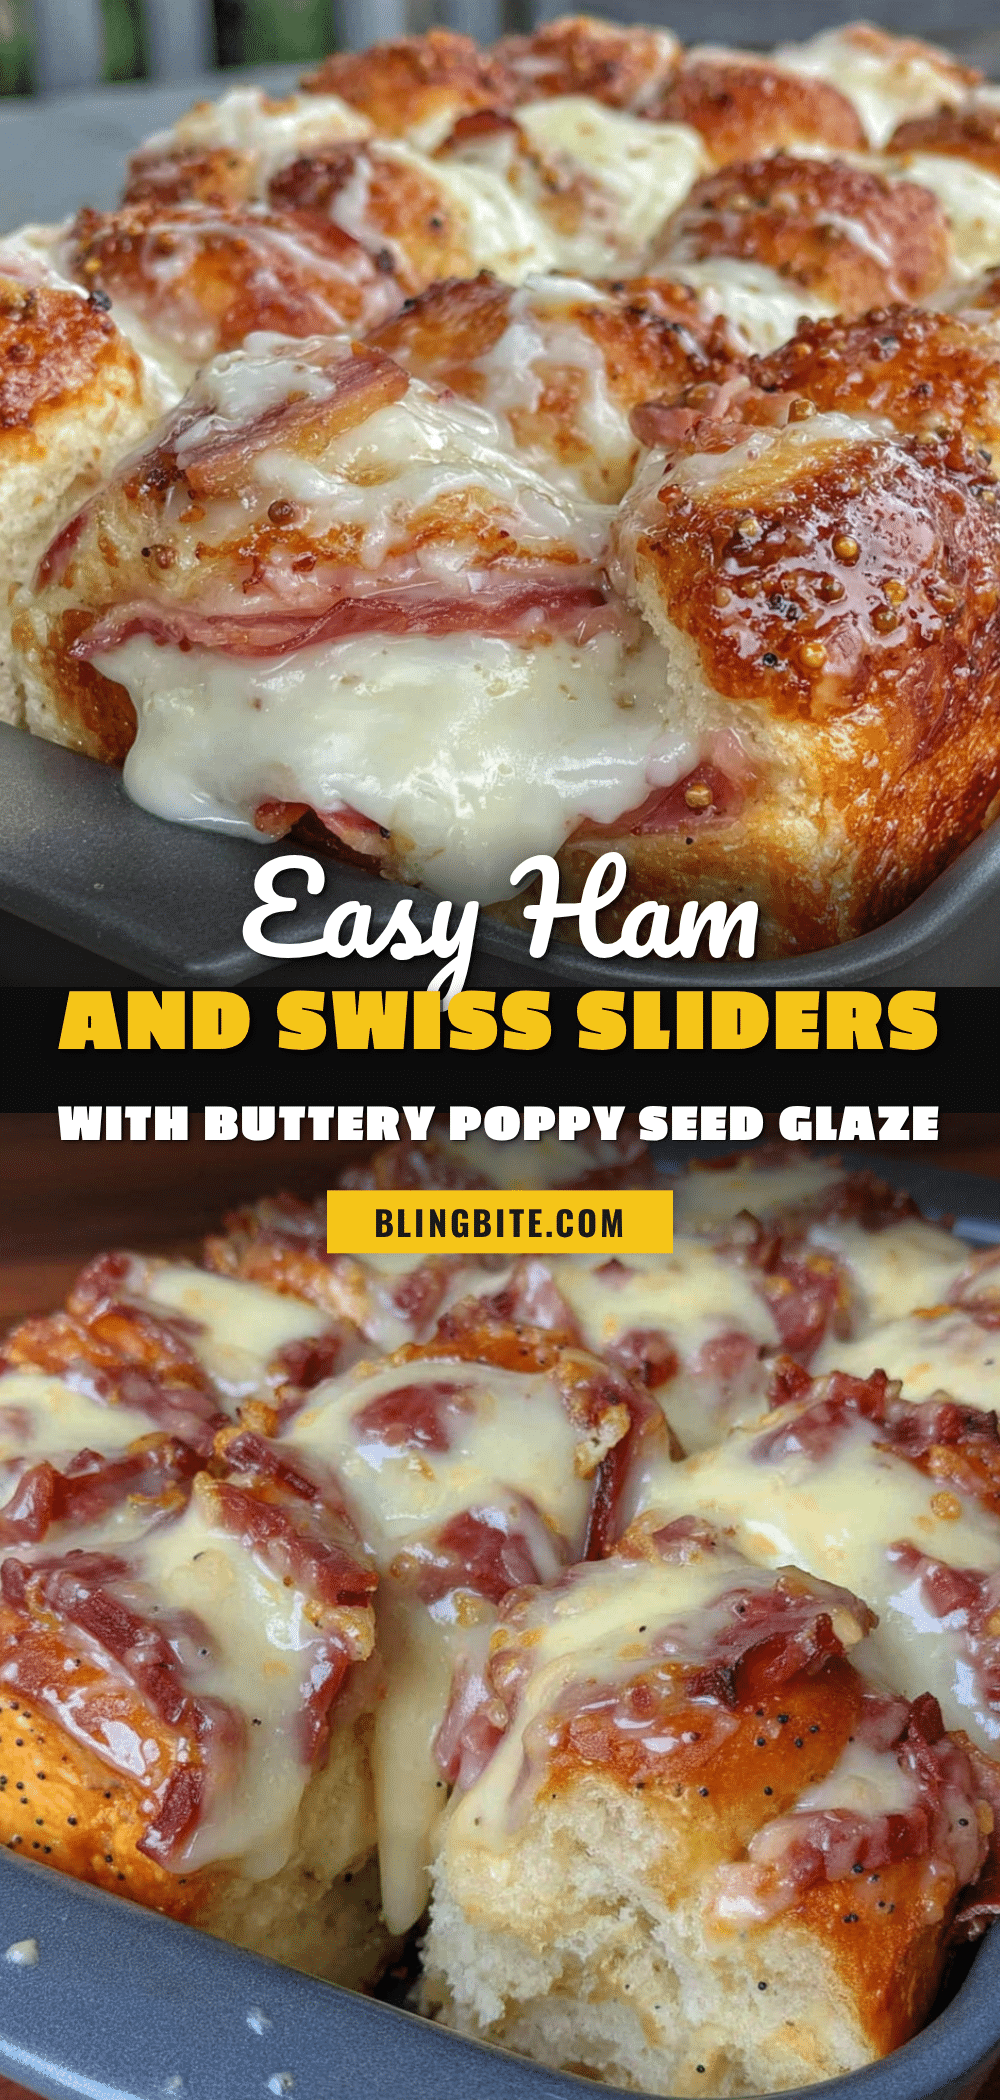
Easy Ham and Swiss Sliders: The Best Buttery Poppy Seed Recipe

These Easy Ham and Swiss Sliders with Buttery Poppy Seed Glaze are made with simple, budget-friendly ingredients and come together in under 30 minutes. Perfect for game day, busy weeknights, or a late-night kitchen experiment, they’re buttery, melty, and absolutely delicious.
- Prep Time: 10 minutes
- Cook Time: 20 minutes
- Total Time: 30 minutes
- Yield: 12 servings 1x
- Category: Main Course
- Cuisine: American
Ingredients
- 12 slider rolls (Hawaiian rolls, brioche rolls, or plain dinner rolls)
- 1/2 pound thinly sliced ham (honey ham, smoked ham, or leftover holiday ham)
- 6 slices Swiss cheese
- 1/2 cup unsalted butter, melted
- 2 tablespoons Dijon mustard
- 1 tablespoon Worcestershire sauce
- 1 tablespoon poppy seeds
- 1 teaspoon onion powder
- 1/2 teaspoon garlic powder
- 1 tablespoon brown sugar (optional)
- 1 tablespoon mayonnaise (optional, for spreading on rolls)
- Fresh parsley or chives for garnish (optional)
Instructions
- Preheat your oven to 350°F (175°C). Spray a 9×13-inch baking dish with non-stick cooking spray or rub with butter.
- Slice the entire pack of rolls in half horizontally, keeping them connected in one slab. Use a serrated knife for best results.
- Place the bottom half of the rolls in the baking dish, fitting any separated pieces back together.
- Layer the ham evenly over the bottom rolls, folding slices slightly to fit without overlapping too much.
- Place the Swiss cheese slices over the ham, cutting them in half if needed to fit the rolls.
- Place the top half of the rolls over the cheese and press down gently. Optionally, spread a thin layer of mayonnaise on the inside of the top rolls.
- In a small bowl, whisk together the melted butter, Dijon mustard, Worcestershire sauce, poppy seeds, onion powder, garlic powder, and brown sugar (if using) until well combined.
- Pour or brush the glaze evenly over the top rolls, making sure to cover the edges. Let the glaze soak in for 2-3 minutes.
- Cover the dish with aluminum foil and bake for 15 minutes.
- Remove the foil and bake for another 5-7 minutes, until the tops are golden brown and the edges are slightly crispy.
- Let the sliders rest for 5 minutes before serving. Use a spatula to separate and serve warm.
Notes
For best results, keep the rolls connected when slicing. Don’t skip the foil step to ensure even melting. Use room temperature butter for easier mixing. Toast poppy seeds lightly for extra flavor. Watch the salt as ham and cheese are already salty. Use a serrated knife to separate sliders after baking. Assemble up to 24 hours in advance and refrigerate; add glaze and bake when ready, adding 5 extra minutes if starting cold.
Nutrition
- Serving Size: 1 slider
- Calories: 245
- Sugar: 6
- Sodium: 620
- Fat: 14
- Saturated Fat: 8
- Carbohydrates: 20
- Fiber: 1
- Protein: 12
Keywords: ham and swiss sliders, poppy seed sliders, easy slider recipe, buttery sliders, game day appetizer, quick dinner