That faint crackle of oats mixing with honey — the kind you hear before you even peek into the kitchen — still carries me back to those sleepy Sunday mornings in my childhood home. It wasn’t about the rush or the fancy gadgets, just a simple ritual of mixing, stirring, and waiting. The smell of warm vanilla and toasted oats would hang in the air, mingling with the slight bitterness of dark chocolate chips that melted just enough between sticky fingers. No oven fuss, no timers beep-beeping in my ear — just that comforting sound and scent, like a soft promise that something wholesome and sweet was on its way.
I remember sitting on the counter, watching my mom make these easy no-bake homemade granola bars with chocolate chips, her hands steady even as she chatted about the day ahead. It was a kind of quiet magic, really — turning a handful of simple pantry staples into a snack that felt like a little hug. Years later, when I first tried making them myself, it surprised me how quickly they came together, and honestly, how much joy I found in that familiar crackle and the chewy, chocolate-studded bite.
There’s something unhurried about this recipe that fits perfectly with my way of cooking — by feel, by memory, without a checklist staring me down. These granola bars aren’t just about grabbing a snack; they’re about that easy, everyday comfort, the kind that sticks around long after the last crumb is gone. And that’s why I keep coming back to this recipe, time and again, even when life feels like it’s moving too fast.
Why You’ll Love This Recipe
Honestly, this easy no-bake homemade granola bars with chocolate chips recipe has been a game changer on busy mornings and lazy afternoons alike. After countless trials (and a few sticky mishaps), I’ve settled on a version that’s simple, reliable, and downright delicious. Here’s why it’s become a staple in my kitchen:
- Quick & Easy: Whip these up in under 20 minutes—no baking necessary, perfect for those moments when you need a snack ASAP.
- Simple Ingredients: No need for specialty stores—just pantry staples like rolled oats, honey, and your favorite chocolate chips.
- Perfect for On-the-Go: Great for packing in lunchboxes, bringing to work, or a quick bite before an afternoon hike.
- Crowd-Pleaser: Kids and adults alike love these bars, and they vanish fast at parties or potlucks.
- Unbelievably Delicious: The chewy texture combined with melty chocolate chips makes for a comforting bite every time.
- Unique Twist: I blend a bit of almond butter right into the mix to add richness without overpowering the natural oat flavor. Plus, a pinch of sea salt brings out the chocolate’s sweetness like you wouldn’t believe.
- Healthier Snacking: These bars feel like a treat but pack fiber and protein to keep you fueled.
What sets this recipe apart? It’s the balance — not too sweet, with a satisfying chew and just enough chocolate to feel indulgent. I’ve tried other no-bake bars that end up crumbly or waxy, but this one holds together beautifully without any weird aftertaste. You can tweak it easily, too, making it a flexible option whether you’re craving something classic or want a little nutty upgrade. Honestly, it’s snack time made simple, satisfying, and just right.
What Ingredients You Will Need
This recipe uses simple, wholesome ingredients to deliver bold flavor and satisfying texture without the fuss. Most of these are pantry staples, and you can swap a few out if needed without losing that classic taste.
- Rolled Oats (2 cups / 180 g) – The base of your bars, providing that chewy, hearty texture. I recommend old-fashioned oats for the best bite.
- Honey (1/3 cup / 110 g) – Acts as the natural sweetener and binder. Raw or regular honey works, but the floral notes in wildflower honey add a lovely depth.
- Almond Butter (1/2 cup / 120 g) – Adds creaminess and helps hold everything together. Feel free to use peanut butter or sunflower seed butter if allergies are a concern.
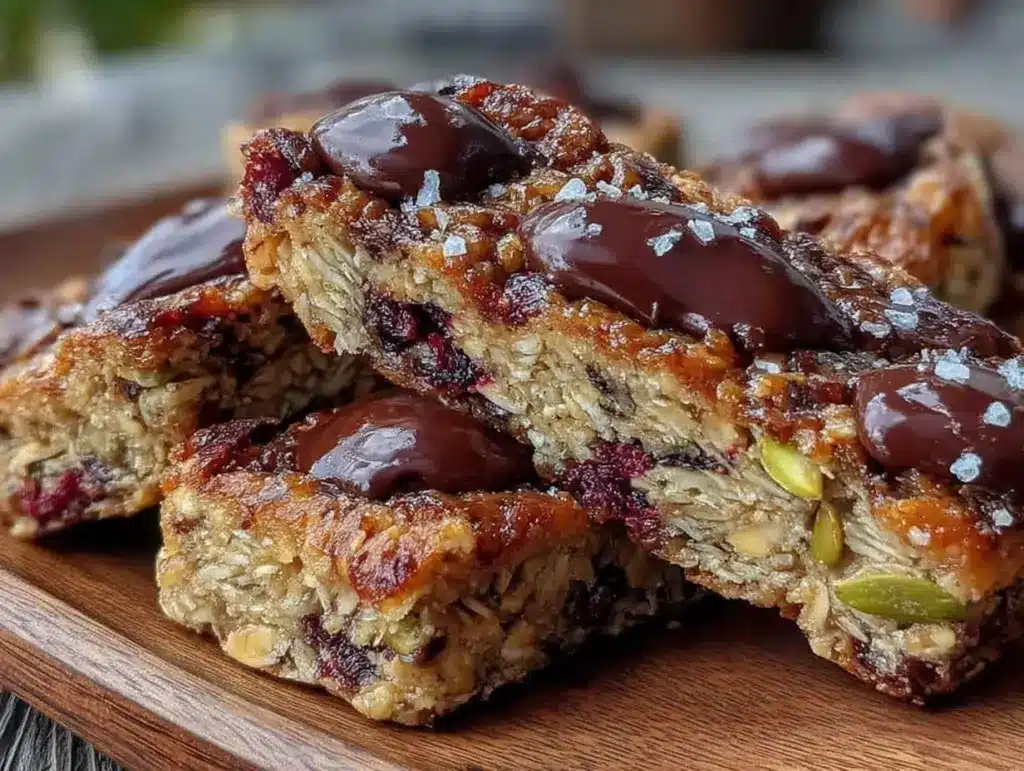
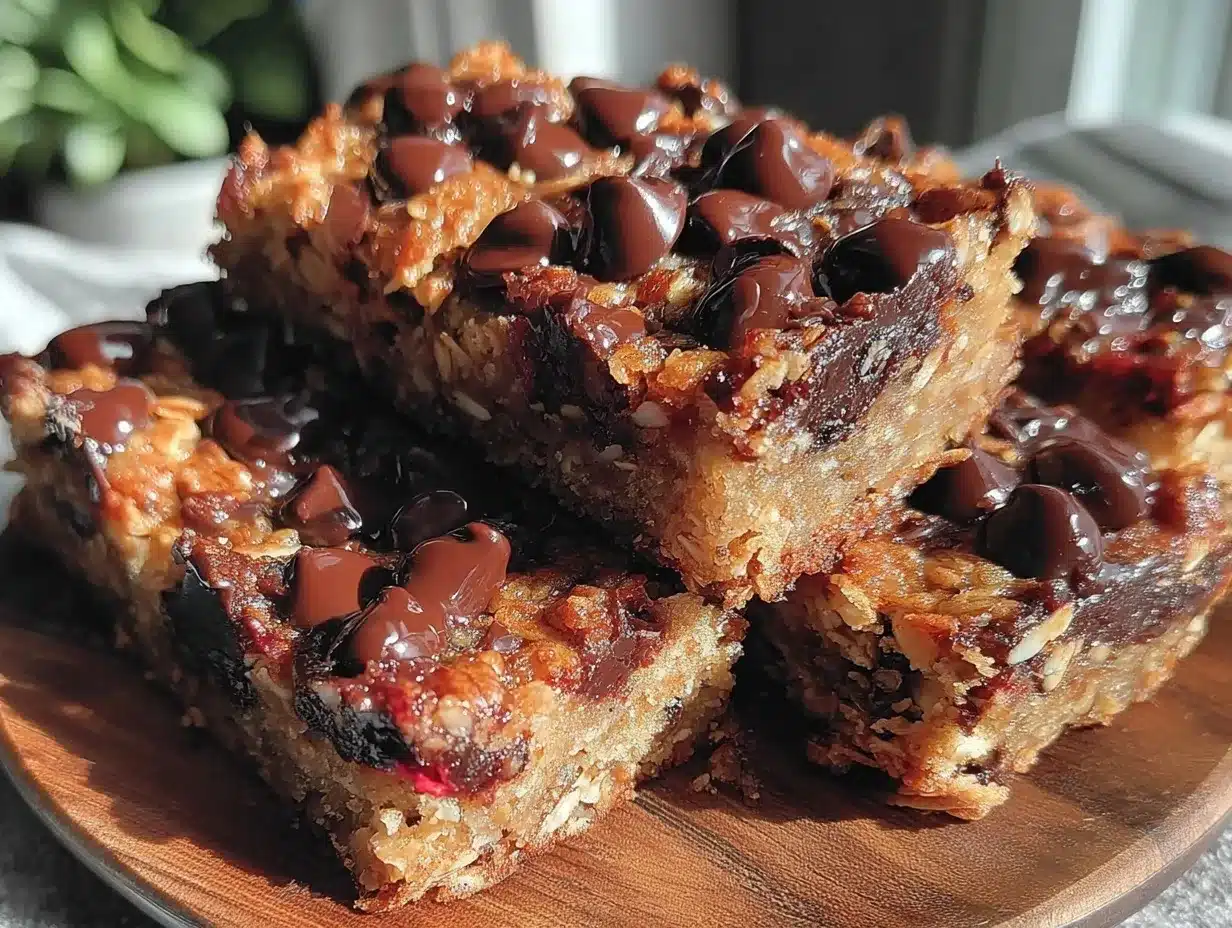
- Mini Chocolate Chips (3/4 cup / 135 g) – Little pockets of melty chocolate throughout. Semi-sweet or dark chips work best, but milk chocolate is fine if you prefer sweeter.
- Vanilla Extract (1 tsp) – For that warm, inviting aroma.
- Sea Salt (1/4 tsp) – Enhances the flavors and balances the sweetness.
- Chia Seeds (optional, 2 tbsp) – For a nutritional boost and subtle crunch.
- Ground Flaxseed (optional, 2 tbsp) – Adds fiber and nutty flavor, perfect if you want a healthier twist.
For a nut-free version, you can swap almond butter with tahini or sunflower seed butter. If you want to make it gluten-free, double-check that your oats are certified gluten-free. In summer, I sometimes toss in dried berries for a tart contrast—fresh is nice too but dries out the bars if not careful.
Equipment Needed
- Mixing Bowl: A large, sturdy bowl to combine your ingredients comfortably.
- Wooden Spoon or Silicone Spatula: For mixing sticky ingredients without scraping your hands raw.
- 8×8 Inch Baking Pan: Preferably glass or metal, lined with parchment paper to make lifting the bars out a breeze.
- Measuring Cups and Spoons: Accurate measurements are key to get the texture just right.
- Microwave-safe Bowl (optional): For gently warming honey and almond butter if they’re too firm — I’ve found a slow 20-second zap works wonders.
If you don’t have an 8×8 pan, a similarly sized container or even a loaf pan will do, but keep in mind the thickness of the bars might vary. I avoid pressing the mixture too hard — a gentle but firm press helps keep the bars chewy without turning them rock solid. Parchment paper is a lifesaver here; it’s saved me from many sticky cleanup moments!
Preparation Method
- Warm the Binding Ingredients (5 minutes): In a microwave-safe bowl, gently heat the honey and almond butter for about 20-30 seconds until soft and slightly runny. Stir well to combine into a smooth, glossy mixture. This helps the ingredients blend better and prevents clumps.
- Mix Dry Ingredients (3 minutes): In your large mixing bowl, combine the rolled oats, chia seeds, ground flaxseed if using, sea salt, and mini chocolate chips. Give it a good stir so the chips and seeds are evenly distributed.
- Combine Wet and Dry (5 minutes): Pour the warm honey and almond butter mixture over the dry ingredients. Add the vanilla extract. Using a sturdy wooden spoon or silicone spatula, fold everything together until all oats are coated and the mixture looks sticky but not soggy.
- Press Into Pan (5 minutes): Line your 8×8 inch pan with parchment paper, leaving some overhang on the sides for easy removal. Transfer the mixture to the pan and press down firmly but gently, making an even layer about 1/2 to 3/4 inch thick. I find pressing with the back of a spatula or clean hands (lightly wetting them stops sticking) works best.
- Chill and Set (at least 2 hours): Place the pan in the refrigerator for at least two hours to let the bars set. This step is crucial for that perfect chewy texture and to keep them holding together without baking.
- Cut and Store (5 minutes): Once firm, lift the granola slab out using the parchment edges. Place on a cutting board and slice into bars or squares with a sharp knife. Store in an airtight container in the fridge for up to a week, or freeze for longer storage.
Watch out for over-pressing — it can make bars too dense and hard to bite. If the mixture feels too dry, add a teaspoon or two more honey or almond butter next time. If too wet, a few more oats will save the day. The bars should hold together well but still have a little give.
Cooking Tips & Techniques
Making no-bake granola bars sounds straightforward, but there are a few tricks I learned the hard way. For starters, heating the honey and almond butter just right is key — too hot and the mixture gets runny; too cool and it won’t bind properly. I like to warm slowly and stir frequently.
When mixing, fold gently but thoroughly. You want every oat to be coated but not swimming in syrup. This helps prevent gritty or greasy spots and gives you that lovely chewy texture.
Pressing the mixture evenly into the pan is an underrated step. I’ve seen bars fall apart simply because the mixture wasn’t compacted enough. But, beware of packing it too hard—it makes the bars tough.
Timing matters too. Let the bars chill for the full two hours if you can. Rushing this step leads to crumbly edges and sad little granola bits everywhere.
One of my biggest fails was trying to skip the parchment paper—don’t do it. It saves you from a major sticky situation and makes cleanup way easier.
Finally, when cutting, use a sharp knife and wipe it between cuts to avoid crumbling or squashing the bars.
Variations & Adaptations
You can play around with this base recipe to suit different tastes or dietary needs. Here are some ideas I’ve tried or recommend:
- Nut-Free Version: Swap almond butter for sunflower seed butter or tahini. It changes the flavor but keeps the creamy texture.
- Seasonal Twist: Add dried cranberries or chopped dried apricots in fall and winter for a fruity pop. In spring, try chopped pistachios and a sprinkle of orange zest.
- Protein Boost: Stir in a scoop of your favorite protein powder with the dry ingredients for a more filling snack.
- Different Sweeteners: Use maple syrup instead of honey for a vegan option. Just be mindful it may take a little longer to set.
- Flavor Add-Ons: Add a dash of cinnamon or nutmeg for warmth, or a little espresso powder for depth if you’re feeling adventurous.
Personally, I once swapped the chocolate chips for peanut butter chips and added toasted coconut for a tropical vibe. It was a hit! And if you prefer a softer bar, reduce the oats slightly or add a splash more almond butter.
Serving & Storage Suggestions
These granola bars are best served chilled or at room temperature. When you bite into one, you want that satisfying chew and just the right amount of chocolate melt. I like to pack them alongside fresh fruit or a small container of nut butter for dipping.
They also pair surprisingly well with a cup of afternoon tea or a cold glass of milk—the kind of combo that makes you pause and enjoy a quiet moment.
Store the bars in an airtight container in the fridge for up to a week. They keep their texture well and the chocolate stays firm but soft enough to bite through. For longer storage, freeze them individually wrapped; just thaw at room temp for 15 minutes before eating.
Pro tip: The flavors actually mellow and blend beautifully after a day or two, so if you can wait, the bars taste even better after resting in the fridge.
Nutritional Information & Benefits
Each bar contains roughly 180-220 calories, depending on size and exact ingredients. They’re a good source of fiber from oats and chia seeds, and provide healthy fats and protein thanks to the almond butter. The dark chocolate chips add antioxidants, while honey offers natural sweetness without refined sugar.
This recipe is naturally gluten-free if you use certified oats, and can be easily made vegan by swapping honey for maple syrup. It’s a better-for-you snack option that satisfies sweet cravings without the guilt.
From a wellness standpoint, these bars keep you energized and satiated, making them ideal for busy days when you need a quick nutrient boost without a sugar crash.
Conclusion
Easy no-bake homemade granola bars with chocolate chips have quietly become one of my favorite go-to snacks. They’re simple to make, forgiving with ingredients, and satisfy that sweet-and-chewy craving like nothing else. I love how they remind me of a slower, cozier kitchen moment but fit perfectly into a busy day.
Feel free to make this recipe your own — swap nuts, add seeds, or throw in your favorite dried fruit. It’s a snack that welcomes creativity and rewards with every bite.
Next time you need a wholesome treat that doesn’t demand the oven, this recipe will have your back. I can’t wait to hear how you make it your own and what little twists you add to this easy classic.
FAQs about Easy No-Bake Homemade Granola Bars with Chocolate Chips
Can I use quick oats instead of rolled oats?
Quick oats can work, but rolled oats give better texture and chew. Quick oats tend to make the bars softer and sometimes a bit mushy.
How long do these granola bars last?
Stored in an airtight container in the fridge, they last about a week. You can freeze them for up to three months.
Can I add protein powder to the recipe?
Yes! Add about 1/4 cup of your preferred protein powder to the dry ingredients, but you might need to adjust the wet ingredients slightly to keep the bars from drying out.
What’s the best way to store these bars for on-the-go?
Individually wrap bars in parchment or wax paper, then store in a sealed container or bag. This keeps them from sticking together and makes them easy to grab.
Can I substitute the honey for a vegan sweetener?
Absolutely! Maple syrup or agave nectar works well. Just note the bars might take a bit longer to set in the fridge due to the thinner consistency.
For those who enjoy easy snacks that don’t require baking, these bars pair wonderfully with other crowd-pleasing dishes like the crispy buffalo cauliflower bites or a savory roasted red pepper hummus, making your snack spread both delicious and balanced.
Pin This Recipe!
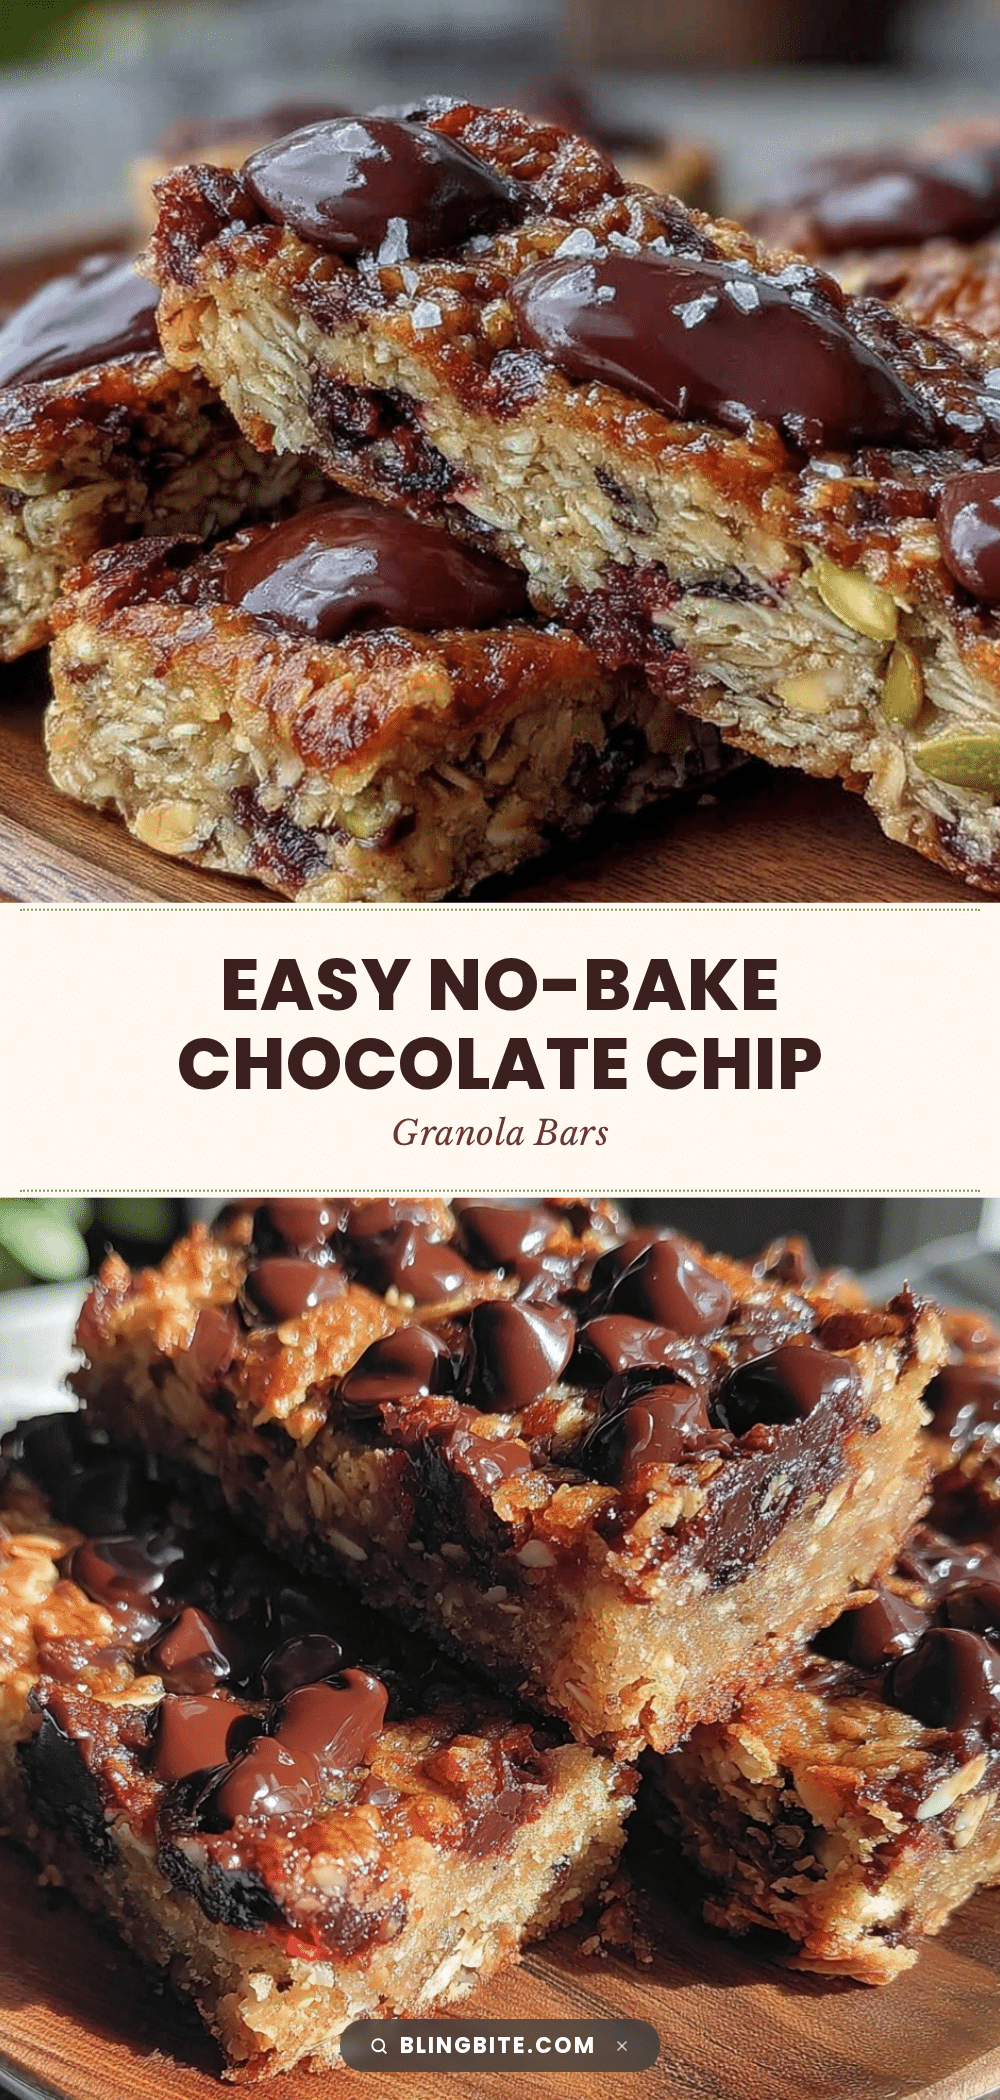
Easy No-Bake Homemade Granola Bars with Chocolate Chips
These easy no-bake granola bars combine rolled oats, honey, almond butter, and chocolate chips for a chewy, delicious snack perfect for busy mornings or on-the-go.
- Prep Time: 15 minutes
- Cook Time: 0 minutes
- Total Time: 2 hours 15 minutes
- Yield: 12 bars 1x
- Category: Snack
- Cuisine: American
Ingredients
- 2 cups rolled oats (180 g)
- 1/3 cup honey (110 g)
- 1/2 cup almond butter (120 g)
- 3/4 cup mini chocolate chips (135 g)
- 1 tsp vanilla extract
- 1/4 tsp sea salt
- 2 tbsp chia seeds (optional)
- 2 tbsp ground flaxseed (optional)
Instructions
- Warm the honey and almond butter in a microwave-safe bowl for 20-30 seconds until soft and slightly runny. Stir to combine into a smooth mixture.
- In a large mixing bowl, combine rolled oats, chia seeds, ground flaxseed (if using), sea salt, and mini chocolate chips. Stir to distribute evenly.
- Pour the warm honey and almond butter mixture over the dry ingredients. Add vanilla extract and fold together until all oats are coated and mixture is sticky but not soggy.
- Line an 8×8 inch pan with parchment paper, leaving overhang on sides. Transfer mixture to pan and press down firmly but gently into an even layer about 1/2 to 3/4 inch thick.
- Refrigerate the pan for at least 2 hours to let the bars set and develop a chewy texture.
- Lift the set granola slab out using parchment edges. Cut into bars or squares with a sharp knife. Store in an airtight container in the fridge for up to one week or freeze for longer storage.
Notes
Warm honey and almond butter gently to avoid runny mixture. Press mixture firmly but not too hard to keep bars chewy. Chill for full 2 hours for best texture. Use parchment paper to prevent sticking. Use a sharp knife and wipe between cuts to avoid crumbling. For nut-free version, substitute almond butter with sunflower seed butter or tahini. For vegan version, replace honey with maple syrup but expect longer setting time.
Nutrition
- Serving Size: 1 bar
- Calories: 200
- Sugar: 12
- Sodium: 70
- Fat: 10
- Saturated Fat: 1.5
- Carbohydrates: 26
- Fiber: 4
- Protein: 5
Keywords: no-bake granola bars, homemade granola bars, chocolate chip granola bars, healthy snacks, easy granola bars, no oven snack


