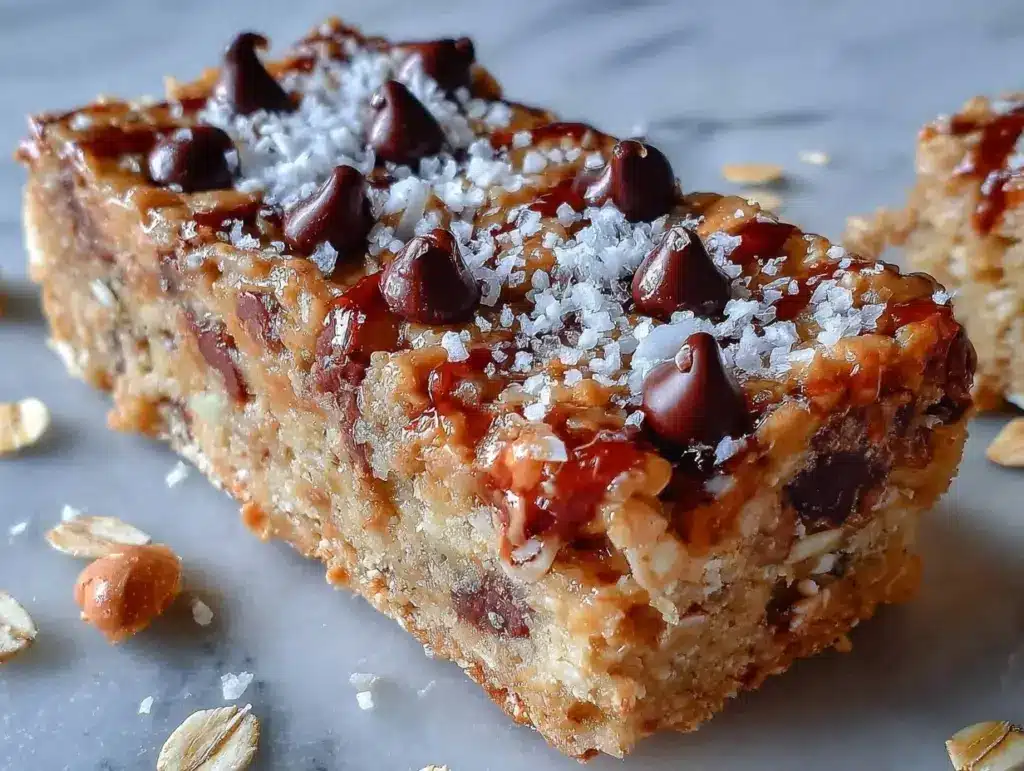
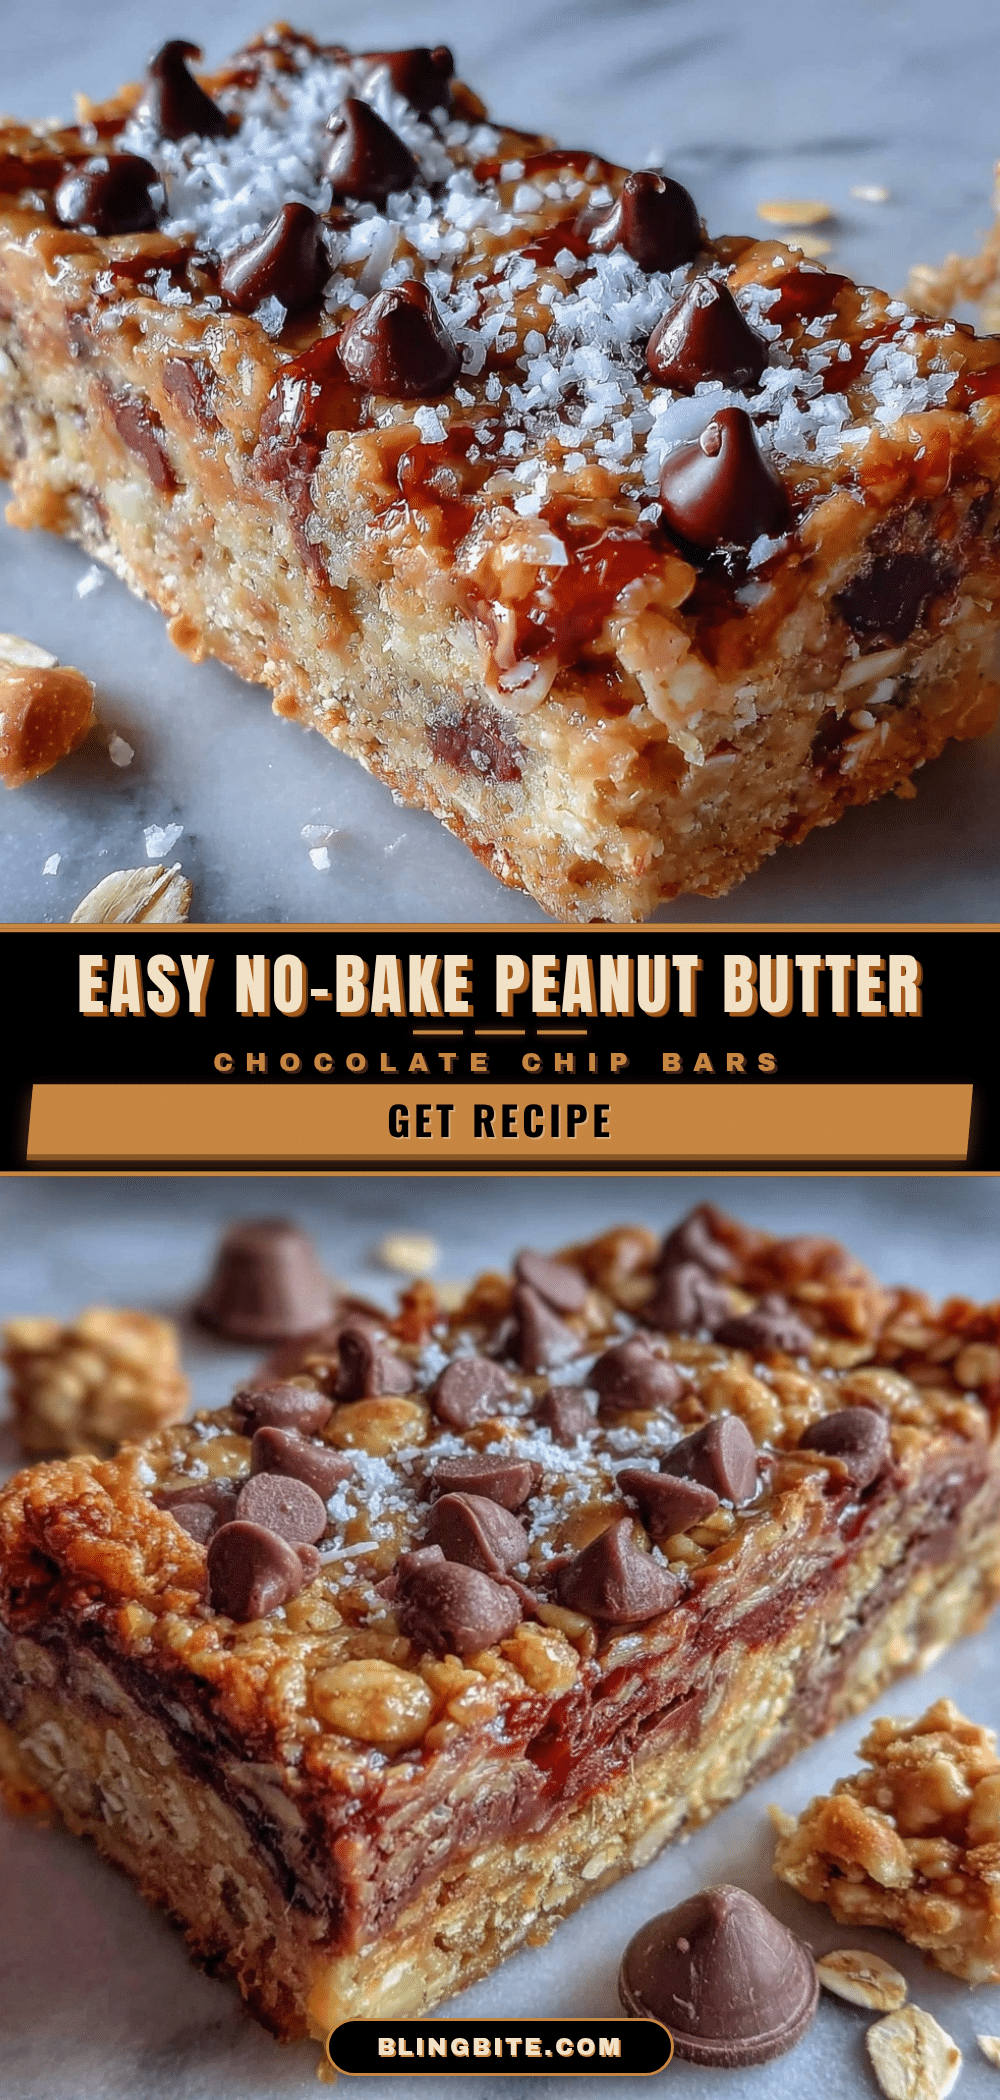
I did not trust no-bake bars to actually hold together without turning into a crumbly mess all over my kitchen counter. Honestly, the idea of mixing peanut butter and chocolate chips with dry oats, then expecting it to set firm without any baking, sounded like a recipe for disappointment. But one afternoon, pressed for time and hungry for a quick snack, I reluctantly gave it a shot. The moment I took that first bite, the chewy texture combined with the sweet pockets of chocolate won me over in a way I didn’t expect.
There’s something quietly satisfying about a snack that’s both easy and doesn’t require firing up the oven, especially when you’re juggling a million things. I remember pulling these bars out of the fridge, the peanut butter aroma mingling with the chocolate, and thinking, “Okay, maybe these no-bake peanut butter chocolate chip granola bars do work.” The texture was just right — not too hard, not too soft — and the chocolate chips melted slightly as I chewed, making it feel like a little treat without the fuss.
They stuck with me because they’re perfect for those afternoons when you want something homemade but can’t spend much time in the kitchen. Plus, they’re a snack that feels wholesome enough to satisfy hunger but sweet enough to feel like a reward. Somehow, these bars became my go-to, quietly reliable snack that I trust to keep me fueled.
Why You’ll Love This Recipe
After making these easy no-bake peanut butter chocolate chip granola bars countless times, I can say they’re a game-changer for quick snacks. Here’s why they stand out:
- Quick & Easy: Ready in about 15 minutes from start to fridge, perfect for busy days or last-minute cravings.
- Simple Ingredients: No fancy or hard-to-find items — just pantry staples like oats, peanut butter, and chocolate chips.
- Perfect for On-the-Go: Great for packing in lunches, road trips, or a post-workout boost.
- Crowd-Pleaser: Kids and adults alike give these bars rave reviews, making them ideal for casual gatherings or after-school snacks.
- Unbelievably Delicious: The nutty peanut butter pairs perfectly with the sweet chocolate, and the chewy oats add the best texture.
What sets this recipe apart is the balance — not too sweet, not too dry. The peanut butter binding means you don’t need syrups or extra sugars, keeping it cleaner and more wholesome. Plus, the technique is forgiving: if you prefer a softer bar, just add a touch more peanut butter; want it firmer, press it down tightly before chilling.
Honestly, these bars feel like comfort food reinvented for busy lives. They’re the kind of snack that makes you pause and appreciate simple ingredients done right. If you’re tired of the usual granola bars that taste like cardboard or overly sugary treats, this recipe offers that satisfying homemade vibe without the hassle.
What Ingredients You Will Need
This recipe uses simple, wholesome ingredients to deliver bold flavor and satisfying texture without the fuss. Most are pantry staples you probably have already, and swapping some is easy if needed.
- Old-fashioned rolled oats (2 cups / 180g) — the chewy base for your bars. Avoid instant oats for best texture.
- Natural creamy peanut butter (1 cup / 250g) — I recommend a brand like Smucker’s or Justin’s for a smooth spread that binds well.
- Honey (1/3 cup / 113g) — acts as a natural sweetener and sticky binder. Maple syrup works in a pinch, but honey’s flavor is unbeatable.
- Mini semi-sweet chocolate chips (1/2 cup / 90g) — these melt just enough to add delicious pockets of chocolate. You can swap for dairy-free chips if needed.
- Vanilla extract (1 tsp) — adds subtle warmth and depth.
- Salt (1/4 tsp) — balances sweetness and enhances flavor.
- Chopped nuts or seeds (optional) (1/4 cup / 30g) — walnuts or sunflower seeds add crunch, but you can leave them out if preferred.
For a seasonal twist, sometimes I swap in dried cranberries or chopped dried apricots instead of nuts. Also, for a gluten-free version, make sure your oats are certified gluten-free. If you want to lighten it up, try swapping half the peanut butter with almond butter or sunflower seed butter.
Equipment Needed
- Mixing bowl: A large one to combine all the ingredients comfortably.
- Measuring cups and spoons: For precise ingredient amounts — this really helps with consistent texture.
- Spatula or wooden spoon: To mix the sticky peanut butter and honey evenly.
- 8×8-inch baking pan or similar-sized dish: For pressing and chilling the granola bars. I use a glass dish, but metal works too.
- Parchment paper: To line the pan for easy removal of the bars without sticking.
If you don’t have parchment paper, lightly greasing the pan works, but I find parchment makes cleanup and slicing so much easier. For budget-friendly options, a plastic container with a flat bottom can work in a pinch, but pressing the mixture evenly is key.
Preparation Method
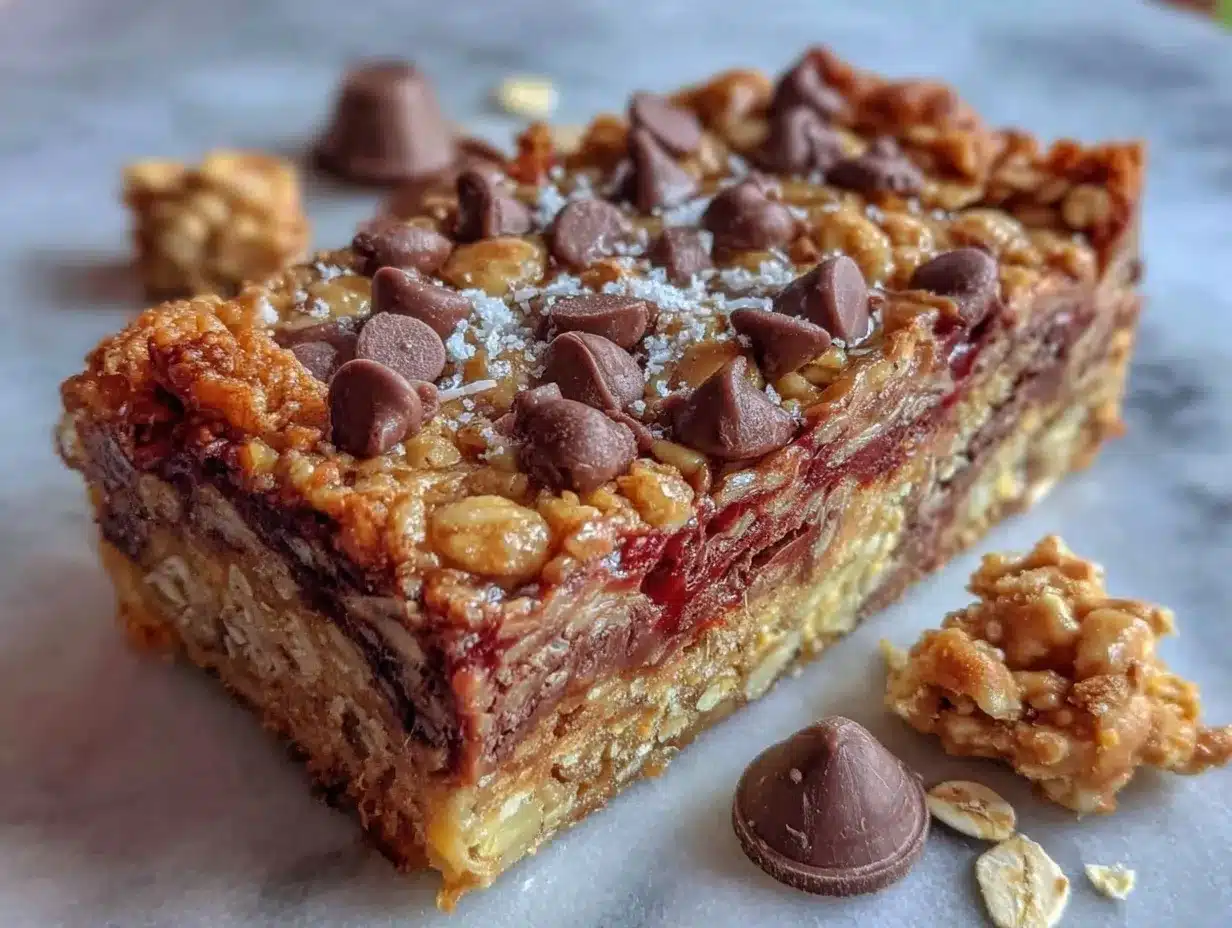
- Line your baking pan with parchment paper, allowing some overhang on the sides for easy lifting. This saves a lot of hassle later. (5 minutes)
- In a large mixing bowl, combine the peanut butter and honey. Stir vigorously until smooth and well blended — this mixture should be glossy and pourable. Adding the vanilla extract and salt now helps distribute flavor evenly. (3 minutes)
- Pour in the rolled oats and optional chopped nuts or seeds. Use a spatula to fold everything together gently. The oats should be fully coated and sticky, but try not to overmix or the bars can become too dense. (4 minutes)
- Let the mixture cool for a minute or two if the peanut butter was warm, then fold in the mini chocolate chips. Mixing them in while the mixture is too hot can cause the chips to melt completely, which you might not want. (2 minutes)
- Transfer the mixture to the prepared pan. Using a piece of parchment paper or the back of a spatula, press it firmly and evenly into the pan. This step is crucial — the firmer you press, the better the bars hold together. (5 minutes)
- Chill in the refrigerator for at least 2 hours, or until fully set. I like to chill overnight because the bars slice more cleanly and the flavors meld nicely. (Chilling time)
- Once set, lift the granola slab out of the pan using the parchment paper overhang. Place on a cutting board and cut into bars or squares with a sharp knife. (5 minutes)
- Store in an airtight container in the fridge for up to a week or freeze for longer storage.
If the bars crumble when cutting, it usually means they need more chilling or weren’t pressed firmly enough. I learned this the hard way after a few failed batches. Also, if your peanut butter is grainy, warming it gently before mixing helps everything bind better.
Cooking Tips & Techniques
Making no-bake bars sounds straightforward, but a few tricks make all the difference. Here’s what I’ve learned:
- Use natural peanut butter without added oils: It holds the mixture together better and tastes cleaner.
- Press firmly and evenly: When transferring the mixture to the pan, use parchment paper under your hand or a flat spatula to really compact the mixture. This prevents crumbly bars later.
- Don’t skip chilling: Even if you’re impatient, those 2 hours in the fridge are crucial for the bars to set up and slice cleanly.
- Watch the chocolate chips: Add them off-heat and fold gently to keep their shape and texture. If you want gooey melted chips instead, add them right after pressing and chill immediately.
- Store properly: These bars do best refrigerated. At room temperature, they can get too soft and sticky, especially in warm weather.
- Experiment with sweeteners: I’ve tried maple syrup and agave nectar instead of honey, but honey gives the best stickiness and flavor.
One time, I forgot to line the pan with parchment, and cutting was a nightmare — the bars stuck and fell apart. Lesson learned: parchment paper is a snack-saver. Also, mixing by hand feels more controlled than using a stand mixer for this recipe. The texture stays just right.
Variations & Adaptations
One of the best things about this easy no-bake peanut butter chocolate chip granola bars recipe is how easy it is to tweak:
- For a vegan version: Swap honey for maple syrup and use dairy-free chocolate chips.
- Nut-free option: Use sunflower seed butter or soy nut butter instead of peanut butter, and omit nuts.
- Seasonal fruit twist: Fold in dried cranberries, chopped dried apricots, or freeze-dried raspberries for a fruity punch.
- Extra crunch: Add toasted coconut flakes or chopped pretzels for texture contrast.
- Protein boost: Stir in a scoop of your favorite protein powder or chia seeds for extra nutrition.
I personally tried swapping peanut butter for almond butter once, and while it changed the flavor slightly, the bars still held together nicely and tasted fantastic with the almond’s nuttiness. If you want to bake these bars instead, reducing the honey slightly and baking at 350°F (175°C) for about 10 minutes can give a crispier texture, but honestly, the no-bake method is the easiest.
Serving & Storage Suggestions
These bars are best served chilled or at room temperature. I find they’re perfect straight from the fridge, especially on a warm day, when the chocolate is slightly firm but not hard. For presentation, slicing into neat rectangles looks inviting, and wrapping individual bars in parchment paper makes them perfect for grab-and-go snacks.
Pair these bars with a cold glass of milk or a cup of black coffee for a quick breakfast or afternoon pick-me-up. They also complement savory snacks nicely, like a creamy dip (have you tried the roasted red pepper hummus?), balancing sweet and savory flavors.
Store leftovers in an airtight container in the refrigerator for up to a week. For longer storage, freeze the bars individually wrapped for up to 3 months. When ready to eat, thaw at room temperature for 10-15 minutes or microwave briefly (10 seconds) if you like them softer.
The flavors actually deepen a bit after a day or two in the fridge, making them even more satisfying. Just don’t leave them out too long, or the bars can get sticky and lose their shape.
Nutritional Information & Benefits
Each bar offers a balanced mix of protein, healthy fats, and fiber, making them a more wholesome snack than most store-bought granola bars. Here’s a rough estimate per serving (assuming 12 bars):
| Nutrient | Amount |
|---|---|
| Calories | 180-200 kcal |
| Protein | 5-6g |
| Fat | 10-12g (mostly healthy fats from peanut butter) |
| Carbohydrates | 18-20g (with natural sugars from honey) |
| Fiber | 3g |
The oats provide slow-releasing energy and fiber, while peanut butter brings heart-healthy monounsaturated fats and protein. The small amount of chocolate chips adds just enough sweetness without overwhelming the nutrition. This recipe can be a great option for gluten-free diets when using certified oats, and it’s naturally vegetarian.
From a wellness perspective, these bars satisfy that snack craving without the junk. I feel good recommending them as a better alternative to sugary, processed bars.
Conclusion
Easy no-bake peanut butter chocolate chip granola bars are a snack that’s stuck around in my rotation because they hit the sweet spot between convenience, taste, and nutrition. They’re forgiving, straightforward, and genuinely delicious without extra fuss or fancy ingredients. You can customize them to fit your dietary preferences or what’s in your pantry, making them a reliable go-to.
Personally, I love how they bring a little bit of homemade comfort to busy days with minimal effort. Plus, they remind me that sometimes the simplest ideas really do work best. If you experiment with this recipe, I’d love to hear how you made it your own or any tweaks you tried.
Here’s to snacks that satisfy without stress — happy munching!
FAQs
Can I use crunchy peanut butter instead of creamy?
Yes, you can, but the bars might be a bit chunkier and less smooth. If you like extra texture, crunchy peanut butter adds a nice bite.
How long do these granola bars last?
Stored in an airtight container in the fridge, they last up to one week. You can freeze them for up to 3 months for longer storage.
Can I substitute the honey with another sweetener?
Maple syrup or agave nectar work as alternatives, but honey provides the best binding and flavor.
Are these bars gluten-free?
They can be if you use certified gluten-free oats. Regular oats may be cross-contaminated with gluten.
What’s the best way to cut the bars without them falling apart?
Make sure the bars are fully chilled and press the mixture firmly into the pan before chilling. Use a sharp knife and wipe it clean between cuts for neat edges.
For more simple and tasty snack ideas, you might enjoy the crispy buffalo cauliflower bites or the creamy herb and garlic cheese ball bites — both great for easy entertaining or casual munching.
Pin This Recipe!
Easy No-Bake Peanut Butter Chocolate Chip Granola Bars
These no-bake granola bars combine peanut butter, oats, and chocolate chips for a chewy, sweet, and wholesome snack that’s quick to make and perfect for busy days.
- Prep Time: 15 minutes
- Cook Time: 0 minutes
- Total Time: 2 hours 15 minutes
- Yield: 12 bars 1x
- Category: Snack
- Cuisine: American
Ingredients
- 2 cups old-fashioned rolled oats (180g)
- 1 cup natural creamy peanut butter (250g)
- 1/3 cup honey (113g)
- 1/2 cup mini semi-sweet chocolate chips (90g)
- 1 tsp vanilla extract
- 1/4 tsp salt
- 1/4 cup chopped nuts or seeds (optional) (30g)
Instructions
- Line your 8×8-inch baking pan with parchment paper, allowing some overhang on the sides for easy lifting. (5 minutes)
- In a large mixing bowl, combine the peanut butter and honey. Stir vigorously until smooth and well blended. Add vanilla extract and salt, mixing evenly. (3 minutes)
- Pour in the rolled oats and optional chopped nuts or seeds. Fold everything together gently with a spatula until oats are fully coated and sticky. Avoid overmixing. (4 minutes)
- Let the mixture cool for a minute or two if the peanut butter was warm, then fold in the mini chocolate chips gently. (2 minutes)
- Transfer the mixture to the prepared pan. Press firmly and evenly into the pan using parchment paper or the back of a spatula. (5 minutes)
- Chill in the refrigerator for at least 2 hours or until fully set. Overnight chilling is recommended for best slicing and flavor melding.
- Once set, lift the granola slab out of the pan using the parchment paper overhang. Place on a cutting board and cut into bars or squares with a sharp knife. (5 minutes)
- Store in an airtight container in the fridge for up to a week or freeze for longer storage.
Notes
Use natural peanut butter without added oils for better binding. Press the mixture firmly and evenly into the pan to avoid crumbly bars. Chill for at least 2 hours for best results. Add chocolate chips off-heat to keep their shape. Store refrigerated and consume within one week or freeze for up to 3 months.
Nutrition
- Serving Size: 1 bar (assuming 12 b
- Calories: 190
- Sugar: 8
- Sodium: 80
- Fat: 11
- Saturated Fat: 2
- Carbohydrates: 19
- Fiber: 3
- Protein: 6
Keywords: no-bake granola bars, peanut butter granola bars, healthy snacks, chocolate chip bars, easy snack recipe, quick granola bars