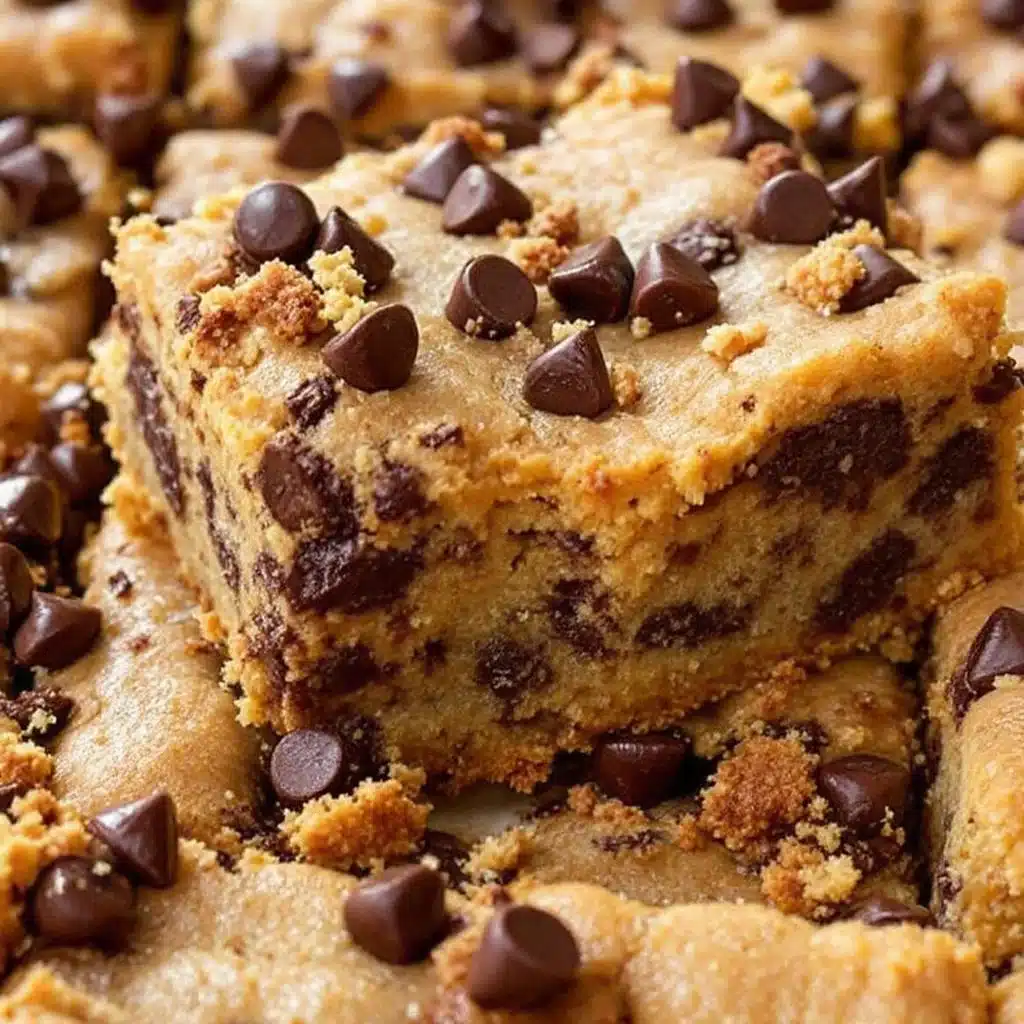
The pan was scraped clean before the coffee even finished brewing. My neighbor, who had stopped by to borrow a whisk, stood at my kitchen counter staring at the empty baking dish with an expression I can only describe as betrayal. “You didn’t save me a corner piece?” she asked, and I had to laugh. I hadn’t even thought about it. The cookie bars were just gone.
That’s the thing about these easy chocolate chip cookie bars. They don’t last long. And honestly, that’s fine by me because they take almost no effort to make. One bowl, a spatula, and maybe ten minutes of active work. No waiting for butter to soften. No chilling the dough. No scooping individual cookies onto multiple baking sheets. Just mix, spread, bake, and try not to eat the entire pan while it’s still warm.
I stumbled into this recipe on a Tuesday night when I had a serious cookie craving but zero patience. The kind of night where you want something sweet and you want it now. I had all the usual suspects in my pantry—flour, sugar, butter, chocolate chips—but I didn’t want to deal with the whole cookie-making rigmarole. So I threw everything into one bowl, spread it into a pan, and hoped for the best. What came out of the oven was soft, chewy, perfectly golden, and honestly better than any batch of cookies I’d carefully chilled and scooped. Sometimes the best recipes come from being lazy, you know?
These bars have become my go-to for potlucks, bake sales, and those random afternoons when the kids (or, let’s face it, me) need a treat. They’re forgiving, foolproof, and dangerously easy to make on a whim. If you’ve ever wanted homemade chocolate chip cookies without the fuss, this is your recipe.
Why You’ll Love This Recipe
I’ve tested this recipe more times than I can count, tweaking the butter-to-flour ratio and playing with bake times until it was absolutely perfect. Here’s why I think these are the best one-bowl cookie bars you’ll ever make:
- One Bowl, No Fuss: Seriously, one bowl. No mixer required. You can whisk everything by hand in under ten minutes. Less cleanup means more time for eating.
- No Chilling Required: Unlike traditional cookie dough that needs to chill for hours, this dough goes straight into the pan. Perfect for instant gratification bakers.
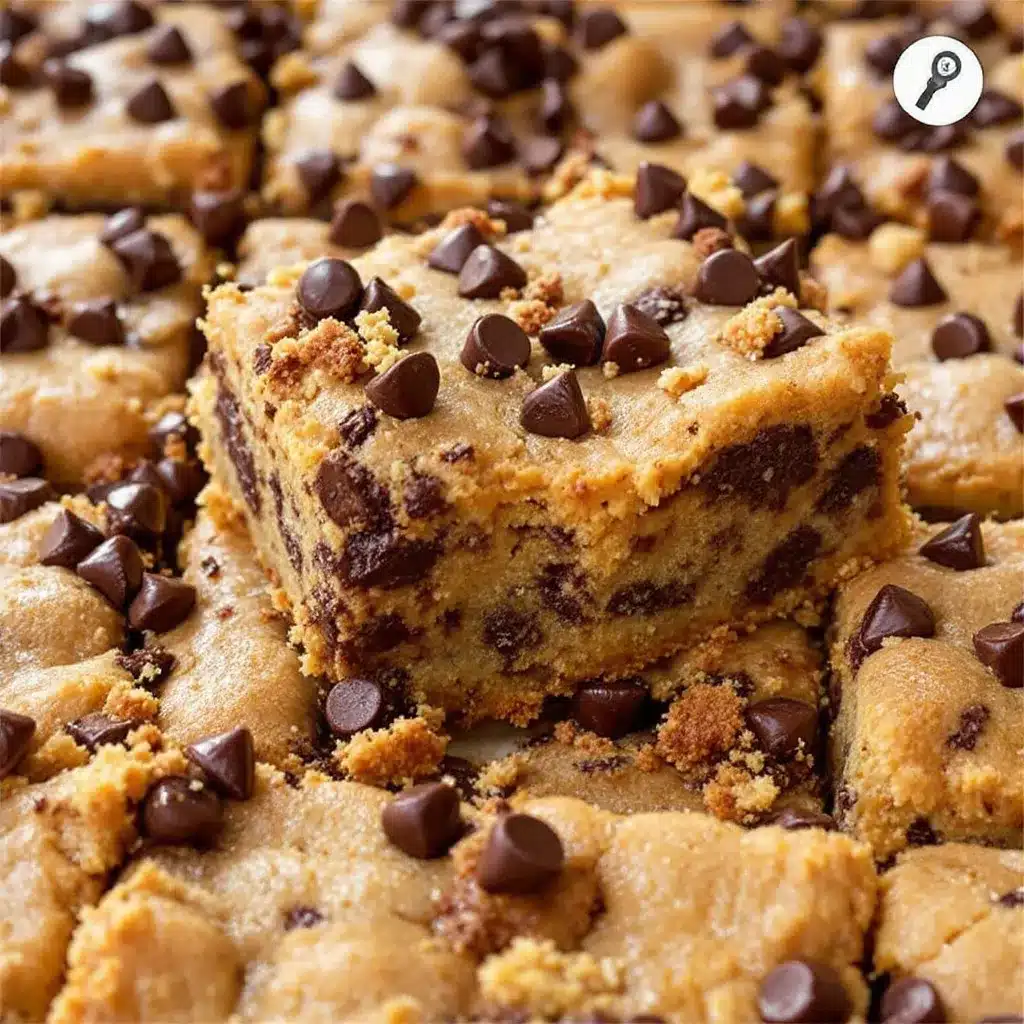
- Perfectly Soft and Chewy: The texture is exactly what you want—soft centers with slightly crisp edges. No dry, crumbly bars here.
- Pantry Staples: You probably have everything you need right now. Butter, sugar, eggs, flour, chocolate chips. No fancy ingredients required.
- Crowd-Pleaser: I’ve brought these to game day parties and family gatherings, and they disappear every single time. Kids and adults both go crazy for them. They pair perfectly alongside something like crispy loaded nachos for a sweet-and-savory spread.
- Foolproof for Beginner Bakers: If you’ve ever messed up a batch of cookies (overmixed, overbaked, forgot to chill), this recipe is your redemption arc. It’s almost impossible to mess up.
What makes these bars different from other recipes I’ve tried is the melted butter technique. Instead of creaming softened butter with sugar, you melt the butter first. It creates a denser, chewier texture that holds up beautifully in bar form. Plus, it means you don’t have to wait for butter to come to room temperature—a win in my book.
These bars aren’t just good. They’re the kind of dessert that makes people close their eyes after the first bite. The kind that gets texted to friends with the caption “You need this in your life.” The kind that turns a regular Tuesday into something a little bit special.
What Ingredients You Will Need
This recipe uses simple, everyday ingredients to create something truly special. Each component plays a specific role in the texture and flavor, so here’s what you’ll need and why it matters.
For the Cookie Bars
- 1 cup (2 sticks) unsalted butter — Melted and slightly cooled. Using melted butter is the secret to that chewy, fudgy texture. I prefer unsalted so I can control the salt level, but salted butter works if you reduce the added salt slightly.
- 1 cup packed light brown sugar — Brown sugar adds moisture and that deep, caramel-like flavor. It’s what makes the bars soft and chewy rather than cakey. Dark brown sugar works too for an even richer flavor.
- ½ cup granulated sugar — White sugar helps create those crispy edges and balances the molasses flavor of the brown sugar.
- 2 large eggs — Room temperature eggs incorporate more easily into the melted butter. If you forget to take them out ahead of time, place them in a bowl of warm water for five minutes.
- 2 teaspoons vanilla extract — Pure vanilla extract makes a noticeable difference here. I’m partial to Nielsen-Massey, but any good-quality vanilla works.
- 2 ¼ cups all-purpose flour — Spoon and level your flour for accuracy. Scooping directly from the bag can pack in too much flour and make the bars dry.
- 1 teaspoon baking soda — Helps the bars rise just enough without becoming puffy. Make sure your baking soda isn’t expired—it loses potency over time.
- ½ teaspoon salt — Balances the sweetness and enhances the chocolate flavor. I use fine sea salt for baking.
- 2 cups semi-sweet chocolate chips — I’m a Ghirardelli loyalist, but use whatever you love. Dark chocolate chips, milk chocolate chips, or even chopped chocolate bars all work beautifully.
Optional Add-Ins
- ½ cup chopped nuts — Walnuts or pecans add a lovely crunch. Toast them first for extra flavor.
- Flaky sea salt — A sprinkle on top right after baking takes these bars to another level. Maldon is my go-to.
- ½ cup white chocolate chips or butterscotch chips — Mix things up with a combination of chips for variety.
For the chocolate chips, I recommend using a mix of sizes if you can find them. Mini chips distribute evenly throughout the batter, while full-size chips create those gooey pockets of melted chocolate. If you only have one type, that’s totally fine—these bars are forgiving.
One ingredient tip I learned the hard way: don’t overdo the vanilla. I know it’s tempting to add an extra splash, but too much can make the bars taste artificial. Stick with the two teaspoons and you’ll get that perfect warm, sweet aroma without it being overpowering.
Equipment Needed
You don’t need a fancy kitchen to make these bars. Here’s what you’ll need:
- 9×13-inch baking pan — This is the standard size for these bars. An 8×8 pan will give you thicker bars, but you’ll need to increase the bake time by 5-8 minutes.
- Large mixing bowl — Any large bowl works. I use a ceramic one because it’s heavy and doesn’t slide around.
- Whisk — For combining the wet ingredients. A wooden spoon or spatula works too.
- Spatula or wooden spoon — For folding in the chocolate chips and spreading the batter into the pan.
- Parchment paper — This is non-negotiable for easy removal. Leave some overhang on two sides to create “handles.”
- Cooling rack — Helps the bars cool evenly so they set properly before cutting.
- Sharp knife — A chef’s knife works best for clean cuts. Wipe it clean between cuts for neat edges.
If you don’t have parchment paper, you can grease the pan thoroughly with butter or non-stick spray. Just be careful when cutting—the bars might stick slightly. I’ve made these in glass, metal, and ceramic pans, and metal gives the crispiest edges. Glass takes longer to bake and can result in softer bars, which isn’t necessarily a bad thing if that’s your preference.
Preparation Method
Let’s get baking. This is the easiest cookie bar recipe you’ll ever make, I promise.
- Preheat your oven to 350°F (175°C). Line a 9×13-inch baking pan with parchment paper, leaving about 2 inches of overhang on the long sides. This creates handles that make lifting the bars out super easy.
- Melt the butter. In a microwave-safe bowl, melt the 1 cup of butter in 30-second intervals until fully melted. Alternatively, melt it in a small saucepan over low heat. Let it cool for about 5 minutes—you don’t want it hot enough to cook the eggs when you add them.
- Combine the sugars and butter. In your large mixing bowl, whisk together the melted butter, 1 cup brown sugar, and ½ cup granulated sugar until smooth. The mixture should look like wet sand. Don’t worry if it separates a little—that’s normal.
- Add the eggs and vanilla. Crack in the 2 eggs and add the 2 teaspoons of vanilla extract. Whisk vigorously until the mixture is thick, glossy, and pale in color. This takes about a minute of whisking. You’ll notice it starts to look like caramel—that’s the eggs emulsifying with the butter.
- Mix the dry ingredients. Add the 2 ¼ cups flour, 1 teaspoon baking soda, and ½ teaspoon salt directly into the wet mixture. Fold gently with a spatula or wooden spoon until just combined. A few streaks of flour are okay—overmixing will make the bars tough.
- Fold in the chocolate chips. Add the 2 cups of chocolate chips and fold until evenly distributed. If you’re adding nuts or other mix-ins, add them now. The dough will be thick and slightly sticky—that’s exactly what you want.
- Spread the dough into the pan. Transfer the dough to your prepared pan. It’s thick, so you’ll need to press it into an even layer. I use a spatula lightly coated with non-stick spray to spread it without sticking. Make sure the dough reaches all the corners evenly.
- Bake for 25-30 minutes. Place the pan on the center rack and bake until the edges are golden brown and the center looks set but still soft. A toothpick inserted in the center should come out with a few moist crumbs—not wet batter. For gooey bars, pull them at 25 minutes. For firmer bars, go to 30 minutes.
- Cool completely before cutting. Transfer the pan to a cooling rack and let the bars cool for at least 30 minutes. Use the parchment handles to lift them out of the pan, then transfer to a cutting board. Cut into squares with a sharp knife, wiping the blade clean between cuts for neat edges.
A quick note on timing: these bars continue to set as they cool. If you cut into them while they’re still warm, they’ll fall apart. I know it’s tempting (the smell is incredible), but patience pays off here. If you absolutely must have a warm bite, just accept that it’ll be more like a warm chocolate chip cookie crumble situation—still delicious, just messy.
One trick I’ve learned: if you want picture-perfect squares, chill the bars in the fridge for about 15 minutes before cutting. They firm up just enough for clean, sharp edges. For casual snacking, room temperature cutting is totally fine.
Cooking Tips & Techniques
After making these bars probably fifty times (no exaggeration), I’ve picked up some tricks that make a real difference. Here are my best tips:
Don’t overmix the batter. This is the most common mistake I see. Once you add the flour, mix just until it disappears. Overmixing develops gluten, which makes the bars tough and cakey instead of soft and chewy. A few flour streaks are better than a tough bar.
Use a light-colored metal pan. Dark pans absorb more heat and can cause the edges to overbake before the center is done. If you only have a dark pan, reduce the oven temperature by 25°F and check for doneness a few minutes early.
Press extra chocolate chips on top. Before baking, press a handful of chocolate chips into the top of the batter. This gives you those beautiful pools of melted chocolate on the surface. It’s a small step that makes them look bakery-worthy.
Watch for the jiggle test. The best way to know if your bars are done is to gently shake the pan. The edges should be set and golden, while the center should have a slight jiggle—like a soft brownie. If the center is still liquidy, give it another 3-5 minutes.
Room temperature ingredients matter. I know, I know—it’s annoying to wait for eggs to come to room temperature. But cold eggs can seize the melted butter and create a lumpy batter. If you’re in a hurry, place the eggs in a bowl of warm water for 5 minutes before using them.
I once made these bars with cold eggs straight from the fridge, and the batter turned into a greasy mess. The bars still baked up okay, but they were denser and didn’t have that perfect chewy texture. Lesson learned.
Let them cool completely. I mentioned this before, but it bears repeating. These bars need time to set. If you rush the cooling process, you’ll end up with a crumbly mess. Trust the process—they’re worth the wait.
Variations & Adaptations
One of the best things about this recipe is how adaptable it is. Here are some of my favorite variations:
Gluten-Free Version: Substitute the all-purpose flour with a 1:1 gluten-free baking flour blend. I’ve tested this with Bob’s Red Mill 1-to-1 Baking Flour and King Arthur Measure for Measure, and both work beautifully. No other adjustments needed.
Double Chocolate Chip Bars: Replace ¼ cup of the flour with ¼ cup of unsweetened cocoa powder. Use dark chocolate chips instead of semi-sweet for an intense chocolate experience. These are dangerously good.
Peanut Butter Swirl Bars: Warm ⅓ cup of peanut butter in the microwave for about 20 seconds, then drop spoonfuls over the batter before baking. Use a knife to swirl it through the dough. The salty peanut butter pairs perfectly with the sweet chocolate.
M&M Cookie Bars: Swap half the chocolate chips for M&Ms. Press extra M&Ms on top before baking for a colorful, festive look. These are perfect for birthday parties or holiday gatherings.
Brown Butter Version: For a nuttier, more complex flavor, brown the butter before using it. Melt the butter in a saucepan over medium heat, swirling occasionally, until it turns amber and smells toasty. Let it cool slightly before proceeding with the recipe. This adds about 5 minutes of prep but takes the flavor to a whole new level. It’s a great technique to use when you’re already making something like decadent chocolate ganache brownies and want to experiment.
Vegan Option: Replace the butter with vegan butter (I like Miyoko’s), use flax eggs (2 tablespoons ground flaxseed mixed with 6 tablespoons water), and choose dairy-free chocolate chips. The texture is slightly less tender but still delicious.
I’ve tried the brown butter version at least a dozen times, and it’s my personal favorite for when I want something a little more sophisticated. The nutty aroma fills the kitchen and makes the bars taste like they came from a fancy bakery. Just be careful not to burn the butter—it goes from brown to burnt very quickly.
Serving & Storage Suggestions
These bars are incredibly versatile when it comes to serving. Here’s how to enjoy them at their best:
Serving Temperature: Room temperature is ideal for that perfect chewy texture. If you like warm, gooey bars, pop a square in the microwave for 10-15 seconds. It’s like freshly baked cookies in under a minute.
Presentation Ideas: For casual snacking, just pile them on a plate. For a more polished look, cut them into neat squares and arrange on a serving board. A light dusting of powdered sugar or a drizzle of melted chocolate makes them look extra special for guests.
What to Serve With Them: A glass of cold milk is the classic pairing, and for good reason. Vanilla ice cream turns these into an indulgent dessert. For a coffee lover’s treat, serve alongside a latte or espresso. They also make a fantastic addition to a dessert board alongside creamy herb and garlic cheese ball bites for a sweet-and-savory party spread.
Storage Instructions: Store leftover bars in an airtight container at room temperature for up to 5 days. Layer them between sheets of parchment paper to prevent sticking. They actually get better on day two—the flavors meld and the texture becomes even more fudgy.
Freezing Instructions: These bars freeze beautifully. Wrap individual squares tightly in plastic wrap, then place them in a freezer-safe bag or container. They’ll keep for up to 3 months. To thaw, leave them at room temperature for about 30 minutes, or microwave for 15-20 seconds for that just-baked warmth.
Reheating Tips: For a single bar, microwave for 10-15 seconds. For a whole pan, cover with foil and warm in a 300°F oven for 5-8 minutes. Be careful not to overheat—you want them warm, not hot.
One thing I love about these bars is that they actually improve with age. The moisture from the brown sugar and melted butter spreads through the bars over time, making them even softer and more flavorful. I’ve had guests ask for the recipe after trying a bar that was three days old—they couldn’t believe it wasn’t freshly baked.
Nutritional Information & Benefits
Let’s be real—these are a treat, not a health food. But knowing what’s in them helps with portion control and planning.
Estimated Nutritional Values (per bar, based on 24 servings):
| Nutrient | Amount |
|---|---|
| Calories | 245 |
| Total Fat | 14g |
| Saturated Fat | 8g |
| Cholesterol | 42mg |
| Sodium | 145mg |
| Total Carbohydrates | 30g |
| Dietary Fiber | 1g |
| Sugars | 20g |
| Protein | 3g |
Health Benefits of Key Ingredients: Dark chocolate (if you use it) contains antioxidants called flavonoids that may support heart health. Eggs provide high-quality protein and essential vitamins. Butter, in moderation, is a source of vitamins A and D. Brown sugar contains trace amounts of minerals like calcium and potassium, though it’s still sugar at the end of the day.
Dietary Considerations: This recipe contains gluten, dairy, and eggs. For a gluten-free version, use a 1:1 gluten-free flour blend. For a dairy-free version, use vegan butter and dairy-free chocolate chips. For an egg-free version, use flax eggs as mentioned in the variations section.
Potential Allergens: Wheat (gluten), dairy, eggs. If you’re adding nuts, that’s another common allergen.
I’m not a nutritionist, and I don’t pretend to be. These bars are a celebration food, a comfort food, a treat-yourself food. Enjoy them mindfully, share them generously, and don’t overthink it. Life’s too short for boring desserts.
Conclusion
These easy one-bowl chocolate chip cookie bars are everything I want in a dessert—simple, satisfying, and absolutely delicious. They’ve saved me on busy weeknights, impressed guests at parties, and become my most-requested recipe from friends and family. The fact that they come together in one bowl with no chilling required? That’s just the cherry on top.
I love that this recipe is forgiving enough for beginner bakers but good enough to impress anyone. You can customize it with your favorite mix-ins, make it gluten-free, or double the batch for a crowd. It’s the kind of recipe that becomes a staple in your kitchen—the one you turn to again and again because it just works.
I’d love to hear how these turn out for you. Did you add any fun mix-ins? Did you serve them with ice cream? Did your family devour them as fast as mine does? Drop a comment below and let me know. And if you’re looking for another easy dessert to add to your rotation, you might enjoy quick mug cake recipes for those moments when you need something sweet in five minutes flat.
Happy baking, friends. Go make something delicious.
Frequently Asked Questions
Can I use salted butter instead of unsalted?
Yes, you can. Just reduce the added salt in the recipe to ¼ teaspoon instead of ½ teaspoon. The bars will still turn out perfectly. If you only have salted butter and forget to adjust the salt, don’t worry—they’ll just be slightly saltier, which actually works well with the sweet chocolate.
Why did my cookie bars turn out cakey instead of chewy?
Cakey cookie bars usually result from overmixing the batter or using too much flour. When you add the dry ingredients, mix just until they disappear. Also, make sure you’re measuring your flour correctly—spoon it into the measuring cup and level it off, don’t scoop directly from the bag. Overmixing develops gluten, which creates a cake-like texture instead of the soft, chewy texture we want.
Can I make these bars in an 8×8 pan?
Absolutely. If you use an 8×8 pan, your bars will be thicker and will need a longer bake time—about 35-40 minutes. Keep an eye on them and use the jiggle test to check for doneness. You might also want to reduce the recipe by a third if you don’t want a super thick bar, but I’ve never met a thick cookie bar I didn’t love.
How do I get clean, neat cuts on my cookie bars?
For clean cuts, let the bars cool completely—at least 30 minutes at room temperature. For even cleaner edges, chill them in the fridge for 15-20 minutes before cutting. Use a sharp chef’s knife and wipe the blade clean between each cut with a damp paper towel. This prevents the chocolate chips from dragging through the bars and creating messy edges.
Can I freeze the dough instead of baking it all at once?
Yes, you can freeze the unbaked dough. Press it into the prepared pan, cover tightly with plastic wrap and foil, and freeze for up to 3 months. When you’re ready to bake, let the pan thaw in the refrigerator overnight, then bake as directed, adding 5-7 minutes to the bake time since the dough will be cold. Alternatively, you can portion the dough into individual cookie-sized balls and freeze them on a baking sheet, then transfer to a freezer bag. Bake from frozen, adding a few extra minutes to the bake time.
Pin This Recipe!
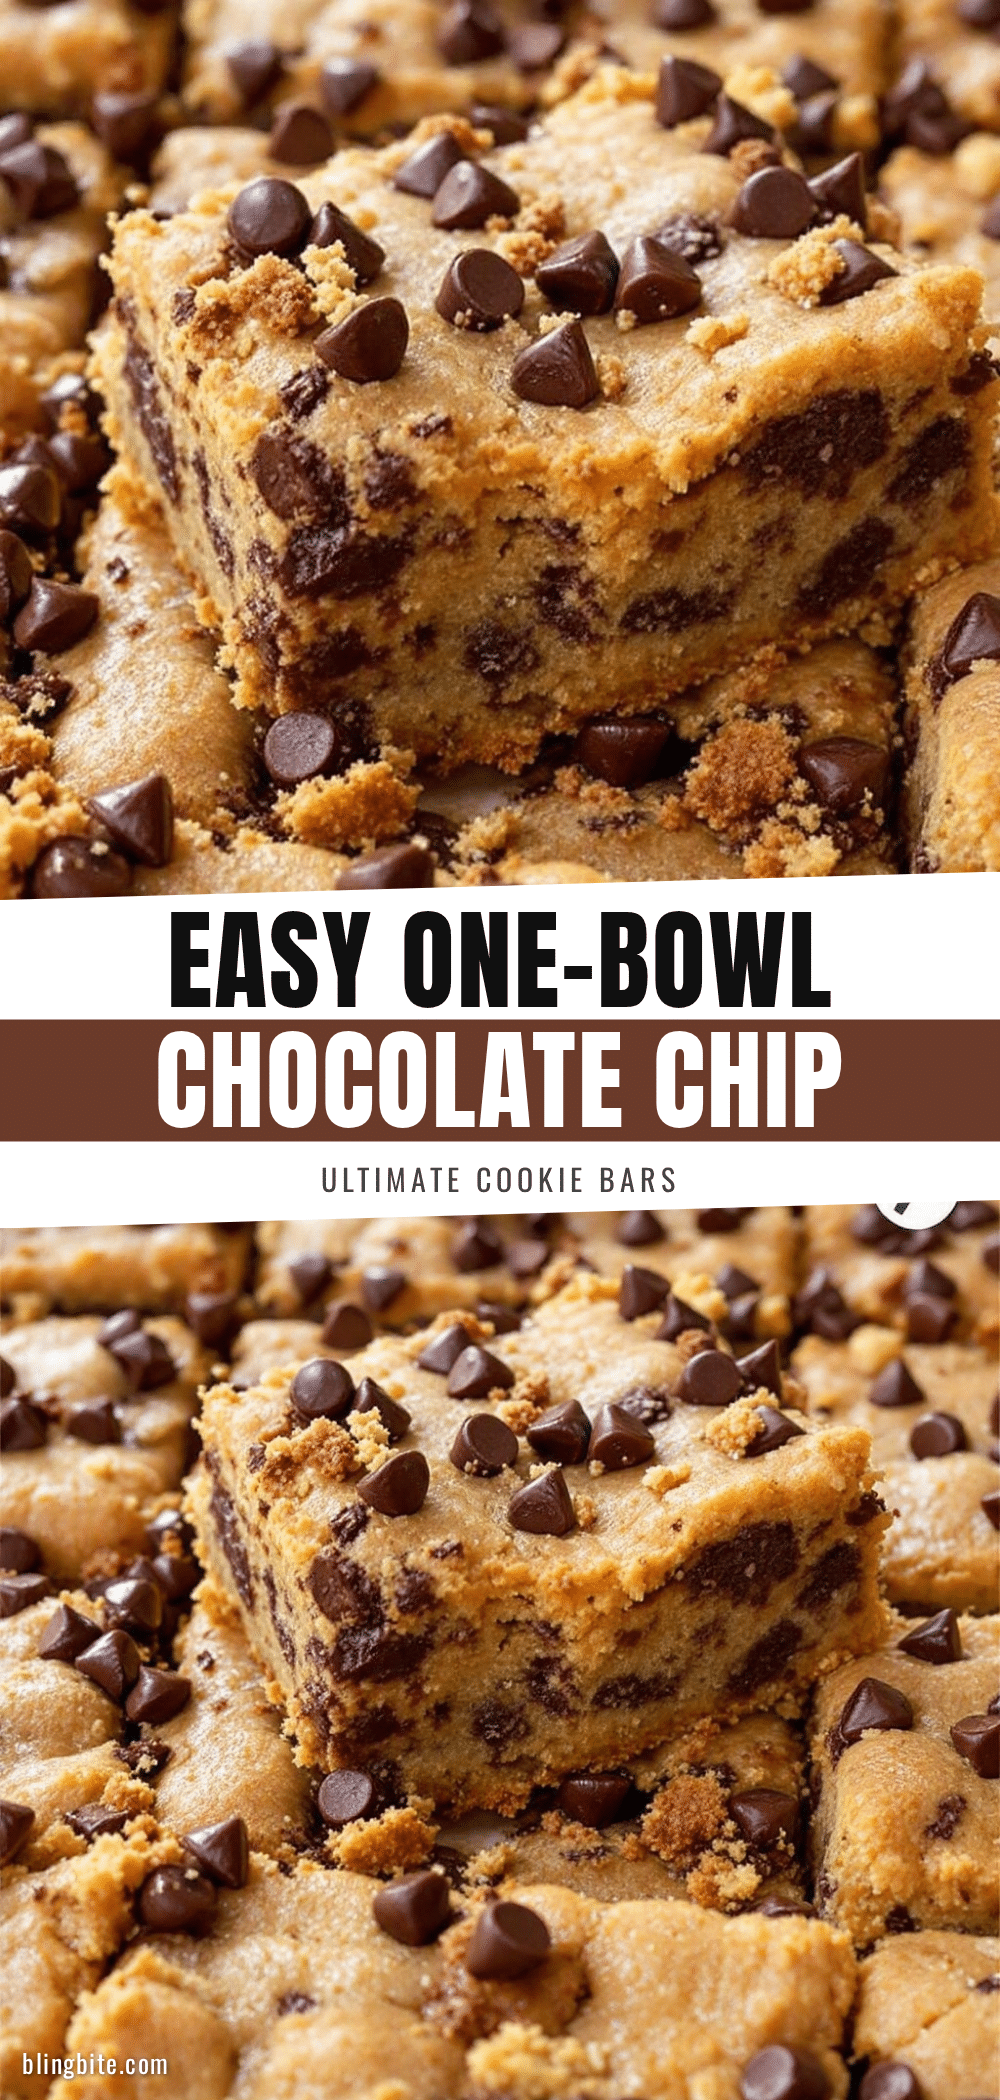
Easy One-Bowl Chocolate Chip Cookie Bars Recipe
These easy one-bowl chocolate chip cookie bars are soft, chewy, and made with melted butter for a dense, fudgy texture. No chilling required, just mix, spread, bake, and enjoy a crowd-pleasing dessert that comes together in under an hour.
- Prep Time: 10 minutes
- Cook Time: 25-30 minutes
- Total Time: 40 minutes
- Yield: 24 servings 1x
- Category: Dessert
- Cuisine: American
Ingredients
- 1 cup (2 sticks) unsalted butter, melted and slightly cooled
- 1 cup packed light brown sugar
- ½ cup granulated sugar
- 2 large eggs, room temperature
- 2 teaspoons vanilla extract
- 2 ¼ cups all-purpose flour, spooned and leveled
- 1 teaspoon baking soda
- ½ teaspoon salt
- 2 cups semi-sweet chocolate chips
- Optional: ½ cup chopped nuts (walnuts or pecans)
- Optional: flaky sea salt for topping
- Optional: ½ cup white chocolate chips or butterscotch chips
Instructions
- Preheat your oven to 350°F (175°C). Line a 9×13-inch baking pan with parchment paper, leaving about 2 inches of overhang on the long sides.
- Melt the butter in a microwave-safe bowl in 30-second intervals or in a small saucepan over low heat. Let cool for about 5 minutes.
- In a large mixing bowl, whisk together the melted butter, brown sugar, and granulated sugar until smooth.
- Add the eggs and vanilla extract. Whisk vigorously until the mixture is thick, glossy, and pale in color, about 1 minute.
- Add the flour, baking soda, and salt directly into the wet mixture. Fold gently with a spatula or wooden spoon until just combined. A few streaks of flour are okay.
- Fold in the chocolate chips (and any optional add-ins) until evenly distributed.
- Transfer the dough to the prepared pan and press into an even layer using a spatula lightly coated with non-stick spray.
- Bake for 25-30 minutes, until the edges are golden brown and the center is set but still soft. A toothpick inserted in the center should come out with a few moist crumbs.
- Cool completely in the pan on a cooling rack for at least 30 minutes. Use the parchment handles to lift the bars out, then cut into squares with a sharp knife, wiping the blade clean between cuts.
Notes
For gooey bars, bake for 25 minutes; for firmer bars, bake for 30 minutes. Bars continue to set as they cool. For clean cuts, chill in the fridge for 15-20 minutes before cutting. Store in an airtight container at room temperature for up to 5 days. Freeze individual bars wrapped in plastic wrap for up to 3 months.
Nutrition
- Serving Size: 1 bar
- Calories: 245
- Sugar: 20
- Sodium: 145
- Fat: 14
- Saturated Fat: 8
- Carbohydrates: 30
- Fiber: 1
- Protein: 3
Keywords: chocolate chip cookie bars, one bowl cookie bars, easy cookie bars, no chill cookie bars, chewy cookie bars