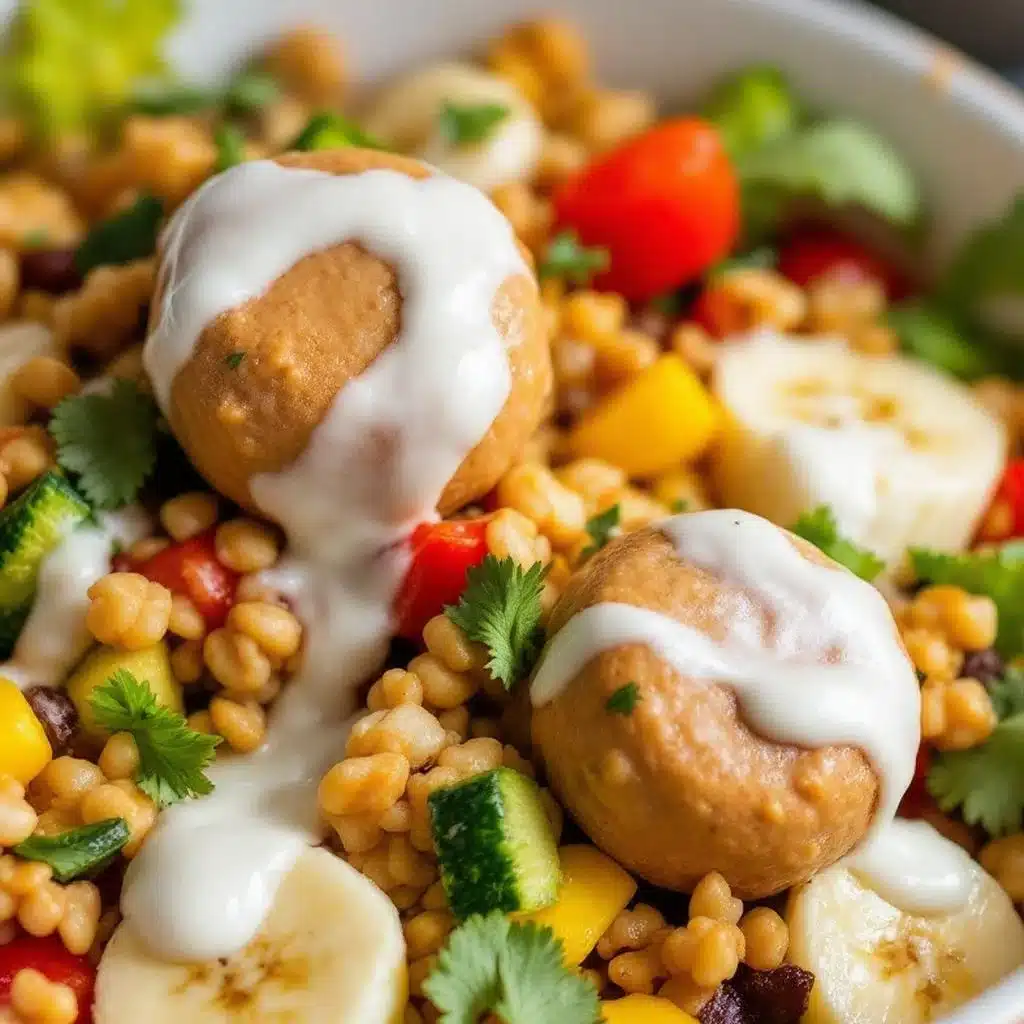
“Mom, I don’t want another sandwich.” My son said it with that particular mix of exhaustion and eye-roll that only a fifth grader can pull off. It was a Tuesday morning, we were already late, and I was staring into the fridge like it held the answers to world peace. It didn’t. It held a bunch of bananas that were way past their prime and a jar of peanut butter that was almost empty. That was it. That was the moment these Easy Peanut Butter Banana Energy Bites were born—out of sheer desperation and a refusal to pack one more sad, squished sandwich.
Honestly, I just mashed everything together, rolled it into little balls, and tossed them in his lunchbox. I figured he’d trade them for something better, or worse, they’d come back home in a napkin at the end of the day. But when I picked him up, he said, “Can you make those again? The ball things. Everyone wanted one.”
And just like that, a lunchbox legend was born. These aren’t just snacks; they’re a lunchbox revolution. They’re the no-bake, no-fuss, totally delicious solution to the dreaded lunchbox rut. They taste like a treat, but they’re packed with protein, fiber, and real food energy. No weird ingredients, no baking, and you can make a batch in about ten minutes. If you have a kid who is over sandwiches, or a partner who needs a healthy grab-and-go breakfast, or honestly, if you just need a little something sweet that won’t wreck your afternoon—these are for you.
Why You’ll Love This Recipe
Let’s be real for a second. I’ve tested a lot of energy ball recipes over the years. Some were too dry, some fell apart, and some tasted like you were eating a spoonful of plain oats. These Easy Peanut Butter Banana Energy Bites are different. They are the Goldilocks of snack balls—just right. Here is why this recipe is a total keeper:
- No-Bake & Ready in 10 Minutes: No oven required. No complicated steps. Just mix, roll, and you are done. This is the kind of recipe you can make while your coffee is brewing in the morning.
- Made with Real, Simple Ingredients: You probably have everything in your pantry right now. Oats, peanut butter, a banana, a little honey, and some chocolate chips. That’s it. No weird protein powders or expensive superfoods.
- Perfect for School Lunches: They are nut-free friendly (if you use sunflower seed butter), they hold up beautifully in a lunchbox, and they are the perfect size for little hands. Plus, they are way more fun than a granola bar.
- Kid-Approved & Parent-Approved: My kids devour these. My husband steals them from the fridge. I have to hide a stash in the back just for myself. They are sweet enough to feel like a treat, but healthy enough that you can feel good about serving them.
- Incredibly Versatile: You can swap in different add-ins, make them vegan, make them gluten-free, or change up the flavor. I have a whole section on variations below, so you can make this recipe your own.
What makes these different from every other energy bite recipe out there? It is the banana. Most recipes use dates or a ton of honey as a binder, which makes them overly sweet. The banana adds natural sweetness and moisture, so you don’t need a lot of extra sugar. It also gives them a soft, almost cookie-dough-like texture that is just irresistible. This isn’t just another recipe—it is the one you will come back to again and again.
What Ingredients You Will Need
This recipe uses simple, wholesome ingredients that come together to create something truly special. The magic is in the balance—the banana provides moisture and sweetness, the peanut butter adds richness and protein, and the oats give it all structure. Here is everything you need:
For the Energy Bites Base
- 1 cup old-fashioned rolled oats (use certified gluten-free oats if needed. I prefer the texture of rolled oats over quick oats here—they give the bites a nice, chewy texture)
- 1/2 cup creamy peanut butter (natural peanut butter works great, but make sure it is well-stirred. If you use a no-stir kind, just know the bites might be a little firmer. I like using a brand like Smucker’s Natural or Justin’s for the best flavor)
- 1 medium ripe banana, mashed (the riper, the better! A spotty banana adds more sweetness and moisture. This is the perfect way to use up those bananas sitting on your counter)
- 2 tablespoons honey or maple syrup (honey gives a classic sweetness, but maple syrup works beautifully for a vegan option. Both help bind the bites together)
- 1/4 cup mini chocolate chips (I love using mini chips because they distribute more evenly throughout the dough. Use dark chocolate, milk chocolate, or even a dairy-free chip)
- 1/4 teaspoon vanilla extract (optional, but it adds a lovely warmth that rounds out the flavors)
- Pinch of salt (if your peanut butter is unsalted, don’t skip this! It balances the sweetness)
Optional Add-Ins for Extra Flavor
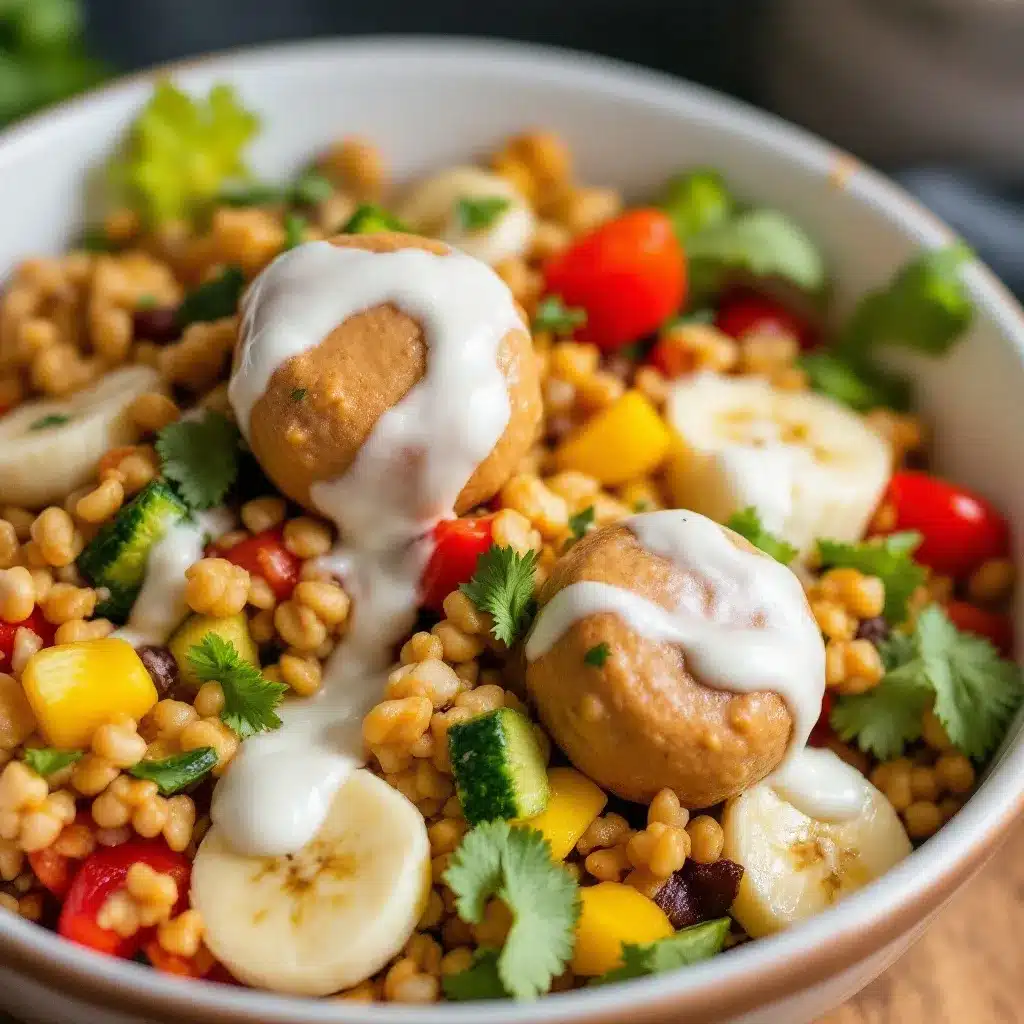
- 2 tablespoons ground flaxseed or chia seeds (adds fiber and omega-3s without changing the flavor)
- 2 tablespoons shredded coconut (for a tropical twist)
- 1/4 cup chopped nuts (like almonds or walnuts, for extra crunch)
- 1 tablespoon cocoa powder (to make chocolate peanut butter banana bites)
Ingredient Selection Tips: When choosing your peanut butter, look for one that is naturally drippy but not too oily. If your peanut butter is very dry, your bites might be crumbly. If it is too oily, they might be greasy. I find that a standard creamy peanut butter hits the sweet spot. For the oats, please don’t use steel-cut oats here—they will be too hard and crunchy. Rolled oats are the way to go for that perfect, tender bite.
Equipment Needed
The beauty of this recipe is that you don’t need any fancy equipment. Here is what you will need:
- Large mixing bowl (any bowl will do, but a wide, shallow bowl makes mixing easier)
- Fork or potato masher (for mashing the banana. A fork works perfectly if you don’t have a masher)
- Rubber spatula or wooden spoon (for mixing everything together)
- Measuring cups and spoons (for accuracy, though I often eyeball the oats and chocolate chips)
- Small cookie scoop or tablespoon (for portioning the dough into equal-sized balls. A cookie scoop is my favorite tool for this—it makes perfectly round, uniform bites every time)
- Parchment paper or wax paper (for lining a baking sheet while the bites chill)
- Baking sheet or large plate (to hold the bites while they set in the fridge)
- Airtight container (for storing the finished bites)
If you don’t have a cookie scoop, don’t worry! Just use a regular tablespoon and roll the mixture between your palms. It works just as well, though your hands might get a little sticky. A quick tip: lightly wet your hands with a little water before rolling to prevent the mixture from sticking.
Preparation Method
This recipe could not be easier. Even on your most chaotic morning, you can have these ready in under 15 minutes. Let me walk you through it step by step.
- Mash the banana. In your large mixing bowl, add the ripe banana. Use a fork or potato masher to mash it until it is smooth and almost liquid. You want it to be free of any large lumps. A few tiny lumps are fine, but the smoother it is, the more evenly it will mix into the other ingredients.
- Add the wet ingredients. To the mashed banana, add the peanut butter, honey (or maple syrup), and vanilla extract (if using). Stir everything together with your rubber spatula or wooden spoon until it is fully combined and smooth. It will look like a thick, creamy paste. The smell at this point is incredible—like peanut butter cookie batter.
- Add the dry ingredients. Pour in the rolled oats, salt, and any optional add-ins you are using (like flaxseed or shredded coconut). Stir until everything is evenly distributed. The mixture should be thick and slightly sticky, but not wet. If it looks too wet, add a tablespoon more of oats. If it looks too dry and crumbly, add a tiny splash of milk or a teaspoon more of honey.
- Fold in the chocolate chips. Gently fold in the mini chocolate chips until they are evenly distributed throughout the dough. Don’t overmix here—you just want them scattered throughout so every bite has a little pocket of chocolate.
- Chill the mixture (optional but recommended). For the easiest rolling, pop the bowl in the refrigerator for about 15-20 minutes. This firms up the mixture and makes it much less sticky to handle. If you are in a hurry, you can skip this step, just know your hands will get a little messy.
- Roll into balls. Line a baking sheet or large plate with parchment paper. Using a small cookie scoop or a tablespoon, scoop out portions of the dough. Roll each portion between your palms to form a smooth ball. If the mixture sticks to your hands, lightly wet your palms with a little cold water. You should get about 16-18 bites depending on how big you roll them.
- Chill to set. Place the rolled bites on the prepared baking sheet. Transfer the sheet to the refrigerator and let the bites chill for at least 30 minutes. This allows them to firm up so they hold their shape. If you are packing them for lunch, this step is non-negotiable—cold bites travel much better.
- Store and enjoy. Once chilled, transfer the energy bites to an airtight container. They will keep in the refrigerator for up to one week. You can also freeze them for up to three months (see storage tips below).
Sensory Cues: When you mix the dough, it should feel like a thick, slightly sticky cookie dough. It should hold together when you squeeze a bit in your hand, but not be so wet that it oozes. If you press your finger into a rolled ball, it should spring back slightly. The bites should smell warmly of peanut butter and banana, with a hint of chocolate.
Cooking Tips & Techniques
Over the years, I have made these Easy Peanut Butter Banana Energy Bites more times than I can count. I have also made every mistake in the book so you don’t have to. Here are my best tips for perfect bites every time:
- Use a spotty banana. This is the #1 secret to great energy bites. A banana with lots of brown spots is sweeter and softer, which means you can use less added sweetener. A green or barely ripe banana will not mash as well and will make your bites taste starchy instead of sweet.
- Don’t overmix the dough. Once you add the oats, mix just until everything is combined. Overmixing can break down the oats too much and make the bites dense and gummy. You want some texture in there.
- Chill the dough if it’s too sticky. I learned this the hard way. The first time I made these, I tried to roll them immediately and ended up with sticky, misshapen blobs. A quick 15-minute chill in the fridge makes the dough much easier to handle. If you are in a real rush, you can lightly oil your hands with a little coconut oil to prevent sticking.
- Use a cookie scoop for uniform sizes. This is more for aesthetics than anything else, but uniform bites look nicer in a lunchbox and they chill at the same rate. A small cookie scoop (about 1 tablespoon) is my go-to tool for this recipe.
- Press a few extra chocolate chips on top. After rolling each ball, I like to press 2-3 extra mini chocolate chips on the surface. It makes them look prettier and ensures that first bite has a visible hit of chocolate. My kids love this little touch.
- Let them chill fully before packing. I once packed warm bites into a lunchbox, and by lunchtime, they had turned into a mushy, melted mess. Trust me on this—a full 30 minutes in the fridge (or even better, an hour) makes them sturdy enough to survive a school day.
Variations & Adaptations
One of the best things about this recipe is how customizable it is. You can change it up based on what you have in your pantry or what your family likes. Here are some of my favorite variations:
- Vegan Version: Simply swap the honey for maple syrup or agave nectar. Use dairy-free chocolate chips (most dark chocolate chips are naturally vegan). Everything else is already plant-based!
- Nut-Free Version: Replace the peanut butter with sunflower seed butter (like SunButter) or tahini. Sunflower seed butter works beautifully, though the bites will have a slightly green tint after a day or two (this is a natural reaction and totally safe to eat). This makes them school-safe for nut-free classrooms.
- Gluten-Free Version: Use certified gluten-free rolled oats. That is the only swap you need to make. This is an easy adaptation if you have celiac disease or a gluten sensitivity.
- Chocolate Lovers’ Version: Add 1 tablespoon of unsweetened cocoa powder to the dry ingredients. You will get a rich, chocolatey version that tastes like a brownie in ball form. Increase the honey by 1 teaspoon to balance the bitterness of the cocoa.
- Tropical Twist: Swap the chocolate chips for 1/4 cup of shredded coconut and 1/4 cup of chopped dried pineapple or mango. The combination of banana, coconut, and tropical fruit is absolutely divine.
- Protein-Packed Version: Add 1 scoop of your favorite vanilla or chocolate protein powder. You may need to add an extra tablespoon of milk or water to help bind everything together, as protein powder can dry out the dough.
- My Personal Favorite Variation: I love adding 2 tablespoons of chia seeds and 1/4 cup of chopped dark chocolate (not mini chips, but actual chopped chocolate from a bar). The chia seeds add a fun little crunch, and the larger chocolate chunks melt slightly in your mouth. I call these my “grown-up” version, and they are perfect for an afternoon pick-me-up.
Serving & Storage Suggestions
These energy bites are incredibly versatile when it comes to serving and storing. Here is everything you need to know:
Serving Suggestions
- Straight from the fridge: These are best enjoyed cold or at room temperature. I love grabbing one straight from the fridge for a quick breakfast on the go.
- In a lunchbox: Pack 2-3 bites in a small container for a perfect school lunch treat. They hold up really well and don’t get squished like a sandwich might.
- As a pre-workout snack: The combination of carbs from the oats and banana, plus protein from the peanut butter, makes these an excellent pre-workout or post-workout snack.
- With a glass of milk: Honestly, these taste just like cookie dough, so a glass of cold milk is the perfect companion. My kids love them as an after-school snack with a big glass of milk.
- Complementary dishes: These bites pair wonderfully with a cozy oatmeal muffin in a mug for a complete breakfast, or alongside a warm bowl of butternut squash soup for a balanced fall lunch.
Storage Instructions
- Refrigerator: Store in an airtight container in the refrigerator for up to 1 week. I like to layer them with parchment paper so they don’t stick together.
- Freezer: These freeze beautifully! Place the bites in a single layer on a baking sheet and freeze for 1 hour. Once frozen solid, transfer them to a freezer-safe bag or container. They will keep for up to 3 months. You can eat them straight from the freezer (they are like little frozen cookie dough bites!) or let them thaw in the fridge overnight.
- Room Temperature: These can be kept at room temperature for a day or two, but they are much firmer and more satisfying when chilled. If you are packing them for a picnic or road trip, they will be fine at room temperature for a few hours.
Flavor Development: One thing I have noticed is that these bites actually taste better the next day. The flavors meld together overnight, and the oats soften slightly, creating an even more cohesive texture. So don’t be afraid to make them a day ahead!
Nutritional Information & Benefits
These Easy Peanut Butter Banana Energy Bites are not just delicious—they are packed with good-for-you ingredients that will keep you and your kids fueled all day long.
Estimated Nutritional Information (per bite, based on 16 bites):
- Calories: 110-130
- Protein: 4-5g
- Carbohydrates: 14-16g
- Fiber: 2-3g
- Sugar: 6-8g (naturally occurring from banana and honey)
- Fat: 6-7g (mostly healthy unsaturated fats from peanut butter)
Health Benefits of Key Ingredients:
- Bananas are rich in potassium, which supports heart health and muscle function. They also contain resistant starch, which is great for gut health.
- Peanut butter provides plant-based protein and healthy monounsaturated fats that keep you full and satisfied.
- Rolled oats are a fantastic source of soluble fiber, which helps lower cholesterol and keeps blood sugar stable.
- Dark chocolate chips (if you use dark) are packed with antioxidants and can help improve mood. A little bit goes a long way!
Dietary Considerations: This recipe is naturally vegetarian and can easily be made vegan, gluten-free, and nut-free (with the substitutions listed above). It is also free from refined sugar if you use maple syrup instead of honey. The main allergens to be aware of are peanuts and tree nuts (if you add chopped nuts).
From a personal wellness perspective, I love that these bites give my kids real, whole-food energy without the crash that comes from processed snacks. They are a staple in our house because they make me feel good about what I am putting in their bodies—and they actually eat them without a fight.
Conclusion
These Easy Peanut Butter Banana Energy Bites have honestly become a non-negotiable in our home. They are the snack I turn to when I need something quick, healthy, and guaranteed to make everyone happy. Whether you are packing school lunches, looking for a post-workout refuel, or just need a little something sweet to get through the afternoon slump, these bites deliver every single time.
I love that this recipe is forgiving—you can swap ingredients, adjust the sweetness, or throw in whatever mix-ins you have on hand. It is the kind of recipe that grows with you and adapts to your family’s needs. Try them with a sprinkle of cinnamon, or roll them in shredded coconut for a pretty finish. Make them your own.
I would love to hear how these turn out for you! Drop a comment below and let me know what variations you tried. Did your kids love them? Did you sneak a few for yourself? Share your photos on Pinterest and tag me—I cannot wait to see your creations. Happy snacking, friends!
Frequently Asked Questions
Can I make these without a food processor?
Absolutely! You do not need a food processor for this recipe. Everything is mixed by hand in a single bowl. Just mash the banana with a fork, stir in the rest of the ingredients, and roll. It is one of the easiest recipes you will ever make.
Why are my energy bites too dry or crumbly?
This usually happens if your banana is not ripe enough or if you used too many oats. A very ripe, spotty banana provides the most moisture. If your dough feels dry, add an extra tablespoon of peanut butter or a splash of milk. If it is too wet, add a tablespoon more of oats. The dough should be thick and slightly sticky, not dry and cracked.
Can I use quick oats instead of rolled oats?
Yes, you can, but the texture will be different. Quick oats are more finely ground, so they will absorb moisture faster and create a denser, softer bite. Rolled oats give a chewier, more substantial texture. I personally prefer rolled oats, but quick oats work in a pinch.
How long do these energy bites last in the fridge?
These bites will stay fresh in an airtight container in the refrigerator for up to 1 week. They also freeze beautifully for up to 3 months. If you freeze them, you can eat them straight from the freezer or let them thaw in the fridge overnight.
Are these safe for nut-free school classrooms?
These are not safe for nut-free classrooms if made with peanut butter. However, you can easily make a nut-free version by swapping the peanut butter for sunflower seed butter (like SunButter). The taste is slightly different, but they are just as delicious and totally school-safe. Just be aware that sunflower seed butter can cause the bites to turn slightly green after a day or two—this is a natural chemical reaction and is completely safe to eat.
Pin This Recipe!
Easy Peanut Butter Banana Energy Bites for School Lunches
These no-bake energy bites are made with simple ingredients like oats, peanut butter, banana, and chocolate chips. They are perfect for school lunches, a quick breakfast, or a healthy snack.
- Prep Time: 10 minutes
- Cook Time: 0 minutes
- Total Time: 40 minutes (includes chilling time)
- Yield: 16-18 bites 1x
- Category: Snack
- Cuisine: American
Ingredients
- 1 cup old-fashioned rolled oats
- 1/2 cup creamy peanut butter
- 1 medium ripe banana, mashed
- 2 tablespoons honey or maple syrup
- 1/4 cup mini chocolate chips
- 1/4 teaspoon vanilla extract (optional)
- Pinch of salt
- 2 tablespoons ground flaxseed or chia seeds (optional)
- 2 tablespoons shredded coconut (optional)
- 1/4 cup chopped nuts (optional)
- 1 tablespoon cocoa powder (optional)
Instructions
- Mash the banana in a large mixing bowl until smooth.
- Add the peanut butter, honey (or maple syrup), and vanilla extract (if using). Stir until fully combined and smooth.
- Add the rolled oats, salt, and any optional add-ins. Stir until evenly distributed. The mixture should be thick and slightly sticky.
- Fold in the mini chocolate chips until evenly distributed.
- Chill the mixture in the refrigerator for 15-20 minutes (optional but recommended for easier rolling).
- Line a baking sheet or plate with parchment paper. Using a small cookie scoop or tablespoon, scoop portions of dough and roll into smooth balls. Lightly wet hands if sticky.
- Place the rolled bites on the prepared sheet and refrigerate for at least 30 minutes to firm up.
- Transfer to an airtight container and store in the refrigerator for up to 1 week, or freeze for up to 3 months.
Notes
Use a very ripe, spotty banana for maximum sweetness and moisture. Chill the dough for easier rolling. For nut-free version, substitute sunflower seed butter. Bites taste even better the next day.
Nutrition
- Serving Size: 1 bite
- Calories: 120
- Sugar: 7
- Sodium: 50
- Fat: 6.5
- Saturated Fat: 1.5
- Carbohydrates: 15
- Fiber: 2.5
- Protein: 4.5
Keywords: energy bites, peanut butter banana, no-bake, school lunch, healthy snack, gluten-free option, vegan option


