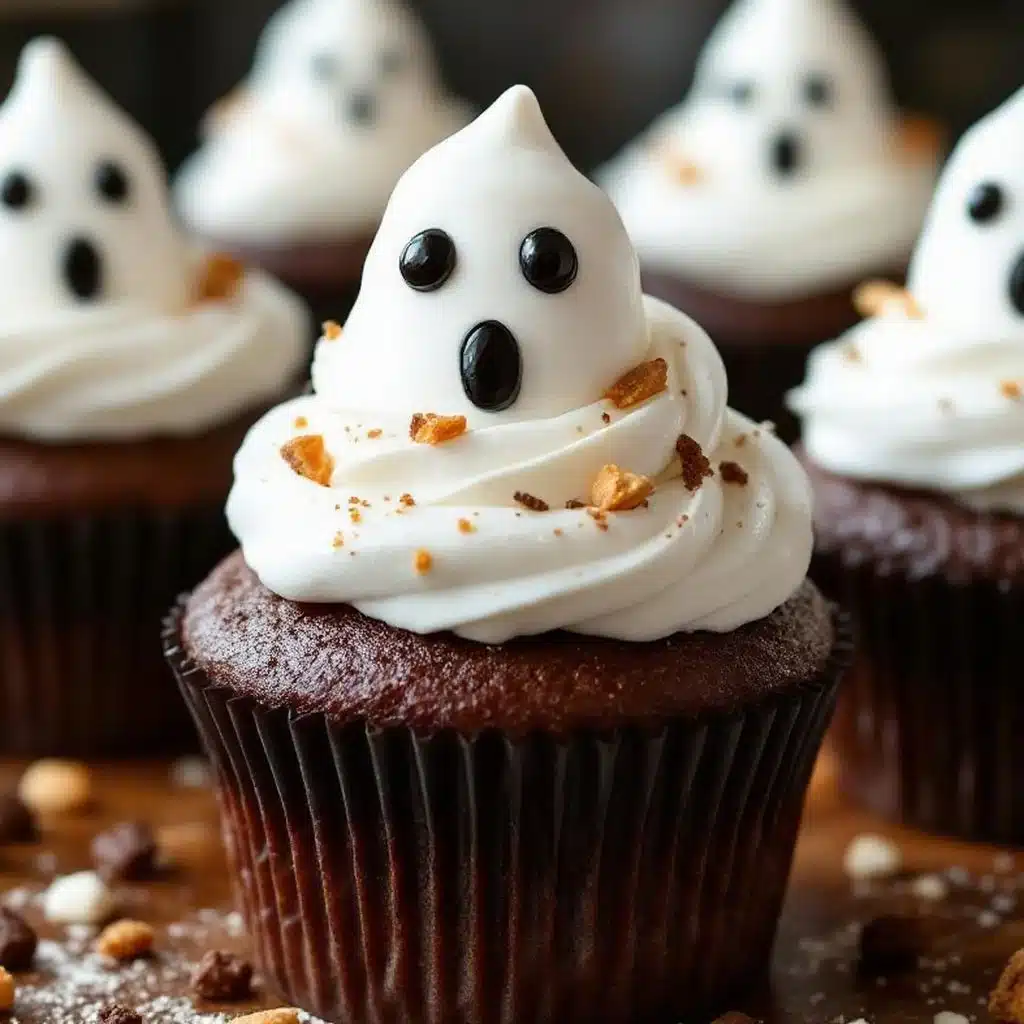
I want something sweet right now and have everything except the perfect ghostly shape. The oven is humming that low, steady tune that usually means chocolate is involved, but not today. Today, the kitchen needs to feel like a haunted house that’s actually quite pleasant. I’m staring at the bag of marshmallows, wondering if I can turn them into something that looks like it floated in from the attic. Honestly, baking these ghost cupcakes feels less like cooking and more like a small magic trick. You know how some days just call for something whimsical? This is one of those days. The batter comes together while I’m trying to decide if I should add extra vanilla or just keep it simple. It’s funny how a simple cupcake can change the whole mood of the room. One minute it’s just dinner prep, and the next, it’s a spooky centerpiece for the kids’ party. I’ve always loved how baking lets you be a little silly without judgment. These ghosts aren’t scary; they’re just cute, fluffy, and ready to be devoured. There’s a quiet satisfaction in piping batter that looks like little clouds before they even bake. It’s a reminder that food can be fun, not just fuel. And let’s face it, Halloween is the one holiday where being a little weird with your dessert is encouraged. So here I am, ready to make some edible spirits.
Why You’ll Love This Recipe
Let’s be honest, most Halloween treats are either too spicy for kids or just plain too sweet for adults. This recipe strikes that perfect balance. I tested this version about five times before I was happy with the texture. The first batch was too dense, like a brick. The third batch was too airy and collapsed. But this one? It’s the Goldilocks of ghost cupcakes. It’s light, airy, and holds its shape beautifully under that marshmallow fondant.
Here is why this recipe is going to become your Halloween staple:
- Quick & Easy: The batter comes together in under 20 minutes. You can be baking and decorating while watching the last episode of your favorite show.
- Simple Ingredients: You likely already have all the basics in your pantry. Flour, sugar, butter, eggs, and marshmallows. No fancy grocery trips needed.
- Perfect for Parties: These are great for school parties, office Halloween gatherings, or just a cozy night in.
- Crowd-Pleaser: Even people who usually skip dessert will grab one of these. They look intriguing but taste familiar.
- Unbelievably Delicious: The vanilla bean cake paired with the chewy, sweet marshmallow topper is next-level comfort food. It’s not just good—it is the kind that makes you close your eyes after the first bite.
What makes this different from the rest is the marshmallow fondant. Most people just use whipped cream or buttercream, but the fondant gives it that authentic, smooth, “spooky” look. It’s like a mini version of a wedding cake top, but way more fun. It’s comfort food reimagined—healthier in the sense that it’s not heavy, but with the same soul-soothing satisfaction. Perfect for impressing guests without stress, or turning a simple meal into something memorable.
What Ingredients You Will Need
This recipe uses simple, wholesome ingredients to deliver bold flavor and satisfying texture without the fuss. The key is quality. Since there are so few ingredients, each one matters. I recommend using unsalted butter so you can control the saltiness. For the marshmallow fondant, using high-quality marshmallows makes a huge difference in how smooth the final product is.
- For the Vanilla Bean Cake Batter:
- All-purpose flour (1 ½ cups / 190g) – The base of our fluffy structure.
- Baking powder (1 ½ tsp) – Helps them rise and stay tall.
- Baking soda (½ tsp) – Works with the buttermilk for extra lift.
- Salt (½ tsp) – Enhances the sweet flavors.
- Unsalted butter, softened (½ cup / 115g) – Adds richness and moisture.
- Granulated sugar (1 cup / 200g) – For that classic sweet crumb.
- Large eggs, room temperature (2) – Essential for emulsion and structure.
- Vanilla bean paste or extract (1 tsp) – Vanilla bean paste gives those beautiful speckles.
- Buttermilk, room temperature (¾ cup / 180ml) – Tenderizes the crumb.
- For the Marshmallow Fondant Toppers:
- Mini marshmallows (10 oz / 280g) – Look for a brand like Jet-Puffed for consistent melting.
- Unsalted butter (1 tbsp) – Keeps the fondant pliable.
- Vanilla extract (½ tsp) – Adds aroma.
- Powdered sugar (2 ½ to 3 cups / 300-360g) – The main body of the fondant.
- Cornstarch (1 tbsp) – Prevents sticking.
For the eyes, I use mini chocolate chips or edible food markers. If you want a more premium look, you can use white and black candy melts. I personally prefer the chocolate chips because they have a nice snap. For the sour cream filling, you’ll need ½ cup of full-fat sour cream and 1 tbsp of powdered sugar. This adds a tangy contrast to the sweet marshmallow, which keeps the flavor from becoming cloying.
Equipment Needed
You don’t need a lot of fancy gear for this. A standard set of cupcake liners is essential. I recommend using dark-colored liners if you want the ghosts to stand out, or white liners for a more classic look. You’ll need a stand mixer or a hand mixer for the batter. It’s much easier than whisking by hand, and it ensures the cake stays fluffy.
For the fondant, a microwave-safe bowl is key. A silicone spatula is also very helpful for scraping the bowl and kneading the fondant. I usually keep a small rolling pin nearby for flattening the fondant discs, though you can use your hands if you prefer. For the eyes, a small paring knife or toothpick helps with placement.
If you don’t have a cupcake pan, you can use a muffin tin, but make sure it’s deep enough so the batter doesn’t overflow. I also recommend having a cooling rack ready. Letting the cakes cool completely is crucial before adding the fondant, or it will melt. Keep your workspace clean and dusted with powdered sugar to prevent the fondant from sticking.
Preparation Method
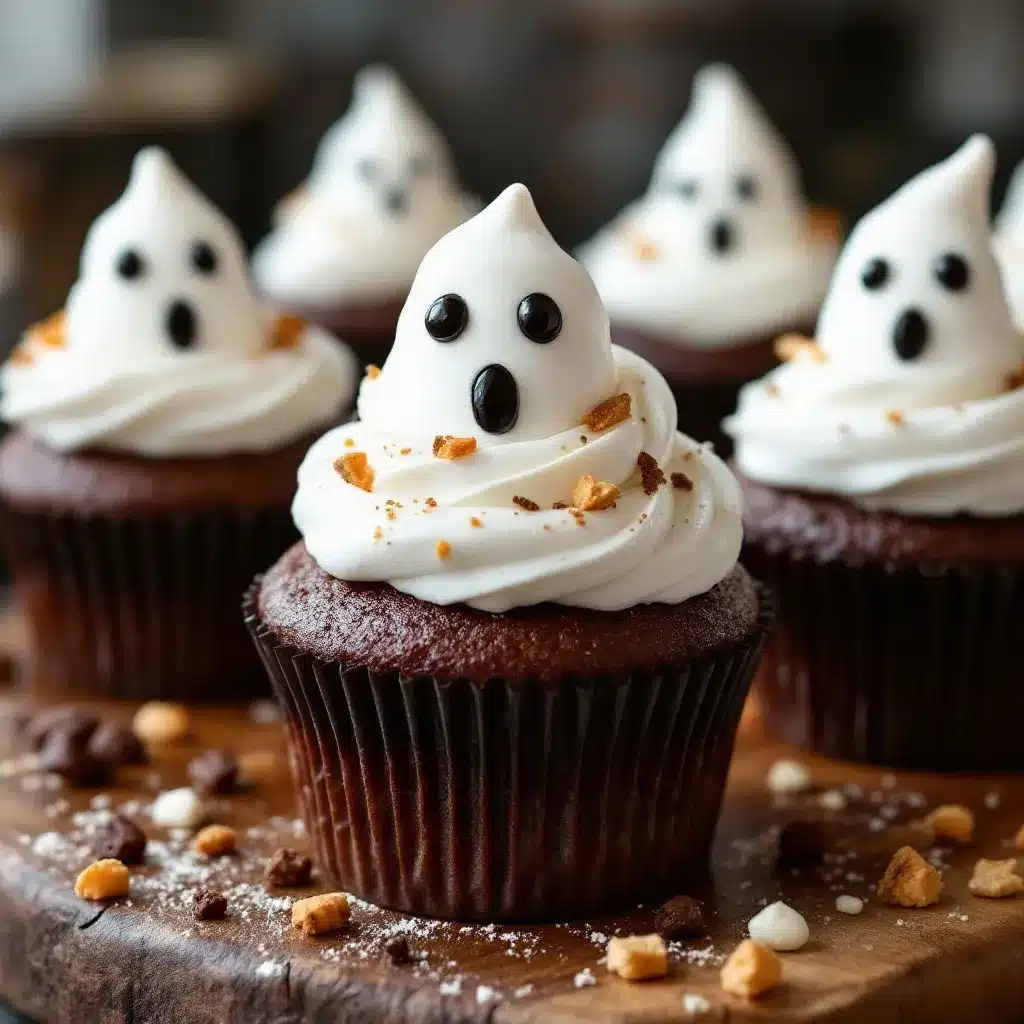
Step 1: Prepare the Oven and Pan
Preheat your oven to 350°F (175°C). Line a 12-cup muffin tin with cupcake liners. This usually takes about 5 minutes. Make sure your butter and eggs are at room temperature. This helps the batter emulsify properly.
Step 2: Mix the Dry Ingredients
In a medium bowl, whisk together the flour, baking powder, baking soda, and salt. Set this aside. It’s important to whisk them well to ensure even rising. This takes about 2 minutes.
Step 3: Cream the Butter and Sugar
In a large bowl, beat the softened butter and granulated sugar on medium-high speed until light and fluffy. This should take about 3-4 minutes. The mixture should look pale and airy. Scrape down the sides of the bowl with a spatula.
Step 4: Add Eggs and Vanilla
Add the eggs one at a time, beating well after each addition. Mix in the vanilla bean paste or extract. The mixture might look slightly curdled at first, but that’s okay. It will come together.
Step 5: Combine Wet and Dry Ingredients
Reduce the mixer speed to low. Add the dry ingredients in three parts, alternating with the buttermilk in two parts. Begin and end with the dry ingredients. Mix just until combined. Do not overmix, or the cakes will be tough. This takes about 2 minutes.
Step 6: Fill and Bake
Divide the batter evenly among the 12 liners. Each cup should be about 2/3 full. Bake for 18-20 minutes, or until a toothpick inserted into the center comes out clean. The tops should spring back when lightly touched. Let them cool in the pan for 5 minutes, then transfer to a wire rack to cool completely. This cooling process takes about 30 minutes.
Step 7: Make the Marshmallow Fondant
In a microwave-safe bowl, combine the mini marshmallows and butter. Microwave on high for 30 seconds, then stir. Repeat in 15-second intervals until the marshmallows are mostly melted and smooth. Stir in the vanilla. Gradually add the powdered sugar and cornstarch, mixing with a spatula until it forms a dough. Knead it on a surface dusted with powdered sugar for 2-3 minutes until smooth and pliable.
Step 8: Shape the Ghosts
Roll the fondant into a log and cut into 12 equal pieces. Roll each piece into a ball, then gently shape it into a teardrop or ghost shape. Place the shaped ghosts on a baking sheet lined with parchment paper. This takes about 10 minutes.
Step 9: Assemble the Cupcakes
Once the cupcakes are completely cool, use a serrated knife to cut a small circle out of the top of each cake. Fill the hole with the sour cream mixture. Replace the cake circle. Place the fondant ghost on top of each cupcake. Press gently to secure.
Step 10: Add the Eyes
Use mini chocolate chips or food markers to draw eyes on the fondant. You can also use small dots of black icing. This is the fun part. Take your time with this. It takes about 15 minutes to decorate all 12 ghosts.
Cooking Tips & Techniques
Getting the fondant right can be tricky. If it’s too sticky, add more powdered sugar. If it’s too dry and cracking, add a tiny bit of water or more marshmallow. Kneading it well is the secret to a smooth finish. I once made a batch that was too dry, and the ghosts looked crumbly. It tasted fine, but it didn’t look spooky enough. So, pay attention to the texture.
For the cake, don’t skip the room temperature ingredients. Cold butter won’t cream properly with the sugar. This leads to a dense cake. I’ve learned this the hard way. Also, when you’re filling the cupcakes, be careful not to push too hard. You want to remove a small plug, not crush the cake. Use a small melon baller or a knife for this.
When baking, check the cupcakes at 18 minutes. Ovens vary, so you don’t want them to dry out. If the tops are browning too quickly, cover them loosely with foil. The goal is a pale, soft cake that mimics the look of a ghost. Also, let the cupcakes cool completely. If they are even slightly warm, the fondant will melt and slide off. Patience is key here.
Variations & Adaptations
You can make these cupcakes gluten-free by swapping the all-purpose flour for a 1:1 gluten-free flour blend. The texture might be slightly different, but they will still taste great. For a dairy-free version, use dairy-free butter and milk, and ensure your marshmallows are vegan (some contain gelatin).
If you want a different flavor, try adding food coloring to the batter. Pink or orange batter would look cute for a different holiday. You could also use chocolate cupcakes for a “zombie” theme. For the filling, instead of sour cream, you could use cream cheese frosting. It’s richer and sweeter.
For a healthier twist, you can use less sugar in the batter and opt for a lighter marshmallow topping. Or, you can skip the fondant entirely and use whipped cream with edible glitter. It’s less traditional but still festive. I once tried using pumpkin puree in the batter for a fall flavor. It worked well, but you need to reduce the buttermilk slightly to account for the extra moisture.
Serving & Storage Suggestions
Serve these cupcakes at room temperature. They taste best when the fondant is slightly soft. Arrange them on a platter with some fake spiderwebs or candy corn for a spooky presentation. They pair well with a glass of milk or a cup of hot chocolate.
Store leftovers in an airtight container at room temperature for up to 2 days. The fondant might harden slightly, but it will soften again. Do not refrigerate them, as the cold can make the fondant sticky and the cake dry. If you need to freeze them, freeze the unfrosted cupcakes first. Wrap them tightly in plastic wrap and foil. They will last for up to 2 months. Thaw them at room temperature before decorating. The flavors develop nicely over time, becoming more cohesive.
Nutritional Information & Benefits
Each cupcake contains approximately 250 calories. The vanilla bean cake provides carbohydrates for energy, while the marshmallow fondant adds sugar for a quick boost. The sour cream filling adds a bit of protein and calcium. These cupcakes are not particularly high in fiber or vitamins, so enjoy them as a treat. They are gluten-containing and contain dairy and eggs. For those with allergies, the variations section offers some alternatives. Personally, I find these cupcakes to be a fun way to celebrate the season without overindulging in heavy desserts. They are light enough to enjoy after a big meal.
Conclusion
These fluffy ghost cupcakes are a fun, easy, and delicious way to celebrate Halloween. They are perfect for parties, school events, or just a spooky night in. I love how simple they are to make, yet they look so impressive. Try customizing them with different colors or fillings to make them your own. I hope you enjoy making them as much as I did. Please leave a comment below if you try this recipe. Share your creations on social media and tag me. I’d love to see your spooky treats. Happy Halloween!
FAQs
Can I make the marshmallow fondant ahead of time?
Yes, you can make the fondant up to 2 days in advance. Store it in an airtight container at room temperature. Wrap it tightly in plastic wrap to prevent it from drying out.
Why is my fondant sticky?
If the fondant is too sticky, add more powdered sugar gradually. Knead it until it is smooth and no longer sticks to your hands. You can also dust your workspace with cornstarch.
Can I use regular marshmallows instead of mini ones?
Yes, you can use regular marshmallows. However, mini marshmallows melt more evenly and quickly. If you use regular ones, chop them into smaller pieces first.
How do I store the decorated cupcakes?
Store them in an airtight container at room temperature. Do not refrigerate them, as the cold can affect the texture of the fondant and cake.
Can I freeze the cupcakes?
Yes, you can freeze the unfrosted cupcakes. Wrap them tightly in plastic wrap and foil. Thaw them at room temperature before decorating. Do not freeze the decorated cupcakes, as the fondant may become sticky or melt.
Pin This Recipe!
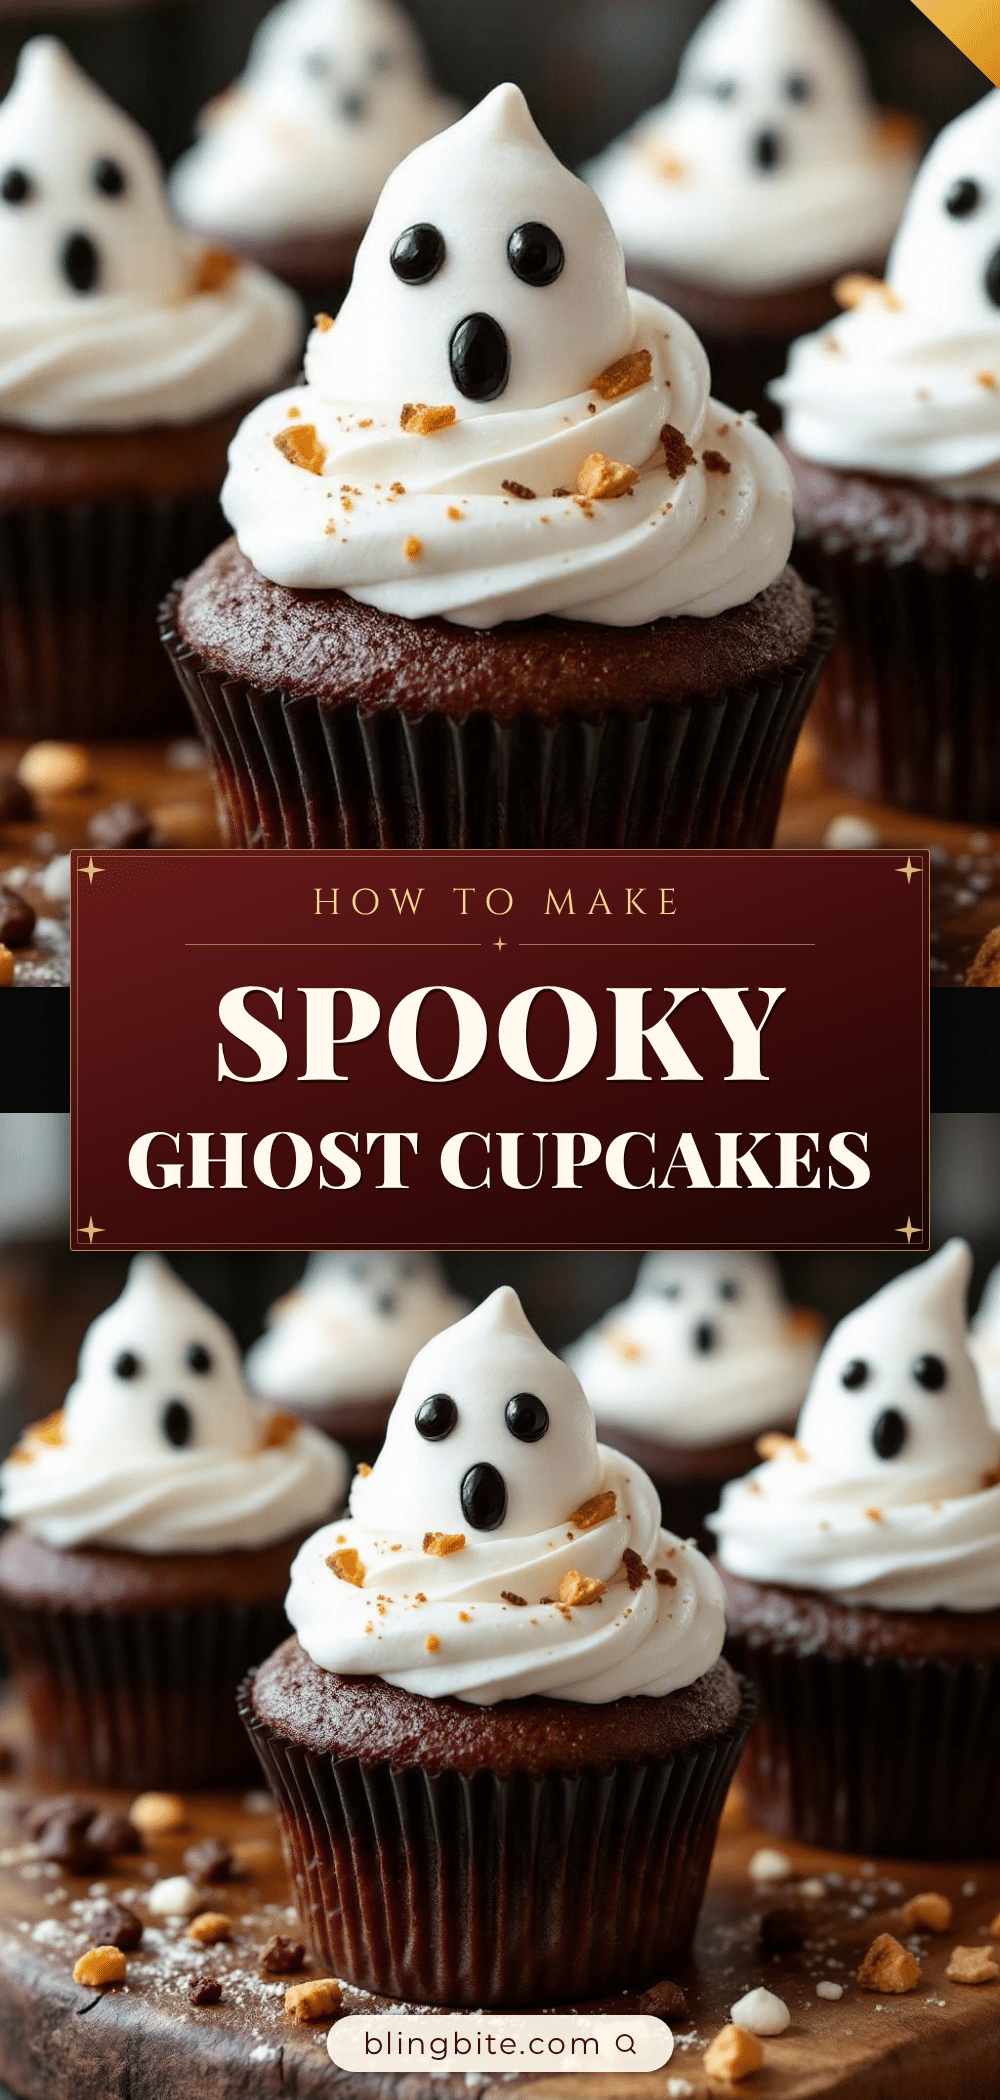
Fluffy Ghost Cupcakes: Easy Halloween Recipe
Light, airy vanilla bean cupcakes topped with homemade marshmallow fondant shaped into cute ghosts, featuring a tangy sour cream filling for a perfect Halloween treat.
- Prep Time: 45 minutes
- Cook Time: 20 minutes
- Total Time: 1 hour 5 minutes
- Yield: 12 servings 1x
- Category: Dessert
- Cuisine: American
Ingredients
- 1 ½ cups (190g) all-purpose flour
- 1 ½ tsp baking powder
- ½ tsp baking soda
- ½ tsp salt
- ½ cup (115g) unsalted butter, softened
- 1 cup (200g) granulated sugar
- 2 large eggs, room temperature
- 1 tsp vanilla bean paste or extract
- ¾ cup (180ml) buttermilk, room temperature
- 10 oz (280g) mini marshmallows
- 1 tbsp unsalted butter
- ½ tsp vanilla extract
- 2 ½ to 3 cups (300-360g) powdered sugar
- 1 tbsp cornstarch
- ½ cup full-fat sour cream
- 1 tbsp powdered sugar (for filling)
- Mini chocolate chips or edible food markers (for eyes)
Instructions
- Preheat oven to 350°F (175°C) and line a 12-cup muffin tin with cupcake liners.
- In a medium bowl, whisk together flour, baking powder, baking soda, and salt; set aside.
- In a large bowl, beat softened butter and granulated sugar on medium-high speed until light and fluffy (3-4 minutes). Scrape down sides.
- Add eggs one at a time, beating well after each addition. Mix in vanilla bean paste or extract.
- Reduce mixer speed to low. Add dry ingredients in three parts, alternating with buttermilk in two parts, beginning and ending with dry ingredients. Mix just until combined.
- Divide batter evenly among liners (2/3 full). Bake for 18-20 minutes until a toothpick comes out clean. Cool in pan for 5 minutes, then transfer to a wire rack to cool completely.
- In a microwave-safe bowl, combine mini marshmallows and 1 tbsp butter. Microwave in intervals until melted and smooth. Stir in vanilla.
- Gradually add powdered sugar and cornstarch to marshmallow mixture, mixing until a dough forms. Knead on a surface dusted with powdered sugar for 2-3 minutes until smooth.
- Roll fondant into a log and cut into 12 equal pieces. Shape each into a teardrop/ghost shape and place on parchment paper.
- Cut a small circle out of the top of each cooled cupcake. Fill the hole with a mixture of sour cream and 1 tbsp powdered sugar. Replace the cake circle.
- Place the fondant ghost on top of each cupcake and press gently to secure.
- Use mini chocolate chips or food markers to add eyes to the fondant ghosts.
Notes
Ensure all ingredients for the batter are at room temperature for proper emulsion. Do not overmix the batter to keep cupcakes tender. Let cupcakes cool completely before adding fondant to prevent melting. If fondant is too sticky, add more powdered sugar; if too dry, add a tiny bit of water. Store at room temperature; do not refrigerate.
Nutrition
- Serving Size: 1 cupcake
- Calories: 250
- Sugar: 28
- Sodium: 150
- Fat: 10
- Saturated Fat: 6
- Carbohydrates: 38
- Fiber: 1
- Protein: 3
Keywords: Halloween, cupcakes, ghost cupcakes, marshmallow fondant, vanilla bean cake, easy baking, party dessert, spooky treats


