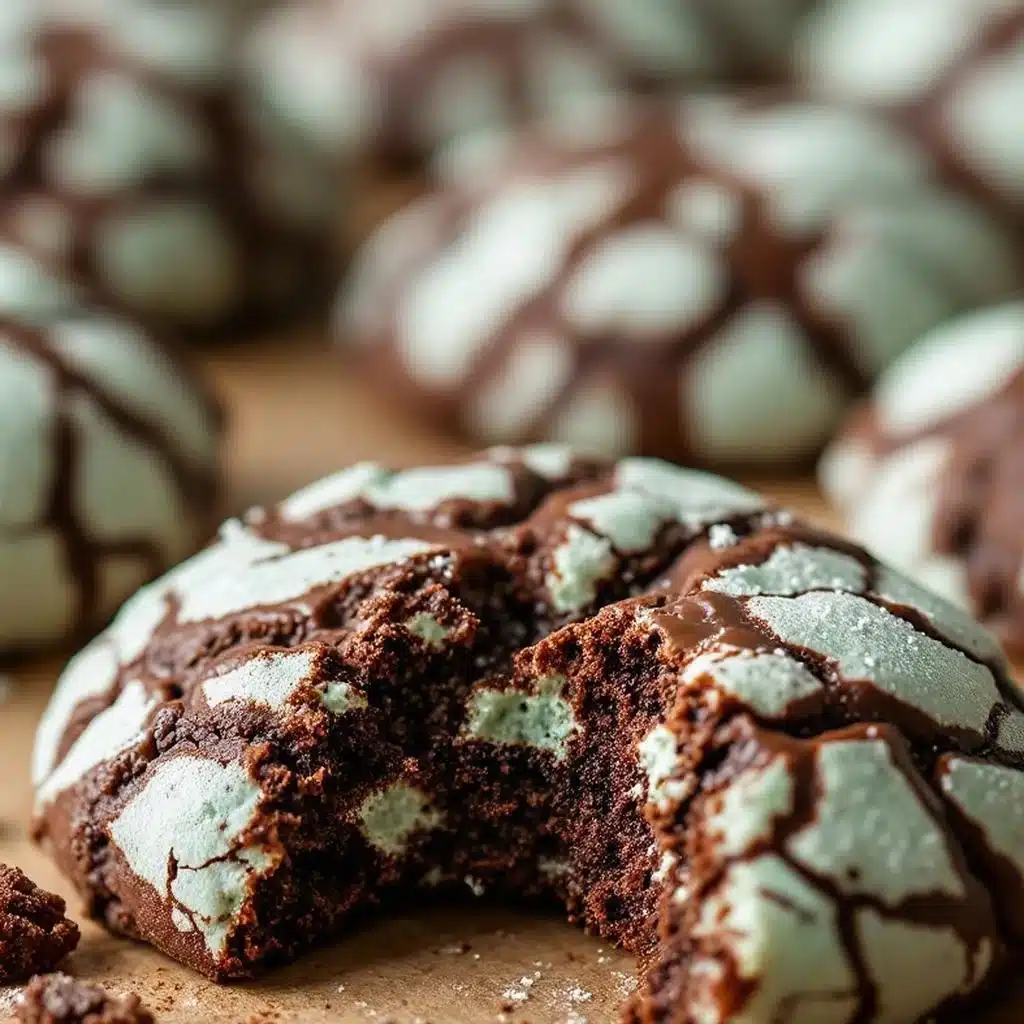
The jagged, frosty-green fracture lines are what I made this for — everything else is secondary. You know that moment when you pull a baking sheet out of the oven and the cookies have split open in the most dramatic, unpredictable way? That’s the magic. It’s not just about the chocolate or the mint; it’s about that specific visual texture. The way the dark cocoa batter pushes through the powdered sugar crust, creating these little mountain ranges of emerald green.
I remember the first time I tried to make these. I was obsessed with the idea of mint chocolate, but my first batch came out flat and sad. No cracks. Just sad, brown circles. I felt defeated honestly. But then I realized the secret wasn’t just the recipe; it was the chilling. Let’s face it, most people skip the chill time. They want that cookie now. But if you don’t give the dough time to firm up, it spreads before it sets. And if it spreads, it doesn’t crack. It just lies there.
So I started freezing the dough balls. Just twenty minutes in the freezer. That tiny pause makes all the difference. When they hit the hot oven, the outside sets instantly while the inside keeps expanding. *Boom*. There goes the crack. That’s the whole point. The texture of the cookie itself is another story though. I want them fudgy. Dense. Almost like a brownie that decided to become a cookie. Not cakey. Not crisp at the edges. Just soft, chewy, and rich.
There is something deeply satisfying about rolling a dough ball in powdered sugar until it’s coated white, then watching it turn into a crinkled green masterpiece. It feels like a little trick. A culinary magic trick. And when you bite into it, the mint hits you first. Cool, refreshing, but not like toothpaste. More like high-quality peppermint oil or fresh leaves. Then the chocolate follows. Bitter and sweet. The two flavors balance each other out perfectly.
I’ve made these for holiday parties, for random Tuesday cravings, and even for my neighbor who claims she doesn’t like mint. She ate three. That’s the kind of recipe that sticks with you. It’s not just a cookie; it’s a texture experience. And once you get the hang of the crinkle technique, you’ll never go back to smooth cookies again. You’ll always be looking for that beautiful, fractured surface.
Why You’ll Love This Recipe
Why These Cookies Stand Out
I’ve tested this fudgy chocolate mint crinkle cookie recipe more times than I care to admit. There’s a specific balance of cocoa powder, fat, and sugar that creates the perfect fudgy interior without making the cookie greasy. Most recipes online are either too dry or too cakey. This one hits that sweet spot—literally. The addition of a bit of cornstarch helps keep the interior tender and soft, while the high ratio of cocoa powder gives it that deep, dark chocolate flavor.
Here is why this recipe is worth your time:
- Quick & Easy: The dough comes together in about 15 minutes. The baking time is short, around 10-12 minutes. Perfect for when a craving hits at 8 PM.
- Simple Ingredients: You likely have cocoa powder, mint extract, and powdered sugar on hand. No fancy grocery trips needed for this one.
- Perfect for Gifting: These look incredibly professional and festive. They are ideal for holiday gift boxes or office potlucks.
- Crowd-Pleaser: Even people who are skeptical about mint usually love these. The chocolate masks any potential “toothpaste” vibes.
- Unbelievably Delicious: The contrast between the sweet powdered sugar and the bitter mint-chocolate center is next-level comfort food.
What makes this different from the rest is the chilling step. I know, I know, it’s annoying. But it ensures those signature cracks. Also, using a mix of butter and a touch of oil (if you want extra fudginess) can help, but standard butter works best for flavor. This isn’t just another version; it’s the best version. It’s the kind of cookie that makes you close your eyes after the first bite. It’s comfort food reimagined—festive, fast, but with the same soul-soothing satisfaction as a homemade brownie.
What Ingredients You Will Need
This recipe uses simple, wholesome ingredients to deliver bold flavor and satisfying texture without the fuss. The key is quality. Since there are only a few components, each one needs to do heavy lifting.
For the Cookie Dough
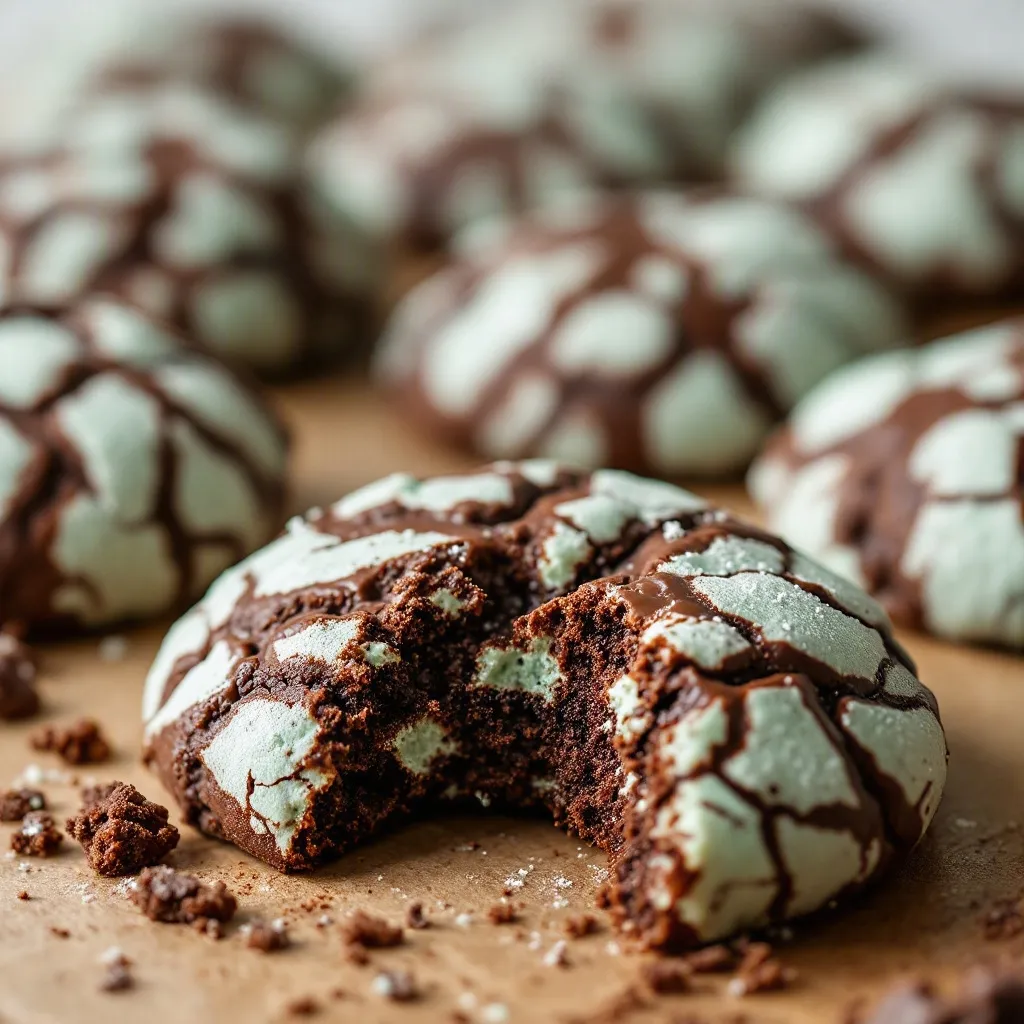
- All-purpose flour: 1 ½ cups (190g). Don’t use whole wheat; it will make the texture too dense and nutty. AP flour gives that tender crumb.
- Cocoa powder: ¾ cup (65g). Use unsweetened Dutch-processed cocoa if you can find it. It’s darker and has a smoother flavor. I recommend Guittard or Droste for best results.
- Baking powder: ½ tsp. Helps the cookies rise slightly before cracking.
- Baking soda: ½ tsp. Essential for browning and spread.
- Salt: ½ tsp. Flaky sea salt is nice, but table salt works fine. It balances the sweetness.
- Unsalted butter: ½ cup (113g), softened. Not melted. Softened means you can indent it with your finger. Melted butter makes them cakey.
- Granulated sugar: ¾ cup (150g). Provides structure and slight crispness to the edges.
- Brown sugar: ¾ cup (150g), packed. Adds moisture and chewiness. Dark brown sugar is better for deeper flavor.
- Egg: 1 large egg, room temperature. Helps bind everything together.
- Vanilla extract: 1 tsp. Enhances the chocolate notes.
- Mint extract: 1-2 tsp. This is crucial. Use pure peppermint extract, not mint flavoring. It’s much stronger. Spice Islands is a reliable brand.
For the Coating
- Granulated sugar: ½ cup (100g). For rolling the dough balls.
- Powdered sugar: ½ cup (60g). Mixed with green food coloring gel. Gel coloring is best because it doesn’t add liquid to the coating, which could make the sugar dissolve too early.
- Green food coloring: Gel paste is ideal. Liquid food coloring can make the coating wet and sticky. Sugarshack or Americolor are good options.
Equipment Needed
You don’t need much, but having the right tools helps. A large mixing bowl is essential. I prefer a glass bowl because I can see the dough mixing clearly. An electric hand mixer or a stand mixer with a paddle attachment makes creaming the butter and sugars much faster. If you do it by hand, you’ll need some arm strength.
You will need two large baking sheets. Line them with parchment paper. This is non-negotiable. If you use silicone mats, they work too, but parchment gives a slightly better bottom crust. A cookie scoop (size 40 or 50) helps keep the dough balls uniform. Uniformity ensures even baking. If one is huge and one is tiny, the big one will burn before the small one is done.
A small bowl for the green sugar coating. And a freezer. Yes, the freezer is equipment here. You need space to chill the dough balls. If you don’t chill them, they spread too much and lose their cracks. So, clear some space in your freezer. It’s worth it.
Preparation Method
Step 1: Mix the Dry Ingredients
In a medium bowl, whisk together the flour, cocoa powder, baking powder, baking soda, and salt. Whisking is important here to break up any clumps in the cocoa powder. If you have lumps, your cookies will have bitter pockets of undissolved cocoa. Whisk until it’s a uniform dark brown color. Set this aside.
Step 2: Cream the Butter and Sugars
In a large bowl, beat the softened butter, granulated sugar, and brown sugar together. Use your electric mixer on medium speed. Beat for about 2-3 minutes. You want the mixture to look light and fluffy. This incorporates air, which helps with the texture. Scrape down the sides of the bowl with a spatula to ensure everything is mixed evenly.
Step 3: Add Wet Ingredients
Add the egg and vanilla extract. Beat on low speed just until combined. Then, add the mint extract. Mix for another 30 seconds. Be careful not to overmix at this stage. You just want it incorporated. The mixture might look slightly curdled; that’s okay. It will come together with the flour.
Step 4: Combine Wet and Dry
Gradually add the dry ingredients to the wet ingredients. Mix on low speed. Stop mixing as soon as the flour disappears. Overmixing develops gluten, which makes cookies tough. You want tender cookies. If you see a few tiny specks of flour, that’s fine. Fold them in by hand with a spatula.
Step 5: Chill the Dough
This is the most critical step. Cover the bowl with plastic wrap and refrigerate for at least 1 hour. Or, for faster results, put the bowl in the freezer for 30 minutes. The dough needs to be firm enough to hold its shape when rolled. If it’s too soft, it will spread into a puddle.
Step 6: Prepare the Coating
While the dough chills, mix the granulated sugar and powdered sugar in a shallow bowl. Add the green food coloring gel. Mix until the sugar is a vibrant green color. If it’s too dark, add more white sugar. If it’s too light, add more color. You want a bright, festive green.
Step 7: Roll and Coat
Preheat your oven to 350°F (175°C). Line your baking sheets with parchment paper. Scoop out tablespoon-sized portions of dough. Roll them into balls. Then, roll each ball in the green sugar mixture until fully coated. Place them on the baking sheet, about 2 inches apart. They will spread.
Step 8: Bake
Bake for 10-12 minutes. Do not overbake. The cookies should look set on the edges but still soft in the center. They will continue to cook on the hot baking sheet after you take them out. Let them cool on the sheet for 5 minutes before moving them to a wire rack. This helps them set without breaking.
Cooking Tips & Techniques
Why My Crinkles Crack
The biggest mistake people make is using dough that is too warm. If your butter was too soft to begin with, or if you skipped the chill time, the dough will spread before it sets. The “crinkle” happens because the outside sets quickly while the inside continues to expand. If the whole thing spreads evenly, you get no cracks.
Another tip is to not overcrowd the pan. If the cookies are too close together, they merge into one giant cookie. Give them space. Also, check your oven temperature. Ovens vary. If your cookies are spreading too much, your oven might be too hot. Use an oven thermometer to check.
I once made these during a power outage and had to bake them on a camp stove. The heat was uneven, and the results were… interesting. Some were raw, some were charcoal. So, consistent heat is key. A standard oven is best.
Common Mistakes to Avoid
- Using mint flavoring instead of extract: Flavoring is artificial and tastes like cough syrup. Extract is natural and tastes like candy.
- Overbaking: These cookies are fudgy. If you bake them until they are hard, they lose their appeal. Take them out when they look slightly underdone.
- Skipping the chill: I cannot stress this enough. Chill the dough. It’s the secret weapon.
Variations & Adaptations
Dietary Changes
For a gluten-free option, you can swap the all-purpose flour for a 1:1 gluten-free flour blend. Bob’s Red Mill is a good brand. Add a teaspoon of xanthan gum if your blend doesn’t include it. This helps mimic the elasticity of gluten.
For a dairy-free version, use a high-quality vegan butter stick. Earth Balance or Miyoko’s work well. Make sure it’s softened, not melted. You can also use coconut oil, but it will change the flavor slightly.
Flavor Twists
Want a white chocolate mint version? Swap the cocoa powder for white chocolate chips melted into the dough. Or, add white chocolate chips to the dough for extra sweetness.
For a peppermint bark vibe, press crushed peppermint candies into the tops of the cookies right after they come out of the oven. The heat will melt the candy slightly, sticking it to the surface. It adds a nice crunch.
I once added a pinch of cayenne pepper to the dough. It sounds weird, but it adds a subtle warmth that complements the mint beautifully. It’s like a Mexican hot chocolate meets a candy cane. Give it a try if you like spice.
Serving & Storage Suggestions
These cookies are best served at room temperature. Cold cookies can be too firm, and warm cookies might be too soft. Room temperature is the sweet spot. They pair well with a cold glass of milk, of course. But also try them with hot coffee or tea. The mint cuts through the bitterness of the coffee nicely.
For storage, keep them in an airtight container at room temperature for up to 5 days. If you live in a humid climate, add a slice of bread to the container to keep them soft. The bread absorbs the moisture.
You can also freeze the dough balls. Roll them in sugar, freeze them on a baking sheet until solid, then transfer to a freezer bag. Bake them straight from frozen, adding 1-2 minutes to the bake time. This is great for having ready-to-bake cookies on hand for unexpected guests.
Nutritional Information & Benefits
While these are definitely a treat, they do offer some satisfaction. The cocoa powder contains antioxidants, specifically flavonoids, which are good for heart health. The mint can aid in digestion, which is helpful after a heavy meal. However, these are high in sugar and fat, so enjoy in moderation. One cookie is roughly 150-180 calories, depending on size.
Conclusion
Fudgy chocolate mint crinkle cookies are a joy to make and even more joy to eat. The combination of textures—the crunchy sugar coating, the cracked surface, and the fudgy center—is unmatched. They are perfect for holidays, but they are also great for any time of year when you need a little pick-me-up.
I hope you try this recipe. It’s one of my favorites for a reason. If you make them, let me know how they turned out. I love hearing about your baking adventures. Feel free to tag me or leave a comment below. And don’t forget to save this recipe for later. You’ll want to make these again and again.
Frequently Asked Questions
Can I use liquid food coloring instead of gel?
Yes, but you’ll need a lot more to get the same intensity. Liquid coloring adds moisture, which can make the sugar coating sticky and cause it to dissolve into the dough. Gel coloring is much more concentrated and doesn’t add liquid, so it’s the better choice.
Why did my cookies spread too much?
This usually happens if the butter was too soft or if the dough wasn’t chilled enough. Make sure your butter is softened but still firm. Also, chill the dough for at least an hour. If your oven runs hot, check the temperature with a thermometer.
Can I make these ahead of time?
Yes! You can make the dough and chill it for up to 3 days. Or, you can freeze the dough balls for up to 3 months. Just bake them straight from the freezer, adding a minute or two to the bake time.
Is mint extract the same as peppermint extract?
Technically, mint extract can be spearmint or peppermint. Peppermint extract is what you want for these cookies. It has a stronger, sharper flavor that pairs best with chocolate. Spearmint is too mild and sweet.
Can I double the recipe?
Yes, you can double the recipe. Just make sure you have enough space in your fridge or freezer to chill the larger batch of dough. You may need to chill it in two batches.
Pin This Recipe!
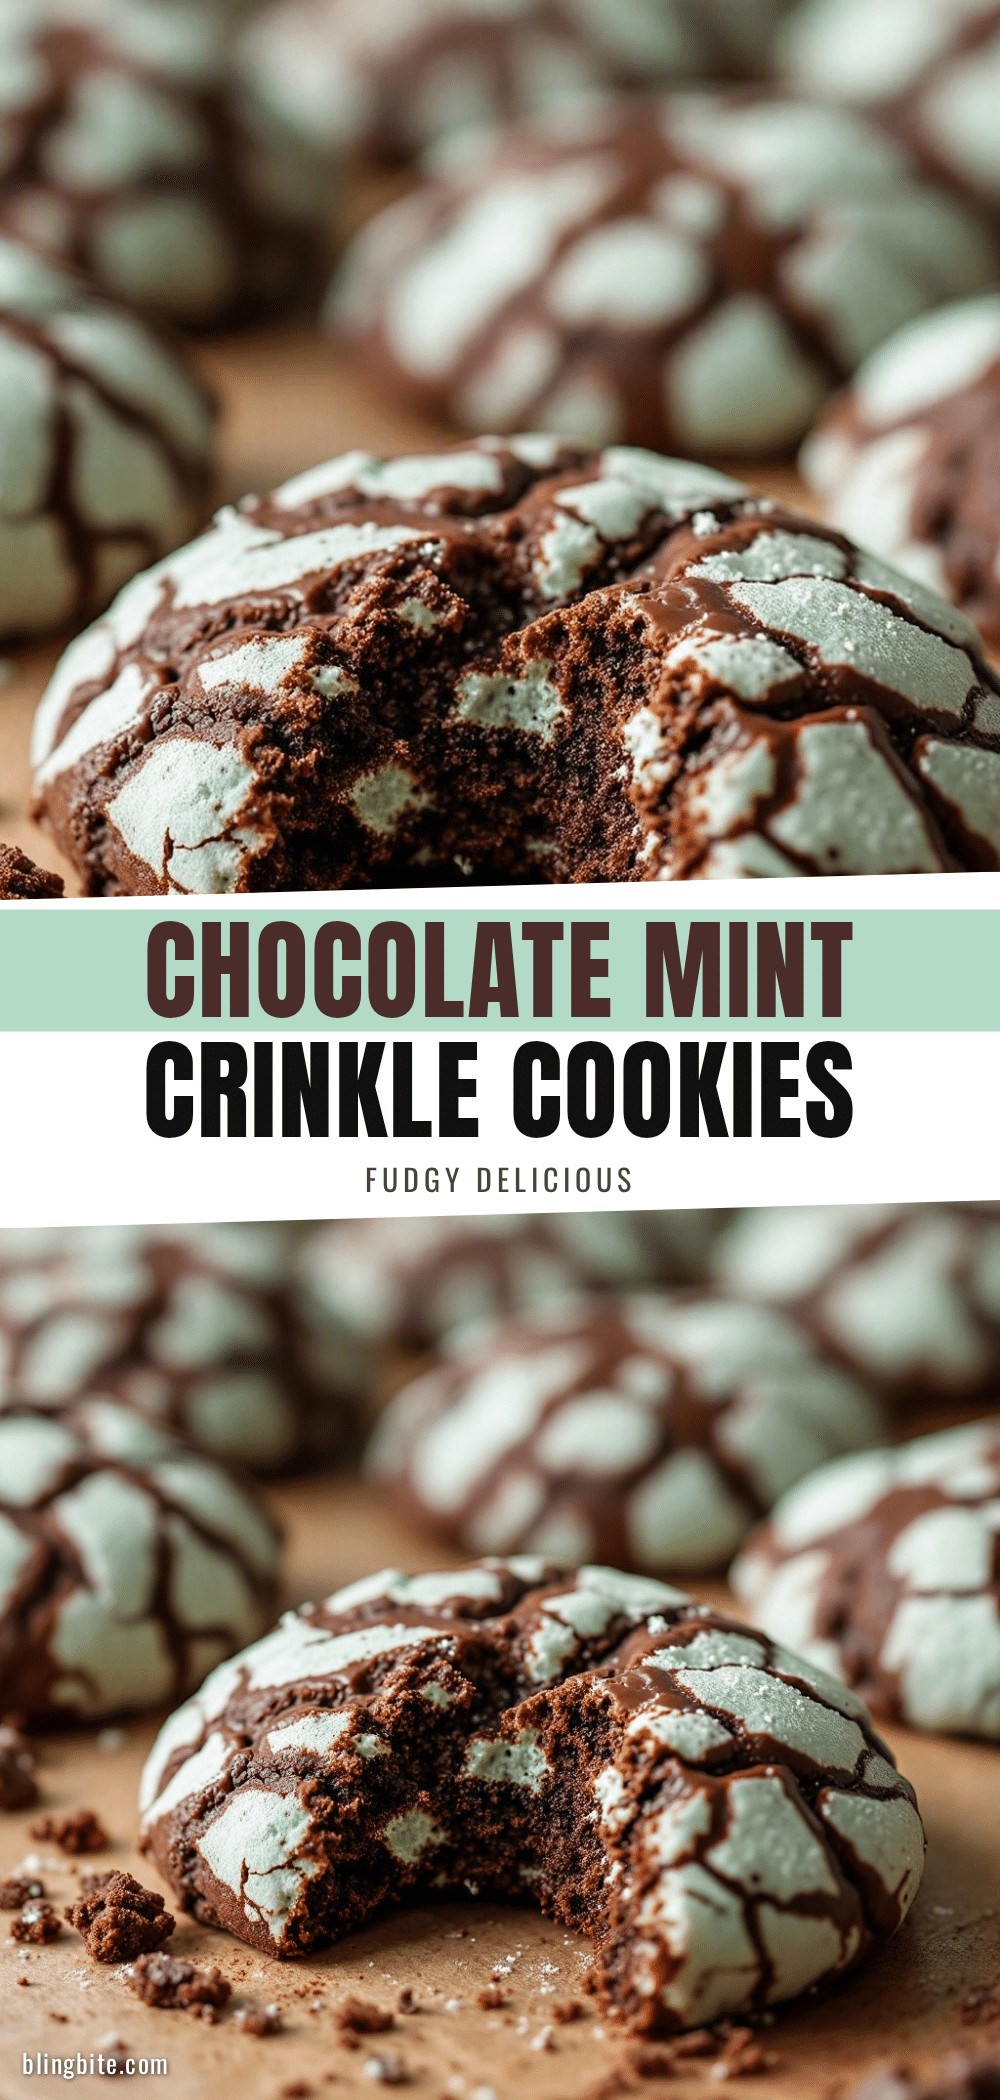
Fudgy Chocolate Mint Crinkle Cookies

These fudgy chocolate mint crinkle cookies feature a dense, brownie-like interior with a vibrant green, cracked exterior coated in sweet powdered sugar. The secret to their signature texture is chilling the dough before baking.
- Prep Time: 15 minutes
- Cook Time: 10-12 minutes
- Total Time: 1 hour 25 minutes
- Yield: Approximately 24 cookies 1x
- Category: Dessert
- Cuisine: American
Ingredients
- 1 ½ cups (190g) all-purpose flour
- ¾ cup (65g) unsweetened Dutch-processed cocoa powder
- ½ tsp baking powder
- ½ tsp baking soda
- ½ tsp salt
- ½ cup (113g) unsalted butter, softened
- ¾ cup (150g) granulated sugar
- ¾ cup (150g) packed brown sugar
- 1 large egg, room temperature
- 1 tsp vanilla extract
- 1–2 tsp pure peppermint extract
- ½ cup (100g) granulated sugar (for coating)
- ½ cup (60g) powdered sugar (for coating)
- Green food coloring gel
Instructions
- In a medium bowl, whisk together the flour, cocoa powder, baking powder, baking soda, and salt until uniform. Set aside.
- In a large bowl, beat the softened butter, granulated sugar, and brown sugar on medium speed for 2-3 minutes until light and fluffy. Scrape down the sides.
- Add the egg and vanilla extract, beating on low until combined. Add the mint extract and mix for another 30 seconds.
- Gradually add the dry ingredients to the wet ingredients on low speed. Stop mixing as soon as the flour disappears to avoid tough cookies.
- Cover the bowl and refrigerate the dough for at least 1 hour (or freeze for 30 minutes) until firm.
- While the dough chills, mix the granulated sugar, powdered sugar, and green food coloring gel in a shallow bowl until vibrant green.
- Preheat oven to 350°F (175°C) and line baking sheets with parchment paper. Scoop tablespoon-sized dough balls, roll in the green sugar mixture, and place 2 inches apart on sheets.
- Bake for 10-12 minutes until edges are set but centers are still soft. Cool on the baking sheet for 5 minutes before transferring to a wire rack.
Notes
The chilling step is critical for creating the signature cracks. Use gel food coloring to prevent the coating from becoming sticky. Do not overbake; the cookies should look slightly underdone in the center. For gluten-free, use a 1:1 GF flour blend. For dairy-free, use vegan butter.
Nutrition
- Serving Size: 1 cookie
- Calories: 165
- Sugar: 16
- Sodium: 120
- Fat: 8
- Saturated Fat: 5
- Carbohydrates: 22
- Fiber: 1
- Protein: 2
Keywords: chocolate mint cookies, crinkle cookies, fudgy cookies, holiday baking, peppermint cookies, easy cookie recipe


