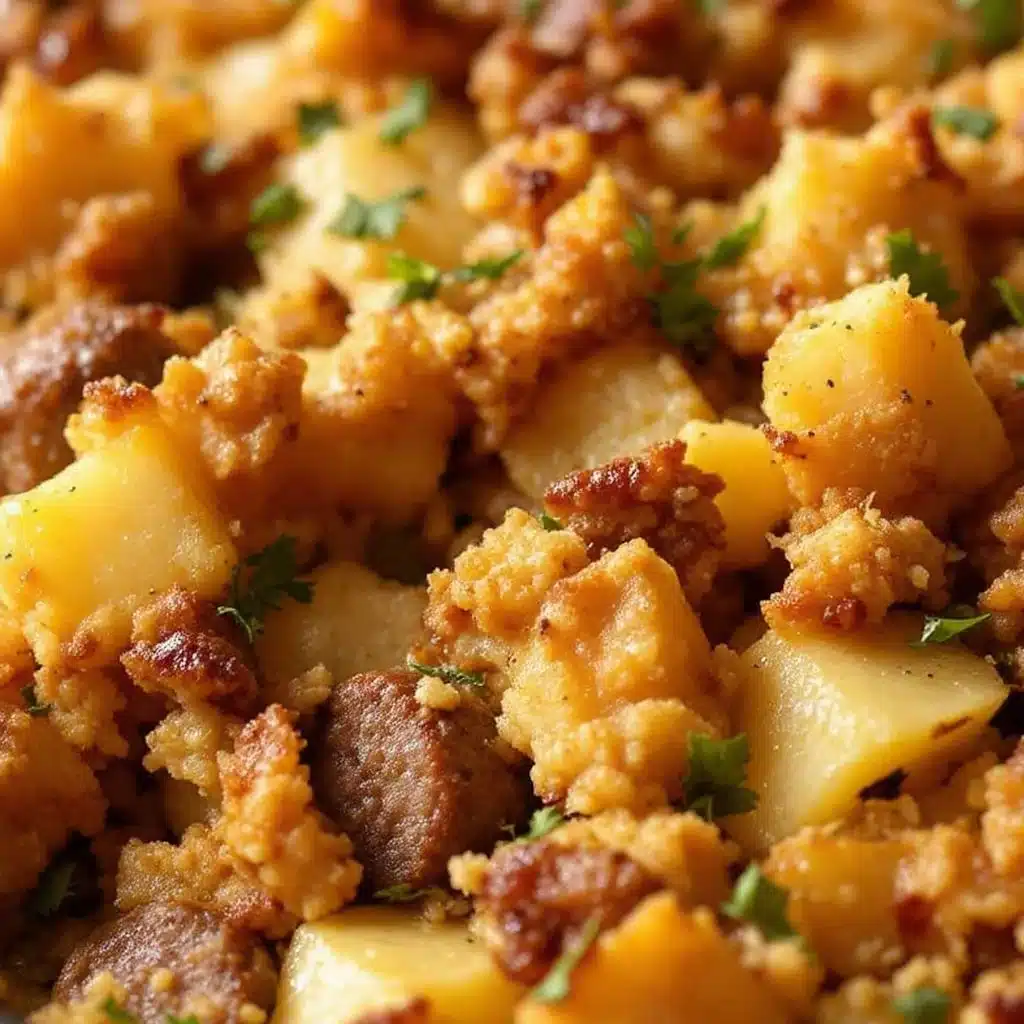
I am staring at the empty counter space and wondering if I can actually fit the casserole dish in the fridge before the turkey comes out. It is 7:00 AM on Thanksgiving, and my brain is already running on fumes. The usual panic is setting in because I know how chaotic the kitchen gets when the oven is full to the brim. I want the stuffing to be perfect, golden, and savory, but I absolutely do not want to be chopping onions while someone else is carving the bird. This is the exact moment I remember why I prepped everything yesterday. The make-ahead sausage sage stuffing is already assembled in the fridge, cold and ready to go. It smells faintly of raw bread and herbs, waiting for the heat. I feel a wave of relief wash over me because this strategy has saved me more times than I can count. It turns a stressful, time-sensitive task into a simple bake. You know how it is when everything else is burning the midnight oil? This dish just needs to sit there and warm up. That is the real magic of it. It lets you enjoy the holiday instead of living in the kitchen.
Why You’ll Love This Recipe
Let’s be honest for a second. Thanksgiving is not the time to experiment with new techniques or hope for the best. You need reliability. This make-ahead sausage sage stuffing is built on years of trial, error, and plenty of burnt edges that I learned from so you don’t have to. It is the kind of recipe that feels like a warm hug on a plate. Here is why it belongs in your holiday rotation:
- Stress-Free Prep: The hardest part is done the day before. You just pop it in the oven when the turkey is resting. It saves you precious hours on the big day.
- Deep Flavor Profile: We use savory sausage and plenty of fresh sage. It is not just plain bread cubes. The fat from the sausage infuses every crumb with flavor.
- Perfect Texture: By letting it rest overnight, the bread absorbs the broth fully. This prevents the soggy center disaster that happens when you rush it.
- Crowd-Pleaser: People go crazy for the crispy top and the soft interior. It pairs perfectly with roasted red pepper hummus if you are serving other savory dips, though it stands well on its own.
- Make-Ahead Friendly: You can assemble it up to 24 hours in advance. This frees up oven space for the turkey or mashed potatoes.
What makes this recipe different is the balance of moisture. Many stuffing recipes turn out dry because they use too much bread or not enough stock. This one is carefully calibrated. The sausage provides richness, while the sage cuts through the heaviness. It is comfort food done right. It reminds me of my grandmother’s kitchen, but with a modern twist that actually works for busy lives. It is the kind of side dish that disappears first. No leftovers usually make it to the table. If you love hearty sides, you might also enjoy checking out creamy herb and garlic cheese ball bites for a pre-game snack before the main event.
What Ingredients You Will Need
This recipe relies on simple, wholesome ingredients that deliver bold flavor without the fuss. You do not need fancy gourmet items from a specialty shop. Most of this is likely already in your pantry or fridge. The key is quality over quantity. Since the flavors are so prominent, using good sausage and fresh herbs makes a huge difference. Here is what you need to gather:
- Stale Bread: 12 to 14 cups of cubed bread. Day-old sourdough or French bread works best. It needs to be dry enough to soak up liquid without turning to mush. Avoid soft sandwich bread if you can.
- Italian Sausage: 1 pound of bulk Italian sausage. I recommend a trusted brand like Applegate for cleaner ingredients. You can use mild or hot depending on your spice tolerance. The fat rendered from this is crucial for flavor.
- Onions: 2 medium yellow onions, finely diced. Yellow onions offer a sweet depth when cooked down. Do not skip this step.
- Celery: 3 stalks of celery, diced. This adds a necessary crunch and earthy note that balances the rich meat.
- Fresh Sage: 1/4 cup of fresh sage leaves. This is non-negotiable. Dried sage does not have the same bright, piney aroma. Fresh is worth the trip to the store.
- Garlic: 4 cloves of garlic, minced. Garlic adds that essential savory backbone.
- Chicken Broth: 4 to 5 cups of low-sodium chicken broth. Using low-sodium gives you control over the final saltiness. Warm the broth before adding it.
- Heavy Cream: 1/2 cup of heavy cream. This adds richness and helps create a creamy texture in the center.
- Large Eggs: 2 large eggs, beaten. These act as a binder to hold the stuffing together.
- Butter: 2 tablespoons of unsalted butter. For sautéing the vegetables.
- Seasonings: 1 teaspoon of black pepper and salt to taste. Always taste your sausage first to adjust salt accordingly.
- Optional Add-ins: Dried cranberries or chopped apples can add a sweet contrast if you prefer that profile.
I always suggest using a mix of bread types if you have them. Sourdough gives a tangy bite, while brioche adds sweetness. For a gluten-free option, you can use certified gluten-free bread cubes, but ensure they are quite stale. If you are dairy-free, you can swap the cream for extra broth or a plant-based alternative, though the texture will be slightly different. Remember to let your bread dry out properly. If it is fresh from the bakery, toast it in the oven at 300°F for 10 minutes to remove moisture.
Which Bread Is Best For Stuffing?
The type of bread you choose dictates the texture of your final dish. Sourdough is my top pick because its sturdy crumb holds up well against wet broth. It does not dissolve easily. French bread is another excellent choice, offering a lighter texture but still maintaining structure. If you use whole wheat, be aware that it absorbs more liquid, so you may need extra broth. Avoid soft, highly processed breads as they tend to get gummy. The goal is a tender interior with a bit of chew.
Equipment Needed
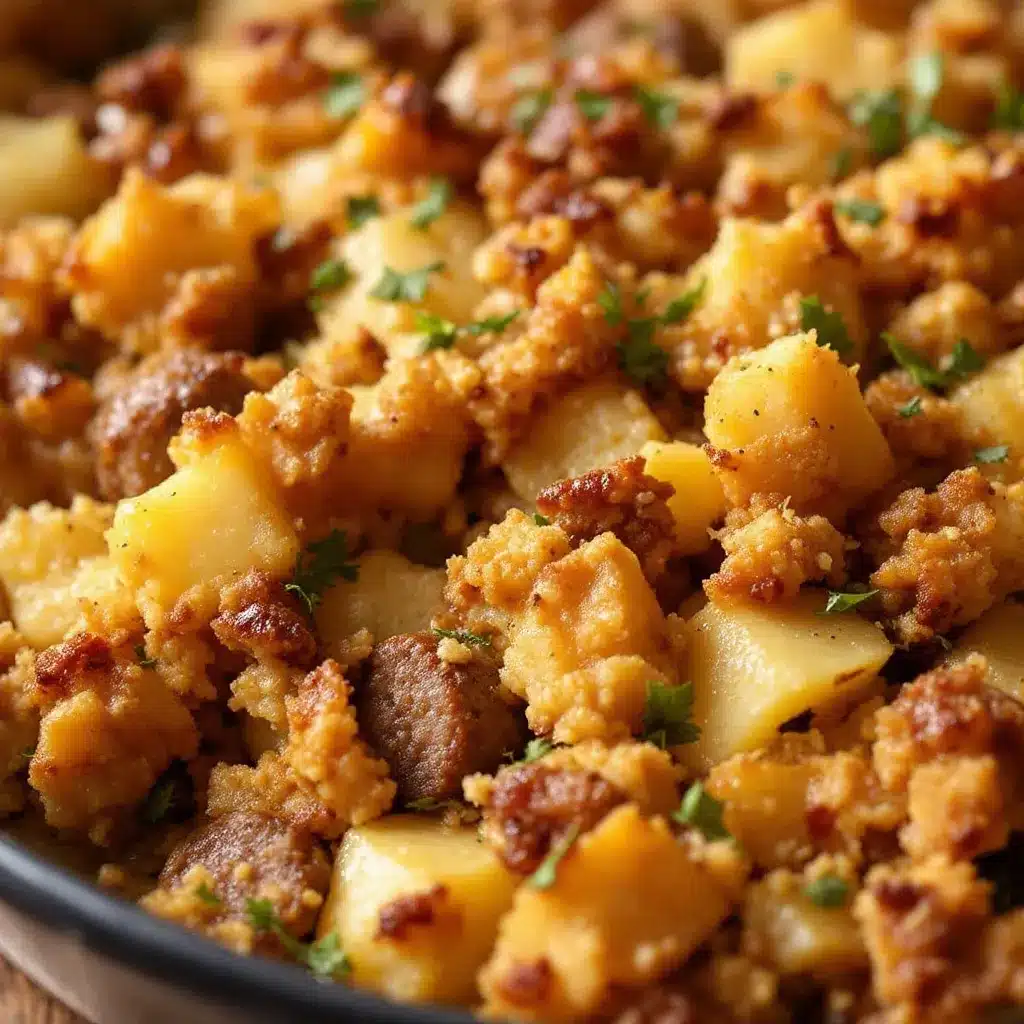
You do not need a fancy kitchen to make this, but having the right tools helps. Here is what you will need:
- Large Skillet: A 12-inch cast iron skillet or heavy-bottomed pan is ideal for browning the sausage. Cast iron retains heat well and gives a nice sear.
- Large Mixing Bowl: A bowl big enough to hold all the bread cubes and wet ingredients. Something with a wide rim makes tossing easier.
- Measuring Cups and Spoons: For accurate measurements of broth and spices.
- Chef’s Knife and Cutting Board: Essential for dicing onions and celery evenly.
- 9×13 Inch Baking Dish: A standard casserole dish works perfectly. Glass or ceramic dishes heat evenly. Avoid metal pans as they can over-brown the edges too quickly.
- Aluminum Foil: To cover the dish during the initial baking phase.
- Wooden Spoon or Spatula: For stirring the sausage and mixing the stuffing.
If you do not have a large skillet, you can brown the sausage in batches. Just make sure to drain excess grease if it is too much, but leave a little for flavor. A non-stick pan works fine if you are careful not to scratch it. For the baking dish, if you only have an 8×8, you might need to double the recipe or bake it in two batches. Consistent depth is key for even cooking.
Preparation Method
Follow these steps carefully to ensure your stuffing turns out perfectly. The process is straightforward, but timing matters.
- Prepare the Bread (Day Before): Cut your bread into 1-inch cubes. Spread them out on baking sheets and let them air dry overnight. Or, toast them at 300°F for 10 minutes. They should feel hard to the touch. This step takes about 10 minutes of active work. (10 minutes)
- Cook the Sausage: Heat your large skillet over medium heat. Add the bulk sausage, breaking it apart with a wooden spoon. Cook until browned and no pink remains, about 8-10 minutes. Drain excess grease if there is more than a tablespoon. Set aside. (10 minutes)
- Sauté Aromatics: In the same skillet, add the butter. Once melted, add the diced onions and celery. Cook for 5-7 minutes until softened and translucent. Add the minced garlic and fresh sage in the last minute. Do not burn the garlic. (7 minutes)
- Combine Wet Ingredients: In a large jug or bowl, whisk together the warm chicken broth, heavy cream, and beaten eggs. Add black pepper. Set aside. (2 minutes)
- Assemble the Stuffing: In your large mixing bowl, combine the dried bread cubes, cooked sausage, and sautéed vegetable mixture. Pour the liquid mixture over everything. Gently fold until all bread is moistened. Do not press down hard. Let it sit for 10 minutes so the bread absorbs the liquid. (15 minutes)
- Transfer to Dish: Grease your 9×13 baking dish with butter or oil. Transfer the stuffing mixture into the dish. Spread it out evenly. Cover tightly with aluminum foil. Refrigerate immediately. (5 minutes)
- Bake the Stuffing: Preheat your oven to 350°F. Remove the stuffing from the fridge 30 minutes before baking to take the chill off. Bake covered for 45 minutes. Then, remove the foil and bake for another 15-20 minutes until the top is golden brown and crispy. (65-70 minutes total)
- Rest and Serve: Let the stuffing rest for 10 minutes before serving. This allows it to set slightly for easier scooping. (10 minutes)
The total time from start to finish is about 2 hours, but most of it is inactive. The key is ensuring the internal temperature reaches 165°F for food safety. Use a thermometer to check the center of the dish. If the top is browning too fast, tent it with foil.
How Do I Know When It’s Done?
Visual cues are your best friend here. The top should be a deep golden brown, almost caramelized in spots. When you insert a knife into the center, it should come out clean, not covered in wet batter. The edges should be pulling away slightly from the sides of the dish. If it looks dry, you can sprinkle a little extra broth over it before the final uncovered bake.
Cooking Tips & Techniques
Having cooked hundreds of holiday meals, I have learned a few tricks to avoid common pitfalls. First, never skip the step of drying your bread. Wet bread leads to a soggy, dense stuffing that lacks texture. Second, taste your sausage before adding salt. Some brands are very salty, while others are bland. Adjust your seasoning accordingly. Third, do not overcrowd the skillet when browning the sausage. If you do, it steams instead of browning. Browned meat has more flavor due to the Maillard reaction. Fourth, let the stuffing rest after baking. Cutting into it immediately causes it to fall apart. Resting allows the structure to set. Finally, if you are baking it at a lower temperature, extend the time but keep it covered to prevent drying out. Consistency is key. I once undercooked a batch and had to start over, so double-check your thermometer.
How to Keep It Moist
The secret to moist stuffing is the ratio of liquid to bread. If your bread is very dry, it will soak up more liquid. If it is slightly stale but still soft, it needs less. Always err on the side of slightly wet before baking. The steam during baking will cook the bread through. Adding the heavy cream helps keep the center creamy. Do not skip it if you want that luxurious texture.
Variations & Adaptations
While the classic version is my favorite, there are many ways to adapt this recipe to suit your tastes or dietary needs. Here are some ideas:
- Vegetarian Option: Swap the sausage for sautéed mushrooms and walnuts. Mushrooms provide a meaty texture and umami flavor. Use vegetable broth instead of chicken broth.
- Spicy Kick: Use hot Italian sausage and add a pinch of red pepper flakes to the vegetable mix. This pairs well with a spicy crispy buffalo cauliflower bites if you are serving a plant-based main.
- Apple and Sage: Add 1 cup of diced apples and a tablespoon of maple syrup. The sweetness balances the savory herbs beautifully.
- Gluten-Free: Use gluten-free bread cubes and ensure your sausage and broth are certified gluten-free. Most broths are, but always check labels.
- Dairy-Free: Replace the heavy cream with full-fat coconut milk or extra broth. The texture will be slightly less creamy but still delicious.
I once tried adding chopped apricots instead of cranberries, and it was a hit. The tartness cut through the richness. Feel free to experiment with dried fruits or nuts like pecans or walnuts for crunch. The base recipe is a canvas for your creativity.
Serving & Storage Suggestions
Serve the stuffing hot, straight from the oven. It pairs wonderfully with roast turkey and creamy roasted butternut squash soup for a lighter alternative. Garnish with fresh parsley or extra sage leaves for color. For storage, let the stuffing cool completely before refrigerating. It will keep in an airtight container in the fridge for up to 4 days. To reheat, place portions in the oven at 350°F for 15-20 minutes, or microwave individual servings for 2-3 minutes. You can also freeze the unbaked stuffing for up to 3 months. Just thaw it in the fridge overnight before baking. The flavors actually meld and improve over time in the fridge, making the make-ahead aspect even more valuable.
Can I Freeze the Baked Stuffing?
Yes, you can freeze baked stuffing. Wrap it tightly in plastic wrap and then foil. It will last for 2-3 months. Thaw in the fridge and reheat in the oven. The texture may be slightly softer, but it will still taste great. Avoid freezing it if you plan to add crispy toppings later, as they may lose their crunch upon reheating.
Nutritional Information & Benefits
This stuffing is rich and hearty, so portion control is key. Each serving (about 1 cup) contains approximately 350 calories, 15g of fat, 40g of carbohydrates, and 12g of protein. The sausage provides protein and iron, while the bread offers energy. Sage has antioxidant properties and aids digestion. If you are watching sodium, use low-sodium broth and choose lean sausage. For a lower-carb option, increase the vegetable ratio and use less bread. It is a balanced side dish that complements a heavy meal well. Personally, I find it satisfying enough to be a meal on its own with a side salad.
Conclusion
This make-ahead sausage sage stuffing is a holiday game-changer. It saves time, reduces stress, and delivers incredible flavor. I hope you try it and find it becomes a staple in your home. Customize it with your favorite ingredients and share it with loved ones. Leave a comment below with your variations or questions. Happy cooking!
FAQs
Can I make this stuffing the night before?
Yes, this is the best part. Assemble it completely, cover it, and refrigerate it overnight. Bake it the next day as directed. This saves significant time on Thanksgiving.
What kind of sausage should I use?
Italian sausage (mild or hot) is traditional. Breakfast sausage also works well. Avoid pre-cooked sausage unless you adjust the liquid, as it is already cooked.
Can I use bread from my local bakery?
Absolutely. Day-old bakery bread is ideal. If it is fresh, toast it first to dry it out. Avoid soft sandwich bread.
How do I prevent the stuffing from being dry?
Ensure you use enough broth. The bread should be moistened but not swimming in liquid. Let it sit for 10 minutes before baking to absorb the liquid.
Can I bake this in a slow cooker?
Yes, transfer the mixture to a greased slow cooker. Cook on low for 3-4 hours. The texture will be softer, but it works well for large crowds.
Pin This Recipe!
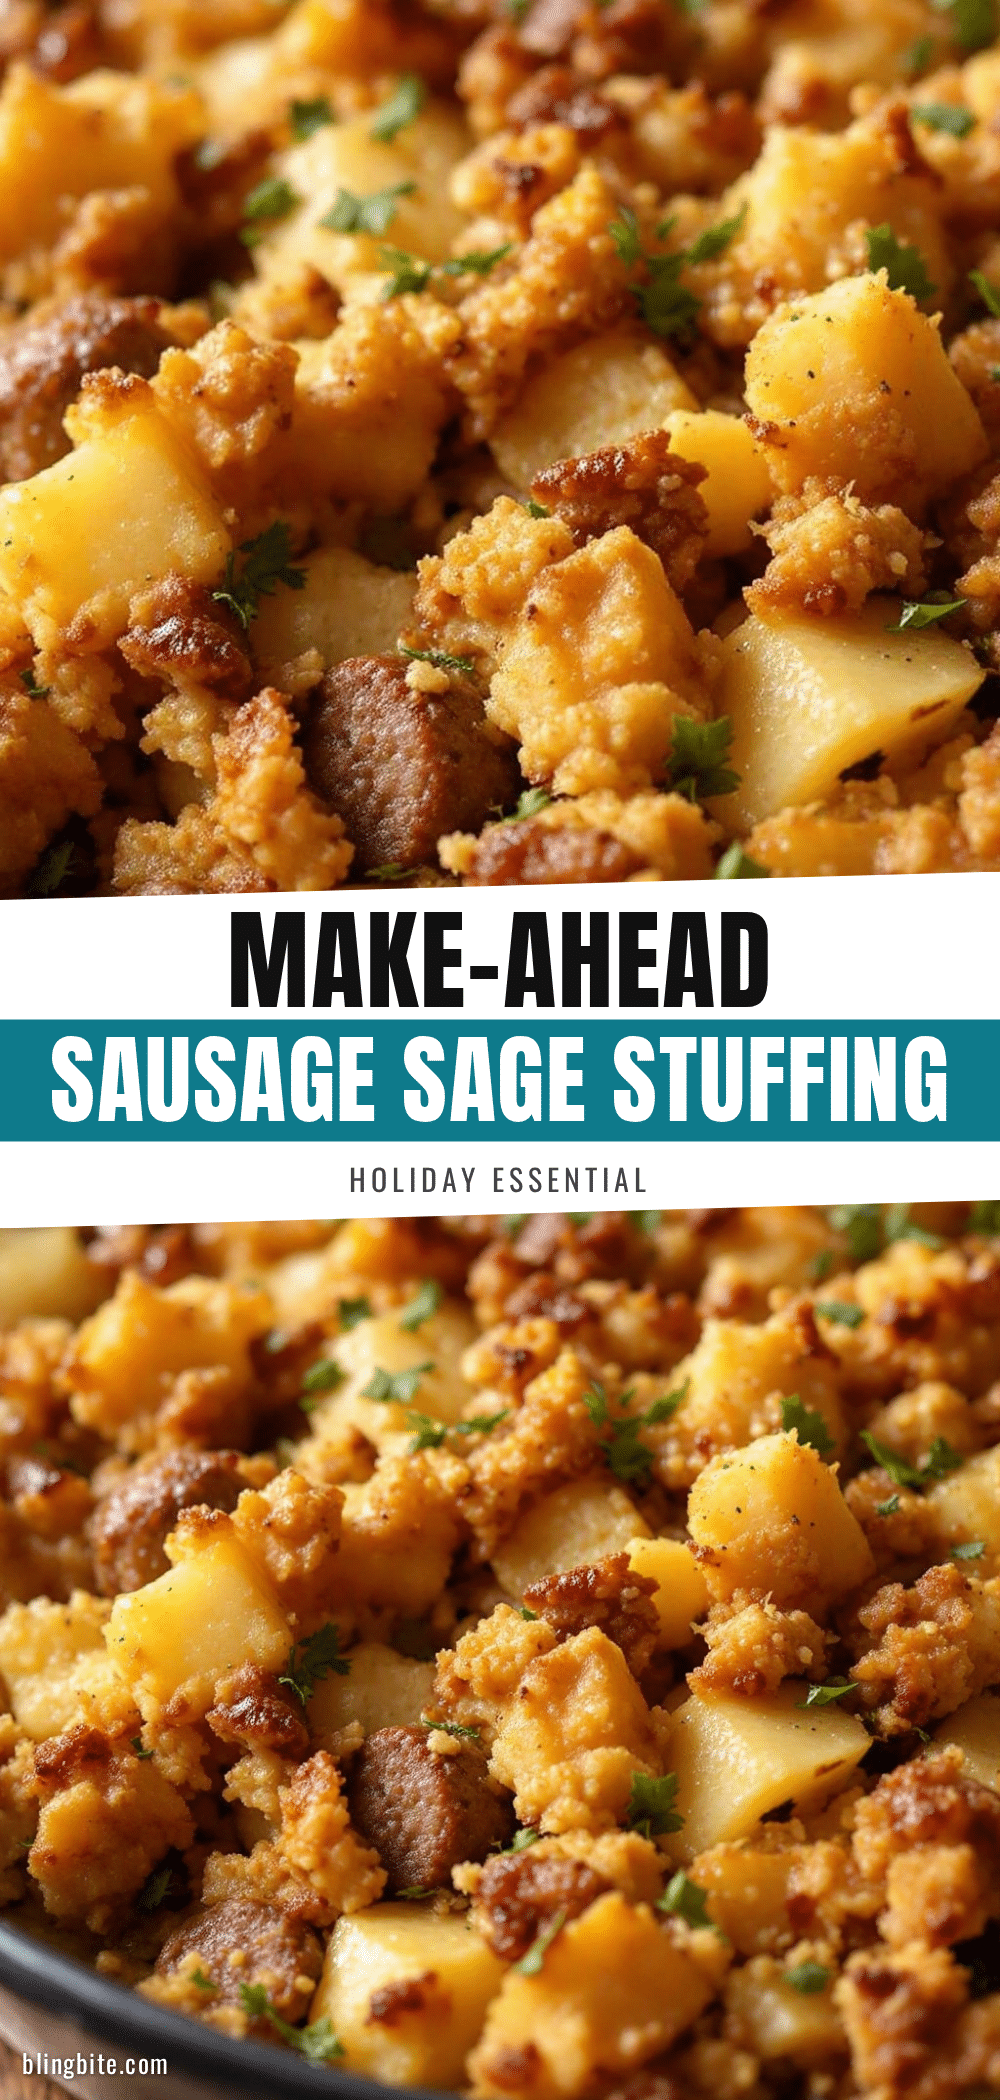
Make-Ahead Sausage Sage Stuffing: 5 Easy Holiday Side

A stress-free, make-ahead sausage sage stuffing that absorbs broth overnight for perfect texture and deep flavor, featuring crispy golden tops and a soft, savory interior.
- Prep Time: 30 minutes
- Cook Time: 65-70 minutes
- Total Time: 2 hours (plus overnight chilling)
- Yield: 8 servings 1x
- Category: Side Dish
- Cuisine: American
Ingredients
- 12 to 14 cups cubed stale bread (sourdough or French bread)
- 1 pound bulk Italian sausage (mild or hot)
- 2 medium yellow onions, finely diced
- 3 stalks celery, diced
- 1/4 cup fresh sage leaves
- 4 cloves garlic, minced
- 4 to 5 cups low-sodium chicken broth (warmed)
- 1/2 cup heavy cream
- 2 large eggs, beaten
- 2 tablespoons unsalted butter
- 1 teaspoon black pepper
- Salt to taste
- Optional: Dried cranberries or chopped apples
Instructions
- Prepare the bread by cutting it into 1-inch cubes and letting them air dry overnight or toasting at 300°F for 10 minutes until hard.
- Heat a large skillet over medium heat and cook the bulk sausage, breaking it apart, until browned and no pink remains (8-10 minutes). Drain excess grease if necessary.
- In the same skillet, melt butter and sauté diced onions and celery for 5-7 minutes until softened. Add minced garlic and fresh sage in the last minute.
- In a large jug or bowl, whisk together the warm chicken broth, heavy cream, beaten eggs, and black pepper.
- In a large mixing bowl, combine the dried bread cubes, cooked sausage, and sautéed vegetable mixture. Pour the liquid mixture over everything and gently fold until moistened.
- Let the mixture sit for 10 minutes to allow the bread to absorb the liquid.
- Transfer the stuffing to a greased 9×13 inch baking dish, spread evenly, cover tightly with aluminum foil, and refrigerate.
- Preheat oven to 350°F. Remove stuffing from fridge 30 minutes before baking. Bake covered for 45 minutes.
- Remove foil and bake for another 15-20 minutes until the top is golden brown and crispy.
- Let the stuffing rest for 10 minutes before serving to allow it to set.
Notes
Ensure bread is stale or toasted to prevent soggy texture. Taste sausage before adding salt as brands vary in sodium content. Do not overcrowd the skillet when browning sausage to ensure proper Maillard reaction. Internal temperature should reach 165°F for food safety. Can be frozen unbaked for up to 3 months.
Nutrition
- Serving Size: 1 cup
- Calories: 350
- Sugar: 4
- Sodium: 600
- Fat: 15
- Saturated Fat: 6
- Carbohydrates: 40
- Fiber: 3
- Protein: 12
Keywords: make-ahead stuffing, sausage sage stuffing, holiday side dish, Thanksgiving recipe, easy stuffing, gluten-free stuffing option


