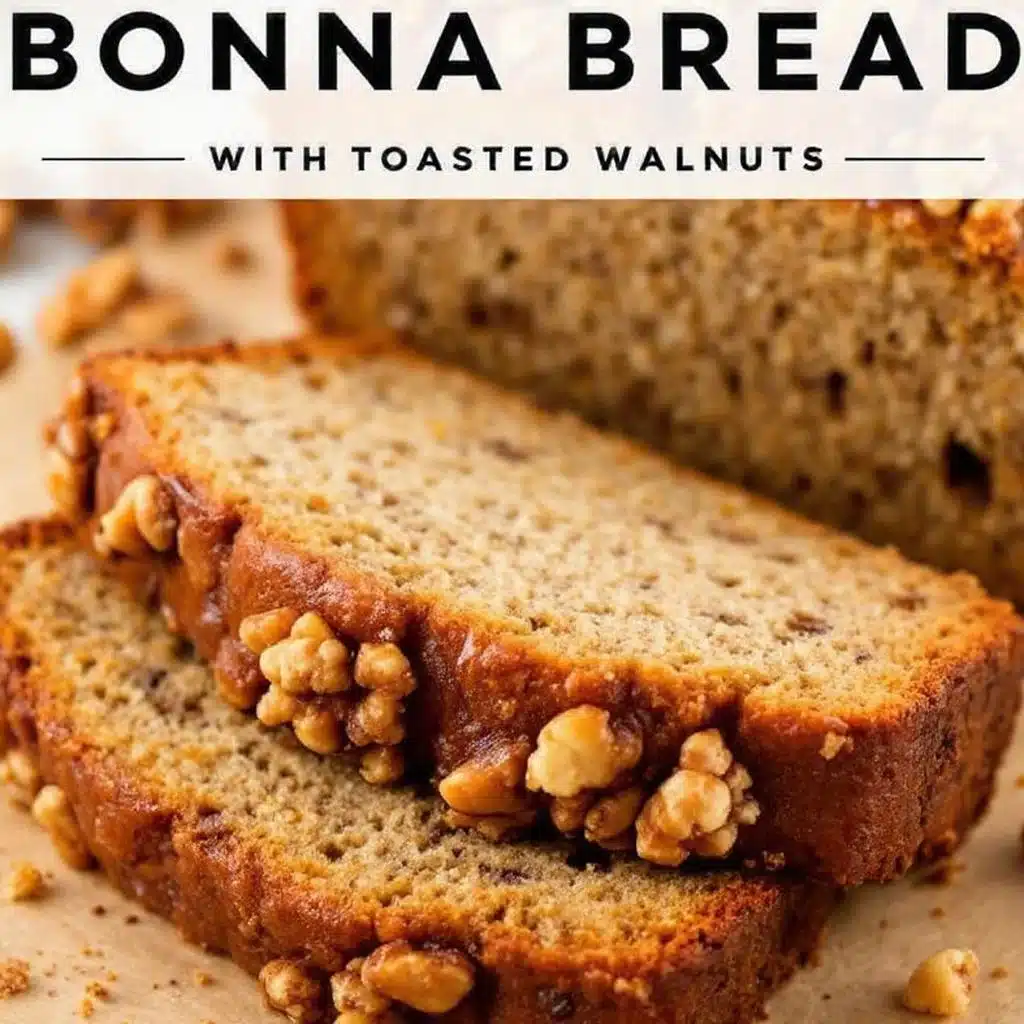
I burned the bottom of this banana bread every single time until I finally figured out why. It wasn’t the oven temperature, and it definitely wasn’t the bananas. It was the pan. For years, I used a dark metal loaf pan because that’s what my grandmother used, and I assumed that was just how you made banana bread. The result was always the same: a crust so dark it looked like charcoal, while the center remained gummy and raw. I ate the burnt edges and threw the rest away, feeling like a failure in my own kitchen.
Let’s face it, nobody wants to spend an hour baking only to scrape off half their dessert. The smell of burning sugar and over-toasted nuts fills the house, and the disappointment is palpable. I almost gave up on homemade banana bread entirely. I considered just buying a loaf from the bakery, even though those are often dry as cardboard. But then I remembered a tip from a local baker friend about using light-colored aluminum pans and lowering the oven temperature by 25 degrees.
The first time I tried it with a light pan, the result was shocking. The crust was a perfect golden brown, and the inside was moist without being wet. The walnuts toasted evenly, releasing their oils into the batter without turning bitter. It was a game-changer. I realized that the secret to that classic, moist crumb wasn’t just about the ratio of wet to dry ingredients. It was about heat management and patience.
Now, when I bake this moist classic banana bread with toasted walnuts, I don’t stress. I know exactly how long to bake it and how to tell when it’s done. The scent of cinnamon and vanilla fills the kitchen, and the house smells like comfort. It’s not just a recipe; it’s a lesson in listening to your oven and choosing the right tools. Once you get this method down, you’ll never go back to the burnt edges again.
Why You’ll Love This Moist Classic Banana Bread with Toasted Walnuts
This isn’t just another banana bread recipe that you’ll find buried in a drawer of printouts. It’s the one you’ll come back to every time you have a bunch of brown bananas that are about to turn black. I’ve tested dozens of versions, from the overly sweet cake-like ones to the dense, bread-heavy loaves, and this specific combination hits the sweet spot. It’s moist, yes, but it has structure. It holds together when sliced but melts in your mouth.
- Quick & Easy: You can have this from bowl to oven in about 15 minutes. It’s perfect for those Tuesday night cravings or when you need a last-minute treat for guests who show up unexpectedly.
- Simple Ingredients: You likely have everything you need right now. Ripe bananas, flour, sugar, eggs, butter, and walnuts. No fancy pantry items or hard-to-find spices. It’s honest, simple cooking.
- Perfect for Breakfast or Snack: Slice it up with a cup of coffee in the morning, or enjoy a thick slice with tea in the afternoon. It’s versatile enough to be a dessert or a breakfast staple.
- Crowd-Pleaser: Even people who claim they don’t like banana bread will eat this. The toasted walnuts add a sophisticated crunch that elevates the flavor profile beyond the usual mushy texture.
- Unbelievably Delicious: The texture is key. It’s tender and crumbly, not dense. The balance of sweetness from the ripe bananas and the savory note from the walnuts creates a complex flavor that keeps you coming back for more.
What makes this recipe different is the pre-toasting of the walnuts. Most people just throw raw nuts into the batter, but toasting them first brings out their natural oils and deepens the flavor. It’s a small step that makes a huge difference. Also, using overripe bananas ensures maximum sweetness and moisture without adding extra sugar. It’s comfort food reimagined—simple, reliable, and deeply satisfying. It’s the kind of recipe that reminds you why you started cooking in the first place.
What Ingredients You Will Need
This recipe relies on the quality and ripeness of a few key components to deliver that signature moist texture. You don’t need fancy equipment or exotic spices, just good, simple ingredients that work together harmoniously. The bananas provide the natural sweetness and moisture, while the walnuts add texture and a nutty depth that balances the sugar.
- Ripe Bananas (3 medium): These are the star of the show. You want them to be very ripe, with brown spots all over the peels. The riper they are, the sweeter and more flavorful the bread will be. If they are green or yellow, the bread will be bland. Mash them thoroughly for a smooth batter.
- Unsalted Butter (1/2 cup / 113g): Using unsalted butter allows you to control the saltiness of the bread. Make sure it’s softened to room temperature so it creams easily with the sugar. This helps incorporate air into the batter, leading to a lighter crumb.
- Granulated Sugar (3/4 cup / 150g): This provides the sweetness and helps create a slightly crisp crust. You can reduce this to 2/3 cup if you prefer a less sweet loaf, but don’t go lower than that, or the texture will suffer.
- Brown Sugar (1/4 cup / 50g): Adding a small amount of brown sugar adds a hint of molasses flavor and extra moisture. It helps keep the bread soft for days after baking.
- Eggs (2 large): These act as the binder, holding everything together. Use large eggs that are at room temperature for the best emulsion. This helps the batter rise evenly.
- All-Purpose Flour (1 1/2 cups / 190g): This is the standard flour for this recipe. Don’t use self-rising flour unless you adjust the baking soda and salt accordingly. Spoon the flour into the measuring cup and level it off to avoid a dry, dense loaf.
- Baking Soda (1 tsp): This is the leavening agent that helps the bread rise. It reacts with the acidity in the bananas to create bubbles. Make sure it’s fresh; old baking soda won’t work well.
- Salt (1/2 tsp): Salt is crucial for balancing the sweetness. It makes the banana flavor pop. Don’t skip this step, even if you are watching your sodium intake.
- Vanilla Extract (1 tsp): A good quality vanilla extract adds warmth and depth. Avoid imitation vanilla if you can help it; the flavor difference is noticeable in a simple recipe like this.
- Walnuts (1 cup, toasted): Chopped walnuts add a nice crunch. Toasting them first enhances their flavor. You can use pecans if you prefer, but walnuts are the classic choice for this recipe.
Do I need to use a specific type of banana?
Yes, the ripeness matters. The darker the peel, the sweeter the banana. Look for bananas that are mostly brown with maybe a hint of yellow. They should feel soft to the touch. If you can’t wait for them to ripen, you can bake them on a sheet pan at 300°F (150°C) for 15-20 minutes until the peels turn black. This speeds up the process and concentrates the sugars.
Can I substitute the walnuts?
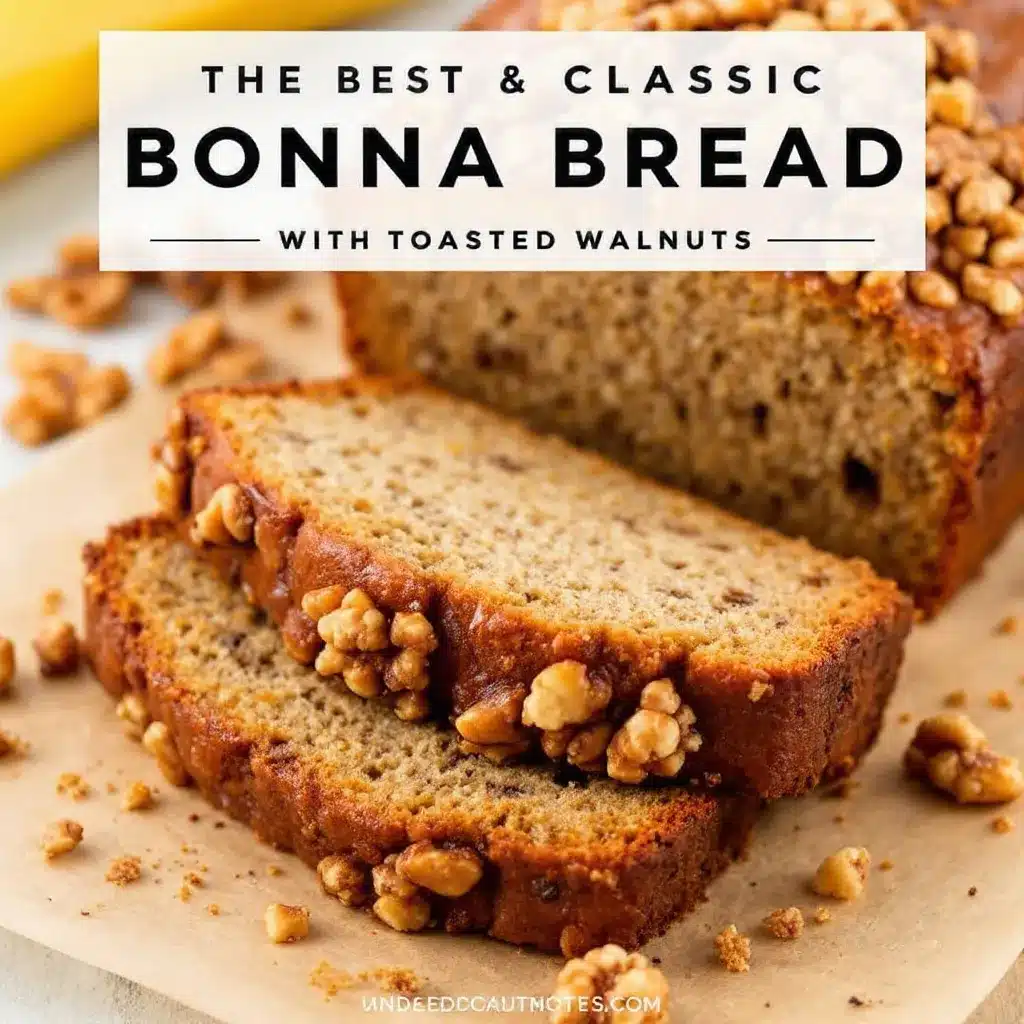
Absolutely. If you have a nut allergy, you can skip the nuts entirely or use seeds like pumpkin or sunflower seeds for a similar crunch. Pecans are a great alternative if you prefer their milder flavor. Chocolate chips also work well if you want a sweeter treat, though it changes the profile from classic to dessert-like.
Equipment Needed
You don’t need a lot of fancy gadgets to make this bread, but having the right tools makes the process smoother and the results more consistent. The most important piece of equipment is the loaf pan. As I mentioned earlier, a light-colored aluminum loaf pan is best. Dark metal pans absorb more heat and can cause the edges to burn before the center is cooked. If you only have a dark pan, you’ll need to lower the oven temperature by another 25 degrees and check the bread earlier.
A large mixing bowl is essential. You’ll be mashing bananas, mixing wet and dry ingredients, and folding in the nuts. A bowl with a spout can be helpful for pouring the batter into the pan without spilling. A potato masher or a sturdy fork is all you need to mash the bananas. No food processor is necessary, and in fact, blending the bananas too much can make the bread gummy. You want some texture.
A wire cooling rack is crucial. Once the bread is out of the oven, you need to let it cool in the pan for 10 minutes, then transfer it to the rack. This allows air to circulate around the loaf, preventing the bottom from becoming soggy. If you leave it in the hot pan, the residual heat will continue to cook the bottom, potentially making it mushy.
Lastly, a sharp serrated knife is best for slicing the bread. It cuts through the crust and crumb cleanly without squishing the loaf. A regular knife might tear the soft interior. Keeping your knife sharp ensures neat slices that look professional and hold their shape on the plate.
Preparation Method
- Preheat and Prep: Start by preheating your oven to 325°F (165°C). This slightly lower temperature is key for even baking. Line a 9×5-inch loaf pan with parchment paper, leaving an overhang on the long sides. This acts as a sling, making it easy to lift the bread out of the pan once it’s baked. Grease the parchment lightly with butter or cooking spray.
- Toast the Walnuts: While the oven heats, chop your walnuts into small pieces. Spread them in a single layer on a small baking sheet. Toast them in the oven for 5-7 minutes, or in a dry skillet over medium heat for 3-4 minutes. Watch them closely; nuts can go from toasted to burnt in seconds. Let them cool completely before adding them to the batter. This step is non-negotiable for flavor.
- Mash the Bananas: In a large mixing bowl, peel and mash the ripe bananas. Use a potato masher for a rustic texture, or a fork for a smoother consistency. You should have about 1 1/2 cups of mashed bananas. If there are large chunks left, break them down with your fork.
- Mix Wet Ingredients: To the mashed bananas, add the softened unsalted butter, granulated sugar, and brown sugar. Mix vigorously with a wooden spoon or spatula until the mixture is smooth and well combined. The sugar might not fully dissolve, but that’s okay. Stir in the eggs one at a time, mixing well after each addition. Finally, stir in the vanilla extract.
- Add Dry Ingredients: Sprinkle the all-purpose flour, baking soda, and salt over the wet mixture. Gently fold the dry ingredients into the wet using a spatula. Stop mixing as soon as you no longer see streaks of flour. Overmixing develops gluten, which leads to a tough, dense bread. It’s okay if the batter looks a bit lumpy.
- Fold in Walnuts: Gently fold the cooled, toasted walnuts into the batter. Distribute them evenly, but don’t overwork the batter. If you want a more uniform distribution, you can reserve a small handful of nuts to sprinkle on top of the loaf before baking for a pretty presentation.
- Bake: Pour the batter into the prepared loaf pan. Smooth the top with a spatula. Bake for 55-65 minutes. Do not open the oven door before the 45-minute mark, as this can cause the bread to collapse. The bread is done when the top is golden brown, the sides pull away slightly from the pan, and a toothpick inserted into the center comes out clean or with a few moist crumbs (no wet batter).
- Cool: Let the bread cool in the pan for 10 minutes. Then, use the parchment paper sling to lift the loaf out onto a wire cooling rack. Let it cool completely before slicing, which takes about 30-45 minutes. This allows the structure to set, making slicing much easier.
What if my toothpick comes out wet?
If the toothpick comes out with wet batter, cover the top of the loaf loosely with aluminum foil and continue baking for 10-15 minutes. The foil prevents the top from burning while the center finishes cooking. Every oven is different, so trust your senses as much as the timer.
Cooking Tips & Techniques
Getting the texture right is the hardest part of banana bread. The biggest mistake people make is under-ripening their bananas. I can’t stress this enough. Green bananas have starch, not sugar. Ripe bananas have sugar and moisture. If your bananas aren’t brown enough, the bread will be dry and tasteless. Don’t be afraid of the ugly peels; they are a sign of flavor.
Another common error is overmixing the batter. When you combine the wet and dry ingredients, mix just until they come together. If you mix until smooth, you’re developing gluten, and your bread will be tough and chewy instead of tender and crumbly. It should look shaggy and slightly lumpy. That’s a good thing.
Temperature control is also vital. If your oven runs hot, use an oven thermometer to check the actual temperature. Many ovens are off by 25-50 degrees. If your oven runs hot, you might need to lower the baking temperature further. Also, make sure your ingredients are at room temperature, especially the eggs and butter. Cold ingredients can cause the batter to seize up and not emulsify properly, leading to a curdled appearance.
Don’t skip the cooling step. It’s tempting to slice into the warm bread, but it’s too soft. The structure hasn’t set yet, and slicing it will result in a mushy mess. Let it cool on a rack so air can circulate. This also prevents condensation from forming on the bottom, which would make the crust soggy. Patience pays off in the end.
Variations & Adaptations
While the classic version with walnuts is my favorite, there are many ways to adapt this recipe to suit your tastes or dietary needs. You can easily turn this into a chocolate banana bread by folding in 1/2 cup of chocolate chips along with the walnuts. The richness of the chocolate pairs beautifully with the banana.
For a gluten-free version, you can substitute the all-purpose flour with a 1:1 gluten-free flour blend. Make sure the blend contains xanthan gum, or add 1/2 tsp of xanthan gum to the dry ingredients. The texture might be slightly denser, but it will still be moist and delicious. You can also add a splash of almond milk if the batter seems too thick.
If you want to reduce the sugar, you can cut the granulated sugar to 1/2 cup and the brown sugar to 2 tablespoons. However, keep in mind that sugar also contributes to moisture and texture, so the bread might be slightly drier. Adding an extra mashed banana or a tablespoon of applesauce can help compensate for the lost moisture.
For a dairy-free option, swap the butter for a high-quality plant-based butter or coconut oil. Coconut oil will add a subtle coconut flavor, which pairs well with the bananas and walnuts. Use refined coconut oil if you don’t want any coconut taste. The baking time might be slightly shorter since plant-based butters can have a lower melting point.
I once tried adding a swirl of peanut butter to the batter before baking. I dolloped spoonfuls of peanut butter on top and swirled it with a knife. It created beautiful marble patterns and added a salty, creamy contrast that was amazing. It’s a simple variation that elevates the loaf significantly.
Serving & Storage Suggestions
This banana bread is best served at room temperature, allowing the flavors to fully develop. A thick slice paired with a hot cup of coffee or tea is the ultimate comfort experience. You can also warm it slightly in the microwave for 20 seconds to soften the crust and release the aroma of toasted walnuts.
For storage, wrap the cooled loaf tightly in plastic wrap or aluminum foil. It will keep at room temperature for up to 3 days. If you live in a humid climate, store it in the refrigerator to prevent mold. It will last up to a week in the fridge, but bring it to room temperature before serving for the best texture.
For longer storage, this bread freezes beautifully. Wrap individual slices or the whole loaf in plastic wrap, then in a layer of aluminum foil or place it in a freezer-safe bag. It can be frozen for up to 3 months. To thaw, leave it on the counter for a few hours or warm it in the oven at 300°F for 10 minutes.
As it sits, the flavors meld together, making the bread taste even better on the second and third day. The moisture from the bananas distributes evenly throughout the crumb. It’s perfect for packing in lunches or enjoying as a quiet afternoon snack. Just make sure you have some butter on hand to spread on top.
Nutritional Information & Benefits
While this is a treat, it’s not without its nutritional benefits. Bananas are a great source of potassium, which supports heart health and muscle function. They also provide vitamin B6 and vitamin C. The walnuts add healthy omega-3 fatty acids, which are good for brain health and reducing inflammation. They also provide fiber and protein, which help keep you full.
Each slice contains approximately 250 calories, with a balance of carbohydrates, fats, and a small amount of protein. The recipe is naturally gluten-free if you use gluten-free flour, and it can be made dairy-free with substitutions. However, it does contain nuts, so it’s not suitable for those with nut allergies. It’s a wholesome option for breakfast or a snack, especially when paired with a protein source like Greek yogurt or a boiled egg.
I appreciate that this recipe uses simple, recognizable ingredients. There are no artificial preservatives or weird additives. It’s just real food made with care. It’s a way to use up overripe fruit that would otherwise go to waste, reducing food waste in your kitchen. It’s a small step towards more sustainable cooking habits.
Conclusion
This moist classic banana bread with toasted walnuts is more than just a recipe; it’s a testament to the power of simple ingredients and proper technique. I’ve learned through trial and error that the secret lies in the details: ripe bananas, toasted nuts, and a light-colored pan. When you get these right, the result is a loaf that is tender, flavorful, and deeply satisfying.
I encourage you to try this recipe and make it your own. Add chocolate chips, swap the nuts for seeds, or reduce the sugar. Experiment until you find the version that suits your palate best. Cooking is a personal journey, and this bread is a perfect canvas for your creativity.
Thank you for joining me in the kitchen. I hope this recipe brings you joy and comfort, just as it has for me. If you make this loaf, I’d love to hear how it turns out. Leave a comment below with your thoughts, or share a photo on social media. Your feedback helps me improve and inspires others to try new recipes. Happy baking!
Frequently Asked Questions
Can I use frozen bananas for this recipe?
Yes, frozen bananas work great. Just thaw them completely and drain any excess liquid before mashing. Frozen bananas are often very ripe, which is ideal for this recipe. The texture might be slightly wetter, so you may need to reduce the liquid slightly or bake for a few minutes longer.
Why is my banana bread dense?
Dense banana bread is usually caused by overmixing the batter or using too much flour. Make sure you spoon the flour into the measuring cup and level it off. Also, mix the dry ingredients into the wet ingredients just until combined. Overmixing develops gluten, leading to a tough texture.
How do I know when the banana bread is done?
The bread is done when the top is golden brown, the edges pull away from the pan, and a toothpick inserted into the center comes out clean or with a few moist crumbs. The internal temperature should be around 200°F (93°C). Avoid opening the oven door too early, as this can cause the bread to collapse.
Can I make this recipe in a muffin tin?
Absolutely. You can divide the batter into a greased muffin tin and bake for 20-25 minutes at the same temperature. Check them with a toothpick after 15 minutes. Muffins are great for portion control and making individual servings for gifts or lunches.
Why did my banana bread sink in the middle?
Sinking can happen if the bread is underbaked or if the oven door was opened too early. It can also occur if the leavening agent (baking soda) is old or if there is too much liquid in the batter. Make sure your baking soda is fresh and that you haven’t added too many wet ingredients. Let the bread cool completely before slicing to allow the structure to set.
Pin This Recipe!
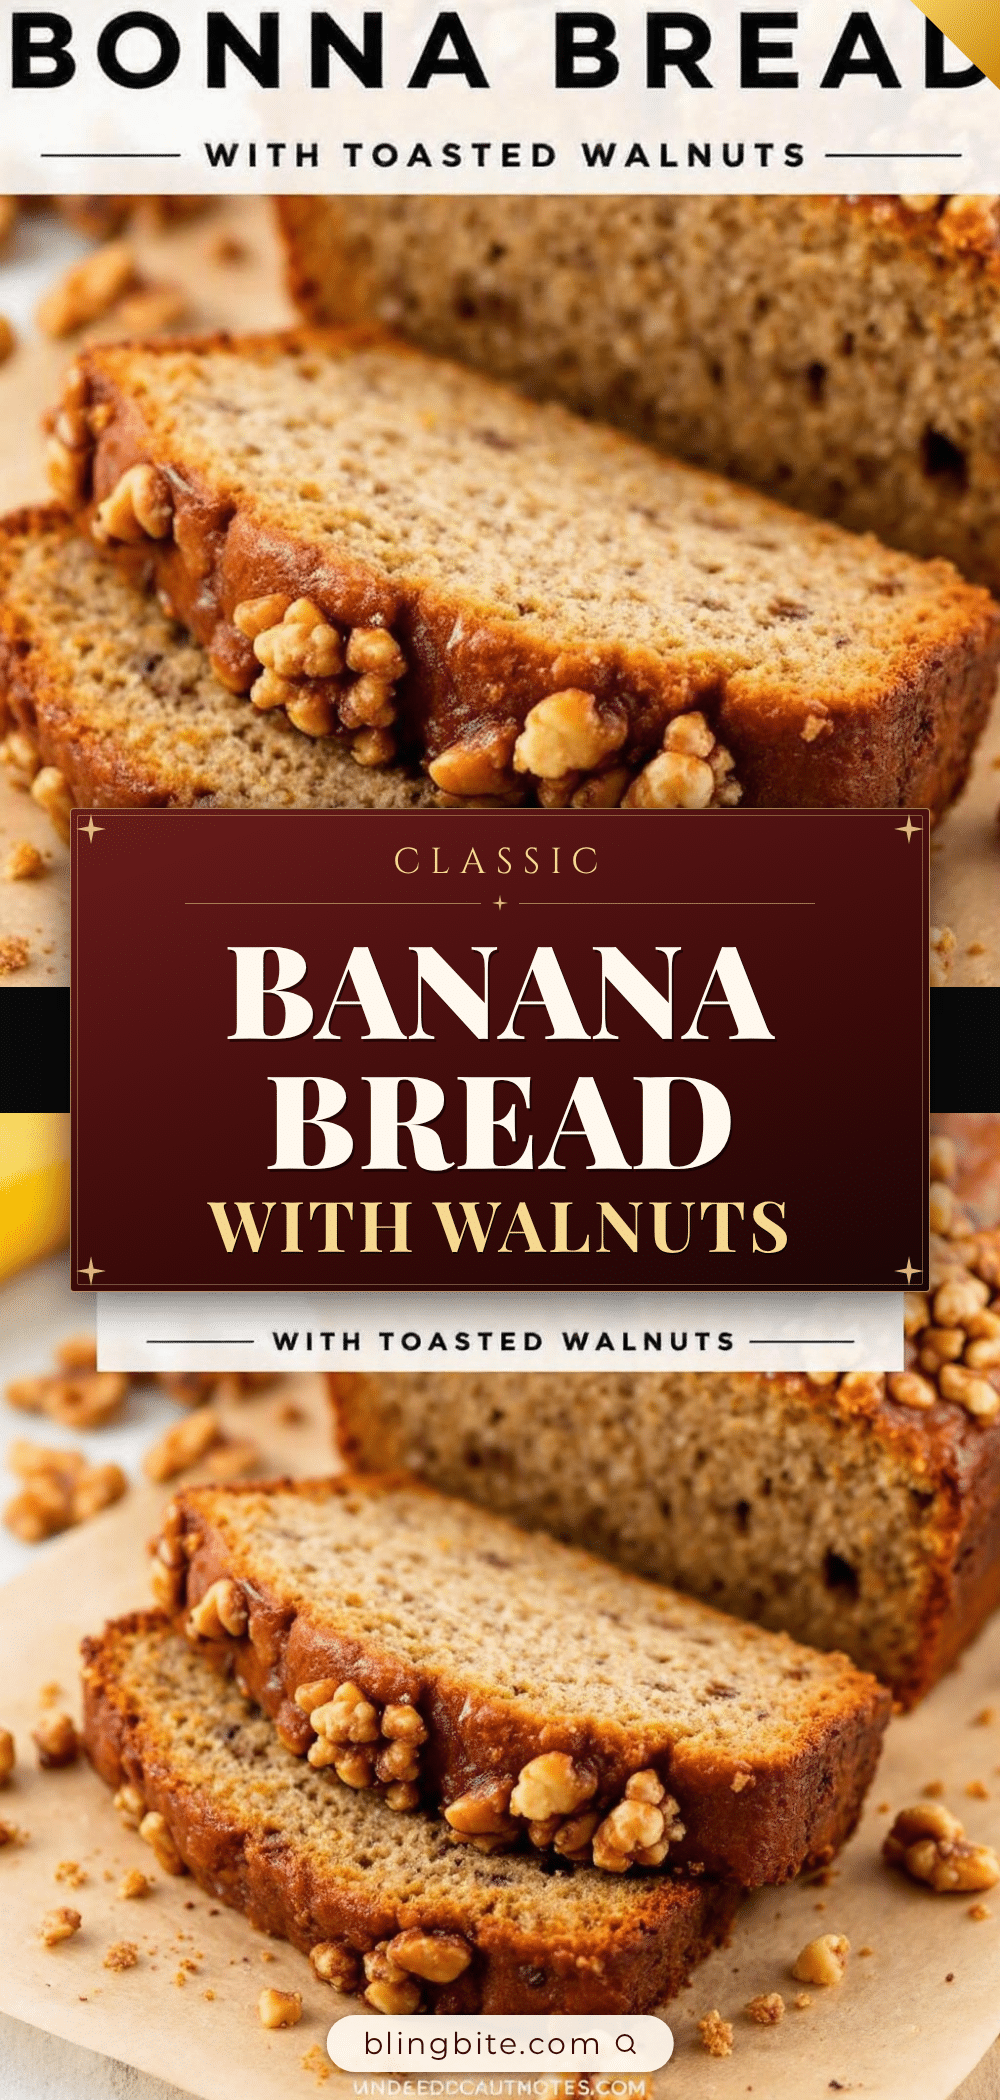
Moist Classic Banana Bread with Toasted Walnuts
A simple, moist banana bread recipe using just a few key ingredients. The secret to perfect texture lies in using overripe bananas, toasting walnuts beforehand, and baking in a light-colored aluminum pan at a lower temperature.
- Prep Time: 15 minutes
- Cook Time: 55-65 minutes
- Total Time: 1 hour 20 minutes
- Yield: 1 loaf (8-10 servings) 1x
- Category: Dessert
- Cuisine: American
Ingredients
- 3 medium ripe bananas (mashed)
- 1/2 cup (113g) unsalted butter, softened
- 3/4 cup (150g) granulated sugar
- 1/4 cup (50g) brown sugar
- 2 large eggs, room temperature
- 1 1/2 cups (190g) all-purpose flour
- 1 tsp baking soda
- 1/2 tsp salt
- 1 tsp vanilla extract
- 1 cup walnuts, toasted and chopped
Instructions
- Preheat oven to 325°F (165°C). Line a 9×5-inch loaf pan with parchment paper and grease lightly.
- Toast walnuts in the oven for 5-7 minutes or in a dry skillet for 3-4 minutes until fragrant. Let cool completely.
- In a large mixing bowl, mash ripe bananas thoroughly.
- Add softened butter, granulated sugar, and brown sugar to the bananas. Mix until smooth.
- Stir in eggs one at a time, followed by vanilla extract.
- Sprinkle flour, baking soda, and salt over the wet mixture. Gently fold in until just combined; do not overmix.
- Fold in the cooled, toasted walnuts.
- Pour batter into the prepared loaf pan and smooth the top.
- Bake for 55-65 minutes. Do not open the oven door before 45 minutes. The bread is done when a toothpick inserted in the center comes out clean or with moist crumbs.
- Cool in the pan for 10 minutes, then transfer to a wire rack to cool completely before slicing.
Notes
Use very ripe bananas with brown spots for maximum sweetness and moisture. Toasting the walnuts enhances their flavor. Do not overmix the batter to avoid a dense texture. If using a dark metal pan, lower oven temperature by 25°F. Store wrapped at room temperature for up to 3 days or freeze for up to 3 months.
Nutrition
- Serving Size: 1 slice
- Calories: 250
- Sugar: 22
- Sodium: 200
- Fat: 12
- Saturated Fat: 5
- Carbohydrates: 35
- Fiber: 2
- Protein: 4
Keywords: banana bread, moist banana bread, toasted walnuts, homemade banana bread, easy baking, breakfast bread, snack


