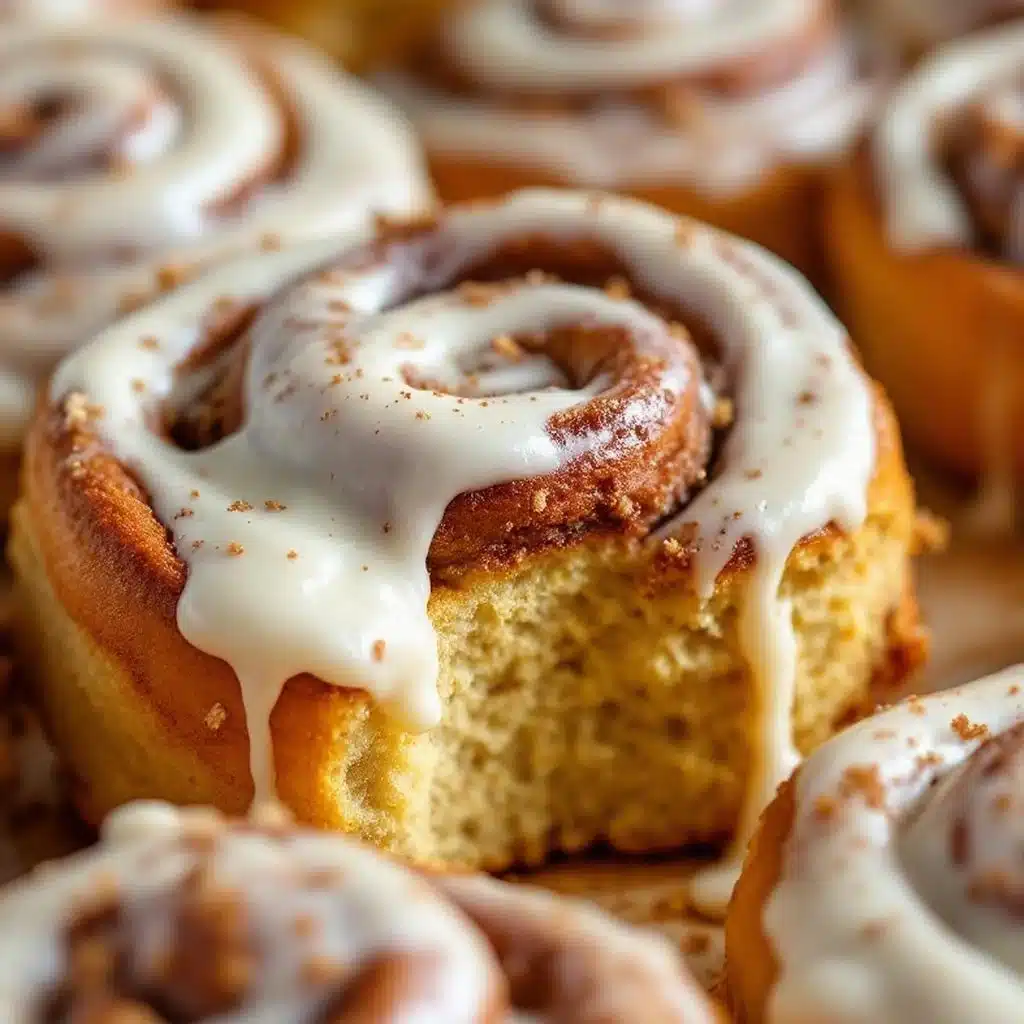
I had been looking for a pumpkin cinnamon roll that actually tasted like pumpkin, not just a regular roll dyed orange. For a while, I just accepted that most pumpkin-spiced baked goods were more about the spice blend than the squash itself. You know the ones—heavy on the cinnamon and nutmeg, light on anything resembling actual pumpkin. They smell great going into the oven, but the flavor never quite delivers. It always felt like a missed opportunity, especially in the fall when you want something that really captures the season.
So I started tinkering. I wanted a soft, fluffy roll with a visible orange hue that came from real pumpkin puree, not food coloring. I wanted the pumpkin to contribute moisture and a subtle earthiness that played off the warm spices, not just hide behind them. After a few batches that were too dense, too wet, or just plain disappointing, I finally landed on something that worked. The dough is tender and pillowy, the filling is generously spiced, and the icing—well, the maple cream cheese icing is the kind of thing you want to put on everything. Honestly, it’s the roll I kept making even after I’d technically “perfected” it, because it was the one I actually wanted to eat. And that’s the one I’m sharing today.
Why You’ll Love This Recipe
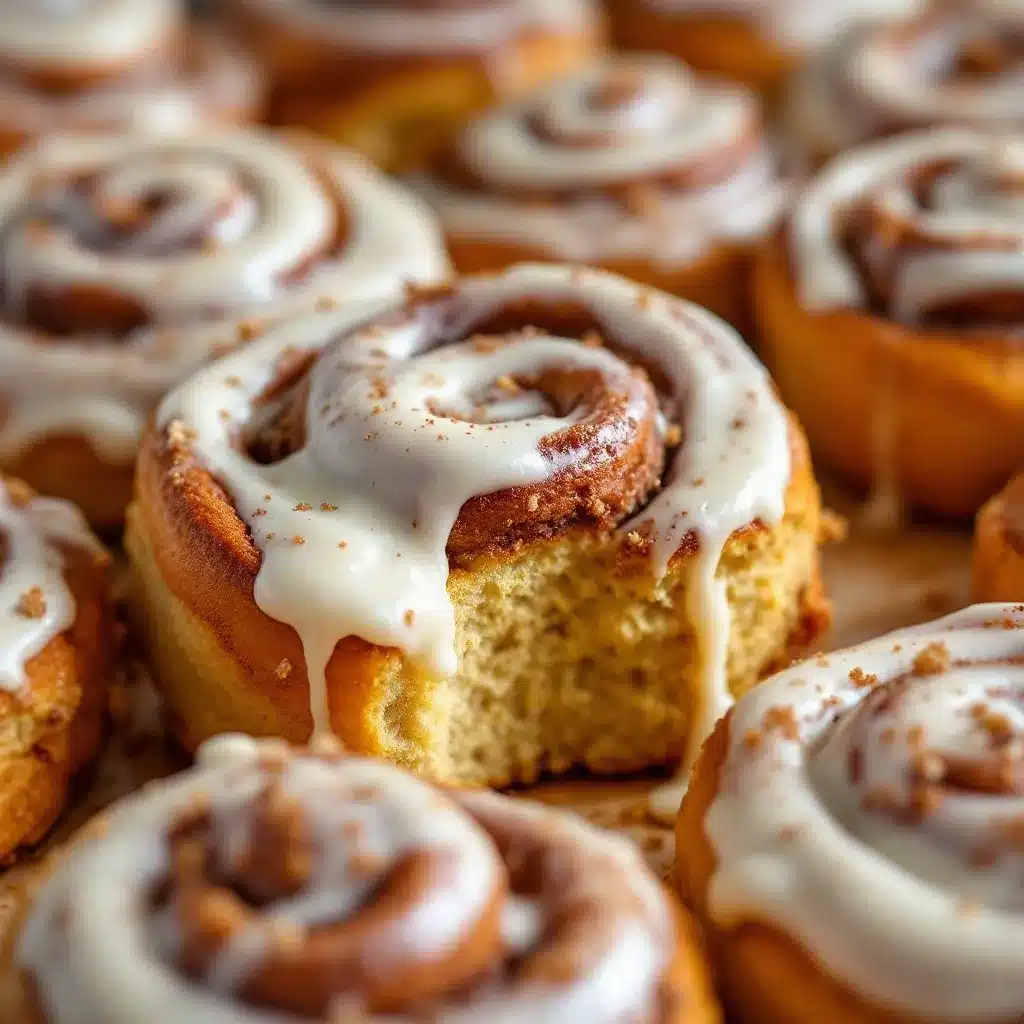
These pumpkin cinnamon rolls are the kind of breakfast that makes you slow down. They’re soft, fluffy, and packed with real pumpkin flavor, with a creamy maple icing that ties everything together. Here’s why they’re worth making:
- Real Pumpkin Flavor: This recipe uses actual pumpkin puree in the dough, not just spices. It adds moisture, color, and a subtle sweetness that makes these rolls taste like autumn in a pan.
- Soft and Pillowy Texture: The dough is enriched with butter, egg, and pumpkin, which gives it a tender crumb that stays soft for days. No dry, sad leftovers here.
- Perfect for Fall Mornings: Whether it’s a cozy weekend breakfast, Thanksgiving morning, or a Halloween brunch, these rolls feel special without being complicated. They’re also great for holiday entertaining.
- Make-Ahead Friendly: You can prep the rolls the night before, let them rise in the fridge overnight, and bake them fresh in the morning. It’s a lifesaver for busy mornings or when you have guests.
- That Maple Cream Cheese Icing: The icing is tangy, sweet, and has a warm maple flavor that pairs perfectly with the spiced pumpkin rolls. It’s the kind of frosting you’ll want to eat by the spoonful—and I won’t judge if you do.
These rolls aren’t just another pumpkin recipe. They’re the result of testing and tweaking to get the balance just right. The dough is forgiving, the filling is generous, and the icing is downright addictive. If you’ve ever been let down by a pumpkin baked good that promised more than it delivered, this is the recipe that changes that.
What Ingredients You Will Need
This recipe uses simple, wholesome ingredients to create soft, flavorful rolls with a rich, spiced filling and a creamy maple icing. Most of these are pantry staples, especially if you bake regularly during the fall season.
For the Dough
- 1 cup (240 ml) whole milk, warmed to about 110°F (adds richness and helps activate the yeast)
- 2 ¼ teaspoons (7 g) active dry yeast (one packet)
- ½ cup (100 g) granulated sugar
- ½ cup (120 g) pumpkin puree (not pumpkin pie filling—make sure it’s 100% pure pumpkin)
- 4 tablespoons (56 g) unsalted butter, melted and slightly cooled
- 1 large egg, room temperature
- 1 teaspoon vanilla extract
- 3 ½ to 4 cups (440–500 g) all-purpose flour, plus more for dusting
- 1 teaspoon salt
- 1 teaspoon pumpkin pie spice (or a mix of cinnamon, nutmeg, ginger, and cloves)
For the Filling
- ½ cup (113 g) unsalted butter, softened to room temperature
- 1 cup (200 g) packed brown sugar (light or dark—dark adds deeper molasses flavor)
- 2 tablespoons ground cinnamon
- 1 teaspoon pumpkin pie spice
- Pinch of salt
For the Maple Cream Cheese Icing
- 4 ounces (113 g) cream cheese, softened
- 3 tablespoons (42 g) unsalted butter, softened
- 1 ½ cups (180 g) powdered sugar, sifted
- 3 tablespoons pure maple syrup (use the real stuff, not pancake syrup)
- ½ teaspoon vanilla extract
- Pinch of salt
Ingredient Tips: I prefer using Libby’s pumpkin puree for its consistent texture and flavor—it’s not too watery, which helps the dough stay soft without getting sticky. For the maple syrup, look for a darker amber grade if you want a more pronounced maple flavor. If you only have light syrup, that works too, but the flavor will be more subtle. For a dairy-free version, you can substitute the milk with oat milk and use a plant-based butter and cream cheese, though the texture will be slightly less tender.
Equipment Needed
You don’t need any fancy equipment to make these rolls, but a few tools make the process smoother. Here’s what I use:
- 9×13-inch baking dish (glass or metal—both work fine, but glass heats more evenly)
- Stand mixer with dough hook (optional but helpful for kneading; you can also knead by hand)
- Large mixing bowl
- Rolling pin
- Sharp knife or bench scraper (for cutting the rolls cleanly)
- Kitchen thermometer (to check milk temperature for yeast activation)
- Plastic wrap or a clean kitchen towel (for covering the dough while it rises)
If you don’t have a stand mixer, no problem. You can mix the dough by hand with a wooden spoon until it comes together, then knead on a floured surface for about 8–10 minutes. It’s a little more arm work, but honestly, it’s kind of therapeutic. Just make sure you don’t add too much flour during kneading—you want the dough to stay soft and slightly tacky.
Preparation Method
Making these rolls takes a little time, but most of it is hands-off rising time. The actual active work is about 30 minutes. Let’s break it down step by step.
- Activate the yeast: In the bowl of your stand mixer (or a large mixing bowl), combine the warm milk (110°F), 1 tablespoon of the sugar, and the yeast. Stir gently and let it sit for 5–10 minutes until it’s foamy and bubbly. If it doesn’t foam, your yeast might be dead—start over with fresh yeast.
- Mix the wet ingredients: Add the remaining sugar, pumpkin puree, melted butter, egg, and vanilla extract to the yeast mixture. Whisk until smooth and well combined. The mixture will look a little lumpy from the pumpkin, and that’s totally fine.
- Add dry ingredients: In a separate bowl, whisk together 3 ½ cups of flour, salt, and pumpkin pie spice. Gradually add the flour mixture to the wet ingredients, mixing on low speed with the dough hook until a shaggy dough forms. The dough should be soft and slightly sticky—if it’s too wet, add the remaining ½ cup of flour, a tablespoon at a time, until it pulls away from the sides of the bowl.
- Knead the dough: Knead on medium-low speed for 5–7 minutes, or by hand on a lightly floured surface for 8–10 minutes, until the dough is smooth, elastic, and springs back when you poke it lightly. Don’t over-knead, or the rolls will be tough.
- First rise: Place the dough in a lightly greased bowl, turning once to coat. Cover with plastic wrap or a clean kitchen towel and let it rise in a warm, draft-free place for 1 to 1 ½ hours, until doubled in size. I usually put it in my oven with the light on—it stays warm and consistent.
- Make the filling: While the dough rises, combine the softened butter, brown sugar, cinnamon, pumpkin pie spice, and salt in a small bowl. Mix until it forms a smooth, spreadable paste. Set aside at room temperature.
- Roll out the dough: Once the dough has risen, punch it down gently and turn it out onto a lightly floured surface. Roll it into a 12×18-inch rectangle, about ¼-inch thick. Try to keep the edges as straight as possible for even rolls.
- Spread the filling: Using an offset spatula or a butter knife, spread the filling evenly over the entire surface of the dough, leaving a ½-inch border on the long edge farthest from you. This helps seal the roll.
- Roll it up: Starting from the long edge closest to you, tightly roll the dough into a log, using your fingers to keep it even. Pinch the seam to seal. If the dough feels too soft, pop it in the fridge for 10 minutes to firm up before slicing.
- Cut the rolls: Using a sharp knife or unflavored dental floss, cut the log into 12 equal slices, about 1 ½ inches thick. Place them in a greased 9×13-inch baking dish, cut side up, spacing them evenly. They’ll expand as they rise, so don’t crowd them.
- Second rise: Cover the dish with plastic wrap and let the rolls rise for another 30–45 minutes, until they’re puffy and touching each other. If you’re making them overnight, cover and refrigerate for 8–12 hours instead. Take them out 30 minutes before baking to come to room temperature.
- Bake: Preheat your oven to 350°F (175°C). Bake the rolls for 22–28 minutes, until they’re golden brown on top and a toothpick inserted into the center comes out clean. The internal temperature should be around 190°F. If the tops are browning too quickly, tent loosely with foil after 15 minutes.
- Make the icing: While the rolls bake, beat the cream cheese and butter together until smooth. Gradually add the powdered sugar, then the maple syrup, vanilla, and salt. Beat until creamy and spreadable. If it’s too thick, add a teaspoon of milk; if too thin, add more powdered sugar.
- Ice and serve: Let the rolls cool for 5–10 minutes, then spread the icing generously over the warm rolls. The icing will melt slightly and seep into the crevices—that’s the best part. Serve warm.
Cooking Tips & Techniques
I’ve made these rolls more times than I can count, and I’ve definitely had my share of mishaps. Here are the lessons I learned the hard way so you don’t have to:
Don’t skip the yeast test. I know it feels like an extra step, but there’s nothing worse than waiting an hour for dough that never rises. If your yeast doesn’t foam after 10 minutes, toss it and start fresh. Your rolls depend on it.
Watch your dough hydration. Pumpkin puree varies in water content depending on the brand. If your dough feels too sticky after adding 3 ½ cups of flour, add more a tablespoon at a time. But remember—a slightly sticky dough makes for softer rolls. Resist the urge to add too much flour.
Use a sharp knife or floss for cutting. A dull knife will squish the rolls and ruin their shape. I actually prefer using unflavored dental floss—slide it under the log, cross the ends over the top, and pull. It cuts through cleanly every time.
Don’t over-bake. These rolls go from perfectly golden to dry in about two minutes. Start checking at 22 minutes. The edges should be golden, and the center should feel set but still soft. A toothpick test is your best friend here.
Ice while warm. The icing melts slightly into the warm rolls, creating a gooey, irresistible layer. If you wait until they’re completely cool, the icing will just sit on top. Aim for the sweet spot—about 5–10 minutes out of the oven.
Make-ahead tip: For overnight rolls, assemble everything up to step 10, cover tightly, and refrigerate. In the morning, let them sit at room temperature for 30 minutes while the oven preheats, then bake as directed. The longer cold rise actually develops more flavor.
Variations & Adaptations
These rolls are pretty flexible, and I’ve tried a few variations over the years. Here are some of my favorites:
- Gluten-Free Version: Use a 1:1 gluten-free flour blend that contains xanthan gum. The dough will be stickier and harder to roll, so wet your hands and use a bench scraper to help shape it. Bake time may increase by a few minutes.
- Vegan Version: Substitute the milk with oat milk, the butter with vegan butter, and the egg with a flax egg (1 tablespoon ground flaxseed + 3 tablespoons water). For the icing, use vegan cream cheese and butter. The texture will be slightly denser, but still delicious.
- Nutty Twist: Sprinkle ½ cup of chopped pecans or walnuts over the filling before rolling. The nuts add a lovely crunch and pair beautifully with the pumpkin and maple flavors.
- Extra Spiced: Add ½ teaspoon of ground ginger and ¼ teaspoon of ground cloves to the filling for a more complex spice profile. I do this when I want a deeper, warmer flavor—perfect for chilly mornings.
- Mini Rolls: Cut the log into 18–20 slices and bake in a 9×13-inch dish or two 8-inch pans. Reduce baking time to 18–22 minutes. These are great for brunch buffets or sharing with a crowd.
My personal favorite variation is the nutty twist with extra ginger. Something about the warm spice and the crunch of pecans just feels right for a cozy fall morning. If you’re feeling adventurous, try it—you might not go back to plain.
Serving & Storage Suggestions
These rolls are best served warm, fresh from the oven, with the icing still slightly melted. I like to serve them with a side of crispy bacon or creamy roasted butternut squash soup for a cozy fall brunch spread. For a sweet breakfast, pair them with a hot cup of coffee or spiced chai latte—the warmth balances the sweetness perfectly.
Storage: Keep leftover rolls in an airtight container at room temperature for up to 2 days, or in the refrigerator for up to 5 days. The icing will set as they cool, but you can reheat them in the microwave for 15–20 seconds to bring back that gooey texture.
Freezing: These rolls freeze beautifully. Freeze them un-iced in a single layer on a baking sheet, then transfer to a freezer bag for up to 3 months. When you’re ready to serve, thaw overnight in the refrigerator, bake at 350°F for 10 minutes, then ice while warm. You can also freeze the iced rolls, but the texture of the icing will change slightly—it’s better to freeze without.
Reheating: For best results, reheat individual rolls in the microwave for 15–20 seconds, or warm a whole pan in a 300°F oven for 10 minutes. If the rolls are iced, cover with foil to prevent the icing from burning.
The flavors actually develop and deepen after a day or two, so don’t worry if you have leftovers. They might even taste better the next morning—if they last that long.
Nutritional Information & Benefits
Here’s an approximate nutritional breakdown per roll (based on 12 rolls with icing):
| Nutrient | Amount per Roll |
|---|---|
| Calories | ~380 |
| Total Fat | 16g |
| Saturated Fat | 9g |
| Carbohydrates | 55g |
| Fiber | 2g |
| Sugar | 32g |
| Protein | 5g |
| Vitamin A | 45% DV |
| Iron | 10% DV |
Pumpkin is packed with vitamin A, which supports eye health and immune function, and it adds fiber to help keep you full. The cream cheese icing provides calcium and a touch of protein, while the maple syrup offers antioxidants and minerals like zinc and manganese. Of course, these are still a treat—they’re not health food—but they’re a more nutritious option than your average cinnamon roll.
If you’re watching your sugar intake, you can reduce the sugar in the dough by 2 tablespoons and use a sugar-free maple syrup in the icing. The rolls will be slightly less sweet, but the pumpkin and spice flavors will shine through more.
Conclusion
These perfect pumpkin cinnamon rolls with maple cream cheese icing are everything I want in a fall breakfast—soft, spiced, sweet, and just a little bit indulgent. They’re the kind of recipe that makes you look forward to weekend mornings, and they’re forgiving enough for beginner bakers to tackle with confidence. Whether you serve them for Thanksgiving brunch, a cozy Halloween breakfast, or just because it’s October and you deserve something warm and delicious, I think you’ll love them as much as I do.
Don’t be afraid to tweak the filling or icing to suit your taste—add more cinnamon, swap the maple syrup for honey, or throw in some chopped pecans. The best recipes are the ones that feel like your own. If you make these rolls, I’d love to hear how they turn out. Leave a comment below or tag me on social media—I’m always happy to see your baking adventures.
Now go preheat that oven. Your kitchen is about to smell amazing.
Frequently Asked Questions
Can I use canned pumpkin pie filling instead of pumpkin puree?
No, don’t use pumpkin pie filling. It’s pre-sweetened and spiced, which will throw off the balance of the dough. Stick with 100% pure pumpkin puree for the best results.
Do I have to use a stand mixer, or can I knead by hand?
You can absolutely knead by hand. It takes about 8–10 minutes of kneading on a lightly floured surface until the dough is smooth and elastic. It’s a little more work, but it’s totally doable—and kind of satisfying.
How do I know when the dough has risen enough?
After the first rise, the dough should be doubled in size. You can test it by gently pressing two fingers into the dough—if the indentation stays, it’s ready. If it springs back, let it rise a little longer.
Can I make these rolls without eggs?
Yes, you can substitute the egg with a flax egg (1 tablespoon ground flaxseed mixed with 3 tablespoons water). The texture will be slightly denser, but they’ll still be soft and delicious.
Why did my rolls come out dense instead of fluffy?
Dense rolls usually mean the dough was over-floured or under-kneaded. Make sure you’re using the right amount of flour—add it gradually—and knead until the dough is smooth and springy. Also, check that your yeast is fresh and your milk was at the right temperature (110°F) to activate it properly.
Pin This Recipe!
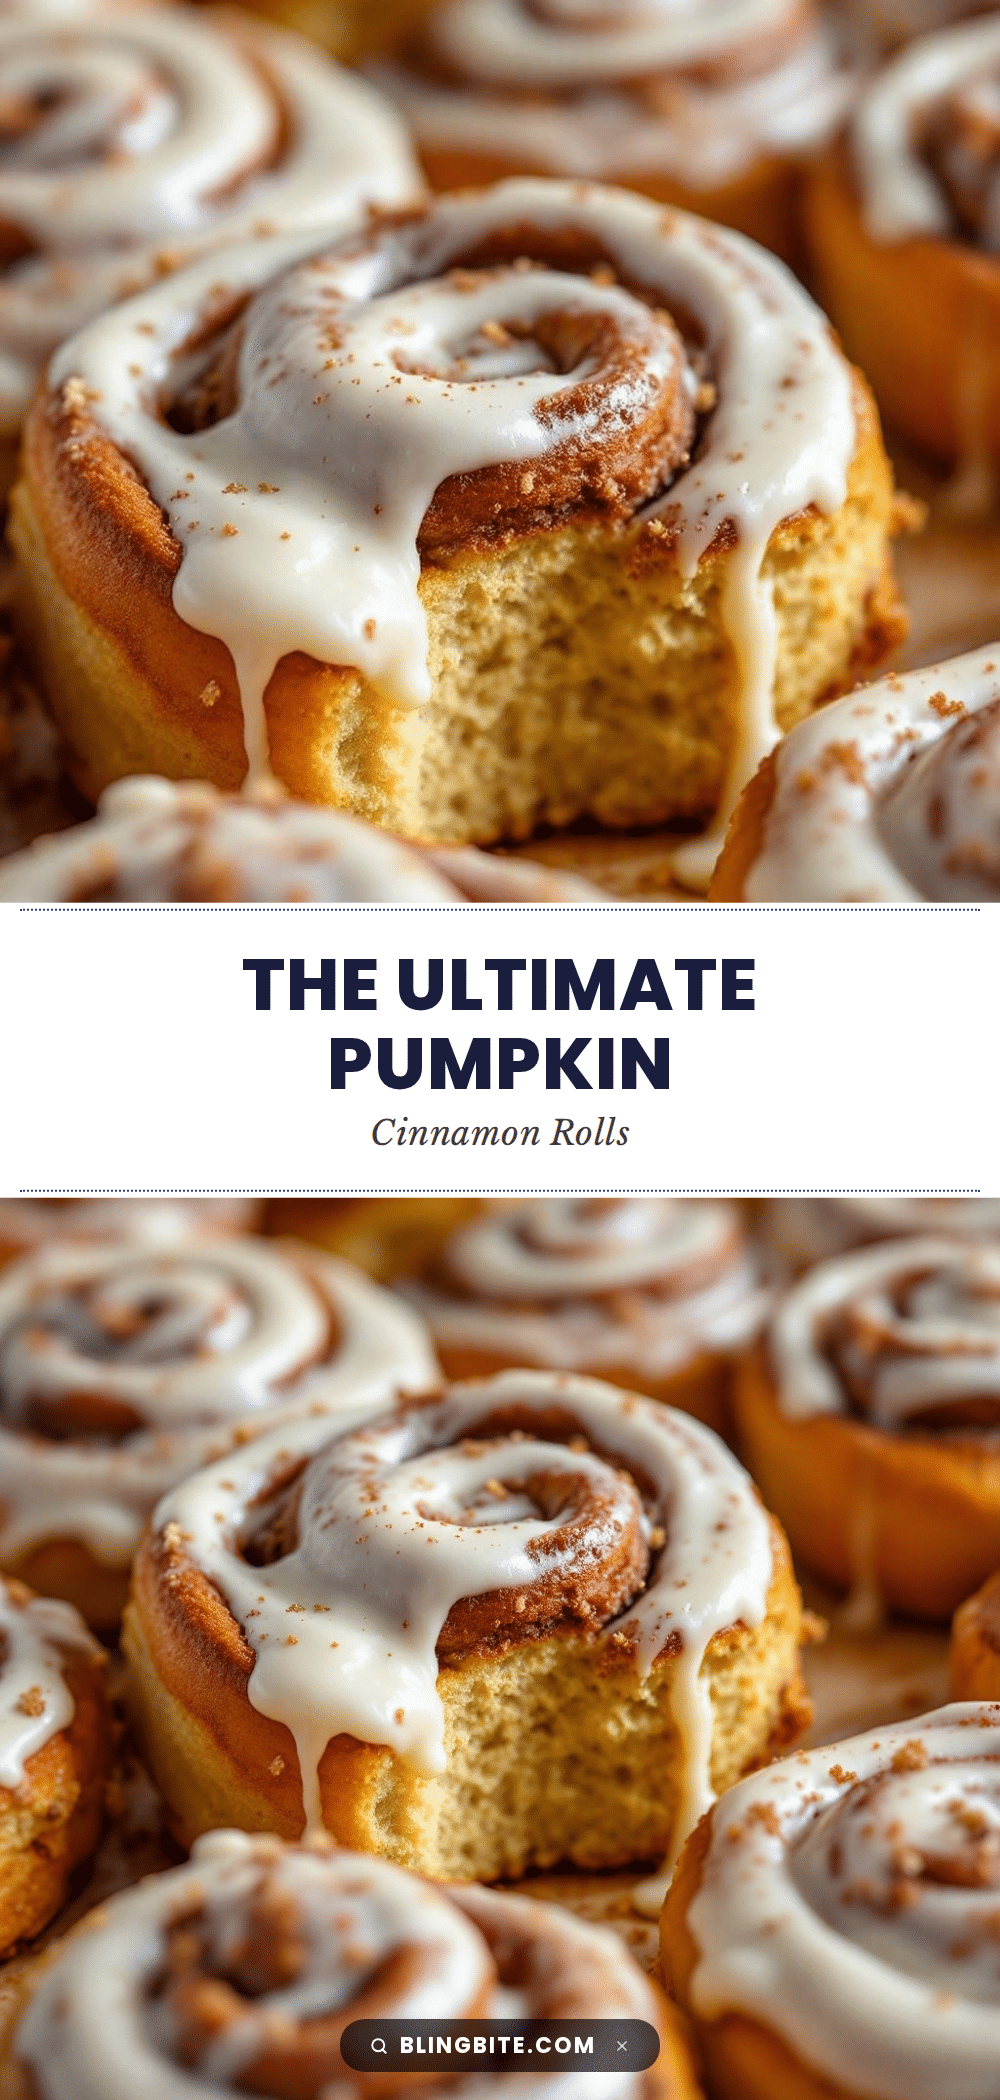
Perfect Pumpkin Cinnamon Rolls with Maple Icing
Soft, fluffy pumpkin cinnamon rolls with real pumpkin flavor and a creamy maple cream cheese icing. Perfect for fall mornings, these rolls are tender, spiced, and make-ahead friendly.
- Prep Time: 30 minutes
- Cook Time: 25 minutes
- Total Time: 2 hours 30 minutes (including rising time)
- Yield: 12 servings 1x
- Category: Breakfast
- Cuisine: American
Ingredients
- 1 cup (240 ml) whole milk, warmed to 110°F
- 2 ¼ teaspoons (7 g) active dry yeast
- ½ cup (100 g) granulated sugar
- ½ cup (120 g) pumpkin puree (not pumpkin pie filling)
- 4 tablespoons (56 g) unsalted butter, melted and slightly cooled
- 1 large egg, room temperature
- 1 teaspoon vanilla extract
- 3 ½ to 4 cups (440–500 g) all-purpose flour, plus more for dusting
- 1 teaspoon salt
- 1 teaspoon pumpkin pie spice
- ½ cup (113 g) unsalted butter, softened
- 1 cup (200 g) packed brown sugar
- 2 tablespoons ground cinnamon
- 1 teaspoon pumpkin pie spice
- Pinch of salt
- 4 ounces (113 g) cream cheese, softened
- 3 tablespoons (42 g) unsalted butter, softened
- 1 ½ cups (180 g) powdered sugar, sifted
- 3 tablespoons pure maple syrup
- ½ teaspoon vanilla extract
- Pinch of salt
Instructions
- Activate the yeast: In the bowl of your stand mixer (or a large mixing bowl), combine the warm milk (110°F), 1 tablespoon of the sugar, and the yeast. Stir gently and let it sit for 5–10 minutes until it’s foamy and bubbly.
- Mix the wet ingredients: Add the remaining sugar, pumpkin puree, melted butter, egg, and vanilla extract to the yeast mixture. Whisk until smooth and well combined.
- Add dry ingredients: In a separate bowl, whisk together 3 ½ cups of flour, salt, and pumpkin pie spice. Gradually add the flour mixture to the wet ingredients, mixing on low speed with the dough hook until a shaggy dough forms. If too wet, add remaining ½ cup flour a tablespoon at a time.
- Knead the dough: Knead on medium-low speed for 5–7 minutes, or by hand on a lightly floured surface for 8–10 minutes, until smooth, elastic, and springs back when poked.
- First rise: Place dough in a lightly greased bowl, turning once to coat. Cover and let rise in a warm, draft-free place for 1 to 1 ½ hours, until doubled in size.
- Make the filling: While dough rises, combine softened butter, brown sugar, cinnamon, pumpkin pie spice, and salt in a small bowl. Mix until smooth and spreadable.
- Roll out the dough: Punch down risen dough and turn onto a lightly floured surface. Roll into a 12×18-inch rectangle, about ¼-inch thick.
- Spread the filling: Spread filling evenly over dough, leaving a ½-inch border on the long edge farthest from you.
- Roll it up: Starting from the long edge closest to you, tightly roll dough into a log. Pinch seam to seal.
- Cut the rolls: Using a sharp knife or unflavored dental floss, cut log into 12 equal slices, about 1 ½ inches thick. Place in a greased 9×13-inch baking dish, cut side up.
- Second rise: Cover dish and let rolls rise for 30–45 minutes until puffy and touching. For overnight, refrigerate 8–12 hours; bring to room temperature 30 minutes before baking.
- Bake: Preheat oven to 350°F (175°C). Bake rolls for 22–28 minutes until golden brown and a toothpick inserted in center comes out clean. Tent with foil if browning too quickly.
- Make the icing: While rolls bake, beat cream cheese and butter until smooth. Gradually add powdered sugar, then maple syrup, vanilla, and salt. Beat until creamy.
- Ice and serve: Let rolls cool for 5–10 minutes, then spread icing generously over warm rolls. Serve warm.
Notes
For overnight rolls, assemble up to step 10, cover tightly, and refrigerate. In the morning, let sit at room temperature for 30 minutes before baking. Use real maple syrup for best flavor. Don’t over-bake; start checking at 22 minutes.
Nutrition
- Serving Size: 1 roll
- Calories: 380
- Sugar: 32
- Sodium: 300
- Fat: 16
- Saturated Fat: 9
- Carbohydrates: 55
- Fiber: 2
- Protein: 5
Keywords: pumpkin cinnamon rolls, pumpkin rolls, maple icing, fall breakfast, pumpkin spice, cinnamon rolls with maple cream cheese icing


