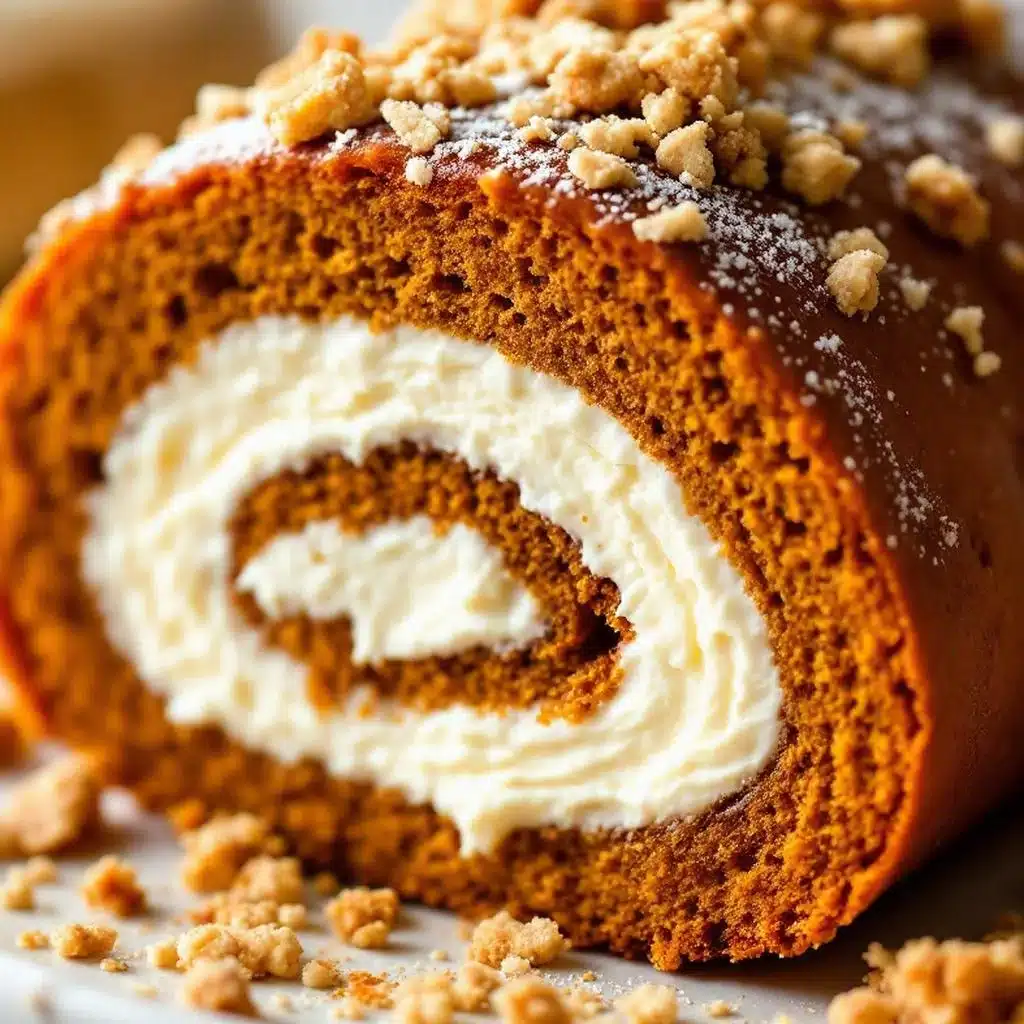
I burned three pumpkin rolls before I figured out what I was actually doing wrong. Not the filling, not the baking time, but the rolling. I was rolling it too tight, at the wrong angle, while the cake was still too hot. The fourth one cracked, the fifth one looked like a sad, flattened snake, and the sixth one—finally—came out looking like the kind of thing you would see in a bakery window. And honestly? That sixth one tasted exactly the same as the first three. The only difference was that I had stopped panicking.
This Perfect Pumpkin Roll with Cream Cheese Filling is that recipe for me now. It is the one I bring to Thanksgiving, the one I make for friends who swear they cannot bake, and the one I turn to when I want to feel like I actually know what I am doing in the kitchen. It is not fussy. It does not require a stand mixer or a pastry bag or a culinary degree. It just needs a little patience, a little confidence, and a towel dusted with powdered sugar.
I used to think pumpkin rolls were for show. They look so polished, with that tight spiral of orange cake and white filling, like something you would buy at a fancy bakery and feel guilty about eating in one sitting. But here is the thing: they are actually one of the easiest desserts you can make. The trick is knowing when to roll and when to stop rolling. And once you learn that, you will never buy a pumpkin roll again.
So let me walk you through it. I have made all the mistakes so you do not have to.
Why You Will Love This Recipe
This is not just another pumpkin roll recipe floating around the internet. This is the one I tested six times to make sure the cake stays soft, the filling stays creamy, and the whole thing rolls without cracking. Here is why you will love it:
- Simple Ingredients: You probably have most of these in your pantry right now. No weird extracts, no specialty flours, no hunting down obscure spices.
- Foolproof Method: I include every single tip I learned the hard way—from the exact temperature for rolling to the trick for getting clean slices.
- Perfect for Fall Gatherings: This is the dessert that disappears first at Thanksgiving, Friendsgiving, or any cozy fall dinner. It travels well, slices beautifully, and looks impressive with zero effort.
- Crowd-Pleaser: Even people who say they do not like pumpkin desserts love this. The cream cheese filling balances the spice perfectly, and the texture is light, not dense.
- Make-Ahead Friendly: You can make this a day or two in advance. In fact, it tastes better after resting overnight in the fridge.
What makes this version different? It is the technique. Most recipes tell you to roll the cake while it is warm, but they do not explain what to do if the cake sticks to the towel or cracks anyway. I will show you exactly how to prevent those issues, plus how to get that gorgeous tight spiral every single time.
What Ingredients You Will Need
This recipe uses simple, everyday ingredients to create something that feels special. The key is using the right proportions and fresh ingredients. Here is everything you need:
For the Pumpkin Cake
- 3 large eggs, room temperature (cold eggs will not incorporate as well and can make the cake dense)
- 1 cup granulated sugar (adds sweetness and helps the cake stay tender)
- 2/3 cup pumpkin puree (not pumpkin pie filling—make sure it is 100% pure pumpkin)
- 1 teaspoon lemon juice (helps activate the baking soda and balances the sweetness)
- 3/4 cup all-purpose flour (spooned and leveled for accuracy)
- 1 teaspoon baking powder
- 1/2 teaspoon baking soda
- 1/2 teaspoon salt
- 2 teaspoons pumpkin pie spice (or make your own with cinnamon, nutmeg, ginger, and cloves)
- 1 teaspoon ground cinnamon (I prefer Saigon cinnamon for its warm, bold flavor)
- Powdered sugar, for dusting the towel (this is non-negotiable—it prevents sticking)
For the Cream Cheese Filling
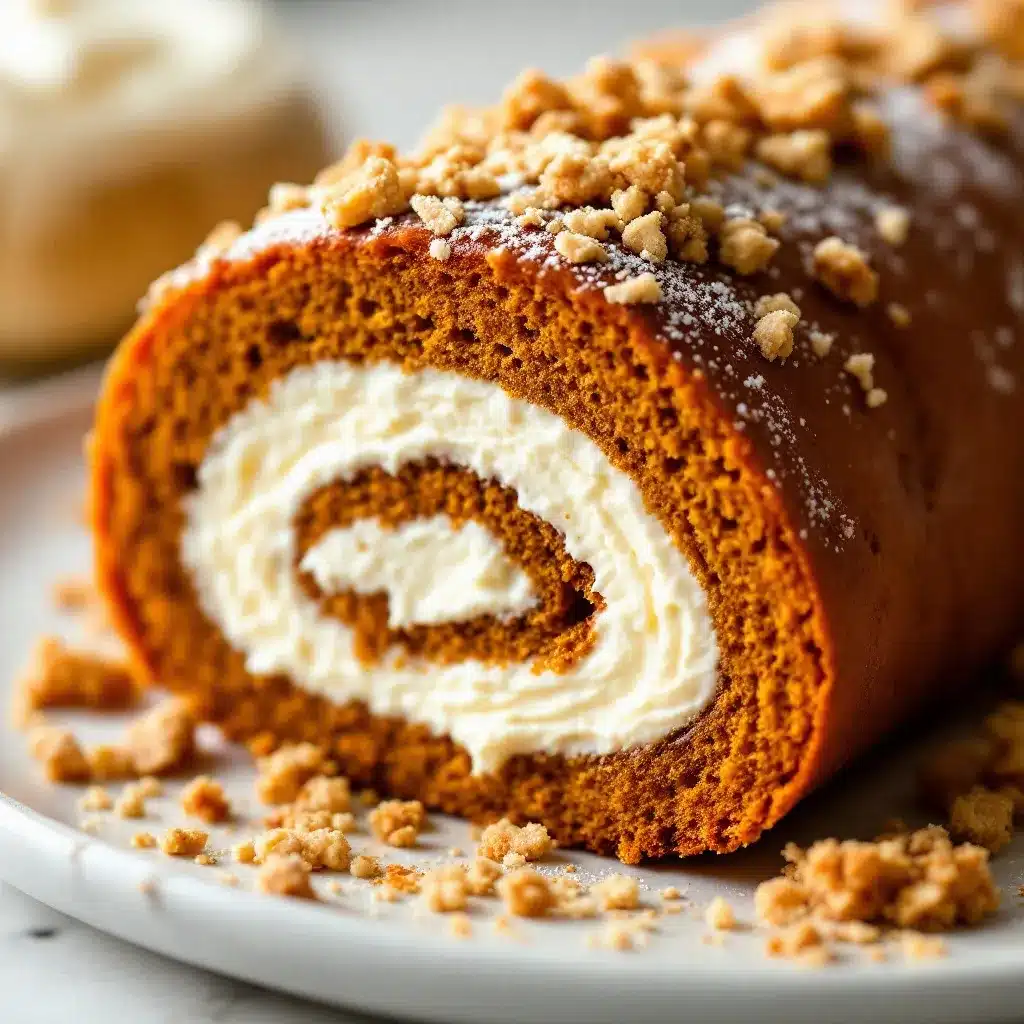
- 8 ounces cream cheese, softened to room temperature (full-fat is best for richness, but reduced-fat works in a pinch)
- 1/4 cup unsalted butter, softened to room temperature
- 1 teaspoon vanilla extract
- 1 cup powdered sugar, sifted (sifting prevents lumps in the filling)
- Pinch of salt (to balance the sweetness)
Ingredient Tips: I always use Libby’s pumpkin puree because it has the right moisture content—not too watery, not too thick. For the cream cheese, Philadelphia is my go-to because it gives the smoothest, creamiest filling without any graininess. If you are dairy-free, you can use a plant-based cream cheese, but make sure it is softened properly, or the filling will be lumpy.
Equipment Needed
You do not need any fancy equipment for this recipe, which is part of its charm. Here is what you will need:
- 10×15-inch jelly roll pan (also called a half-sheet pan; if you use a different size, the cake will be too thick or too thin)
- Parchment paper (do not skip this—the cake will stick to the pan without it)
- Clean, lint-free kitchen towel (I use a flat-weave cotton towel; terry cloth can leave fuzz on the cake)
- Electric hand mixer or stand mixer (you can whisk by hand, but it takes longer and the texture might not be as light)
- Rubber spatula for folding and spreading
- Sifter or fine-mesh strainer for the powdered sugar
- Cooling rack
- Sharp knife for slicing clean pieces
If you do not have a jelly roll pan, you can use a 9×13-inch baking dish, but the cake will be thicker and harder to roll. Your best bet is to grab a standard half-sheet pan—they are inexpensive and useful for all kinds of baking.
Preparation Method
This method is broken down into clear steps so you can follow along without second-guessing yourself. Take your time, and remember: the first roll is always the hardest.
Step 1: Preheat and Prep
Preheat your oven to 350°F (175°C). Line your jelly roll pan with parchment paper, leaving a slight overhang on the long sides so you can lift the cake out easily. Lightly spray the parchment with nonstick spray—just a light mist, not a drench.
Step 2: Make the Cake Batter
In a large mixing bowl, beat the eggs and sugar together on high speed for about 3 minutes, until the mixture is thick, pale, and falls off the beaters in a ribbon. This is important—do not rush it. The eggs and sugar need to be fully aerated for a light cake.
Add the pumpkin puree and lemon juice, then beat on low until just combined. In a separate bowl, whisk together the flour, baking powder, baking soda, salt, pumpkin pie spice, and cinnamon. Gradually add the dry ingredients to the wet ingredients, mixing on low speed until just combined. Do not overmix, or the cake will be tough. Use a rubber spatula to fold the batter a few times at the end, making sure everything is evenly incorporated.
Step 3: Bake the Cake
Spread the batter evenly into your prepared pan. It will be a thin layer—that is exactly what you want. Bake for 12 to 15 minutes, or until the cake springs back when lightly touched in the center. The edges should be just starting to pull away from the parchment. Do not overbake, or the cake will be dry and crack when you roll it.
Step 4: The First Roll (This Is the Tricky Part)
While the cake is baking, lay your clean kitchen towel flat on a work surface and dust it generously with powdered sugar. As soon as the cake comes out of the oven, run a knife around the edges to loosen it. Carefully invert the cake onto the sugared towel, then peel off the parchment paper.
Starting at one of the short ends, roll the cake and towel together into a tight log. Yes, the towel is inside the roll—that is fine. Let the rolled cake cool completely on a wire rack, seam side down. This usually takes about 45 minutes to 1 hour. Do not unroll it early, or the cake will not hold its shape.
Step 5: Make the Cream Cheese Filling
While the cake cools, make the filling. In a medium bowl, beat the softened cream cheese and butter together until smooth and creamy, about 2 minutes. Add the vanilla extract and a pinch of salt, then gradually beat in the sifted powdered sugar. Mix until the filling is completely smooth—no lumps. If it seems too soft, refrigerate it for 10 to 15 minutes to firm up slightly.
Step 6: Fill and Re-Roll
Once the cake is completely cool, carefully unroll it. The cake will have a slight curl—that is good. Spread the cream cheese filling evenly over the entire surface, leaving about a 1/2-inch border around the edges. Re-roll the cake (without the towel this time), using the parchment paper or your hands to guide it gently. Do not squeeze too hard, or the filling will squish out the ends.
Step 7: Chill and Serve
Wrap the rolled cake tightly in plastic wrap and refrigerate for at least 1 hour before slicing. This allows the filling to set and makes slicing much cleaner. When you are ready to serve, trim the ends for a neat appearance, then slice into 1-inch rounds. Dust with powdered sugar right before serving for that bakery-style finish.
Cooking Tips and Techniques
Here are the things I wish someone had told me before I made my first pumpkin roll:
- Do not skip the lemon juice. It sounds weird in a pumpkin recipe, but it reacts with the baking soda to help the cake rise and stay tender. I left it out once, and the cake was noticeably denser.
- Roll the cake while it is warm. This is the most important tip. If you let the cake cool flat, it will crack when you try to roll it later. The warm cake is pliable and forgiving.
- Use a thin, flat towel. Thick terry cloth towels leave marks on the cake and can cause sticking. A flat-weave cotton towel or even a clean, thin dishcloth works best.
- Let the cake cool completely before filling. If you spread the cream cheese filling on a warm cake, it will melt and turn into a runny mess. Patience pays off here.
- If the cake cracks anyway, do not panic. The filling acts like glue. Once you spread it and roll the cake back up, small cracks disappear. Bigger cracks can be hidden with a dusting of powdered sugar or a drizzle of caramel sauce.
- Use a serrated knife for slicing. A sharp serrated knife cuts through the cake and filling cleanly without squishing it. Wipe the knife between slices for the prettiest presentation.
Variations and Adaptations
One of the best things about this pumpkin roll is how easy it is to customize. Here are some of my favorite variations:
- Gluten-Free Version: Substitute the all-purpose flour with a good quality 1-to-1 gluten-free baking flour. I have tested this with Bob’s Red Mill, and it works beautifully. Just be gentle when rolling, as gluten-free cakes can be slightly more fragile.
- Dairy-Free Version: Use a plant-based cream cheese and vegan butter for the filling. Miyoko’s and Violife are my favorites for this. The cake itself is naturally dairy-free if you use a dairy-free butter substitute for greasing the pan.
- Spiced Variation: Add 1/4 teaspoon of ground cardamom or a pinch of cloves to the flour mixture for a more complex spice profile. I do this when I want the roll to feel extra cozy and holiday-worthy.
- Chocolate Pumpkin Roll: Replace 2 tablespoons of the flour with unsweetened cocoa powder. The chocolate-pumpkin combination is incredible, especially with the cream cheese filling.
- Maple Cream Cheese Filling: Replace 1 tablespoon of the powdered sugar with pure maple syrup. This gives the filling a subtle maple flavor that pairs beautifully with the pumpkin spice.
I have tried the maple variation for a Friendsgiving dinner, and it was gone before the turkey even hit the table. Absolutely no regrets.
Serving and Storage Suggestions
This pumpkin roll is best served chilled or at room temperature. I prefer it straight from the fridge because the filling is firmer and the slices hold their shape better. Here is how to store it:
- Refrigerator: Wrap the pumpkin roll tightly in plastic wrap and store it in the fridge for up to 5 days. The flavors actually meld together and improve after a day or two.
- Freezer: You can freeze the unbaked cake (rolled in the towel) for up to 1 month. When you are ready to use it, thaw it in the fridge, unroll, fill, and re-roll. You can also freeze the fully assembled pumpkin roll for up to 3 months. Wrap it in plastic wrap, then a layer of aluminum foil, and thaw in the fridge overnight before serving.
- Serving Ideas: Dust with powdered sugar, drizzle with caramel sauce, or serve with a dollop of whipped cream. For a festive touch, add a sprinkle of cinnamon or crushed pecans on top.
This roll also makes a fantastic gift during the holiday season. Wrap it in plastic, tie it with a ribbon, and attach a little tag with serving instructions. Everyone loves receiving a homemade pumpkin roll.
Nutritional Information and Benefits
Here is the approximate nutritional breakdown for one slice (based on 10 servings):
- Calories: 285
- Fat: 14g
- Carbohydrates: 37g
- Protein: 5g
- Fiber: 1g
- Sugar: 28g
Pumpkin is packed with vitamin A, which is great for eye health, and it also provides a good amount of fiber and antioxidants. The cream cheese filling adds calcium and protein, making this dessert a little more balanced than your average slice of cake. Of course, it is still a treat—but one that uses real, whole ingredients.
If you are watching your sugar intake, you can reduce the sugar in the cake to 3/4 cup and use a sugar substitute in the filling. Just note that the texture and taste will change slightly.
Conclusion
This Perfect Pumpkin Roll with Cream Cheese Filling is the kind of dessert that makes people think you spent hours in the kitchen when you really just followed a few simple steps. It is impressive without being pretentious, delicious without being complicated, and forgiving enough for beginners.
I have made this recipe for Thanksgiving dinners, casual fall gatherings, and even just for a quiet weekend treat with a cup of coffee. Every single time, it delivers. The soft, spiced cake, the creamy tangy filling, the beautiful spiral—it is comfort food that looks like a work of art.
So go ahead and give it a try. And if your first roll cracks? That is okay. Dust it with powdered sugar, slice it up, and watch it disappear anyway. Trust me, nobody will complain.
I would love to hear how yours turns out! Leave a comment below and let me know if you tried any of the variations, or share your own twist on this classic recipe. Happy baking, friends!
Frequently Asked Questions
Why did my pumpkin roll crack when I rolled it?
The most common reason is that the cake was overbaked or cooled too long before rolling. Make sure you roll the cake while it is still warm, and do not bake it for more than 15 minutes. A slightly underbaked cake is much more forgiving than an overbaked one.
Can I use pumpkin pie filling instead of pumpkin puree?
No, I do not recommend it. Pumpkin pie filling is pre-sweetened and spiced, which will throw off the balance of the recipe. Stick with 100% pure pumpkin puree for the best results.
How do I get clean, neat slices?
Chill the pumpkin roll for at least 1 hour before slicing. Use a sharp serrated knife and wipe it clean between each cut. This prevents the cream cheese filling from smearing across the slices.
Can I make this recipe without a jelly roll pan?
You can use a 9×13-inch pan, but the cake will be thicker and harder to roll. If you use a different pan, reduce the baking time slightly and check for doneness early. A standard half-sheet pan is ideal for this recipe.
How far in advance can I make this pumpkin roll?
You can make it up to 2 days in advance. Wrap it tightly in plastic wrap and store it in the refrigerator. The flavors actually improve after a day, making it a perfect make-ahead dessert for holiday gatherings.
Pin This Recipe!
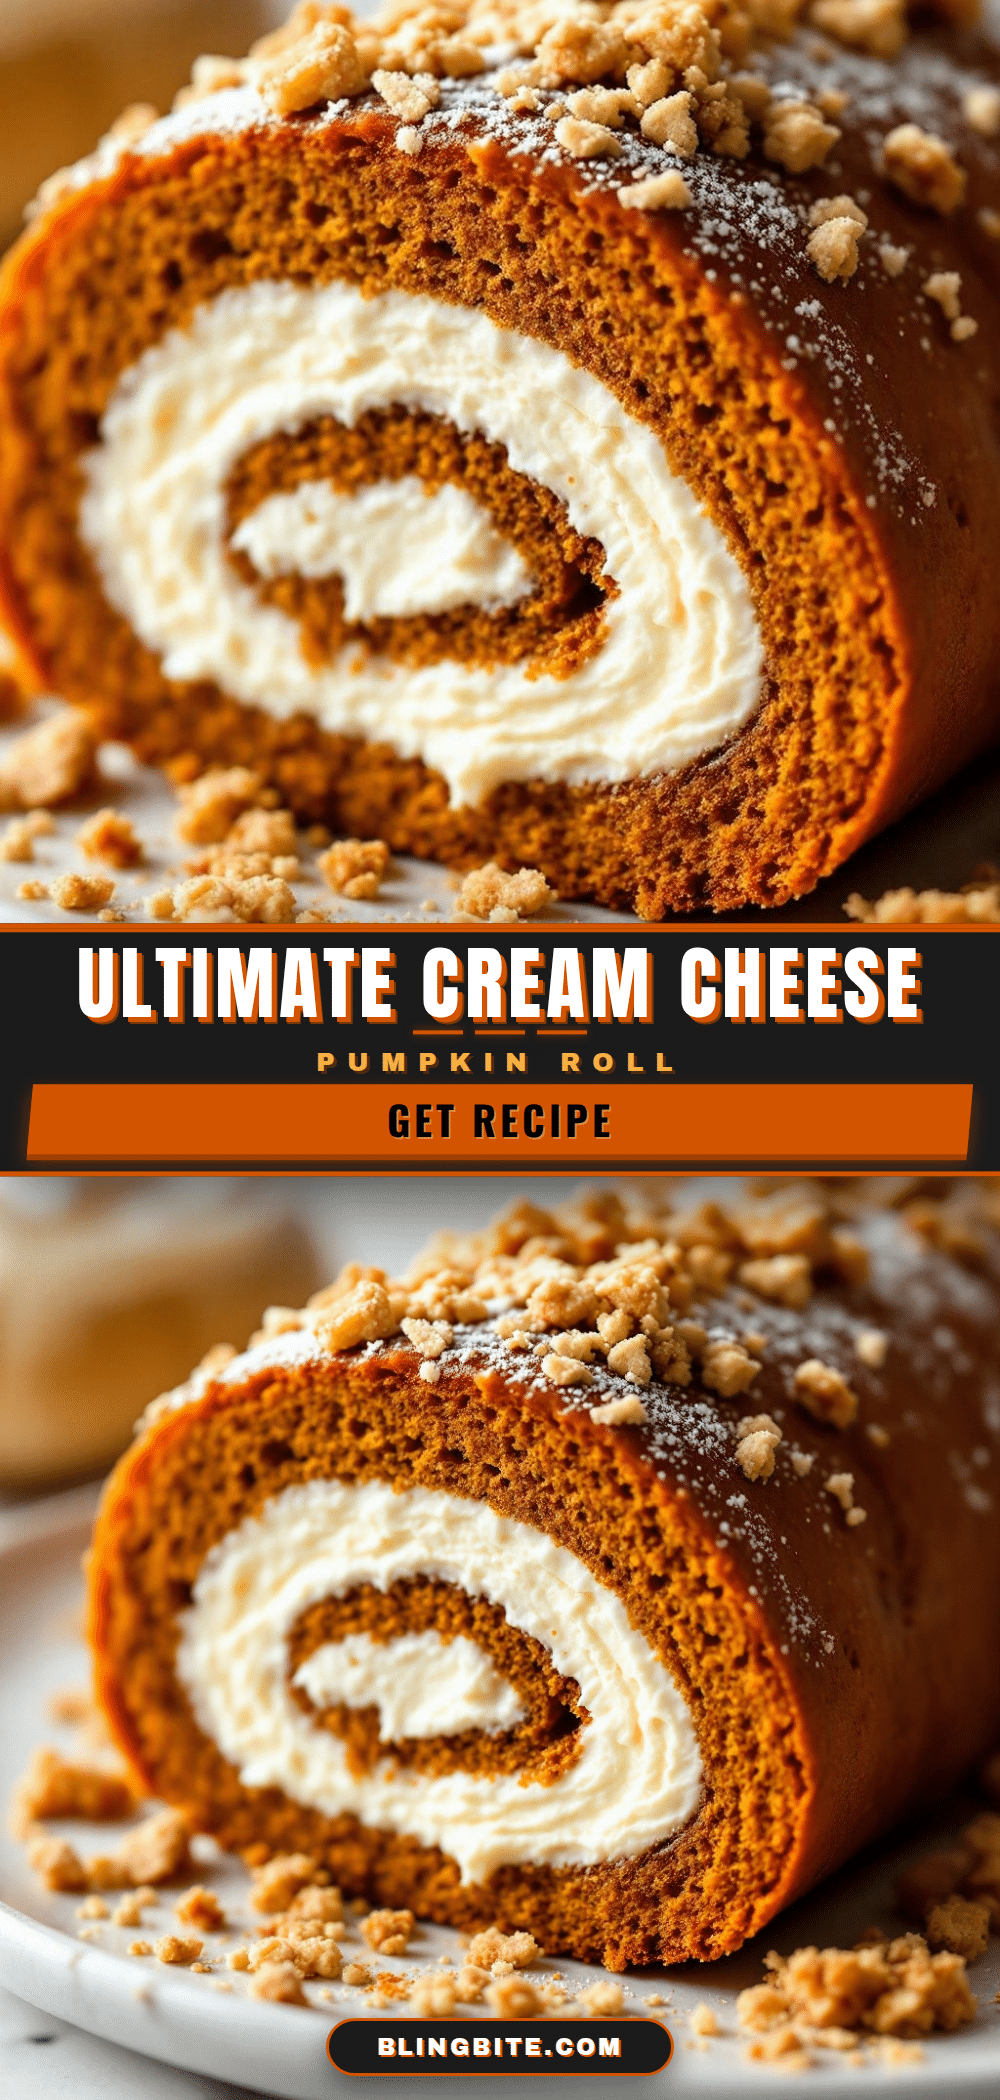
Perfect Pumpkin Roll with Easy Cream Cheese Filling
This Perfect Pumpkin Roll with Cream Cheese Filling is the one I bring to Thanksgiving, the one I make for friends who swear they cannot bake, and the one I turn to when I want to feel like I actually know what I am doing in the kitchen. It is not fussy, does not require a stand mixer or a pastry bag or a culinary degree, just a little patience, a little confidence, and a towel dusted with powdered sugar.
- Prep Time: 20 minutes
- Cook Time: 15 minutes
- Total Time: 1 hour 35 minutes (including cooling and chilling)
- Yield: 10 servings 1x
- Category: Dessert
- Cuisine: American
Ingredients
- 3 large eggs, room temperature
- 1 cup granulated sugar
- 2/3 cup pumpkin puree (100% pure pumpkin)
- 1 teaspoon lemon juice
- 3/4 cup all-purpose flour, spooned and leveled
- 1 teaspoon baking powder
- 1/2 teaspoon baking soda
- 1/2 teaspoon salt
- 2 teaspoons pumpkin pie spice
- 1 teaspoon ground cinnamon (preferably Saigon cinnamon)
- Powdered sugar, for dusting the towel
- 8 ounces cream cheese, softened to room temperature (full-fat recommended)
- 1/4 cup unsalted butter, softened to room temperature
- 1 teaspoon vanilla extract
- 1 cup powdered sugar, sifted
- Pinch of salt
Instructions
- Preheat oven to 350°F (175°C). Line a 10×15-inch jelly roll pan with parchment paper, leaving overhang on long sides. Lightly spray parchment with nonstick spray.
- In a large mixing bowl, beat eggs and sugar on high speed for about 3 minutes until thick, pale, and ribbon-like.
- Add pumpkin puree and lemon juice, beat on low until just combined.
- In a separate bowl, whisk together flour, baking powder, baking soda, salt, pumpkin pie spice, and cinnamon.
- Gradually add dry ingredients to wet ingredients, mixing on low until just combined. Do not overmix. Fold batter a few times with a rubber spatula.
- Spread batter evenly into prepared pan. Bake for 12 to 15 minutes, until cake springs back when lightly touched in center and edges start pulling away from parchment.
- While cake bakes, lay a clean kitchen towel flat on work surface and dust generously with powdered sugar.
- As soon as cake comes out of oven, run a knife around edges to loosen. Carefully invert cake onto sugared towel, then peel off parchment paper.
- Starting at one short end, roll cake and towel together into a tight log. Let rolled cake cool completely on a wire rack, seam side down, about 45 minutes to 1 hour.
- While cake cools, make filling: In a medium bowl, beat softened cream cheese and butter until smooth and creamy, about 2 minutes.
- Add vanilla extract and pinch of salt, then gradually beat in sifted powdered sugar. Mix until completely smooth. Refrigerate for 10-15 minutes if too soft.
- Once cake is completely cool, carefully unroll it. Spread cream cheese filling evenly over entire surface, leaving about 1/2-inch border around edges.
- Re-roll cake (without towel), using parchment paper or hands to guide gently. Do not squeeze too hard.
- Wrap rolled cake tightly in plastic wrap and refrigerate for at least 1 hour before slicing.
- When ready to serve, trim ends for neat appearance, then slice into 1-inch rounds. Dust with powdered sugar right before serving.
Notes
Roll the cake while it is warm to prevent cracking. Do not skip the lemon juice—it helps the cake rise. Use a thin, flat towel to avoid marks on the cake. Let cake cool completely before filling to prevent filling from melting. If cake cracks, the filling acts like glue; small cracks disappear when rolled. Use a serrated knife for clean slices, wiping between cuts. Can be made 2 days in advance; flavors improve overnight.
Nutrition
- Serving Size: 1 slice (1-inch thic
- Calories: 285
- Sugar: 28
- Sodium: 220
- Fat: 14
- Saturated Fat: 8
- Carbohydrates: 37
- Fiber: 1
- Protein: 5
Keywords: pumpkin roll, pumpkin dessert, cream cheese filling, fall dessert, Thanksgiving dessert, pumpkin cake roll, easy pumpkin roll


