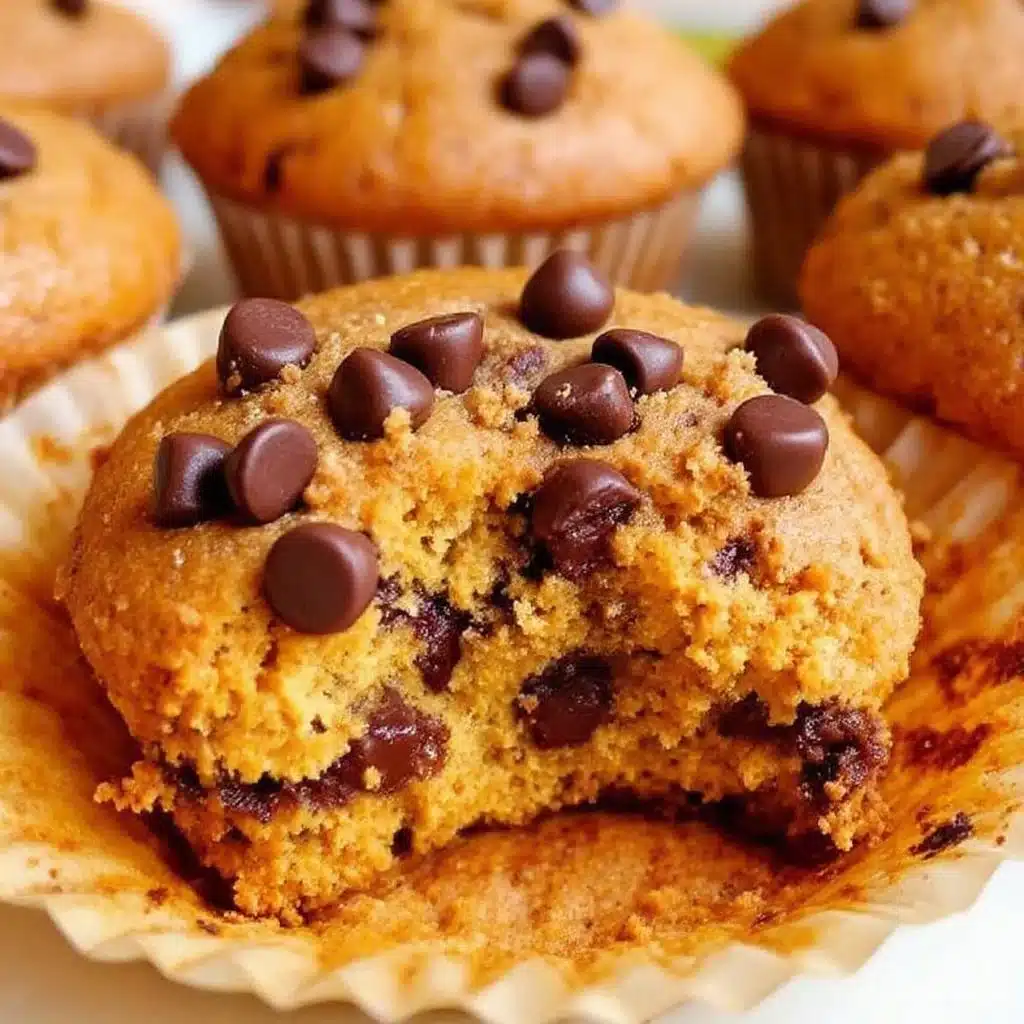
My sister called me last October, annoyed. She wanted pumpkin muffins but didn’t want a dozen of them sitting on her counter for a week, getting sad and stale. I told her to just halve a recipe, but she insisted every time she tried, the texture was off—dense and gummy instead of light and tender. I honestly thought she was overcomplicating it. So I grabbed a standard pumpkin muffin recipe, cut everything in half, and baked a test batch. The result was edible but unremarkable. The crumb was tight, the pumpkin flavor felt muted, and the chocolate chips sank to the bottom like they were trying to escape. That’s when I realized scaling down a recipe isn’t just about dividing numbers. It is about rethinking the entire structure. These Perfect Small-Batch Pumpkin Chocolate Chip Muffins are the result of that stubborn, slightly obsessive week of testing. They yield just six muffins—enough for a few days of cozy breakfasts or a single indulgent afternoon—and they come out impossibly soft, warmly spiced, and scattered with melty chocolate in every bite.
The trick, I learned, is adjusting the moisture balance. A full batch of muffins relies on a certain ratio of wet to dry ingredients to hold its shape during a longer bake. When you shrink the recipe, that ratio shifts, and the muffins can turn into hockey pucks if you are not careful. So I played with the pumpkin puree and oil amounts until the batter felt right—lush but not heavy, thick enough to hold the chocolate chips suspended rather than letting them fall. The first time I pulled a tray of these out of the oven, the kitchen smelled like autumn in a bottle. That earthy pumpkin scent mixed with cinnamon and nutmeg, plus the sweet promise of melted chocolate. My sister took one bite and said, “Okay, you were right to be annoying about this.” And honestly, that was the best compliment I could have gotten. These muffins are for anyone who wants that fall feeling without committing to a week’s worth of baked goods. They are for quiet mornings with coffee, for a quick treat after dinner, for when you just need something warm and comforting without the excess.
Why You’ll Love This Recipe
I have tested this recipe about seven times to get it exactly right, and I can tell you with confidence that these muffins deliver on every front. They are not just a scaled-down version of a bigger recipe—they are intentionally designed to be the best small batch possible.
- Perfectly Portioned : This recipe makes exactly six muffins. No waste, no leftovers that go dry after day two. It is ideal for small households, couples, or anyone who doesn’t need a bakery display on their counter.
- Super Moist, Not Dense : The texture is the star here. These muffins are tender and fluffy with a soft crumb, thanks to the careful balance of pumpkin puree and oil. They stay moist for days—if they last that long.
- Warm Fall Spices : Cinnamon, nutmeg, ginger, and a pinch of cloves create that classic pumpkin spice flavor without being overpowering. It is cozy but not cloying.
- Melty Chocolate in Every Bite : Using mini chocolate chips ensures they distribute evenly throughout the batter and melt into little pockets of sweetness. No sad, chip-less muffins here.
- Simple Pantry Ingredients : You likely already have everything you need. Canned pumpkin, flour, sugar, eggs, oil, and chocolate chips. No fancy grocery store runs required.
- Quick to Make : From mixing to eating in about 35 minutes. The batter comes together in one bowl, and the bake time is short since the batch is small.
- Kid-Approved and Guest-Friendly : I brought these to a casual brunch and they disappeared before the savory dishes. Everyone asked for the recipe, and no one believed they were a small batch.
What really sets these apart is the texture. I have had too many pumpkin muffins that taste like damp cardboard or feel gummy in the middle. These are light, with a slight dome on top and a tender interior that practically melts. The pumpkin flavor is present but not overwhelming, and the chocolate adds just enough sweetness to balance the warm spices. It is the kind of muffin that makes you close your eyes after the first bite—simple, honest, and deeply satisfying.
What Ingredients You Will Need
This recipe relies on simple, everyday ingredients that come together to create something greater than the sum of their parts. Each one plays a specific role in the texture and flavor, so I will walk you through what to look for and why it matters.
- All-Purpose Flour (1 cup / 120g) : Standard all-purpose flour gives these muffins structure without making them tough. Spoon and level your flour into the measuring cup—scooping directly can pack it down and lead to dry muffins. I use Gold Medal or King Arthur Flour for consistent results.
- Granulated Sugar (⅓ cup / 65g) : Sugar does more than sweeten here. It helps with browning and keeps the muffins tender. You can reduce it slightly if you prefer less sweet muffins, but do not go below ¼ cup or the texture will suffer.
- Light Brown Sugar (2 tablespoons / 25g) : Brown sugar adds moisture and a hint of molasses flavor that complements the pumpkin beautifully. Pack it firmly when measuring. If you are out of brown sugar, you can substitute with an equal amount of granulated sugar mixed with ½ teaspoon of molasses.
- Pumpkin Puree (½ cup / 120g) : Use canned pumpkin puree, not pumpkin pie filling. The puree is unsweetened and unspiced, giving you control over the flavor. Libby’s is my go-to brand because it is consistently thick and not watery. If your puree looks loose, pat it dry with a paper towel before measuring.
- Vegetable Oil (¼ cup / 60ml) : Oil keeps these muffins moist and tender for days. I prefer a neutral oil like canola or grapeseed. You can substitute melted coconut oil or melted butter, but note that butter will make the muffins slightly denser and less fluffy.
- Large Egg (1, room temperature) : The egg binds the batter and adds richness. Make sure it is at room temperature so it emulsifies properly with the oil and pumpkin. If you forgot to take it out of the fridge, place it in a bowl of warm water for 5 minutes.
- Milk (2 tablespoons / 30ml) : A small amount of milk thins the batter slightly, helping the muffins rise evenly. Any milk works—dairy, almond, oat, or soy. I have used oat milk successfully in this recipe.
- Vanilla Extract (1 teaspoon) : Vanilla enhances the warm spices and rounds out the flavor. Use pure vanilla extract if you have it, but imitation works fine too.
- Pumpkin Pie Spice (1½ teaspoons) : You can use store-bought or make your own blend. I mix 1 teaspoon cinnamon, ½ teaspoon nutmeg, ¼ teaspoon ginger, and a pinch of cloves. It is easy and lets you adjust the spice level to your taste.
- Baking Powder (1 teaspoon) : This is the primary leavener, giving the muffins lift. Make sure your baking powder is fresh—test it by dropping a bit into hot water; it should bubble vigorously.
- Baking Soda (¼ teaspoon) : Baking soda helps neutralize the acidity in the pumpkin and brown sugar, contributing to a tender crumb and good rise.
- Salt (¼ teaspoon) : Salt balances the sweetness and enhances all the flavors. Do not skip it, even if you are using salted butter.
- Mini Chocolate Chips (⅓ cup / 60g) : Mini chips are key here. They distribute evenly throughout the batter and melt into tiny chocolate pockets without sinking to the bottom. I use Ghirardelli mini semi-sweet chips. You can substitute regular chocolate chips, but expect some to sink. Dark, milk, or white chocolate all work.
Optional Add-ins : A handful of chopped pecans or walnuts adds nice crunch. Toss them in a little flour before folding to prevent sinking. You can also sprinkle coarse sugar on top before baking for a crunchy lid.
Equipment Needed
You do not need a fancy kitchen to make these muffins, but a few specific tools will make the process smoother and the results more consistent.
- Standard 12-Cup Muffin Pan : Even though this is a small batch, you will only fill six of the cups. A standard pan works perfectly. If you have a mini muffin pan, you can make about 18 mini muffins—just reduce the bake time to 10-12 minutes.
- Paper Muffin Liners : I prefer parchment paper liners because they peel off cleanly. Foil liners work too, but they can stick slightly. If you do not have liners, grease the pan generously with butter or non-stick spray.
- Mixing Bowls : You will need one large bowl for the wet ingredients and another for the dry. I use a glass mixing bowl for the wet and a medium stainless steel bowl for the dry.
- Whisk : A standard whisk is perfect for combining the dry ingredients and for smoothing out the wet mixture. A fork works in a pinch.
- Rubber Spatula : Essential for folding the dry ingredients into the wet without overmixing. A silicone spatula is ideal because it scrapes the bowl clean.
- Measuring Cups and Spoons : Use dry measuring cups for flour and sugar, and a liquid measuring cup for the oil and milk. Accuracy matters in a small batch where even a tablespoon off can change the texture.
- Kitchen Scale (optional but recommended) : Weighing your ingredients is the most accurate way to ensure consistent results. I use a simple digital scale and it has saved me from many dense muffins.
- Cooling Rack : Letting muffins cool in the pan for 5 minutes, then transferring them to a wire rack prevents soggy bottoms. If you do not have a rack, a clean cutting board works fine.
- Cookie Scoop (optional) : A 2-tablespoon cookie scoop helps portion the batter evenly into the liners, ensuring uniform muffins. I use one for almost all my muffin recipes now.
I have made these muffins with just a bowl and a fork before, and they still turned out great. The equipment is nice to have but not mandatory. If you are a minimalist baker, you can absolutely pull this off with what you already own.
Preparation Method
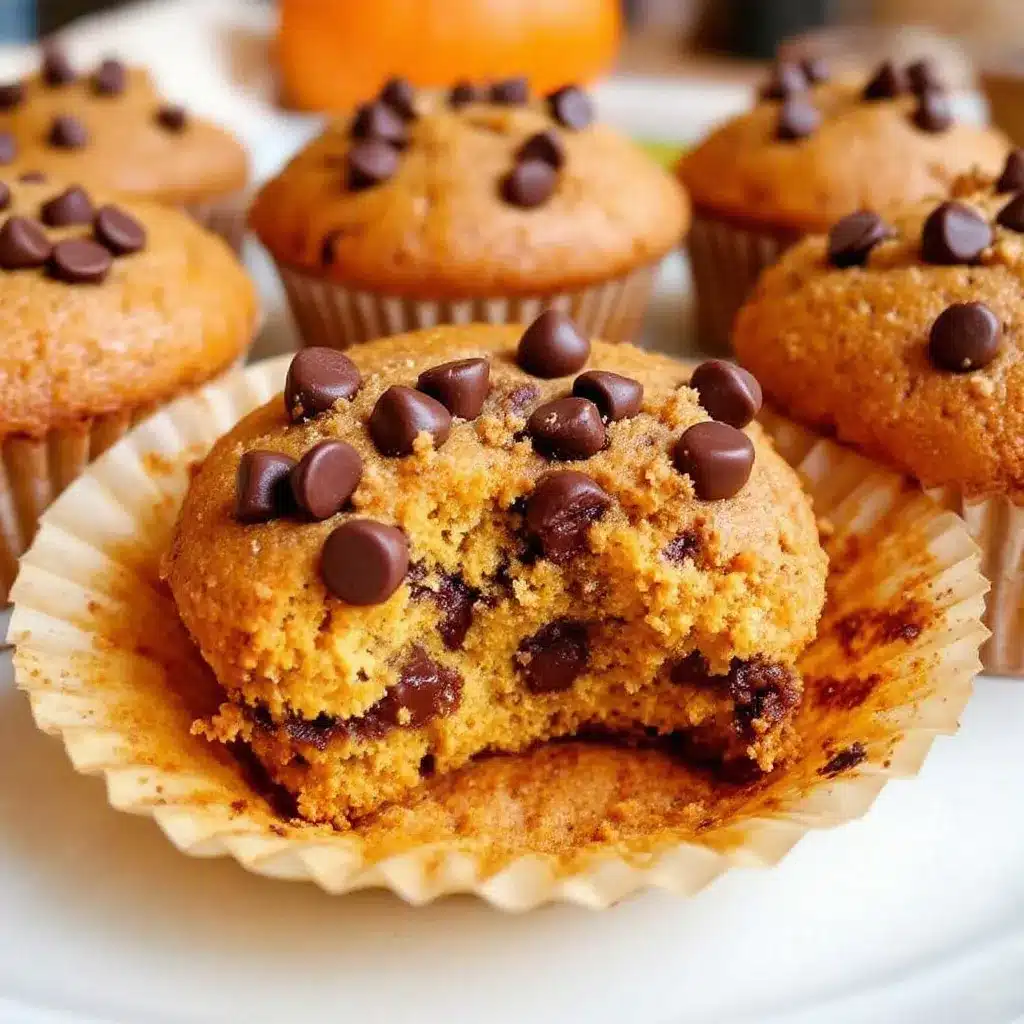
Let me walk you through this step by step. I have included all the little details I wish someone had told me when I first started baking pumpkin muffins.
- Preheat and Prep : Preheat your oven to 375°F (190°C). Line six cups of a standard muffin pan with paper liners. If you are not using liners, grease the cups well with butter or non-stick spray. Set the pan aside.
- Combine Dry Ingredients : In a medium bowl, whisk together 1 cup (120g) all-purpose flour, 1½ teaspoons pumpkin pie spice, 1 teaspoon baking powder, ¼ teaspoon baking soda, and ¼ teaspoon salt. Whisk for about 15 seconds to aerate the flour and distribute the leaveners evenly. Set aside.
- Mix Wet Ingredients : In a large bowl, whisk together ⅓ cup (65g) granulated sugar and 2 tablespoons (25g) light brown sugar until no lumps remain. Add ½ cup (120g) pumpkin puree, ¼ cup (60ml) vegetable oil, 1 large egg (room temperature), 2 tablespoons (30ml) milk, and 1 teaspoon vanilla extract. Whisk until the mixture is smooth and fully combined. It should look like a thick, glossy orange sauce.
- Fold Dry into Wet : Pour the dry ingredients into the wet mixture. Use a rubber spatula to fold gently, scraping from the bottom of the bowl up and over. Stop as soon as you no longer see streaks of flour. A few small lumps are fine—overmixing will make the muffins tough. The batter will be thick and slightly sticky.
- Add Chocolate Chips : Sprinkle ⅓ cup (60g) mini chocolate chips over the batter. Fold them in with just a few strokes, being careful not to overwork the batter. If you are adding nuts, fold them in at the same time.
- Portion the Batter : Divide the batter evenly among the six lined muffin cups. A cookie scoop makes this easy, but you can also use two spoons. Each cup should be about three-quarters full. If you want bakery-style domed tops, fill them almost to the rim—just leave a tiny gap.
- Optional Topping : Sprinkle a pinch of coarse sugar (like turbinado or Demerara) over each muffin for a crunchy lid. You can also press a few extra chocolate chips on top for visual appeal.
- Bake : Place the pan on the center rack of your preheated oven. Bake for 15-18 minutes, or until the tops are golden brown and a toothpick inserted into the center of a muffin comes out clean or with a few moist crumbs. My oven takes exactly 16 minutes. Start checking at 15 minutes to avoid overbaking.
- Cool in Pan : Remove the pan from the oven and place it on a cooling rack or heat-safe surface. Let the muffins cool in the pan for 5 minutes. This allows them to set and makes them easier to remove without falling apart.
- Transfer and Cool Completely : Carefully lift the muffins out of the pan and transfer them to the cooling rack. Let them cool completely if you want to add any glaze or frosting. But honestly, they are incredible warm, when the chocolate chips are still melty and soft.
Sensory Cues : When the batter is ready, it should be thick enough to hold its shape when dropped from a spoon but still slightly sticky. During baking, your kitchen will smell like autumn—pumpkin, cinnamon, and warm chocolate. The tops will turn a deep golden brown and feel springy to the touch when done. If you press lightly with a finger, the muffin should bounce back.
Troubleshooting : If your muffins come out flat, your baking powder might be old. If they are dry, you may have overmeasured the flour or overbaked them. If the chocolate chips sank, toss them in a teaspoon of flour before adding to the batter next time. I have made all these mistakes, and each taught me something valuable about the process.
Cooking Tips & Techniques
Over the course of testing these muffins, I learned a few tricks that make a real difference. Some came from professional baking techniques, others from pure trial and error.
Room Temperature Ingredients Matter : I know it is tempting to use cold eggs straight from the fridge, but room temperature ingredients emulsify better, creating a smoother batter and a more tender crumb. If you are in a rush, place the egg in a bowl of warm water for 5 minutes. The milk can sit on the counter while you gather your other ingredients.
Do Not Overmix : This is the number one mistake I see in muffin recipes. Overmixing develops gluten, which makes muffins tough and dense. Stir just until the flour disappears into the batter. A few lumps are perfectly fine—they will bake out. I ruined my first batch by obsessively stirring until the batter was completely smooth, and the muffins came out like rubber.
Use a Cookie Scoop for Even Muffins : A 2-tablespoon cookie scoop ensures every muffin gets the same amount of batter, so they bake evenly. If you do not have one, use two spoons to portion the batter, and try to make each cup look similar. Uneven sizes mean some muffins will be done before others.
Fill the Empty Cups with Water : Since you are only using six cups of a 12-cup pan, fill the empty cups halfway with water. This prevents the pan from warping and helps the muffins bake more evenly. It also adds a little steam to the oven, which keeps the muffins moist.
Rotate the Pan Halfway Through : About 8 minutes into baking, quickly rotate the pan front to back. Ovens often have hot spots, and this simple step ensures all six muffins brown evenly. I forgot to do this once and ended up with three pale muffins and three overdone ones.
Check for Doneness with a Toothpick : Insert a toothpick into the center of a muffin. If it comes out clean or with a few moist crumbs, they are done. If it comes out wet with batter, give them another 1-2 minutes. Remember that muffins continue to cook slightly in the hot pan after you pull them out, so do not overbake them.
Let Them Cool in the Pan : Those 5 minutes of cooling in the pan are crucial. It allows the structure to set so the muffins do not collapse when you move them. I have made the mistake of rushing this step and ended up with lopsided muffins that tore apart.
Storage Tip for Maximum Freshness : If you are not eating all six immediately, store them in an airtight container with a paper towel at the bottom. The paper towel absorbs excess moisture without making the muffins soggy. Replace the paper towel after a day for best results.
Variations & Adaptations
One of the best things about this base recipe is how easily it adapts to different tastes and dietary needs. I have tried several variations, and each one brought something new to the table.
Gluten-Free Version : Substitute the all-purpose flour with a 1:1 gluten-free baking flour blend that contains xanthan gum. I have used Bob’s Red Mill 1-to-1 Baking Flour with great results. The texture is slightly more delicate, but the muffins still rise beautifully and stay moist. Do not overmix the batter, as gluten-free flours can become gummy if overworked.
Dairy-Free Option : This recipe is almost dairy-free already. Simply use a plant-based milk like oat, almond, or soy instead of regular milk. The oil is already dairy-free, and most chocolate chips are dairy-free, but check the label to be sure. Enjoy Life brand makes reliable dairy-free mini chips.
Lower Sugar Adaptation : Reduce the granulated sugar to ¼ cup (50g) and keep the brown sugar at 2 tablespoons. The muffins will be less sweet but still flavorful, relying more on the pumpkin and chocolate for sweetness. You can also swap the chocolate chips for dark chocolate chips, which have less sugar.
Vegan Version : Replace the egg with a flax egg (1 tablespoon ground flaxseed mixed with 3 tablespoons water, let sit for 5 minutes until gel-like). Use a plant-based milk and ensure your chocolate chips are vegan. The texture will be slightly denser but still delicious. I tested this version for a friend and was pleasantly surprised by how well it worked.
Spice It Up : If you love a bold spice profile, add ¼ teaspoon of ground cardamom or a pinch of cayenne pepper to the dry ingredients. Cardamom adds a floral, slightly citrusy note that pairs beautifully with pumpkin. Cayenne gives a subtle warmth that contrasts nicely with the chocolate.
Add Some Crunch : Fold in ¼ cup of chopped pecans or walnuts along with the chocolate chips. Toast the nuts lightly in a dry pan over medium heat for 2-3 minutes before adding them—this intensifies their flavor and keeps them crunchy in the batter.
Pumpkin Cream Cheese Swirl : For an indulgent twist, mix 2 ounces of softened cream cheese with 1 tablespoon of sugar and a splash of vanilla. Drop a small spoonful into each muffin cup before adding the batter, then swirl gently with a knife. The cream cheese bakes into a tangy, creamy pocket that is absolutely divine.
I personally love the pecan variation during the holidays. The crunch adds a lovely texture contrast, and the toasted nuttiness makes the muffins feel even more special. If you are feeling adventurous, try the cream cheese swirl—it turns these simple muffins into something that feels bakery-worthy.
Serving & Storage Suggestions
These muffins are incredibly versatile when it comes to serving. They shine at breakfast, as a midday snack, or even as a simple dessert.
Serving Temperature : I prefer these muffins warm, when the chocolate chips are still slightly melted and the pumpkin flavor is at its most aromatic. Pop a cooled muffin in the microwave for 10-15 seconds to revive that just-baked warmth. If you have time, split one in half and toast it lightly in a skillet with a little butter—the edges get crispy while the inside stays soft.
Presentation Ideas : Arrange the muffins on a wooden board or a simple white plate for a cozy fall look. Dust them lightly with powdered sugar for a touch of elegance. If you are serving them for a brunch, place them in a basket lined with a cloth napkin. They look beautiful alongside a Creamy Roasted Butternut Squash Soup or a warm mug of spiced cider.
Complementary Dishes and Beverages : These muffins pair wonderfully with a hot cup of coffee, chai latte, or a glass of cold milk. For a heartier breakfast, serve them alongside scrambled eggs and fresh fruit. They also make a great addition to a fall brunch spread with Savory Butternut Squash Galette and a simple green salad.
Storage Instructions : Store leftover muffins in an airtight container at room temperature for up to 3 days. To keep them from drying out, place a paper towel at the bottom of the container and another on top of the muffins. Replace the paper towels if they become damp. Do not refrigerate muffins—the cold air dries them out faster than room temperature storage.
Freezing Instructions : These muffins freeze beautifully. Let them cool completely, then wrap each muffin individually in plastic wrap. Place the wrapped muffins in a freezer-safe bag or container. They will keep for up to 3 months. To thaw, leave a muffin at room temperature for about an hour, or microwave it for 20-30 seconds straight from frozen. The texture remains remarkably close to fresh.
How Flavors Develop : Interestingly, these muffins taste even better the day after baking. The pumpkin and spice flavors meld together overnight, creating a more complex and rounded taste. If you can resist eating them all on day one, you will be rewarded with an even more delicious muffin on day two. The texture stays moist and tender, thanks to the oil and pumpkin puree.
Nutritional Information & Benefits
While these muffins are a treat, they also offer some nutritional benefits thanks to the pumpkin and other wholesome ingredients. Here is an approximate breakdown per muffin (based on six servings, using the recipe as written).
| Nutrient | Amount Per Muffin |
|---|---|
| Calories | 285 |
| Total Fat | 14g |
| Saturated Fat | 3.5g |
| Cholesterol | 31mg |
| Sodium | 215mg |
| Total Carbohydrates | 37g |
| Dietary Fiber | 2g |
| Sugars | 20g |
| Protein | 4g |
| Vitamin A | 80% DV |
| Vitamin C | 2% DV |
| Calcium | 6% DV |
| Iron | 8% DV |
Health Benefits of Key Ingredients : Pumpkin is packed with vitamin A, which supports eye health and immune function. It is also rich in fiber, which aids digestion and helps you feel full longer. The cinnamon in the spice blend has anti-inflammatory properties and can help regulate blood sugar. Dark chocolate (if you use dark chocolate chips) contains antioxidants called flavonoids that support heart health. The oil provides healthy fats that help absorb fat-soluble vitamins from the pumpkin.
Dietary Considerations : This recipe can be made gluten-free, dairy-free, and vegan with simple substitutions outlined in the variations section. It is nut-free as written, making it safe for school lunches or parties where nut allergies are a concern. The muffins are also relatively low in saturated fat compared to many bakery-style muffins, thanks to the use of vegetable oil instead of butter.
Potential Allergens : This recipe contains wheat (gluten), eggs, and milk (if using dairy milk). It may contain traces of soy depending on the chocolate chips you choose. Always check labels if you are baking for someone with severe allergies.
I personally love that these muffins feel indulgent but are made with real, recognizable ingredients. They are not health food, but they are a far better choice than most store-bought muffins loaded with preservatives and artificial flavors. A warm muffin with a cup of tea feels like a small act of self-care, and that counts for something.
Conclusion
These Perfect Small-Batch Pumpkin Chocolate Chip Muffins have become my go-to fall recipe for a reason. They deliver everything I want from a pumpkin muffin—tender crumb, warm spices, melty chocolate, and that unmistakable cozy feeling—without the commitment of a full dozen. They are forgiving enough for a beginner baker but refined enough to impress anyone who tries them. I have made them for lazy Sunday mornings, for impromptu visits from friends, and for those evenings when I just need something warm and sweet to end the day. Every time, they deliver.
I encourage you to make these your own. Play with the spices, swap in different chocolate, or add a handful of nuts. The base recipe is solid, but it welcomes your personal touch. If you try a variation that you love, I would genuinely love to hear about it. Drop a comment below and tell me how your batch turned out—or share a photo on social media and tag me. There is something special about knowing these muffins are bringing a little warmth to someone else’s kitchen.
Thank you for stopping by and baking along with me. I hope these muffins make your home smell as wonderful as mine does right now. Happy baking, and remember—sometimes the best things come in small batches.
Frequently Asked Questions
Can I use fresh pumpkin instead of canned?
Yes, you can use fresh pumpkin puree, but you will need to roast and puree the pumpkin first. Fresh pumpkin puree tends to be more watery than canned, so you may need to drain it slightly by pressing it through a fine-mesh sieve or patting it with paper towels. If the puree is too wet, the muffins can become dense and gummy. Canned pumpkin is more consistent and reliable for this recipe, which is why I recommend it.
Why did my muffins turn out dry?
Dry muffins are usually the result of overmixing the batter or overbaking them. Overmixing develops gluten, which makes the crumb tough and dry. Overbaking evaporates too much moisture. Make sure you measure your flour correctly by spooning it into the measuring cup and leveling it off—scooping directly can pack in extra flour. Also, check your oven temperature with an oven thermometer, as many ovens run hot or cold.
Can I make these muffins ahead of time?
Absolutely. You can bake the muffins up to 3 days in advance and store them in an airtight container at room temperature. They actually taste better on day two as the flavors meld. You can also freeze them for up to 3 months. Just wrap each muffin individually in plastic wrap and place them in a freezer bag. Thaw at room temperature or microwave for 20-30 seconds.
Can I double this recipe to make 12 muffins?
Yes, you can easily double all the ingredients to make a full dozen. The bake time may increase slightly to 18-20 minutes, so start checking at 18 minutes. The same tips apply—do not overmix, use room temperature ingredients, and fill the muffin cups evenly. If you are looking for more pumpkin recipes, try these Cozy Oatmeal Muffin in a Mug for an even quicker treat.
What can I use instead of pumpkin pie spice?
If you do not have pumpkin pie spice, you can make your own blend. Combine 1 teaspoon ground cinnamon, ½ teaspoon ground nutmeg, ¼ teaspoon ground ginger, and a pinch of ground cloves. This homemade blend works perfectly and lets you adjust the spice levels to your preference. You can also add a pinch of allspice or cardamom for a unique twist.
Pin This Recipe!
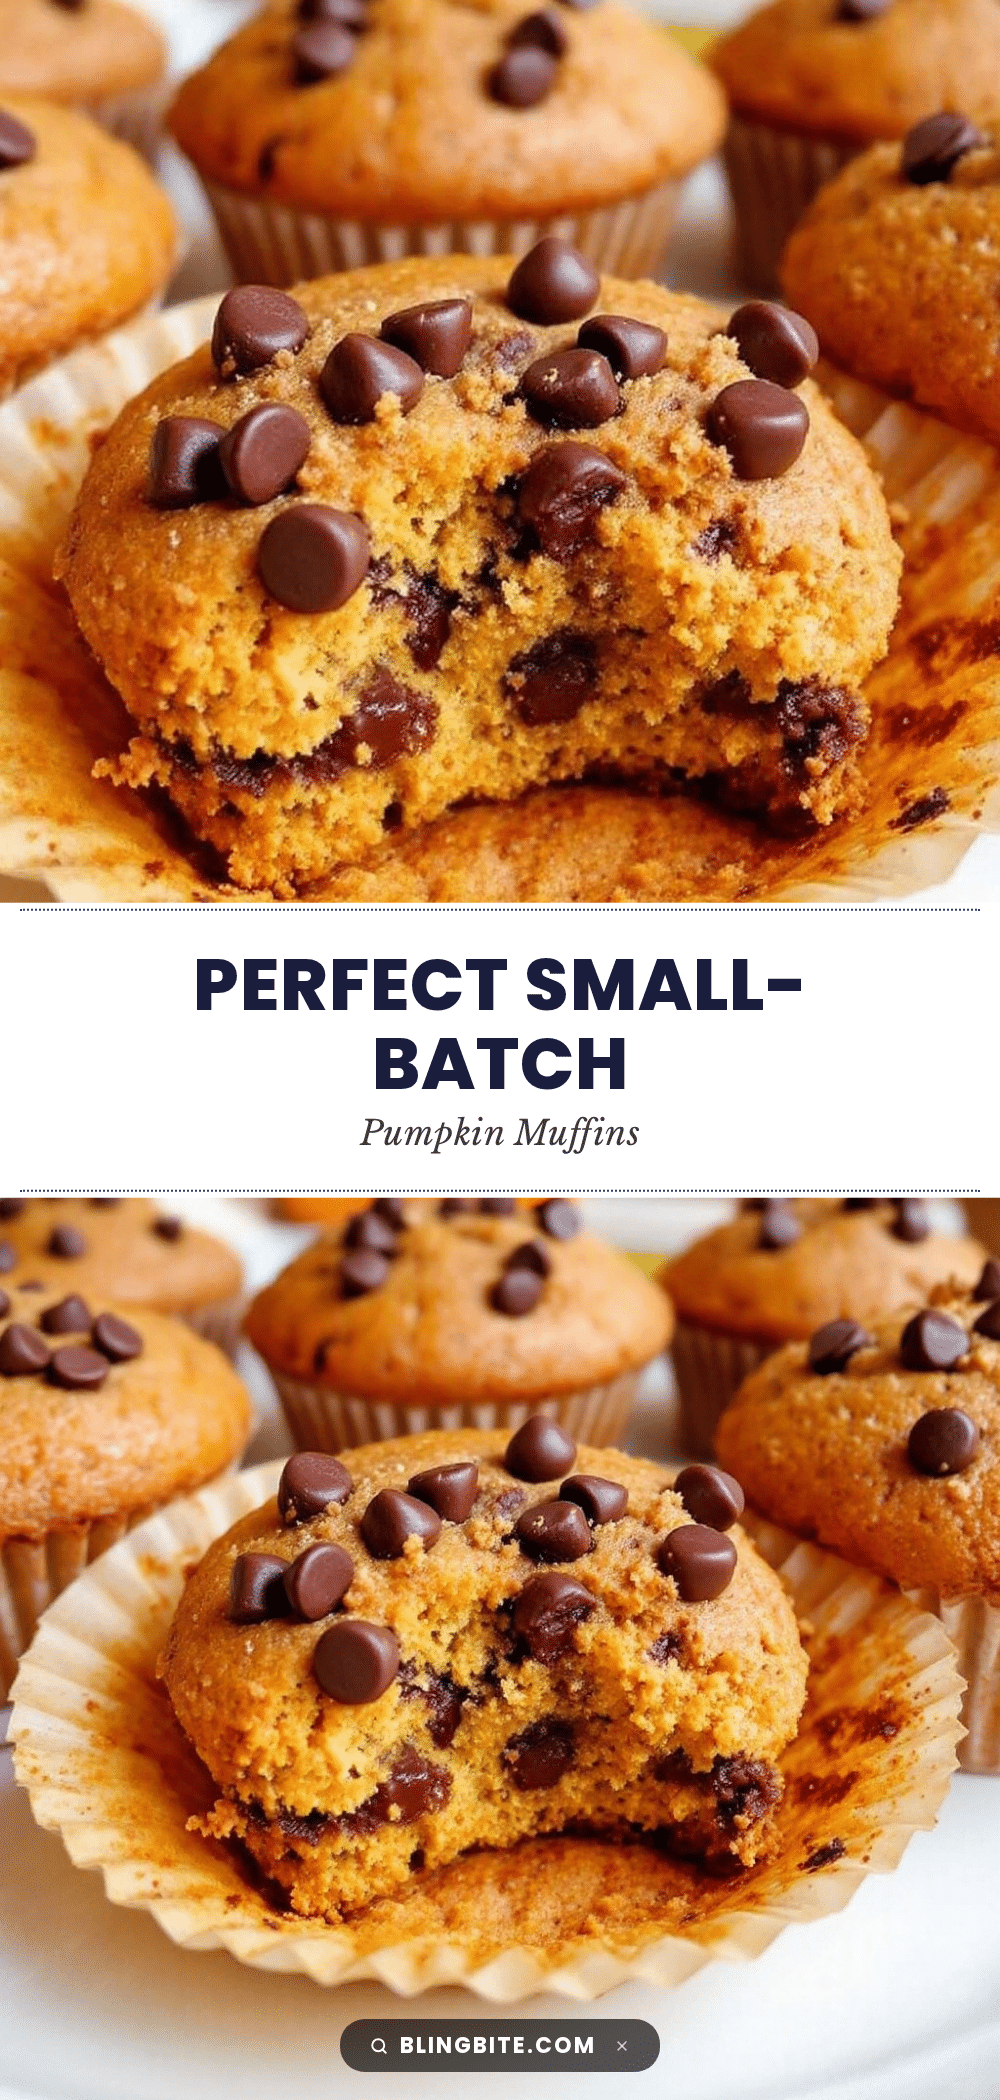
Perfect Small-Batch Pumpkin Chocolate Chip Muffins
These small-batch pumpkin chocolate chip muffins yield just six muffins—impossibly soft, warmly spiced, and scattered with melty chocolate in every bite. Perfect for cozy breakfasts or a single indulgent afternoon.
- Prep Time: 10 minutes
- Cook Time: 16 minutes
- Total Time: 26 minutes
- Yield: 6 muffins 1x
- Category: Breakfast, Dessert
- Cuisine: American
Ingredients
- 1 cup (120g) all-purpose flour
- ⅓ cup (65g) granulated sugar
- 2 tablespoons (25g) light brown sugar, packed
- ½ cup (120g) pumpkin puree
- ¼ cup (60ml) vegetable oil
- 1 large egg, room temperature
- 2 tablespoons (30ml) milk
- 1 teaspoon vanilla extract
- 1½ teaspoons pumpkin pie spice
- 1 teaspoon baking powder
- ¼ teaspoon baking soda
- ¼ teaspoon salt
- ⅓ cup (60g) mini chocolate chips
Instructions
- Preheat oven to 375°F (190°C). Line six cups of a standard muffin pan with paper liners or grease well.
- In a medium bowl, whisk together flour, pumpkin pie spice, baking powder, baking soda, and salt for about 15 seconds.
- In a large bowl, whisk together granulated sugar and brown sugar until no lumps remain. Add pumpkin puree, oil, egg, milk, and vanilla; whisk until smooth and glossy.
- Pour dry ingredients into wet mixture. Fold gently with a rubber spatula until just combined—a few lumps are fine. Do not overmix.
- Sprinkle mini chocolate chips over batter and fold in with a few strokes.
- Divide batter evenly among the six lined muffin cups, filling each about three-quarters full. Optionally, sprinkle coarse sugar on top or press extra chocolate chips on top.
- Bake for 15-18 minutes, until tops are golden brown and a toothpick inserted into the center comes out clean or with a few moist crumbs.
- Cool in pan for 5 minutes, then transfer muffins to a wire rack to cool completely. Serve warm or at room temperature.
Notes
For best results, use room temperature ingredients. Do not overmix the batter. Fill empty muffin cups halfway with water to prevent pan warping and add moisture. Muffins taste even better the next day. Store in an airtight container at room temperature for up to 3 days, or freeze for up to 3 months.
Nutrition
- Serving Size: 1 muffin
- Calories: 285
- Sugar: 20
- Sodium: 215
- Fat: 14
- Saturated Fat: 3.5
- Carbohydrates: 37
- Fiber: 2
- Protein: 4
Keywords: pumpkin muffins, small batch, chocolate chip muffins, fall baking, easy muffin recipe


