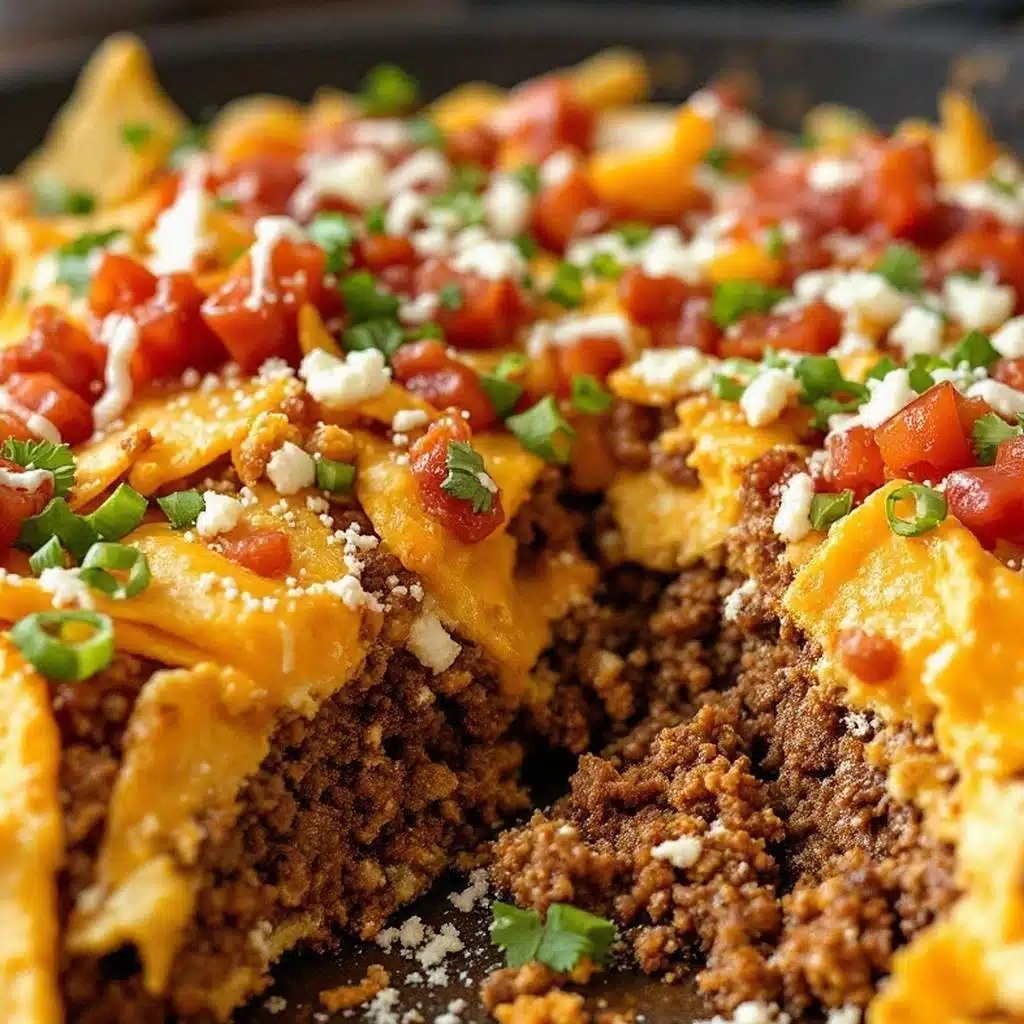
I didn’t trust a nacho bar. Honestly, I thought it was a cop-out—a way to dump a bunch of ingredients on a table and call it a party without any real cooking. For years, I was the person making individual plates of nachos in the oven, carefully layering each chip, because the idea of a self-serve station felt like a mess waiting to happen. Then came the first Sunday of football season last year, with a house full of people who had very strong opinions about their toppings. Someone wanted extra jalapeños, someone else wanted no beans, and my nephew wanted his nachos practically dry. I realized my perfectly layered sheet pan was never going to make everyone happy. I caved. I set up a ground beef station, put out bowls of everything I had, and braced for chaos. What I got was the most relaxed hosting experience of my life. People built their own plates, nobody complained, and I actually got to sit down and watch the game. The nacho bar won me over, and this version with seasoned ground beef is the one I turn to every single time. It is the kind of setup that makes you wonder why you ever did it the hard way. Trust me, I get the skepticism—but this works.
Why You’ll Love This Recipe
This nacho bar is not just another appetizer. It is a system designed for real people who want to enjoy their own party. I have tested this setup through multiple game days, and it never fails. Here is why it stands out:
- Customizable for Everyone: Each person builds their perfect plate. No more picking onions out of a shared dish. Everyone controls their own destiny here.
- Quick to Prepare: The ground beef comes together in under 20 minutes. The rest is just chopping and arranging. You are not stuck in the kitchen while the game is on.
- Simple Ingredients: Ground beef, taco seasoning, chips, cheese, and your favorite toppings. Nothing fancy, nothing you have to hunt down at a specialty store.
- Perfect for a Crowd: This scales up easily. Doubling the beef takes no extra effort, and the toppings are all about volume. You can feed ten people or twenty without breaking a sweat.
- Always a Hit: I have brought this to tailgates and potlucks, and the tray is always empty first. There is something about building your own nachos that makes people happy.
What makes this version different is the beef. I season it with a mix of chili powder, cumin, and a little smoked paprika that gives it a deeper, warmer flavor than standard taco meat. It is not just ground beef—it is the anchor of the whole bar. The first time I made this, a friend told me it was the best nacho meat he had ever had. That is the kind of feedback that keeps a recipe in permanent rotation. This is comfort food at its most social, and it lets you be a guest at your own party.
What Ingredients You Will Need
This recipe uses simple, everyday ingredients to build big flavor. You probably already have most of these in your pantry. Here is everything you need for the ultimate game day nacho bar.
For the Seasoned Ground Beef
- 1 pound ground beef (80/20 is ideal for flavor; drain excess fat after cooking)
- 1 tablespoon olive oil
- 1 small yellow onion, finely diced
- 3 cloves garlic, minced
- 1 tablespoon chili powder
- 1 teaspoon ground cumin
- 1 teaspoon smoked paprika
- ½ teaspoon dried oregano
- ½ teaspoon salt
- ¼ teaspoon black pepper
- ½ cup beef broth (or water, if that is what you have)
For the Nacho Base
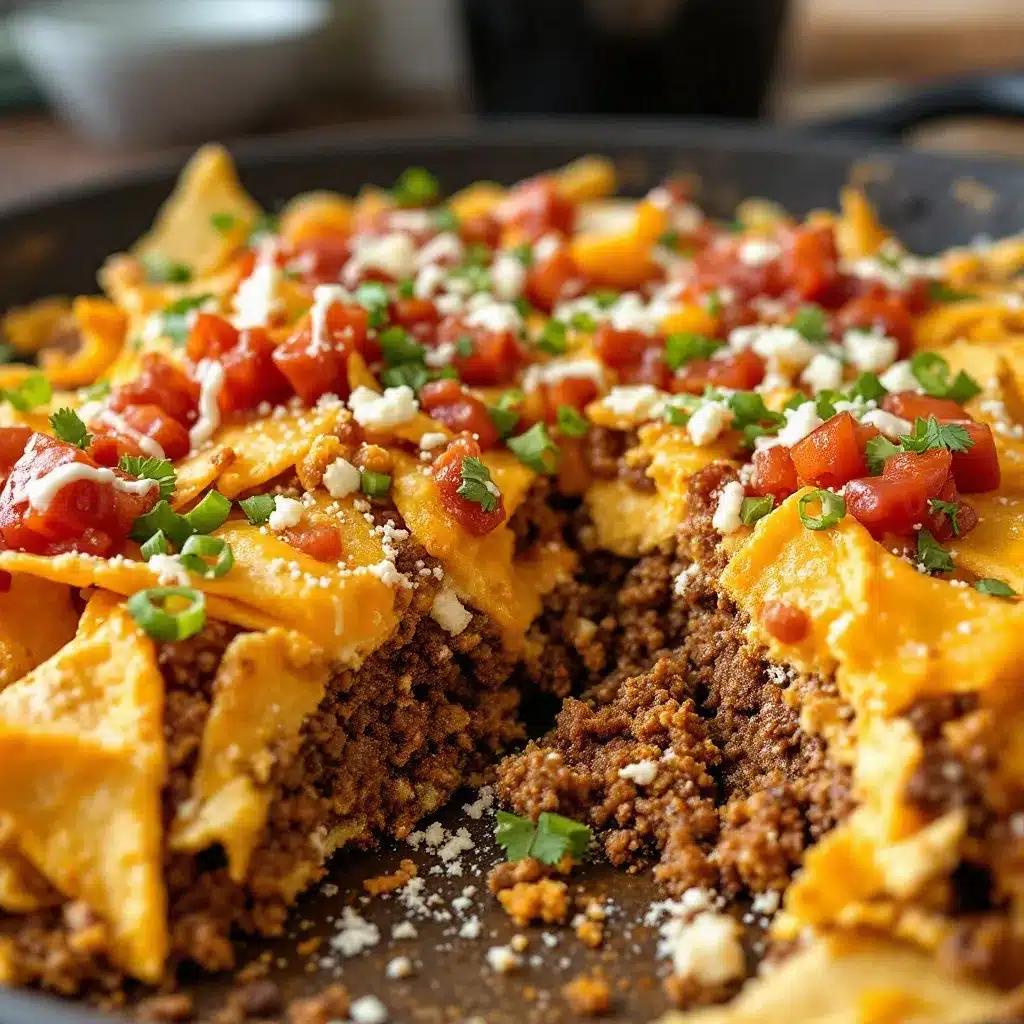
- 1 large bag (13-16 ounces) restaurant-style tortilla chips (look for sturdy chips that can hold up to toppings; I like Tostitos Scoops for their shape)
- 2 cups shredded Mexican blend cheese (or a mix of cheddar and Monterey Jack)
- 1 cup refried beans (optional, but adds a creamy layer)
Suggested Toppings Bar
- 1 cup sour cream
- 1 cup guacamole (store-bought is fine, but homemade is always better)
- 1 cup pico de gallo or salsa
- 1 (15-ounce) can black beans, drained and rinsed
- 1 cup pickled jalapeños
- ½ cup sliced black olives
- ½ cup chopped fresh cilantro
- 2 green onions, sliced
- 1 lime, cut into wedges
Ingredient Tips: For the beef, I prefer 80/20 because the extra fat renders down and keeps the meat juicy. If you use leaner beef, add a little more olive oil to compensate. For the cheese, shred it yourself if you have the time—pre-shredded cheese has anti-caking agents that prevent it from melting as smoothly. I learned that the hard way after a few clumpy batches. For the chips, avoid thin, delicate brands. They will break under the weight of the toppings. A sturdy chip is your best friend here.
Equipment Needed
- Large skillet or frying pan (for cooking the ground beef; a 12-inch skillet works best)
- Wooden spoon or spatula (for breaking up the meat)
- Cutting board and sharp knife (for chopping onions, garlic, and toppings)
- Small bowls or ramekins (for holding individual toppings; I use a mismatched set I have collected over the years)
- Large serving platter or sheet pan (for the nacho base)
- Aluminum foil (for lining the sheet pan, makes cleanup much easier)
- Oven or toaster oven (for melting the cheese on the nachos)
- Can opener (for the beans and olives)
If you do not have a sheet pan, a large oven-safe platter works just as well. I have even used a cast-iron skillet for a smaller batch. For the toppings, any small bowls will do—I have used everything from mason jars to cereal bowls in a pinch. The key is to have everything ready before guests arrive so you are not scrambling mid-game.
Preparation Method
- Cook the ground beef: Heat the olive oil in a large skillet over medium-high heat. Add the diced onion and cook for 3-4 minutes, until it is soft and translucent. Add the minced garlic and cook for another 30 seconds, until fragrant. Add the ground beef, breaking it up with a wooden spoon. Cook for 6-8 minutes, until the beef is browned and cooked through. If there is excess fat, drain it off (I tilt the pan and spoon it out, leaving a little for flavor).
- Season the beef: Reduce the heat to medium. Add the chili powder, cumin, smoked paprika, oregano, salt, and pepper. Stir well to coat the beef evenly. Pour in the beef broth and let it simmer for 3-4 minutes, stirring occasionally, until the liquid has mostly evaporated and the beef is coated in a rich, thick sauce. The smell at this point is incredible—smoky and warm. Turn off the heat and set aside.
- Prepare the nacho base: Preheat your oven to 375°F (190°C). Line a large sheet pan with aluminum foil. Spread the tortilla chips in an even layer across the pan. If you are using refried beans, drop small spoonfuls over the chips (do not spread them—just dot them around so they melt into the layers). Spoon the seasoned ground beef evenly over the chips. Sprinkle the shredded cheese over everything, making sure to cover the meat and chips as much as possible.
- Bake the nachos: Place the sheet pan in the preheated oven and bake for 8-10 minutes, until the cheese is fully melted and bubbly. Keep an eye on it—you want the cheese melted, not the chips burned. If the edges of the chips start to darken too quickly, pull the pan out early. Every oven runs a little differently.
- Set up the toppings bar: While the nachos are baking, arrange your toppings in small bowls. I like to group them by type: creamy things (sour cream, guacamole) on one side, fresh things (pico, cilantro, green onions) on another, and briny things (jalapeños, olives) in the middle. It makes the bar look intentional and inviting.
- Assemble and serve: Pull the sheet pan out of the oven. Let it cool for 2-3 minutes—the cheese needs a moment to set so it does not slide off the chips. Place the pan on a trivet or heat-safe surface in the center of your table. Arrange the topping bowls around it. Let everyone build their own plate, starting with the loaded chips and adding whatever they want from the bar. It is a beautiful, messy, wonderful thing.
Sensory cues: When the beef is done, it should look dark and glossy, with the spices clinging to every piece. The chips should be warm and slightly crisp, even after baking. The cheese should be stretchy and golden, not brown or burnt. The smell of chili and cumin will fill your kitchen, and that is the smell of game day.
Cooking Tips & Techniques
I have made this nacho bar more times than I can count, and I have learned a few things the hard way. Here are the tips that make the difference between good nachos and great nachos.
Do not overcook the beef. Ground beef can go from juicy to dry in a minute. Once it is browned and the liquid has reduced, take it off the heat. Letting it sit in a hot pan will continue to cook it. I have ruined a batch by walking away to answer the door, and the beef was tough and crumbly. Keep an eye on it.
Layer strategically. When you build the nacho base, do not just dump everything on top. Spread the chips out in a single layer, then dot the beef and beans around so every chip gets some love. If you pile everything in the center, the chips on the edges will be bare and sad. I learned this after a few uneven plates where people fought over the loaded chips.
Warm your toppings. Cold sour cream on hot nachos is a contrast that works, but cold refried beans do not. If you are using refried beans, warm them up in a small saucepan or microwave before adding them to the bar. Same goes for the black beans. A warm topping bar feels more cohesive and intentional.
Use a sheet pan with edges. A rimmed sheet pan keeps the chips and toppings contained. I have tried using a flat platter, and the chips slide off the sides like they are trying to escape. A sheet pan with a 1-inch rim is perfect. It also makes it easier to carry to the table without losing anything.
Timing is everything. Bake the nachos right before you are ready to serve. They do not sit well—the chips get soggy, and the cheese stiffens. I aim to pull them out of the oven just as guests are grabbing plates. If you are hosting a party, have everything prepped and ready to go, then bake the nachos as the first guests arrive. They will smell amazing and be ready just in time.
Variations & Adaptations
This recipe is flexible, and I have tried several variations over the years. Here are some of my favorites.
Chicken Nacho Bar: Swap the ground beef for shredded rotisserie chicken. Toss the chicken with the same spices and a little chicken broth instead of beef broth. It is lighter but just as flavorful. I made this for a summer gathering, and it was a hit with people who do not eat red meat.
Vegetarian Nacho Bar: Replace the ground beef with a mix of black beans, corn, and sautéed bell peppers. Use the same spice blend, and add a little extra cumin for depth. I have a friend who is vegetarian, and this version has become her go-to request. The beans and peppers hold up well against the cheese and chips.
Spicy Kick Nacho Bar: Add a diced jalapeño to the beef while it cooks, or mix in a teaspoon of cayenne pepper with the spices. Top with fresh habanero slices for the brave souls. I tried this once during a playoff game, and it cleared the room—in a good way. The heat levels were not for everyone, but the people who loved it really loved it.
Loaded Baked Potato Nacho Bar: Use crispy potato rounds or waffle fries instead of tortilla chips. Top with the seasoned beef, cheese, sour cream, and chives. It is a hybrid between nachos and loaded potato skins, and it is dangerously good. I made this for a casual dinner once, and we ate the whole tray without realizing it.
Breakfast Nacho Bar: Yes, breakfast nachos are a thing. Use the same beef, but swap the cheese for a sharp cheddar, and top with scrambled eggs, salsa verde, and a drizzle of hot sauce. It sounds weird, but it works. I made this for a Sunday brunch during a morning game, and it was a revelation.
Serving & Storage Suggestions
Serve the nacho bar immediately after baking, while the cheese is still hot and stretchy. The toppings should be at room temperature or slightly warm, arranged around the sheet pan so everyone can reach everything. I set out small plates and napkins (lots of napkins, because nachos are messy in the best way).
Complementary dishes: This nacho bar pairs beautifully with other game day snacks. I often serve it alongside a bowl of Roasted Red Pepper Hummus with Za’atar Spice for dipping and some Crispy Buffalo Cauliflower Bites with Blue Cheese Dip for a lighter option. If I am feeling extra indulgent, I add a tray of Bacon-Wrapped Jalapeño Popper Football Bites for the ultimate spread. For drinks, cold beer or a spicy margarita is the perfect match.
Storage: If you have leftovers (which is rare in my house), store the components separately. The baked nachos do not reheat well, but the seasoned beef keeps beautifully. Place the beef in an airtight container and refrigerate for up to 4 days. The toppings should also be stored separately—sour cream and guacamole in the fridge, chips in a sealed bag at room temperature.
Reheating: To repurpose the beef, reheat it in a skillet over medium heat with a splash of beef broth or water. It is great in tacos, quesadillas, or even on a baked potato. I have used leftover beef in a Beef and Bean Taco Soup the next day, and it was fantastic. The flavors deepen overnight, so the leftovers are sometimes better than the original.
Nutritional Information & Benefits
Here is an estimated nutritional breakdown for one serving (about 1 cup of loaded nachos with beef and cheese, without additional toppings):
- Calories: 450-500
- Protein: 25g
- Fat: 28g
- Carbohydrates: 30g
- Fiber: 4g
- Sugar: 3g
Health Benefits: Ground beef is a good source of iron, zinc, and B vitamins, which support energy and immune function. The beans add fiber and plant-based protein, while the fresh toppings like pico de gallo and cilantro provide vitamins and antioxidants. This is not a health food, but it is a balanced indulgence. If you want to lighten it up, use lean ground beef, reduced-fat cheese, and load up on the fresh vegetables. I sometimes swap the sour cream for Greek yogurt, and honestly, I cannot tell the difference.
Dietary Considerations: This recipe is gluten-free (check your tortilla chips and spice blends for hidden gluten). For a dairy-free version, use a plant-based cheese and skip the sour cream. For a lower-carb option, serve the beef and toppings over a bed of lettuce or roasted zucchini chips instead of tortilla chips. The possibilities are endless, which is part of the fun.
Conclusion
This nacho bar is more than a recipe—it is a way to host without stress. The ground beef is the star, but the real magic is in the setup. Everyone gets what they want, you get to enjoy the game, and the clean-up is minimal. I have made this for Super Bowl parties, casual Sunday afternoons, and even a birthday gathering. It never fails to bring people together around the table, building their perfect plates and sharing bites.
I encourage you to make this your own. Swap in your favorite toppings, try a different protein, or experiment with the spice level. The beauty of a nacho bar is that it adapts to you. If you try this recipe, I would love to hear about it. Leave a comment below and tell me how you customized your bar, or share a photo of your spread. There is nothing quite like seeing a table full of loaded nachos and happy people. Go make some memories—and some really good nachos.
Frequently Asked Questions
Can I make the ground beef ahead of time?
Absolutely. Cook and season the beef up to 3 days in advance. Store it in an airtight container in the refrigerator. When you are ready to serve, reheat it in a skillet over medium heat with a splash of beef broth to bring back the moisture. It actually tastes better the next day because the spices have had time to meld.
How do I keep the chips from getting soggy?
The key is to bake the nachos right before serving and not to overload them with wet toppings. Bake the chips with the beef and cheese, then add the wet toppings (salsa, sour cream, guacamole) right at the table. This way, the chips stay crisp until the last bite. Also, use sturdy chips—they hold up better.
Can I use ground turkey instead of beef?
Yes, ground turkey works well. Use 93/7 lean turkey and add an extra tablespoon of olive oil to keep it from drying out. The spice blend is robust enough to carry the flavor, and most people will not notice the swap. Just be careful not to overcook the turkey, as it dries out faster than beef.
What is the best way to reheat leftover nachos?
To be honest, leftover nachos do not reheat well. The chips get soft, and the cheese can become greasy. Instead, repurpose the components. Use the beef in tacos or quesadillas, and eat the chips as a snack. If you must reheat the whole thing, do it in a 350°F oven for 5-7 minutes, but expect the texture to be different.
How many people does this recipe serve?
This recipe serves 6-8 people as a main dish or 10-12 as an appetizer. If you are serving a crowd, double the beef and use two sheet pans. The toppings bar scales easily—just buy larger containers of sour cream and salsa. I have fed 15 people with a double batch, and there were still a few chips left at the end.
Pin This Recipe!
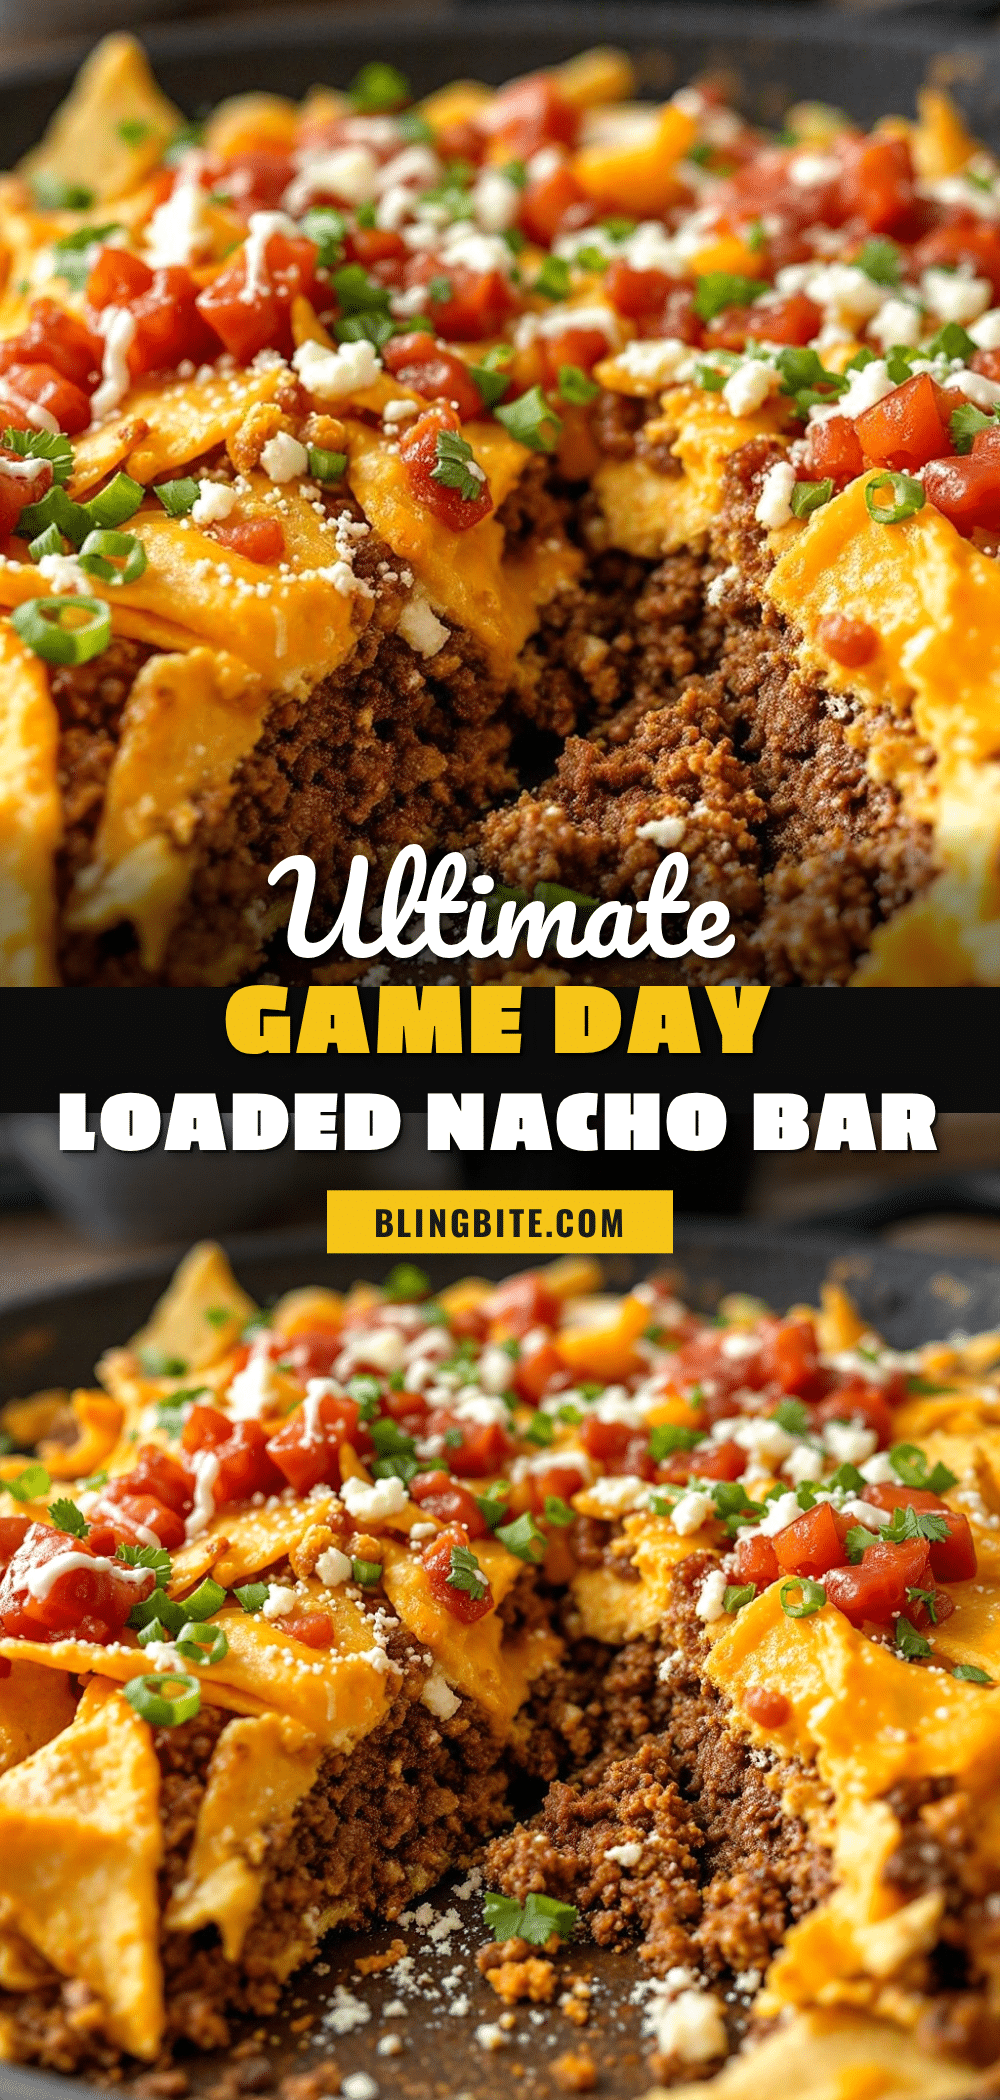
Ultimate Game Day Loaded Nacho Bar with Ground Beef
A customizable nacho bar featuring seasoned ground beef, melted cheese, and a variety of toppings, perfect for game day gatherings. This stress-free setup lets everyone build their own plate, ensuring every guest is happy.
- Prep Time: 20 minutes
- Cook Time: 15 minutes
- Total Time: 35 minutes
- Yield: 6-8 servings 1x
- Category: Appetizer
- Cuisine: Mexican-American
Ingredients
- 1 pound ground beef (80/20 is ideal)
- 1 tablespoon olive oil
- 1 small yellow onion, finely diced
- 3 cloves garlic, minced
- 1 tablespoon chili powder
- 1 teaspoon ground cumin
- 1 teaspoon smoked paprika
- ½ teaspoon dried oregano
- ½ teaspoon salt
- ¼ teaspoon black pepper
- ½ cup beef broth
- 1 large bag (13–16 ounces) restaurant-style tortilla chips
- 2 cups shredded Mexican blend cheese
- 1 cup refried beans (optional)
- 1 cup sour cream
- 1 cup guacamole
- 1 cup pico de gallo or salsa
- 1 (15-ounce) can black beans, drained and rinsed
- 1 cup pickled jalapeños
- ½ cup sliced black olives
- ½ cup chopped fresh cilantro
- 2 green onions, sliced
- 1 lime, cut into wedges
Instructions
- Cook the ground beef: Heat the olive oil in a large skillet over medium-high heat. Add the diced onion and cook for 3-4 minutes, until soft and translucent. Add the minced garlic and cook for another 30 seconds, until fragrant. Add the ground beef, breaking it up with a wooden spoon. Cook for 6-8 minutes, until browned and cooked through. Drain excess fat if needed.
- Season the beef: Reduce heat to medium. Add chili powder, cumin, smoked paprika, oregano, salt, and pepper. Stir well. Pour in beef broth and let simmer for 3-4 minutes, stirring occasionally, until liquid has mostly evaporated and beef is coated in a thick sauce. Turn off heat and set aside.
- Prepare the nacho base: Preheat oven to 375°F (190°C). Line a large sheet pan with aluminum foil. Spread tortilla chips in an even layer. If using refried beans, drop small spoonfuls over chips. Spoon seasoned ground beef evenly over chips. Sprinkle shredded cheese over everything.
- Bake the nachos: Place sheet pan in preheated oven and bake for 8-10 minutes, until cheese is fully melted and bubbly. Watch to avoid burning chips.
- Set up the toppings bar: While nachos bake, arrange toppings in small bowls. Group by type: creamy (sour cream, guacamole), fresh (pico, cilantro, green onions), and briny (jalapeños, olives).
- Assemble and serve: Remove sheet pan from oven. Let cool for 2-3 minutes. Place pan on a trivet in the center of the table. Arrange topping bowls around it. Let everyone build their own plate.
Notes
For best results, use 80/20 ground beef for juiciness. Shred cheese yourself for smoother melting. Use sturdy chips like Tostitos Scoops. Bake nachos right before serving to prevent sogginess. Warm refried beans and black beans before adding to the bar. Leftover beef can be stored in the fridge for up to 4 days and used in tacos or quesadillas.
Nutrition
- Serving Size: 1 cup of loaded nach
- Calories: 450500
- Sugar: 3
- Fat: 28
- Carbohydrates: 30
- Fiber: 4
- Protein: 25
Keywords: nachos, game day, ground beef, loaded nachos, party food, appetizer, customizable


