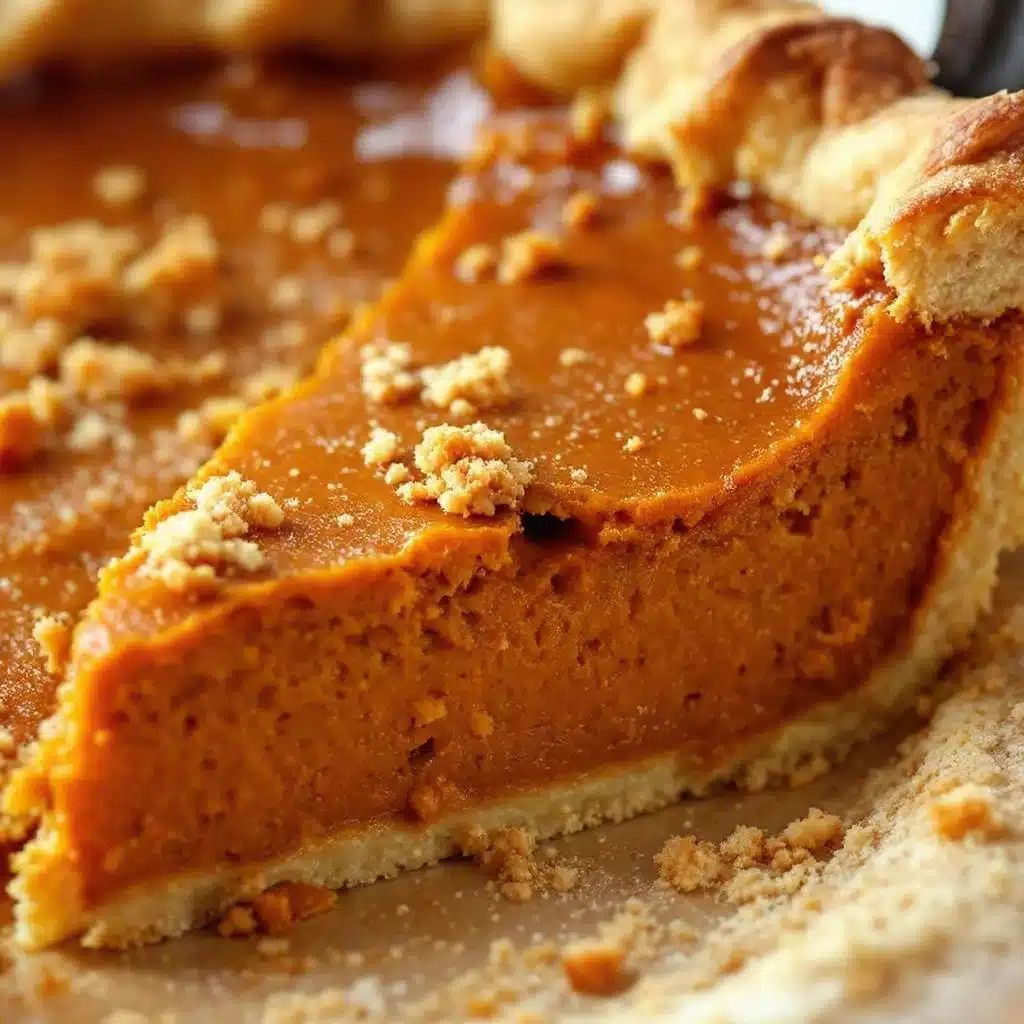
It wasn’t just the smell, though. It was the sound of the electric mixer whining in the corner, a steady hum that seemed to signal the official start of the holidays. I remember sitting on the linoleum floor, watching flour dust her apron like snow. She never measured anything. She just knew. You know, that feeling when you’re a kid and you think the adults have some secret manual we’re not allowed to see? That was her. The way she folded butter into flour wasn’t magic; it was muscle memory.
Now, I’m the one standing in my own kitchen, trying to replicate that specific, soul-warming comfort. I’ve tried fancy recipes with graham cracker crusts (nope) and overly complicated custards that split and crack (double nope). But this classic pumpkin pie with flaky butter crust? This is the one. It’s the one that tastes like memory. It’s simple, yes, but it demands respect. The crust needs to be shaggy and cold. The filling needs to be spiced just right, not too sweet, with that deep, earthy pumpkin flavor shining through.
I remember the first time I made this for a friend who wasn’t family. She took one bite, closed her eyes, and sighed. That was the moment I knew I had it right. It’s not about being perfect; it’s about being present. The recipe sticks because it forces you to slow down. You can’t rush a butter crust. You can’t rush the simmering of the spices. It’s a lesson in patience, served warm on a ceramic plate.
Why You’ll Love This Recipe
Let’s be honest for a second. There are a million pumpkin pie recipes out there. So why this one? Why spend the extra twenty minutes making a from-scratch crust when you can just buy the frozen kind? Here’s the thing: the frozen crust is fine, but it lacks soul. It lacks that shatteringly crisp texture that gives way to the soft, spiced custard inside. This recipe is my best version, born from years of trial, error, and a lot of crusts thrown in the trash bin.
- Quick & Easy (Once Prepped): While the crust takes a little love, the actual assembly is straightforward. You’ll have it in the oven in under an hour, perfect for busy weeknights or when you want to prep ahead for a holiday gathering.
- Simple Ingredients: You likely already have everything in your pantry. Pumpkin puree, eggs, cream, brown sugar, and those essential spices. No fancy grocery trips needed. It’s wholesome, real food.
- Perfect for Thanksgiving: This isn’t just a dessert; it’s the centerpiece. It’s the dish that anchors the table. Whether you’re hosting a large crowd or just a quiet dinner for two, this pie fits the occasion perfectly.
- Crowd-Pleaser: I’ve served this at potlucks, family dinners, and random Tuesday nights. It always gets rave reviews. Kids love the sweetness; adults appreciate the balance of spice and texture. It’s universally liked.
- Unbelievably Delicious: The texture combo is next-level comfort food. The buttery, flaky layers against the silky, dense custard? It’s heavenly. It’s the kind of pie that makes you close your eyes after the first bite.
What makes this different? It’s the technique. We’re not just dumping ingredients together. We’re building layers. The butter is kept cold to create steam pockets during baking, which lifts the dough into those beautiful flakes. And the filling is balanced with a touch of salt and a blend of warm spices that feel like a hug. It’s comfort food reimagined—honest, fast, but with the same soul-soothing satisfaction as the original. It’s perfect for impressing guests without stress, or turning a simple meal into something memorable.
What Ingredients You Will Need
This recipe uses simple, wholesome ingredients to deliver bold flavor and satisfying texture without the fuss. The beauty of a classic pumpkin pie lies in the quality of its components. When you have few ingredients, each one has to do heavy lifting. You want the pumpkin to taste like pumpkin, not like sugar. You want the spice to be aromatic, not overpowering. Here is what you need to make it happen, broken down by function.
For the Flaky Butter Crust
- All-purpose flour: 1 ½ cups (about 190g). This is your structure. Don’t substitute with whole wheat unless you want a denser, nuttier crust, which changes the classic vibe.
- Unsalted butter: ½ cup (1 stick / 113g), very cold and cubed. This is non-negotiable. Salted butter adds salt, but you want control over the seasoning. I recommend using high-quality European-style butter for higher fat content and better flavor.
- Ice water: 4-6 tablespoons. Just enough to bring the dough together. If the water is warm, it melts the butter, and you lose the flakiness.
- Salt: ½ teaspoon. Enhances the flavor of the flour and butter.
- Sugar: 1 tablespoon. Just a pinch to help with browning and a hint of sweetness.
For the Pumpkin Filling
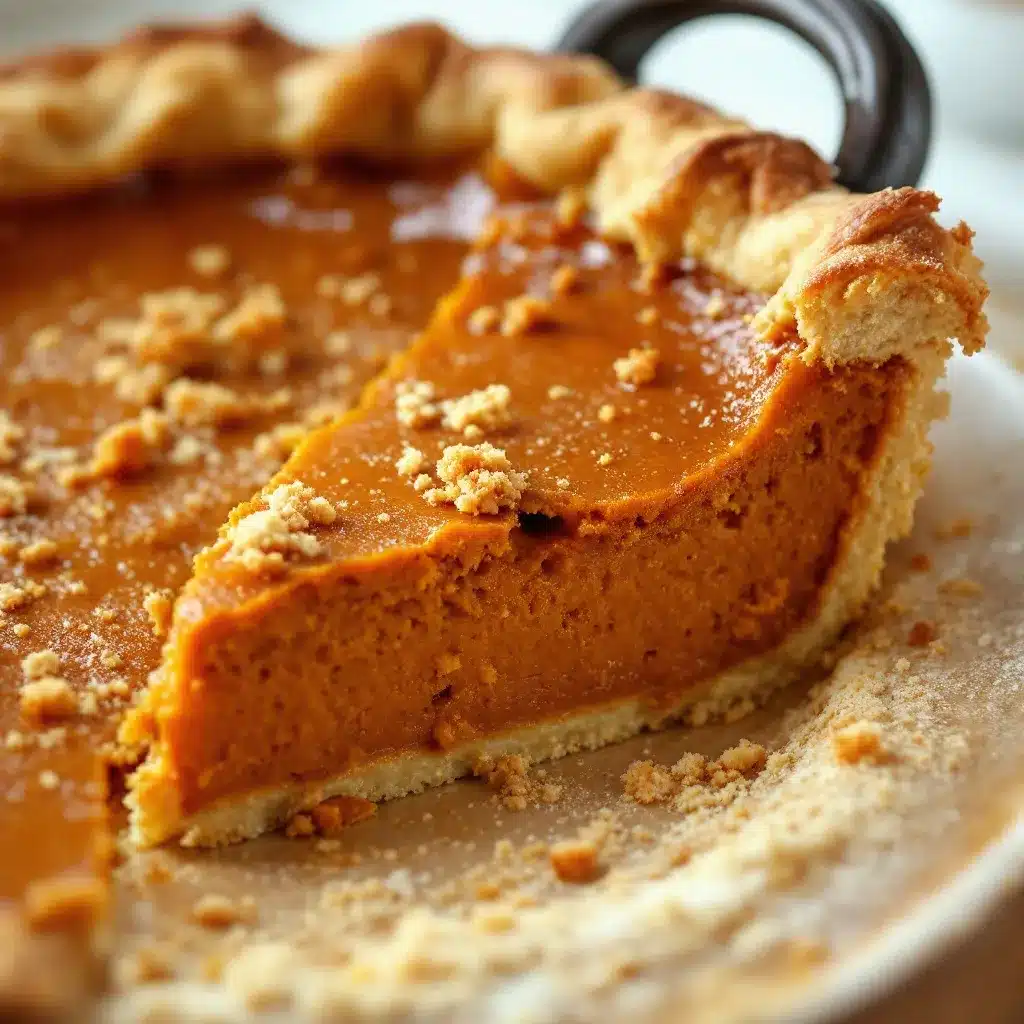
- Pumpkin puree: 15 ounces (about 1 can / 425g). Make sure it’s pure pumpkin, not pumpkin pie mix. The mix already has sugar and spices, which throws off the balance.
- Heavy cream: 12 ounces (1 ½ cups). This gives the custard its rich, creamy texture. Half-and-half works if you want something lighter, but the fat is important for mouthfeel.
- Large eggs: 2 large, room temperature. These act as the binder. Room temp eggs incorporate easier into the cream.
- Brown sugar: ¾ cup (packed). Adds a deep, molasses-like sweetness that white sugar can’t match.
- Spices: 1 teaspoon cinnamon, ½ teaspoon ginger, ¼ teaspoon nutmeg, and ¼ teaspoon allspice. This blend is the heart of the flavor. Freshly grated nutmeg is a game-changer if you have a microplane.
- Vanilla extract: 1 teaspoon. Pure vanilla, not imitation. It rounds out the spices.
For sourcing, I always look for firm, small-curd cottage cheese if I’m experimenting, but for this classic, stick to the basics. If you are making this in summer, you can swap in fresh roasted squash, but it takes more work. For a gluten-free option, you can use a 1:1 gluten-free flour blend, but the texture will be slightly more crumbly.
Equipment Needed
You don’t need a fancy kitchen to make this pie, but having the right tools makes the process much less stressful. Here is what you’ll need:
- Food processor: This is my go-to for the crust. It cuts the butter into the flour quickly and evenly without warming it up with your hands. If you don’t have one, a pastry cutter or two forks work, but it takes more elbow grease.
- 9-inch pie dish: Glass or ceramic is best. Metal conducts heat too quickly and can burn the bottom crust. Dark glass is my preference for even baking.
- Mixing bowls: One medium bowl for the filling and one large for the crust (if not using a processor).
- Rolling pin: A standard wooden rolling pin is fine. Just make sure it’s clean and dry.
- Whisk: For blending the filling ingredients until smooth. A hand mixer isn’t necessary and can incorporate too much air, leading to cracks.
- Pastry brush: Optional, but helpful for egg washing the crust for that golden shine.
For budget-friendly options, a simple metal pie tin works in a pinch, just watch the bottom crust closely. For maintenance, keep your rolling pin clean and oiled if it’s wood to prevent sticking.
Preparation Method
Making this pie is a process of layers, both in the crust and in the flavor. Let’s break it down step-by-step so you can get it right the first time.
Step 1: Make the Dough
Time: 15 minutes
Start by pulsing the flour, salt, and sugar in your food processor. Add the cold, cubed butter. Pulse about 10-15 times until the mixture looks like coarse meal with some pea-sized chunks of butter remaining. These chunks are crucial—they create the flakes. Drizzle in the ice water, one tablespoon at a time, pulsing after each addition. Stop when the dough just begins to clump together. Don’t overwork it. Turn the dough out onto a piece of plastic wrap and divide it in half. Flatten each half into a disk, wrap tightly, and refrigerate for at least one hour. This rest period relaxes the gluten and re-chills the butter.
Step 2: Roll and Blind Bake
Time: 20 minutes
Preheat your oven to 375°F (190°C). Take one disk of dough out and roll it out on a floured surface into a 12-inch circle. Carefully transfer it to your 9-inch pie dish. Trim the edges, leaving a slight overhang. Prick the bottom and sides with a fork. Line the crust with parchment paper and fill with pie weights or dried beans. Bake for 15 minutes. Remove the weights and parchment and bake for another 5 minutes until the crust is set and lightly golden. Let it cool while you make the filling. This “blind baking” prevents a soggy bottom.
Step 3: Make the Filling
Time: 10 minutes
In a medium bowl, whisk together the heavy cream, brown sugar, eggs, vanilla, cinnamon, ginger, nutmeg, allspice, and a pinch of salt. Mix until the sugar is dissolved. Stir in the pumpkin puree until the mixture is completely smooth and uniform. There should be no streaks of orange pumpkin left.
Step 4: Assemble and Bake
Time: 50-60 minutes
Pour the filling into the pre-baked crust. Place the pie on a baking sheet (to catch any potential drips) and bake at 375°F (190°C) for 50-60 minutes. The pie is done when the edges are set but the center still jiggles slightly like Jell-O when you shake the pan. It will continue to set as it cools. Do not overbake, or it will crack.
Step 5: Cool Completely
Time: 2 hours
This is the hardest part. Let the pie cool on a wire rack for at least two hours before slicing. If you cut into it while it’s hot, the filling will be runny. Patience pays off.
Cooking Tips & Techniques
Having failed at this pie more times than I care to admit, here are some pro tips to ensure success. The biggest mistake people make is using warm butter. Keep everything cold. If your butter starts to soften while you’re working, put the bowl back in the fridge for 10 minutes. Another common error is overmixing the dough after adding water. You want to mix just until it comes together. Overworking develops gluten, leading to a tough crust instead of a tender one.
For the filling, make sure your pumpkin puree is not watery. If you’re using canned puree, give it a quick stir but don’t add extra liquid. If you’re using fresh roasted pumpkin, make sure you mash it into a fine paste and drain any excess moisture in a cheesecloth. Timing is also key. Start checking the pie at the 45-minute mark. If the edges are browning too quickly, cover them with a pie shield or strips of aluminum foil.
My personal tip for a perfectly smooth filling is to strain it through a fine-mesh sieve before pouring it into the crust. It removes any bits of pumpkin fiber or unmixed egg, resulting in a silky, professional texture. It takes an extra minute but is worth it for that restaurant-quality finish.
Variations & Adaptations
While the classic version is my favorite, there are plenty of ways to adapt this recipe to suit your tastes or dietary needs.
- Coconut Cream Version: Swap the heavy cream for full-fat coconut cream. It adds a lovely tropical twist that pairs beautifully with the spices. This also makes the recipe dairy-free.
- Maple Walnut Crust: Add ¼ cup of finely chopped walnuts to the crust dough. It adds a nice crunch and nutty flavor that complements the pumpkin.
- Spiced Whipped Topping: Instead of plain whipped cream, fold a teaspoon of cinnamon and a tablespoon of powdered sugar into your whipped cream before serving. It ties the whole dessert together.
- Gluten-Free: Use a high-quality gluten-free all-purpose flour blend. Note that GF crusts can be more fragile, so handle with care and consider serving in individual ramekins.
- Lower Sugar: Reduce the brown sugar to ½ cup. The pumpkin is naturally sweet, and you might find this balance is enough for your palate.
I once tried making this with sweet potato instead of pumpkin. It worked surprisingly well, but the flavor is earthier and less sweet. If you do that, add a touch more cinnamon and a pinch of cardamom to compensate.
Serving & Storage Suggestions
Serve this pie at room temperature or slightly chilled. It pairs wonderfully with a cup of black coffee or a glass of cold milk. For a more decadent option, serve it with a dollop of freshly whipped cream and a sprinkle of flaky sea salt on top. The salt cuts through the sweetness and highlights the buttery crust.
For storage, cover the pie loosely with plastic wrap or aluminum foil and refrigerate for up to 4 days. The flavors actually meld and deepen after a day in the fridge, making it even better on day two. You can also freeze the baked pie for up to two months. Thaw it overnight in the refrigerator before serving. To reheat, warm it in a 300°F oven for 10-15 minutes to soften the crust. Avoid the microwave, as it can make the crust soggy.
Nutritional Information & Benefits
While this is definitely a treat, pumpkin itself is a nutritional powerhouse. It’s rich in vitamin A, fiber, and potassium. The spices like cinnamon and ginger have anti-inflammatory properties. Of course, the heavy cream and sugar add calories, so enjoy in moderation. A single slice contains approximately 350 calories, with 20g of fat, 40g of carbs, and 4g of protein. It’s not a health food, but it’s made with real, recognizable ingredients, which is better than most processed desserts. For those watching sugar intake, the maple walnut variation offers a slightly lower glycemic impact due to the nuts and reduced sugar.
Conclusion
This classic pumpkin pie with flaky butter crust is more than just a dessert; it’s a tradition. It’s the kind of recipe that brings people together, around a table, sharing stories and slices. I love it because it’s reliable yet rewarding. It teaches you to slow down and appreciate the process. I encourage you to try it, tweak it, and make it your own. Maybe you’ll add a hint of bourbon to the filling or swap the spices for a pumpkin spice latte flavor. The possibilities are endless.
If you make this pie, I’d love to hear how it turned out. Leave a comment below with your thoughts, or share a photo on social media. Tag me so I can see your beautiful creations. And if you have friends who love fall baking, share this recipe with them. Happy baking, and enjoy every bite.
FAQs
Can I make the crust ahead of time?
Yes! You can make the dough and keep it in the fridge for up to 3 days, or freeze it for up to 2 months. Just let it thaw in the fridge before rolling.
Why did my pie filling crack?
Cracking usually happens from overbaking. Remove the pie when the center still jiggles slightly. It will firm up as it cools. Also, avoid using a hand mixer, which incorporates too much air.
Can I use pumpkin pie mix instead of pure puree?
No. Pumpkin pie mix contains added sugar and spices. If you use it, your pie will be overly sweet and the spice balance will be off. Stick to pure pumpkin puree.
How do I prevent a soggy bottom crust?
Blind baking your crust is the key. Bake it partially before adding the filling. Also, placing the pie on a preheated baking sheet in the oven can help crisp the bottom.
Can I make this pie dairy-free?
Yes. Use coconut cream instead of heavy cream and dairy-free butter for the crust. The texture will be slightly different but still delicious.
Pin This Recipe!
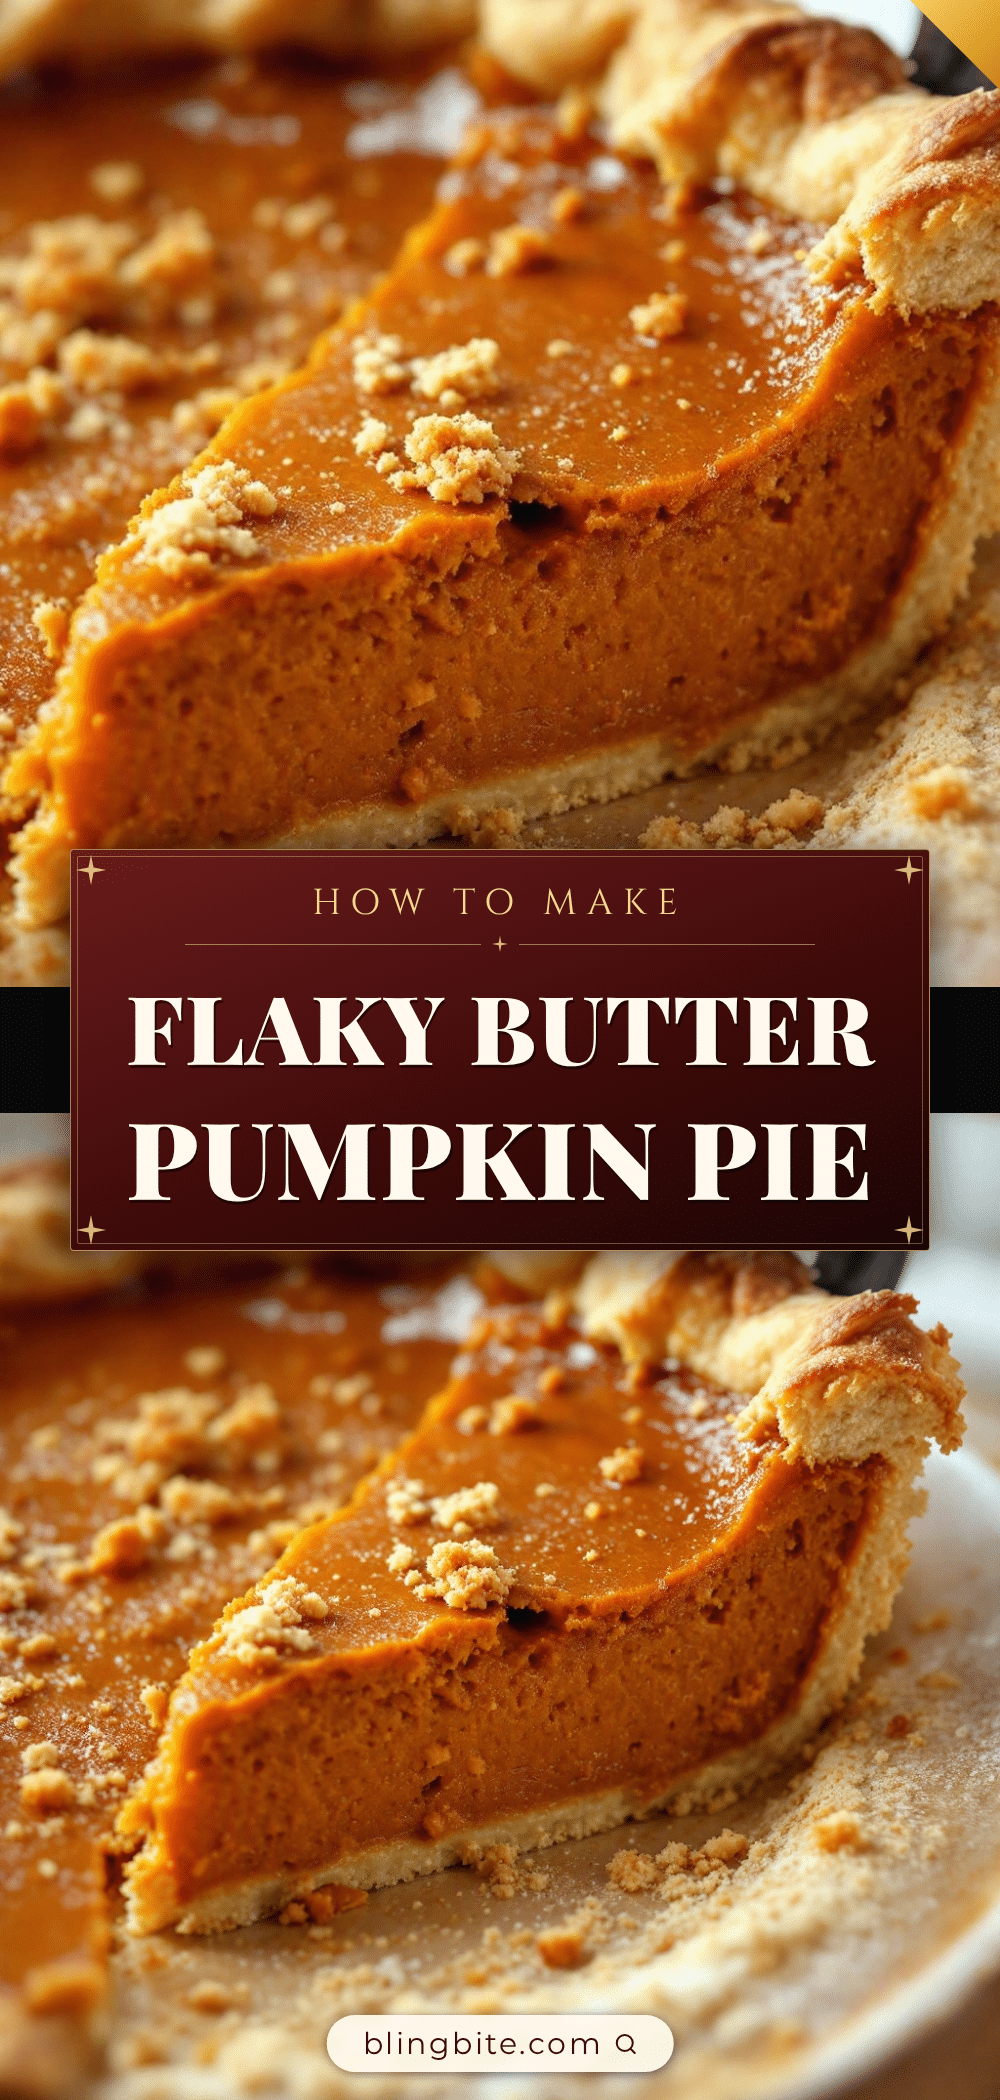
Classic Pumpkin Pie with Flaky Butter Crust
A soul-warming classic pumpkin pie featuring a shatteringly crisp, flaky butter crust and a silky, spiced custard filling. This recipe balances earthy pumpkin flavor with warm spices for a perfect holiday dessert.
- Prep Time: 15 minutes
- Cook Time: 70 minutes
- Total Time: 2 hours 25 minutes
- Yield: 8 servings 1x
- Category: Dessert
- Cuisine: American
Ingredients
- 1 ½ cups all-purpose flour
- ½ cup unsalted butter, very cold and cubed
- 4–6 tablespoons ice water
- ½ teaspoon salt
- 1 tablespoon sugar
- 15 ounces pumpkin puree (pure pumpkin, not pie mix)
- 12 ounces heavy cream (1 ½ cups)
- 2 large eggs, room temperature
- ¾ cup packed brown sugar
- 1 teaspoon cinnamon
- ½ teaspoon ginger
- ¼ teaspoon nutmeg
- ¼ teaspoon allspice
- 1 teaspoon vanilla extract
Instructions
- Pulse flour, salt, and sugar in a food processor. Add cold cubed butter and pulse 10-15 times until mixture resembles coarse meal with pea-sized butter chunks.
- Drizzle in ice water one tablespoon at a time, pulsing after each addition, until dough begins to clump. Do not overwork.
- Divide dough in half, flatten into disks, wrap in plastic, and refrigerate for at least one hour.
- Preheat oven to 375°F (190°C). Roll one dough disk into a 12-inch circle and transfer to a 9-inch pie dish. Trim edges and prick bottom/sides with a fork.
- Line crust with parchment and fill with pie weights. Blind bake for 15 minutes, remove weights, and bake 5 more minutes until lightly golden. Cool.
- Whisk together heavy cream, brown sugar, eggs, vanilla, spices, and a pinch of salt until sugar dissolves.
- Stir in pumpkin puree until mixture is completely smooth.
- Pour filling into pre-baked crust. Bake at 375°F (190°C) for 50-60 minutes until edges are set but center jiggles slightly.
- Cool completely on a wire rack for at least 2 hours before slicing.
Notes
Keep all ingredients, especially butter, very cold to ensure a flaky crust. Do not overmix the dough. Ensure pumpkin puree is not watery. Strain filling through a fine-mesh sieve for a silky texture. Blind baking prevents a soggy bottom. Cool completely before slicing to allow filling to set.
Nutrition
- Serving Size: 1 slice
- Calories: 350
- Sugar: 28
- Sodium: 150
- Fat: 20
- Saturated Fat: 12
- Carbohydrates: 40
- Fiber: 2
- Protein: 4
Keywords: pumpkin pie, flaky butter crust, Thanksgiving dessert, holiday baking, classic pumpkin pie, easy pumpkin pie recipe


